


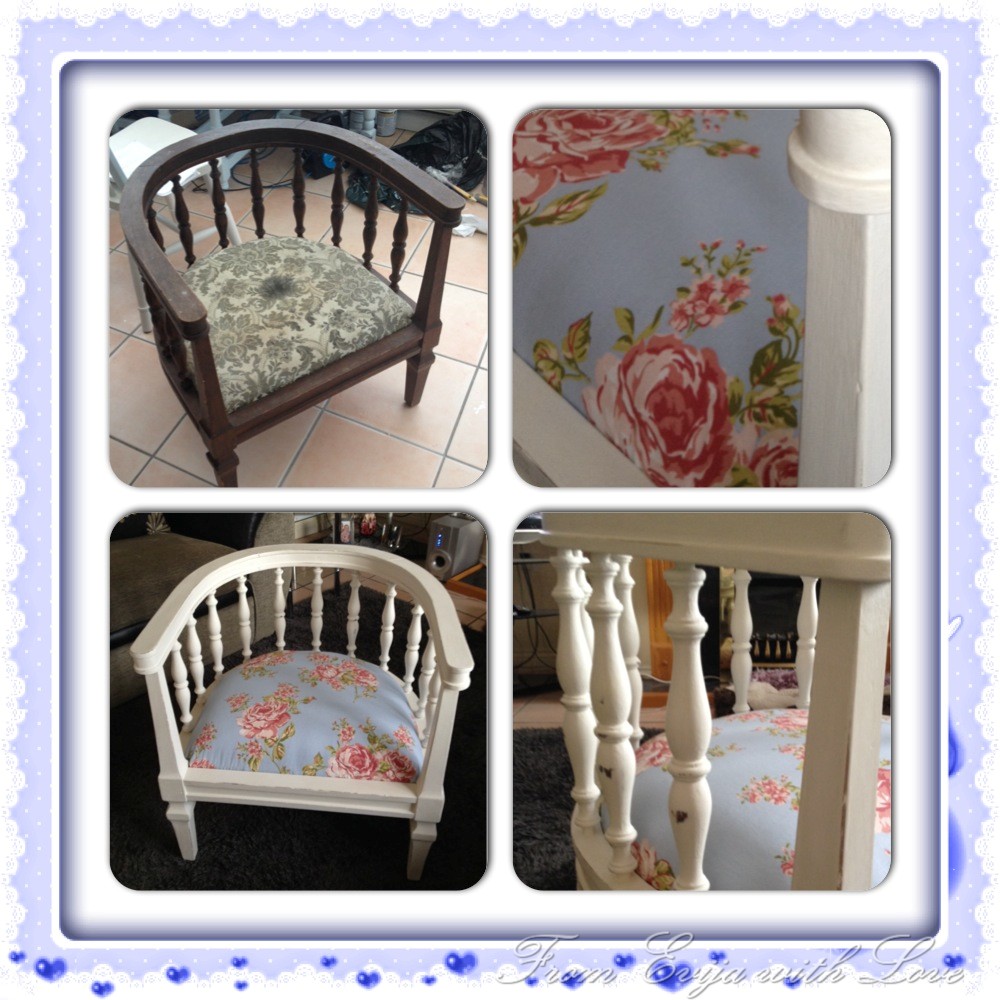

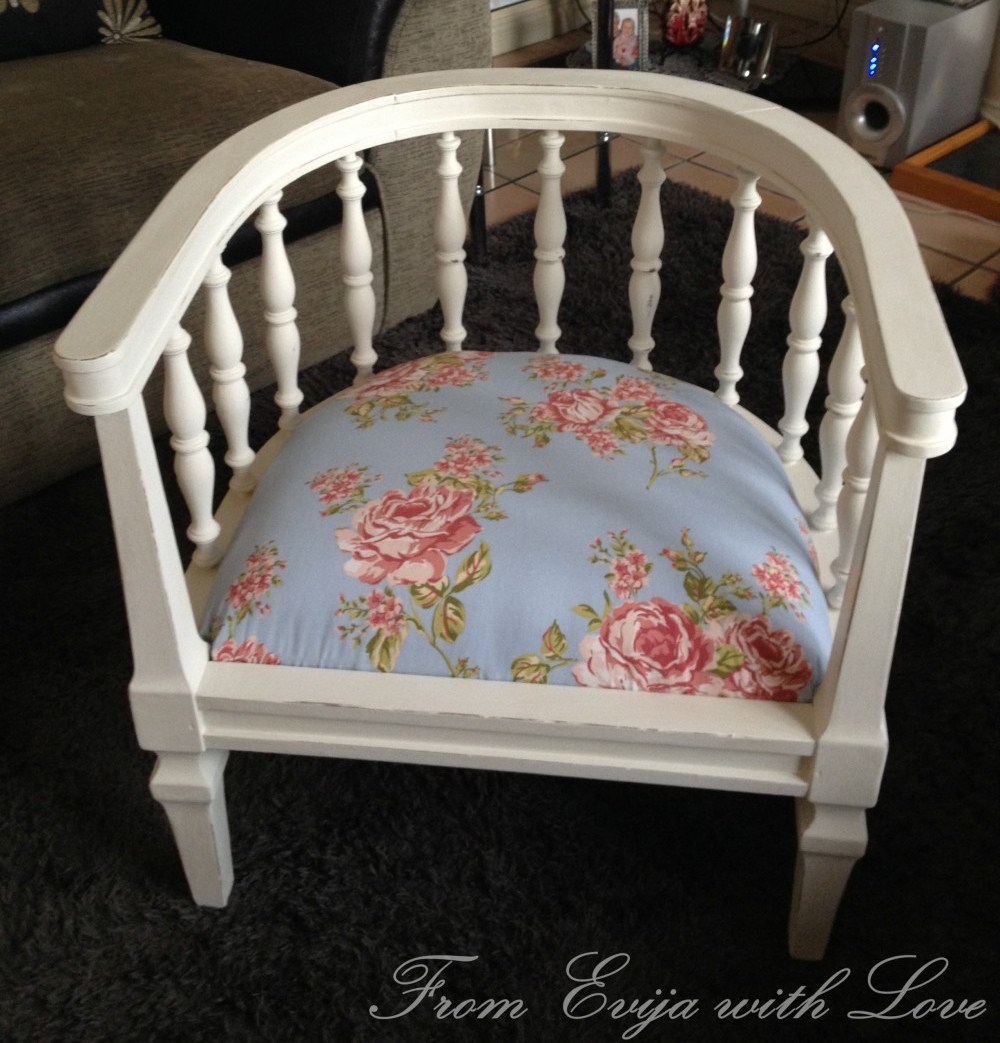
So I got this gorgeous chair which was very old, rusty and unloved.. I thought it still had plenty of life left in it, so I decided to give it a new lease of life!

As with all my projects I ensure they are nice and clean before I do any work on them.
On this project I was trying out chalk paint by Annie Sloan. I have heard great reviews and decided to give it a go as it promissed no preparation, sanding or priming! I thought that was great and would save a lot of time. The only difference to the other painting jobs I had done was that this chair needed to be waxed after painting to seal the paint.

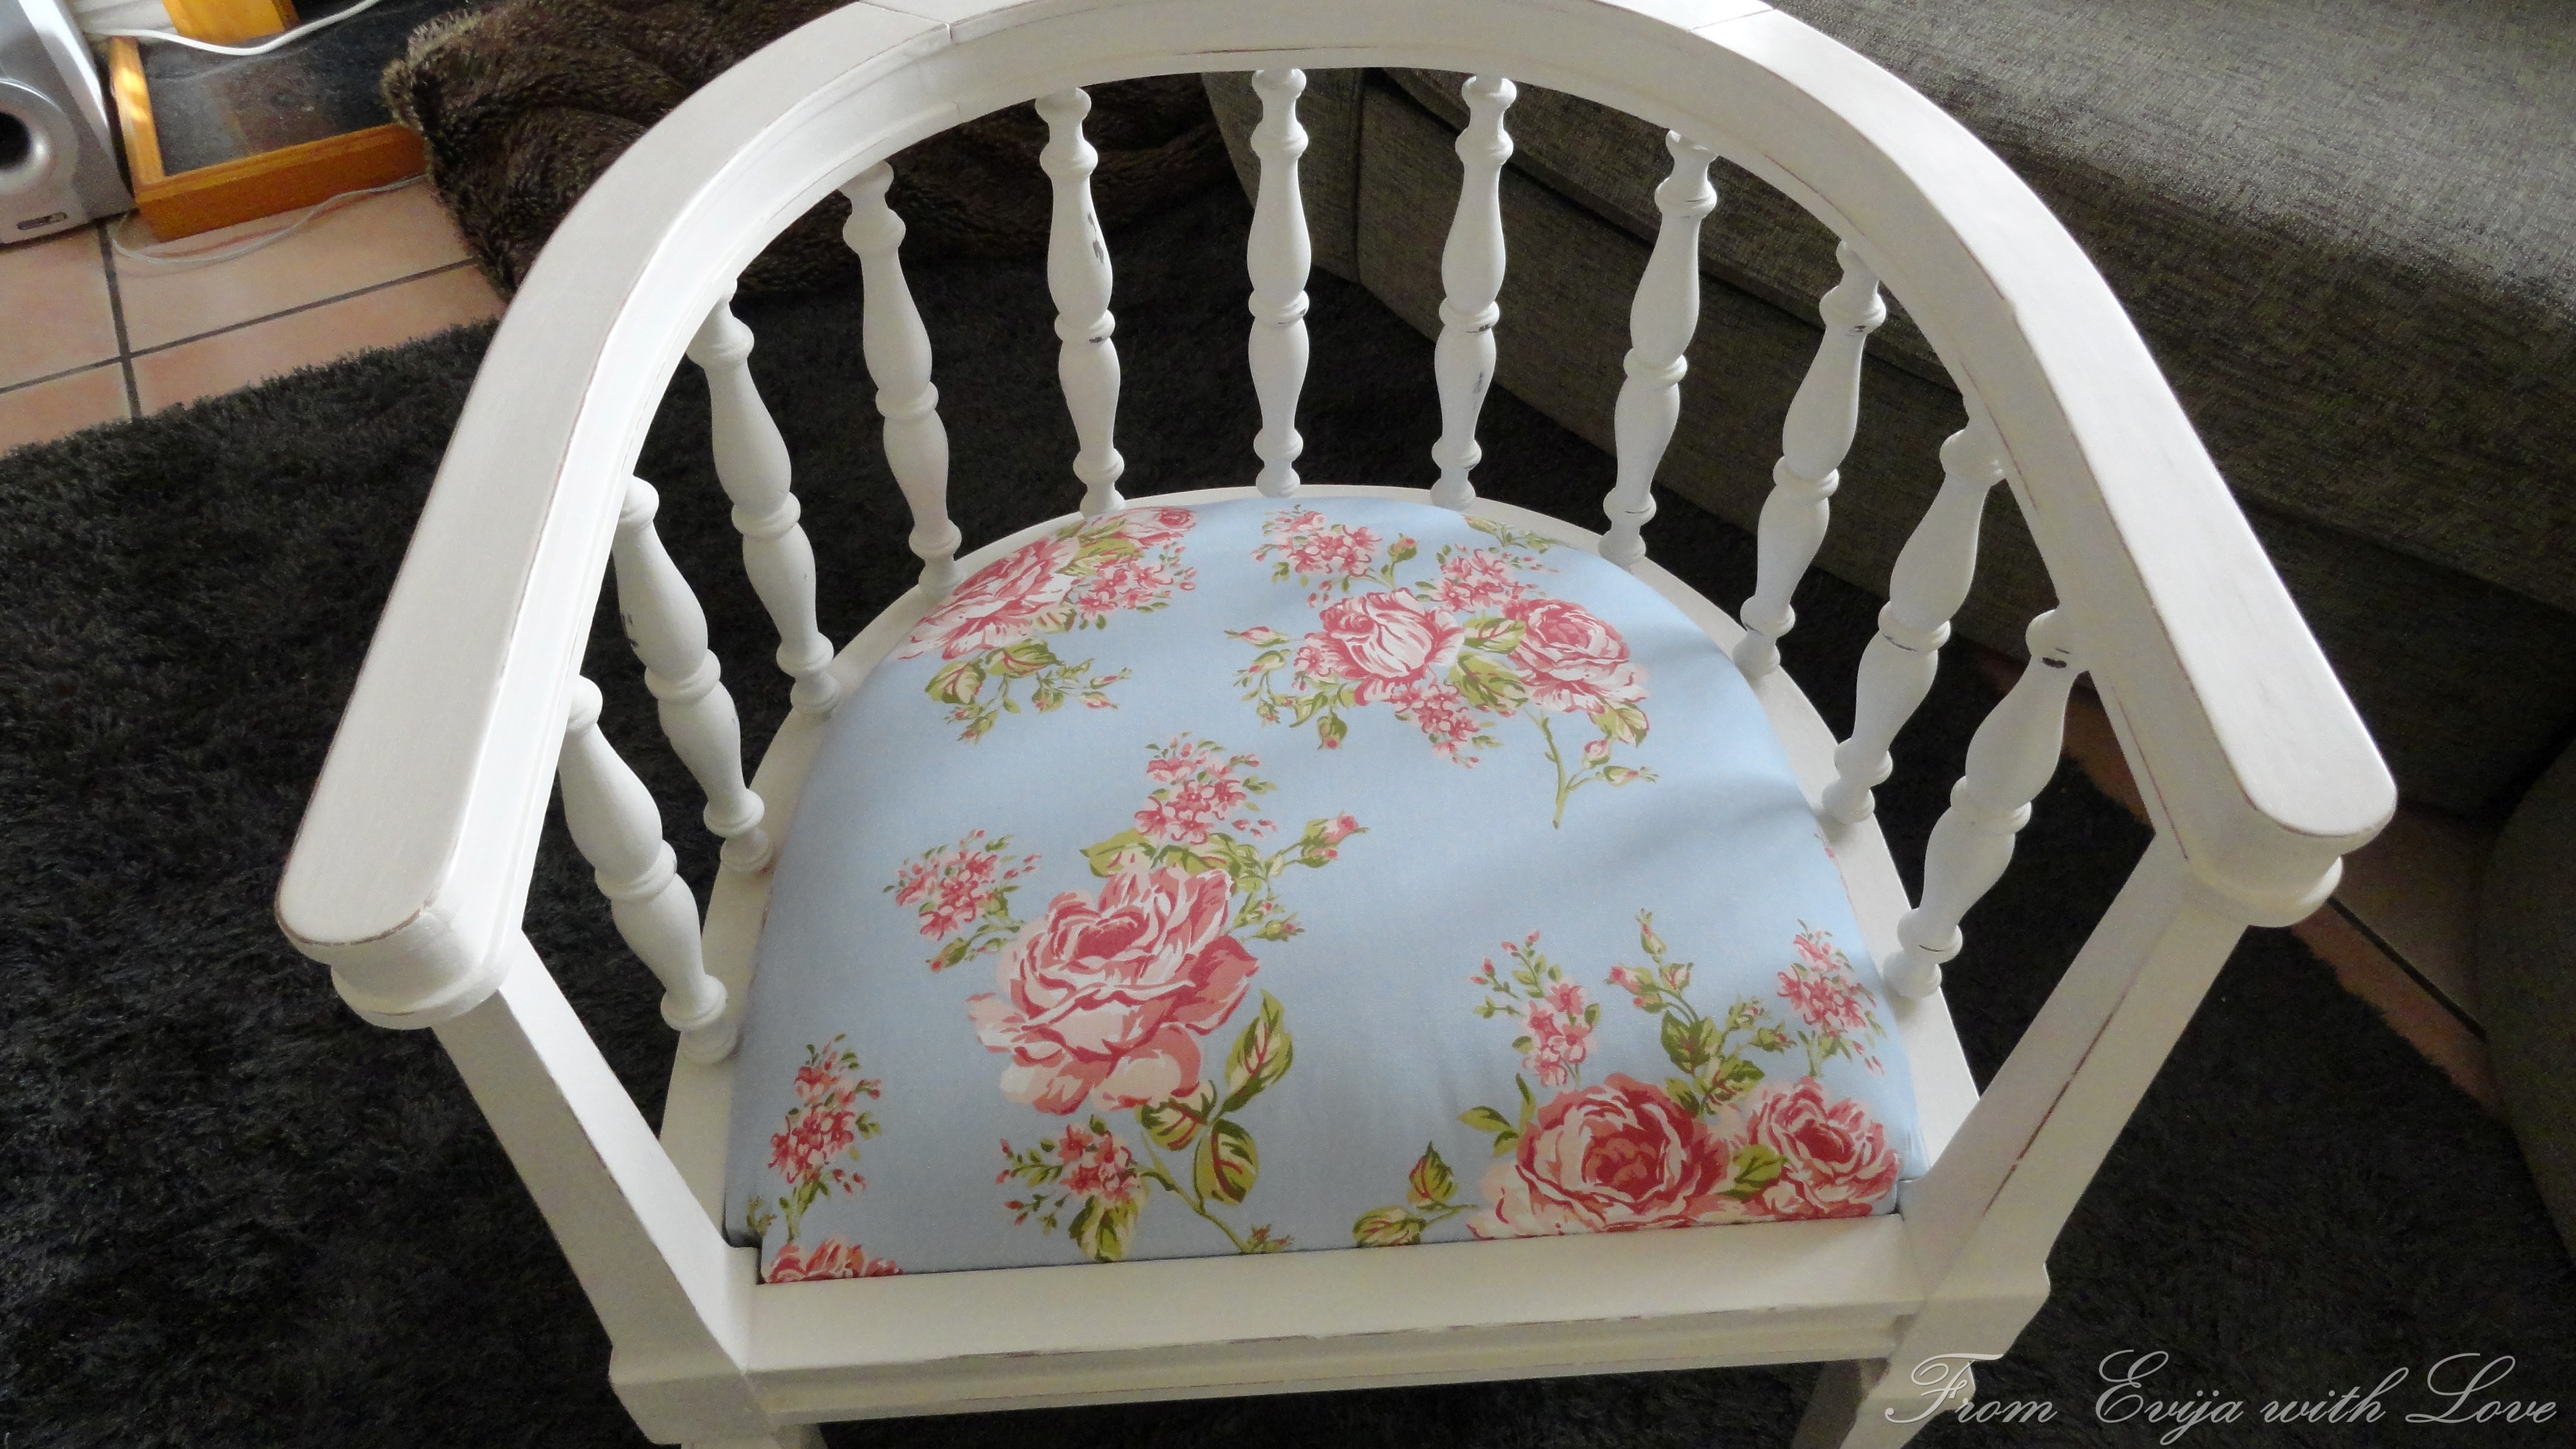
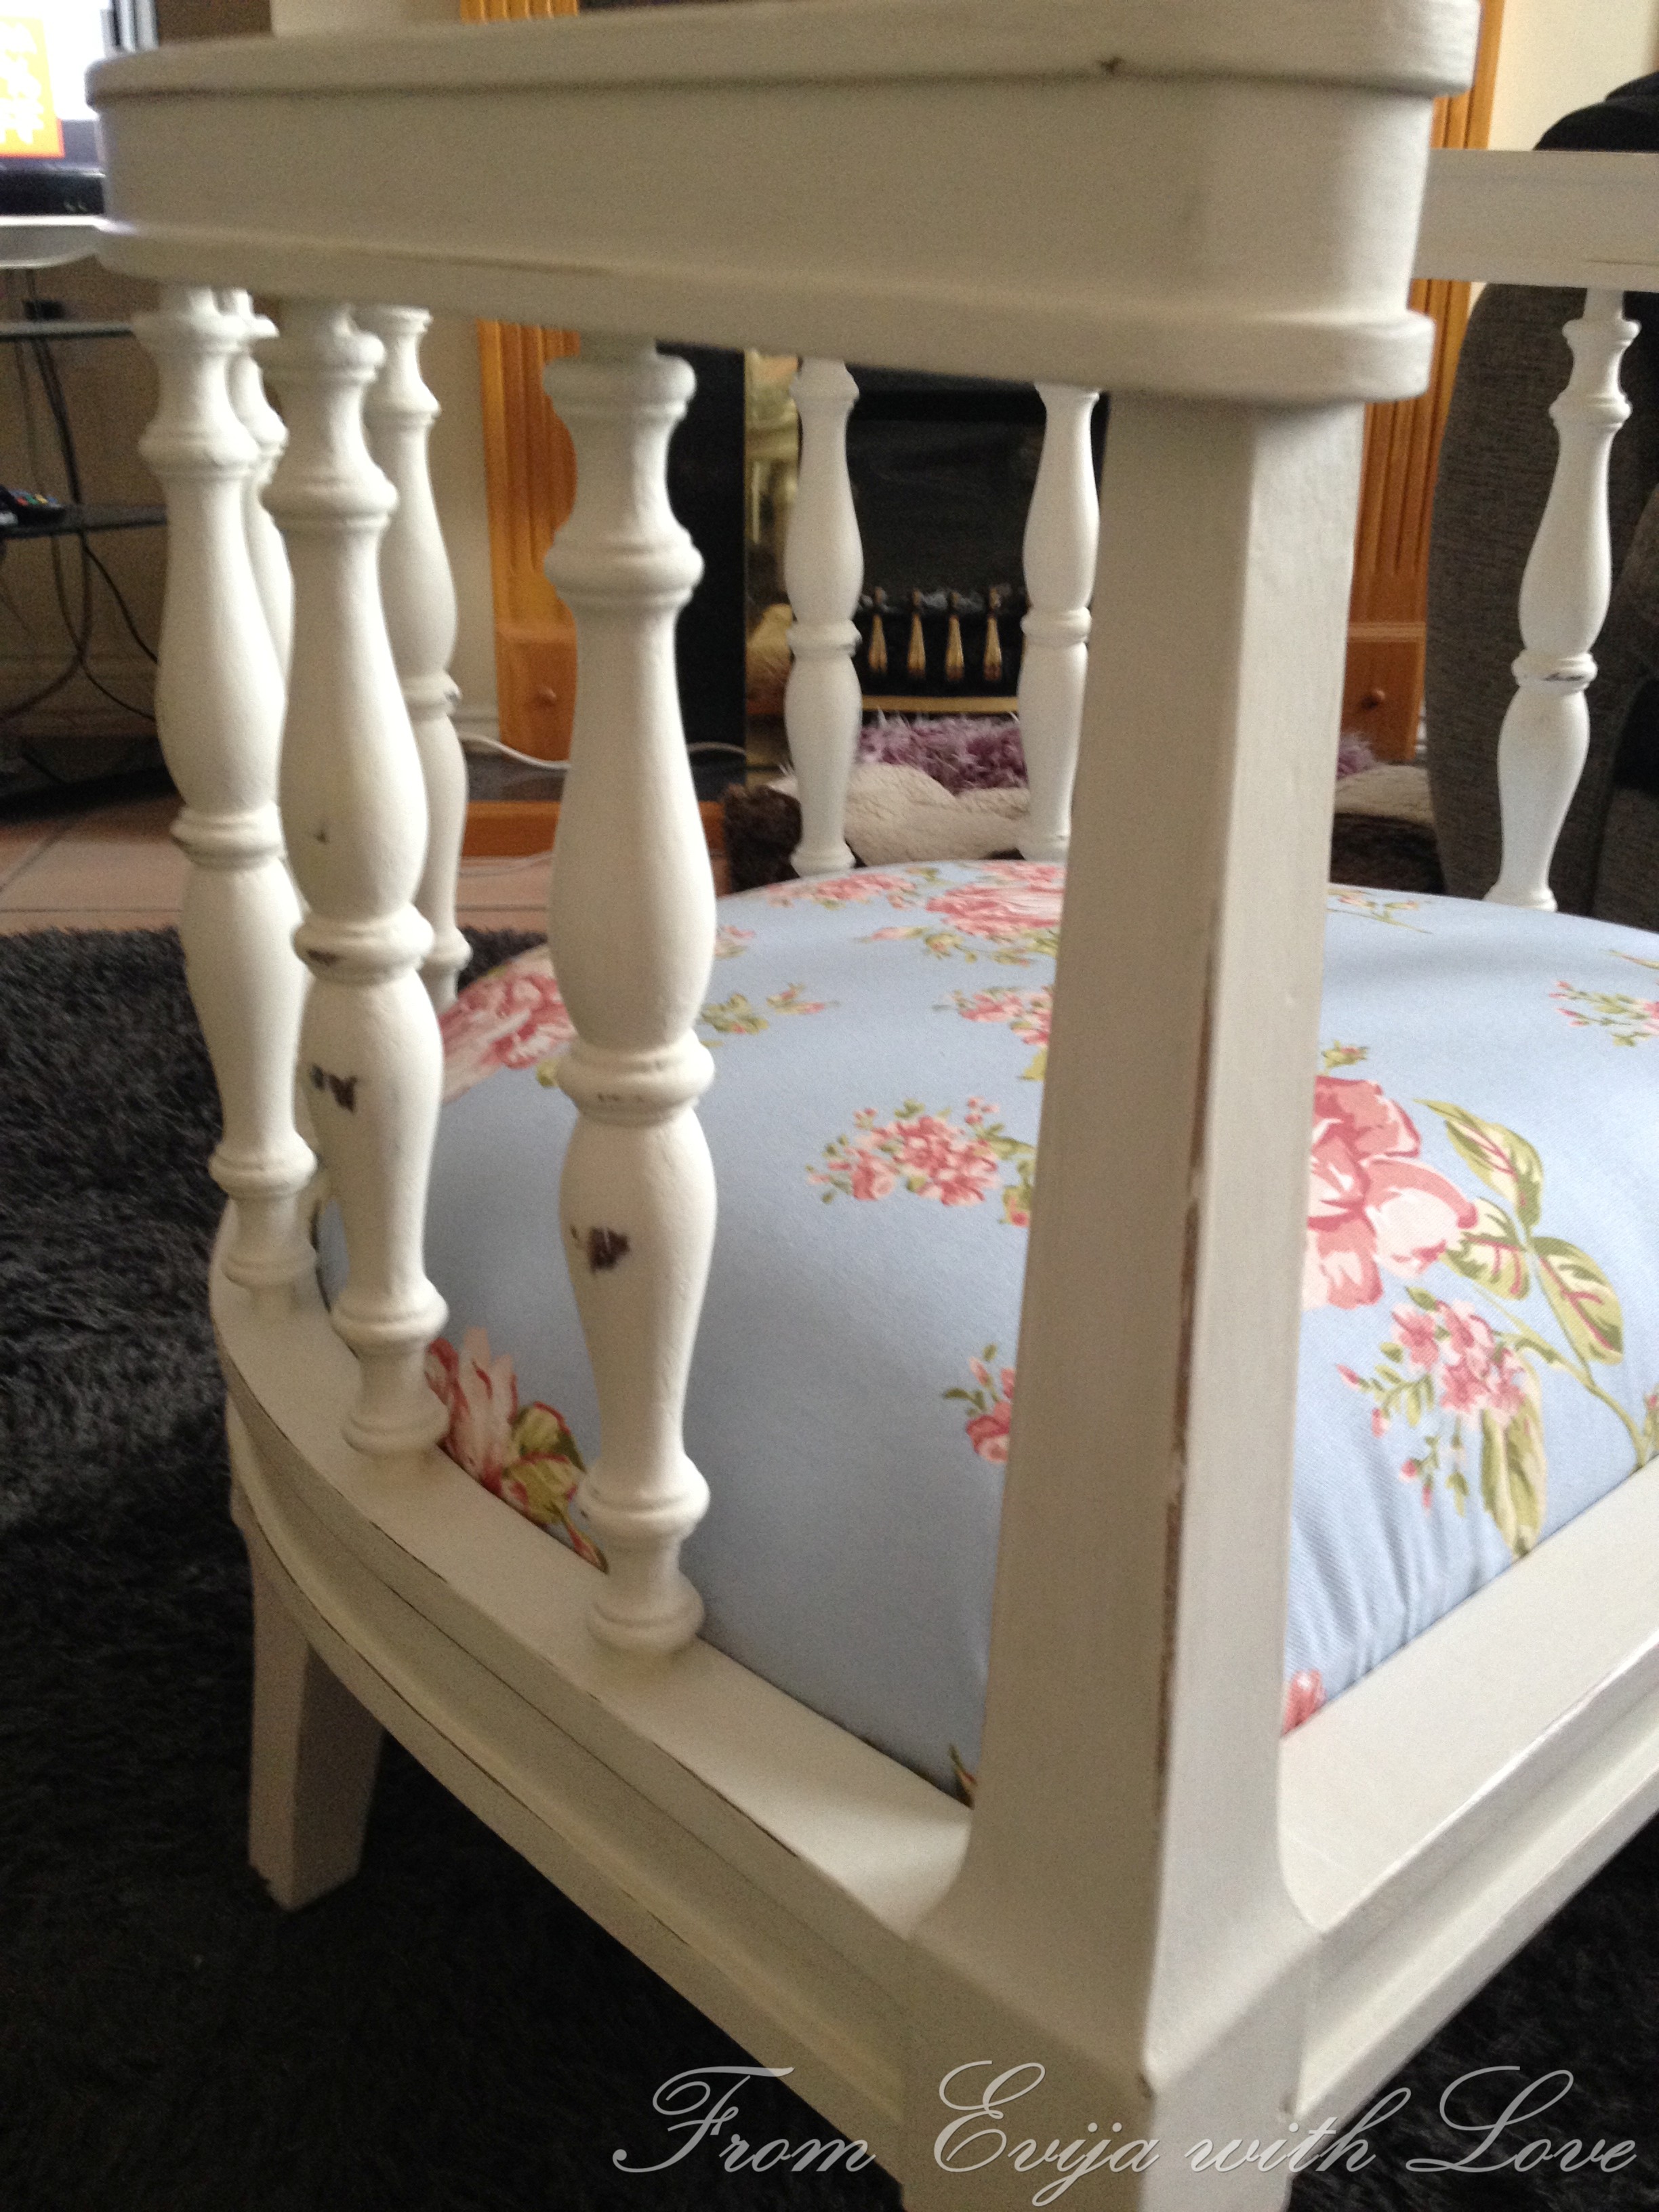
After I cleaned the chair and removed the seat, I painted it in ‘Old White‘ by Annie Sloan. The paint was easy enough to work with, it didn’t have a distinct smell like most paints and it dried really quickly. I was able to do 2nd coat in a couple of hours. I learnt that watering down the paint a little helped the paint to go on more evenly and without any harsh brush strokes.
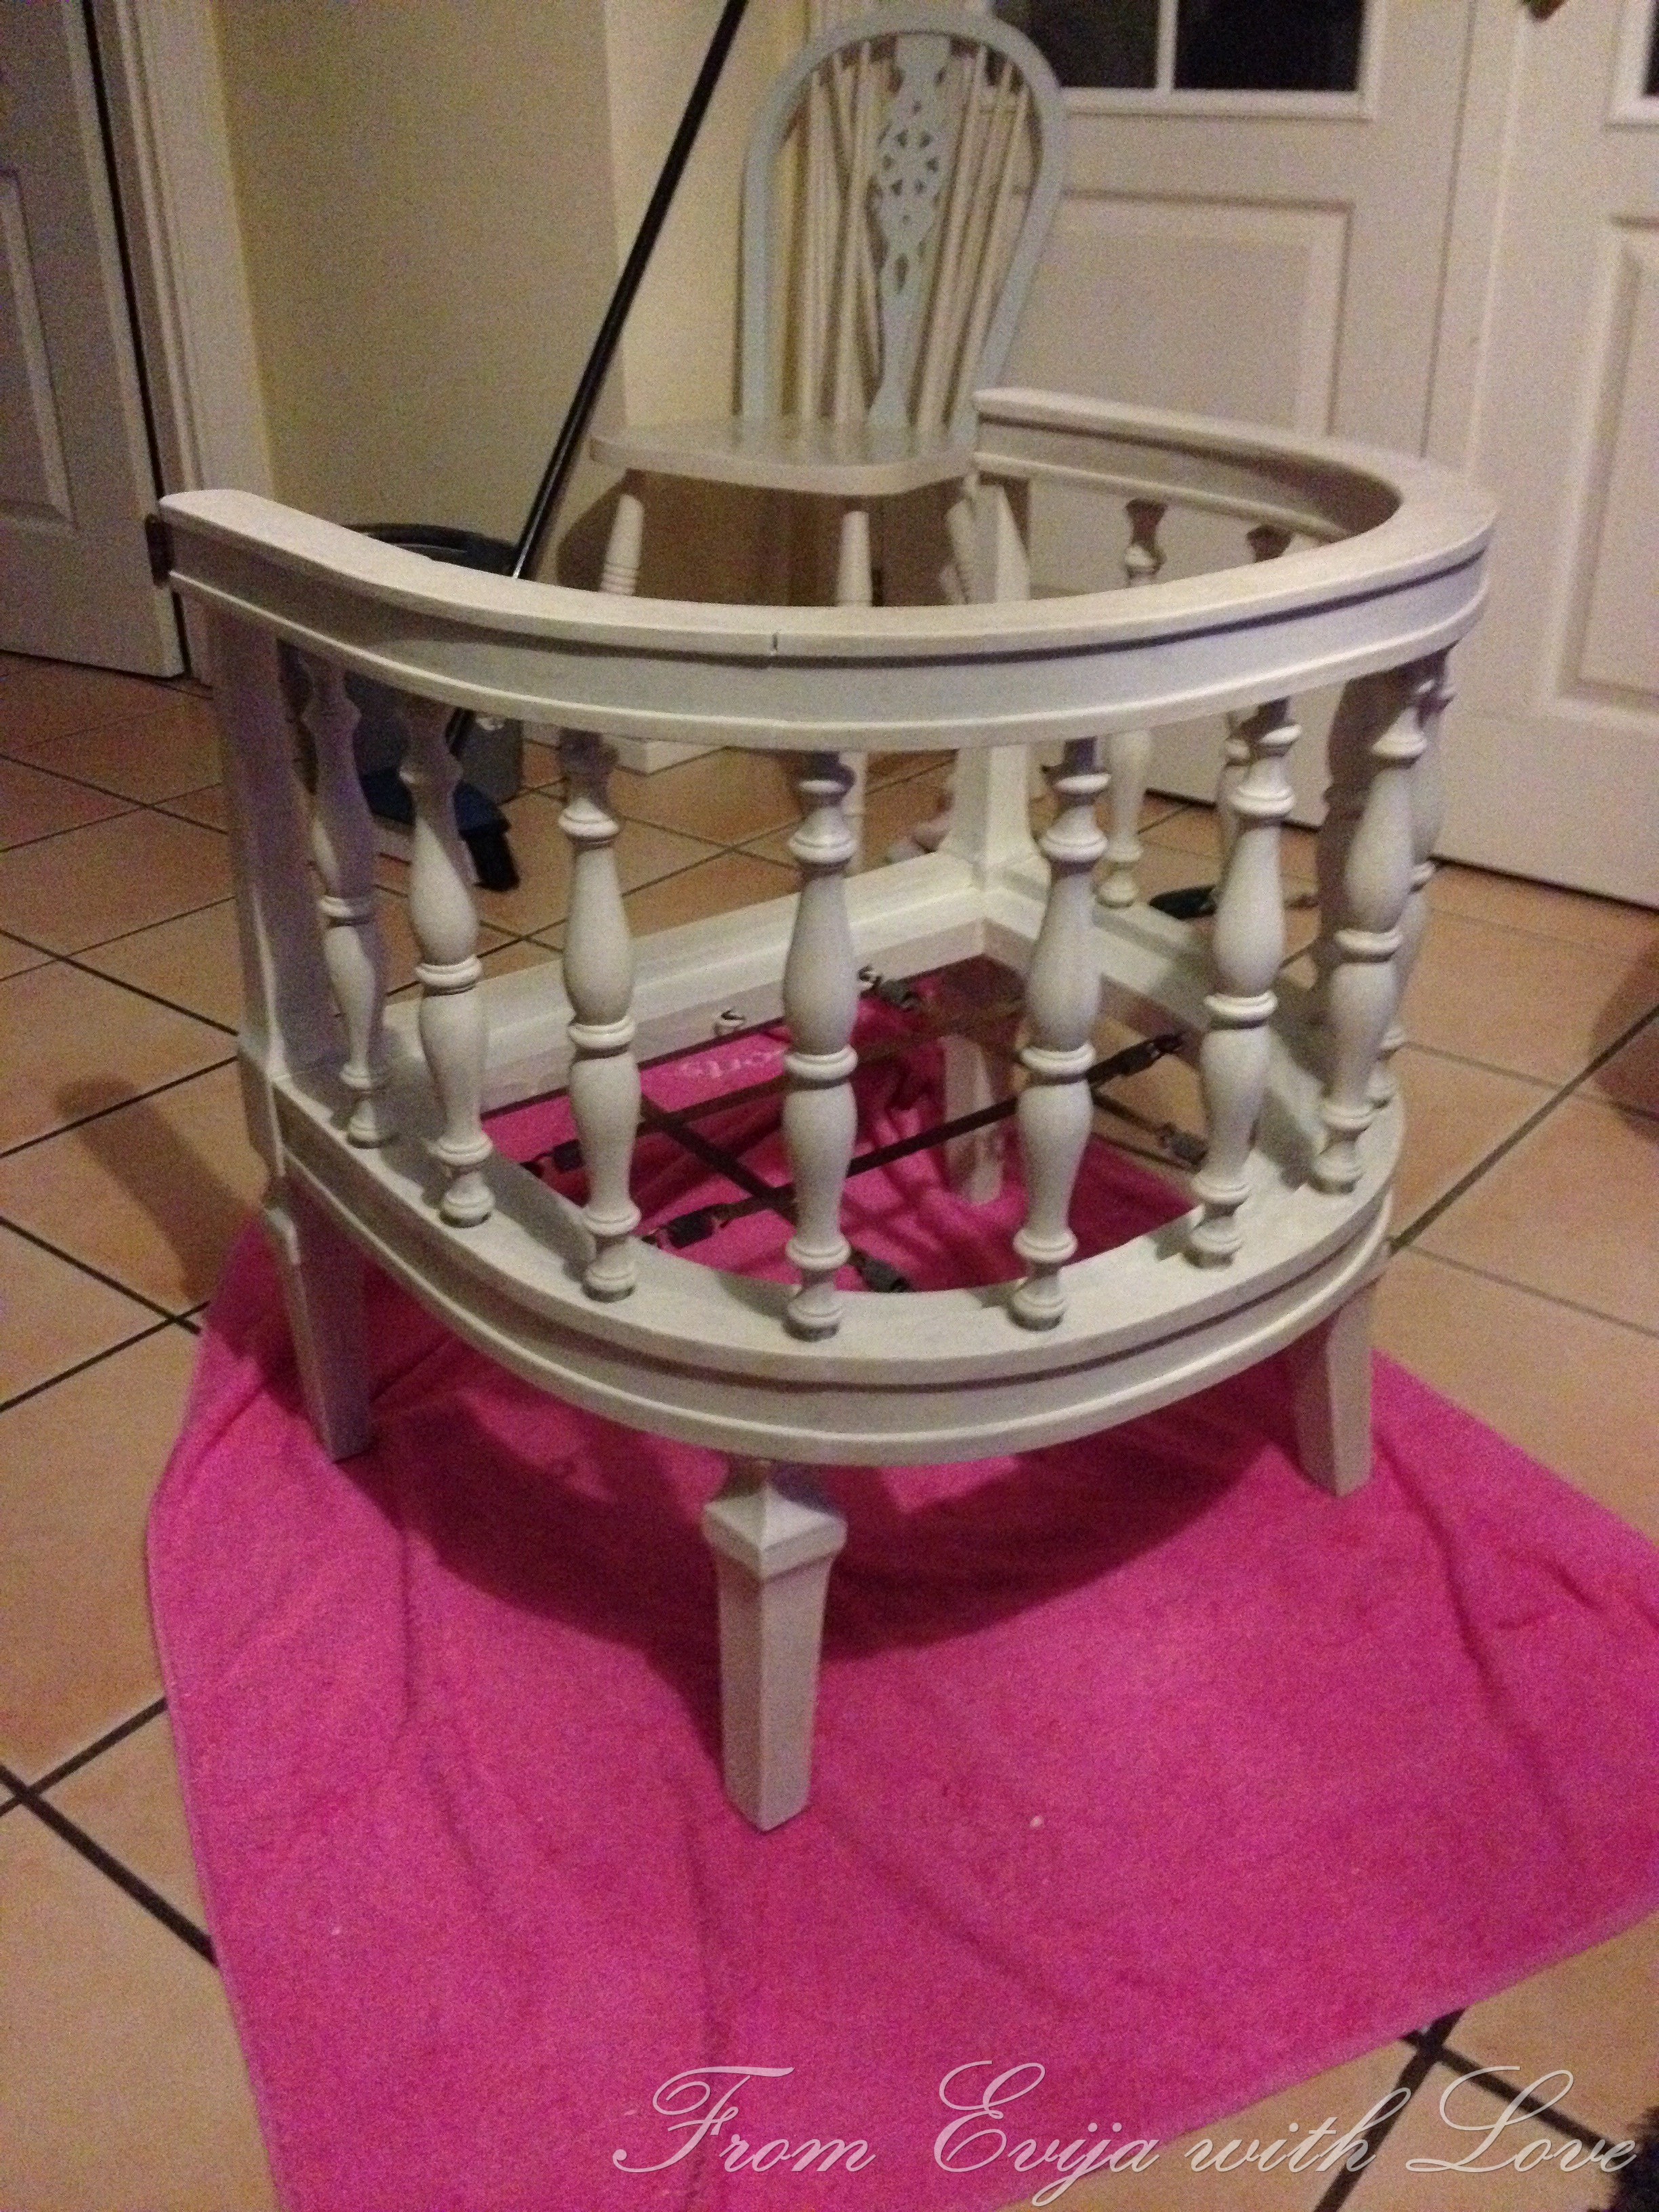
I put around 2-3 coats on and sanded in between but I realised I had a problem! There was a yellow stain on one side of the chair, which would come throught the paint!! I panciked and kept slapping the paint on – WRONG!
I went on to read about it and it turns out that sometimes especially with old wood, there may be some bleeding throught the paint, so after carefully reading about it I realised the area needed to be sealed so I used some wax over it and then to be double sure I also put some wood primer there and let it try. I then went over with the chalk paint and it did the trick! Thought for the day – always do your homework!
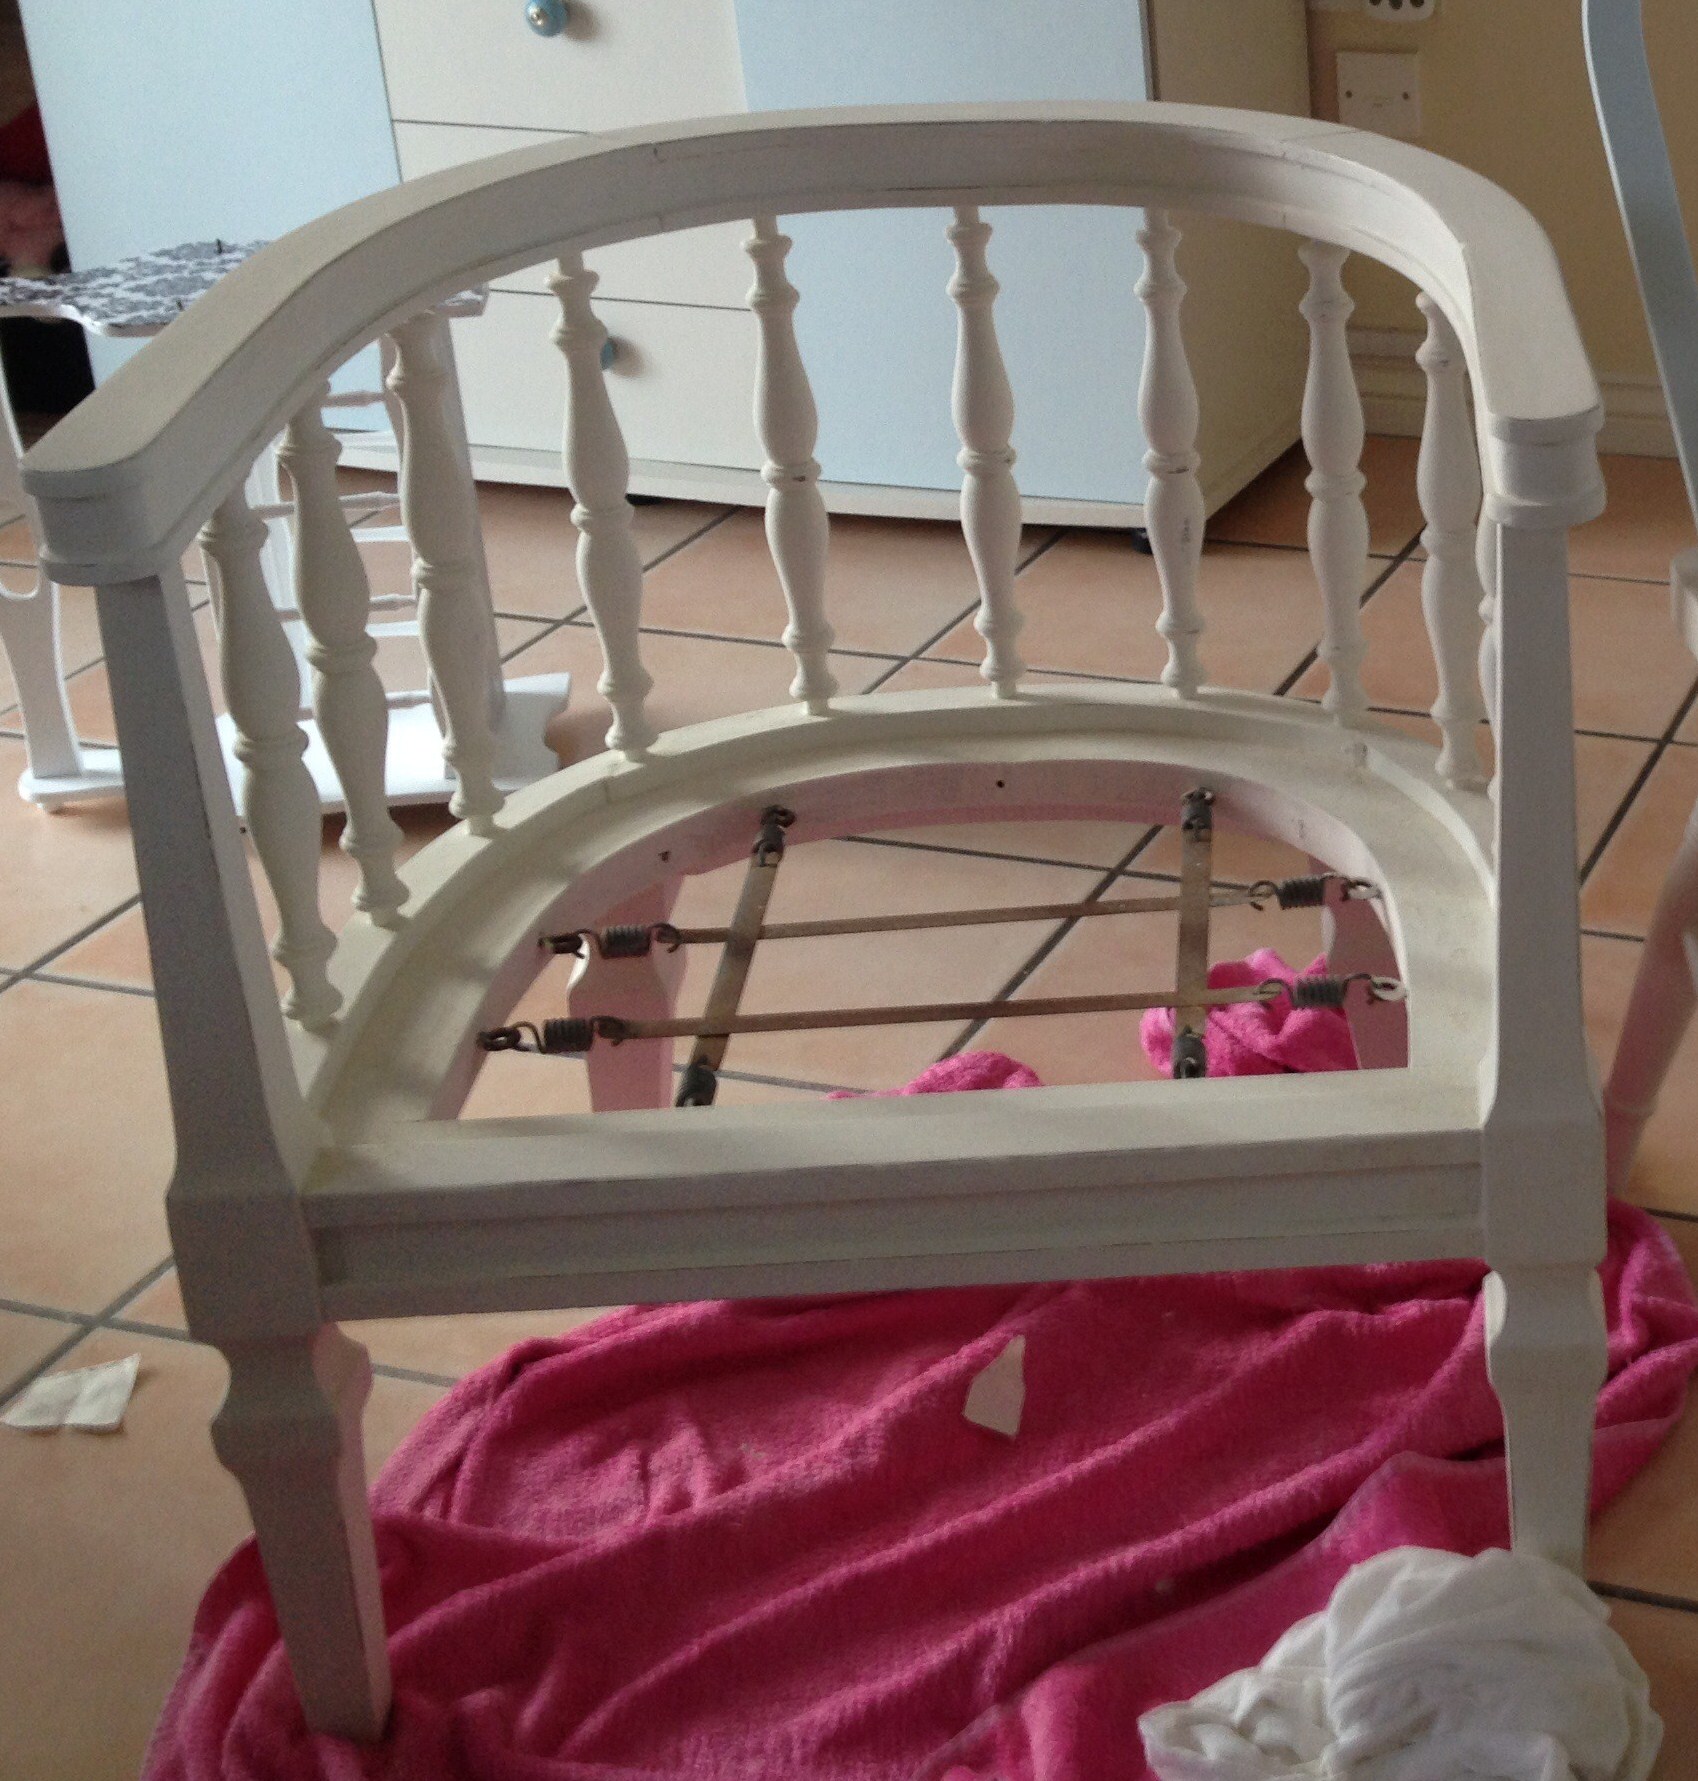
Once I was happy with the paint coverage, I applied the wax. The wax seals and protects your piece…and although it comes out of the tin soft, it will harden.

There are many tutorials and videos online on how to apply wax, which I suggest anyone does have a look at before attempting it.
I simply used my plastic spoon to smear a chunk of wax onto a paper plate. I didn’t use a brush, just an old t shirt rag and dabbed it into the wax a few times, I then massaged the wax into a small area with circular motions, you will now see the section you are working on becomes slightly darker, the clear wax doesn’t change the colour, it just enhances it. I then used a clean, soft microfiber to remove the excess off and even though it suggests you leave the wax on until next day and buff it then, I just buffed away. I then simply repeated the same steps section by section to cover the whole chair.
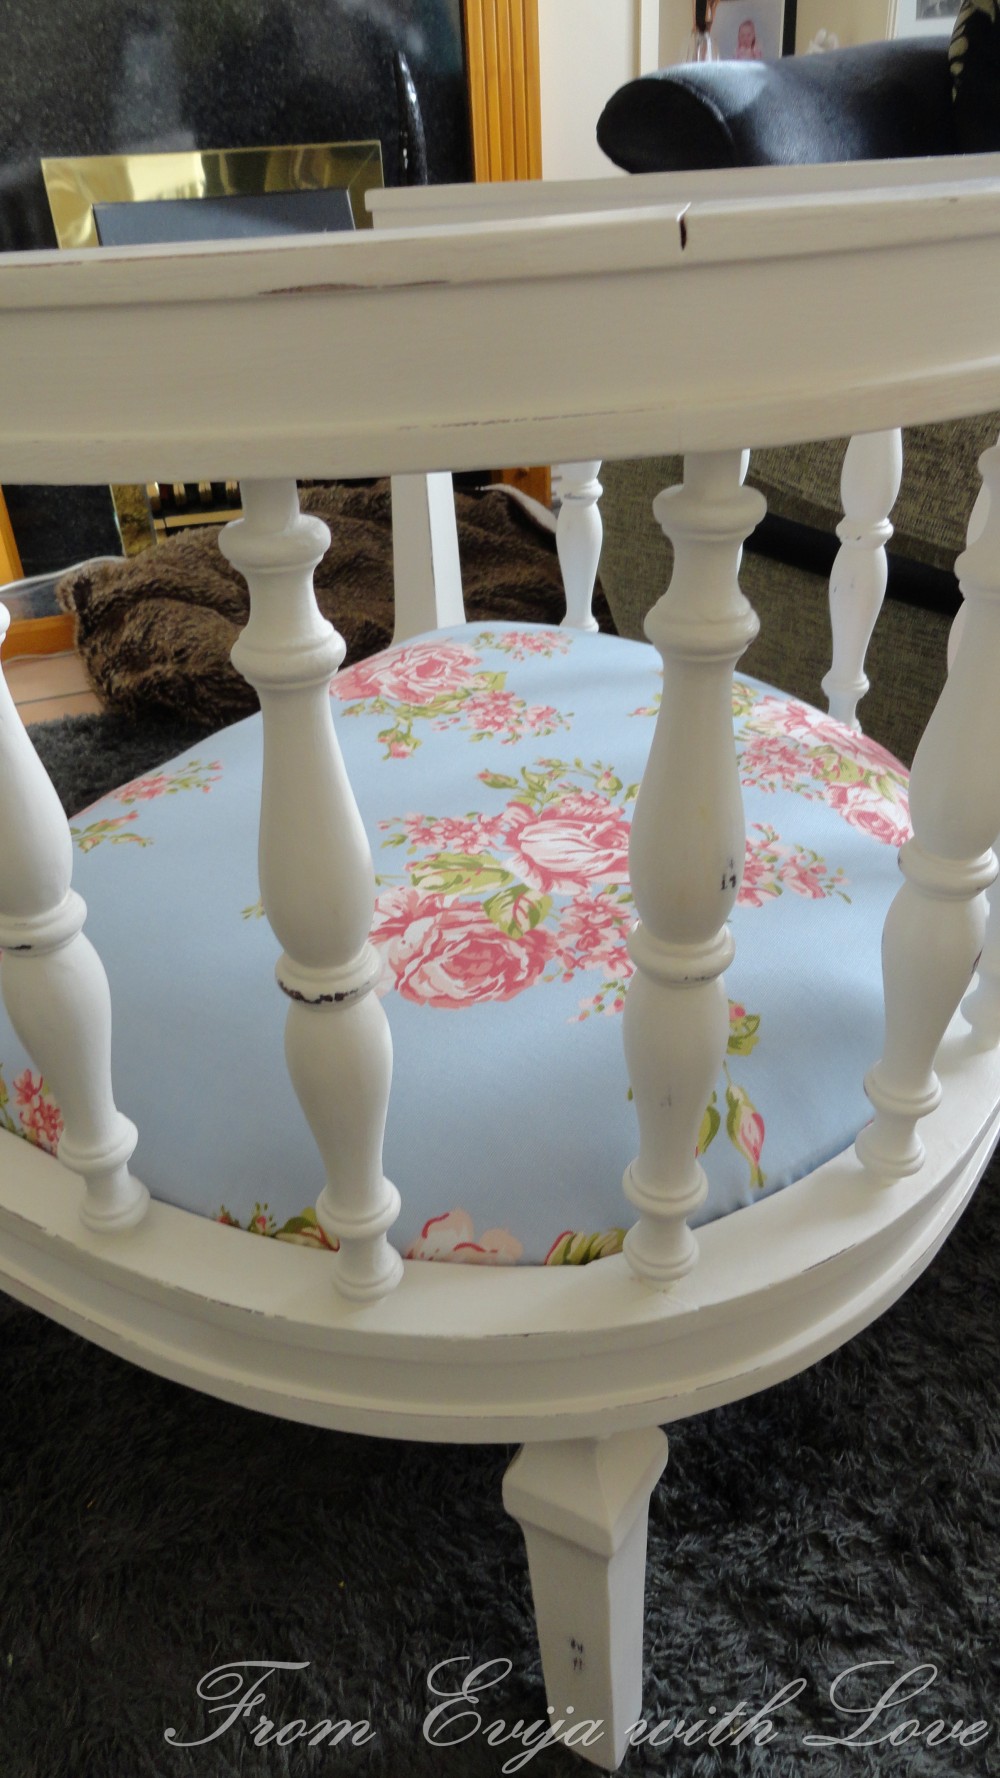
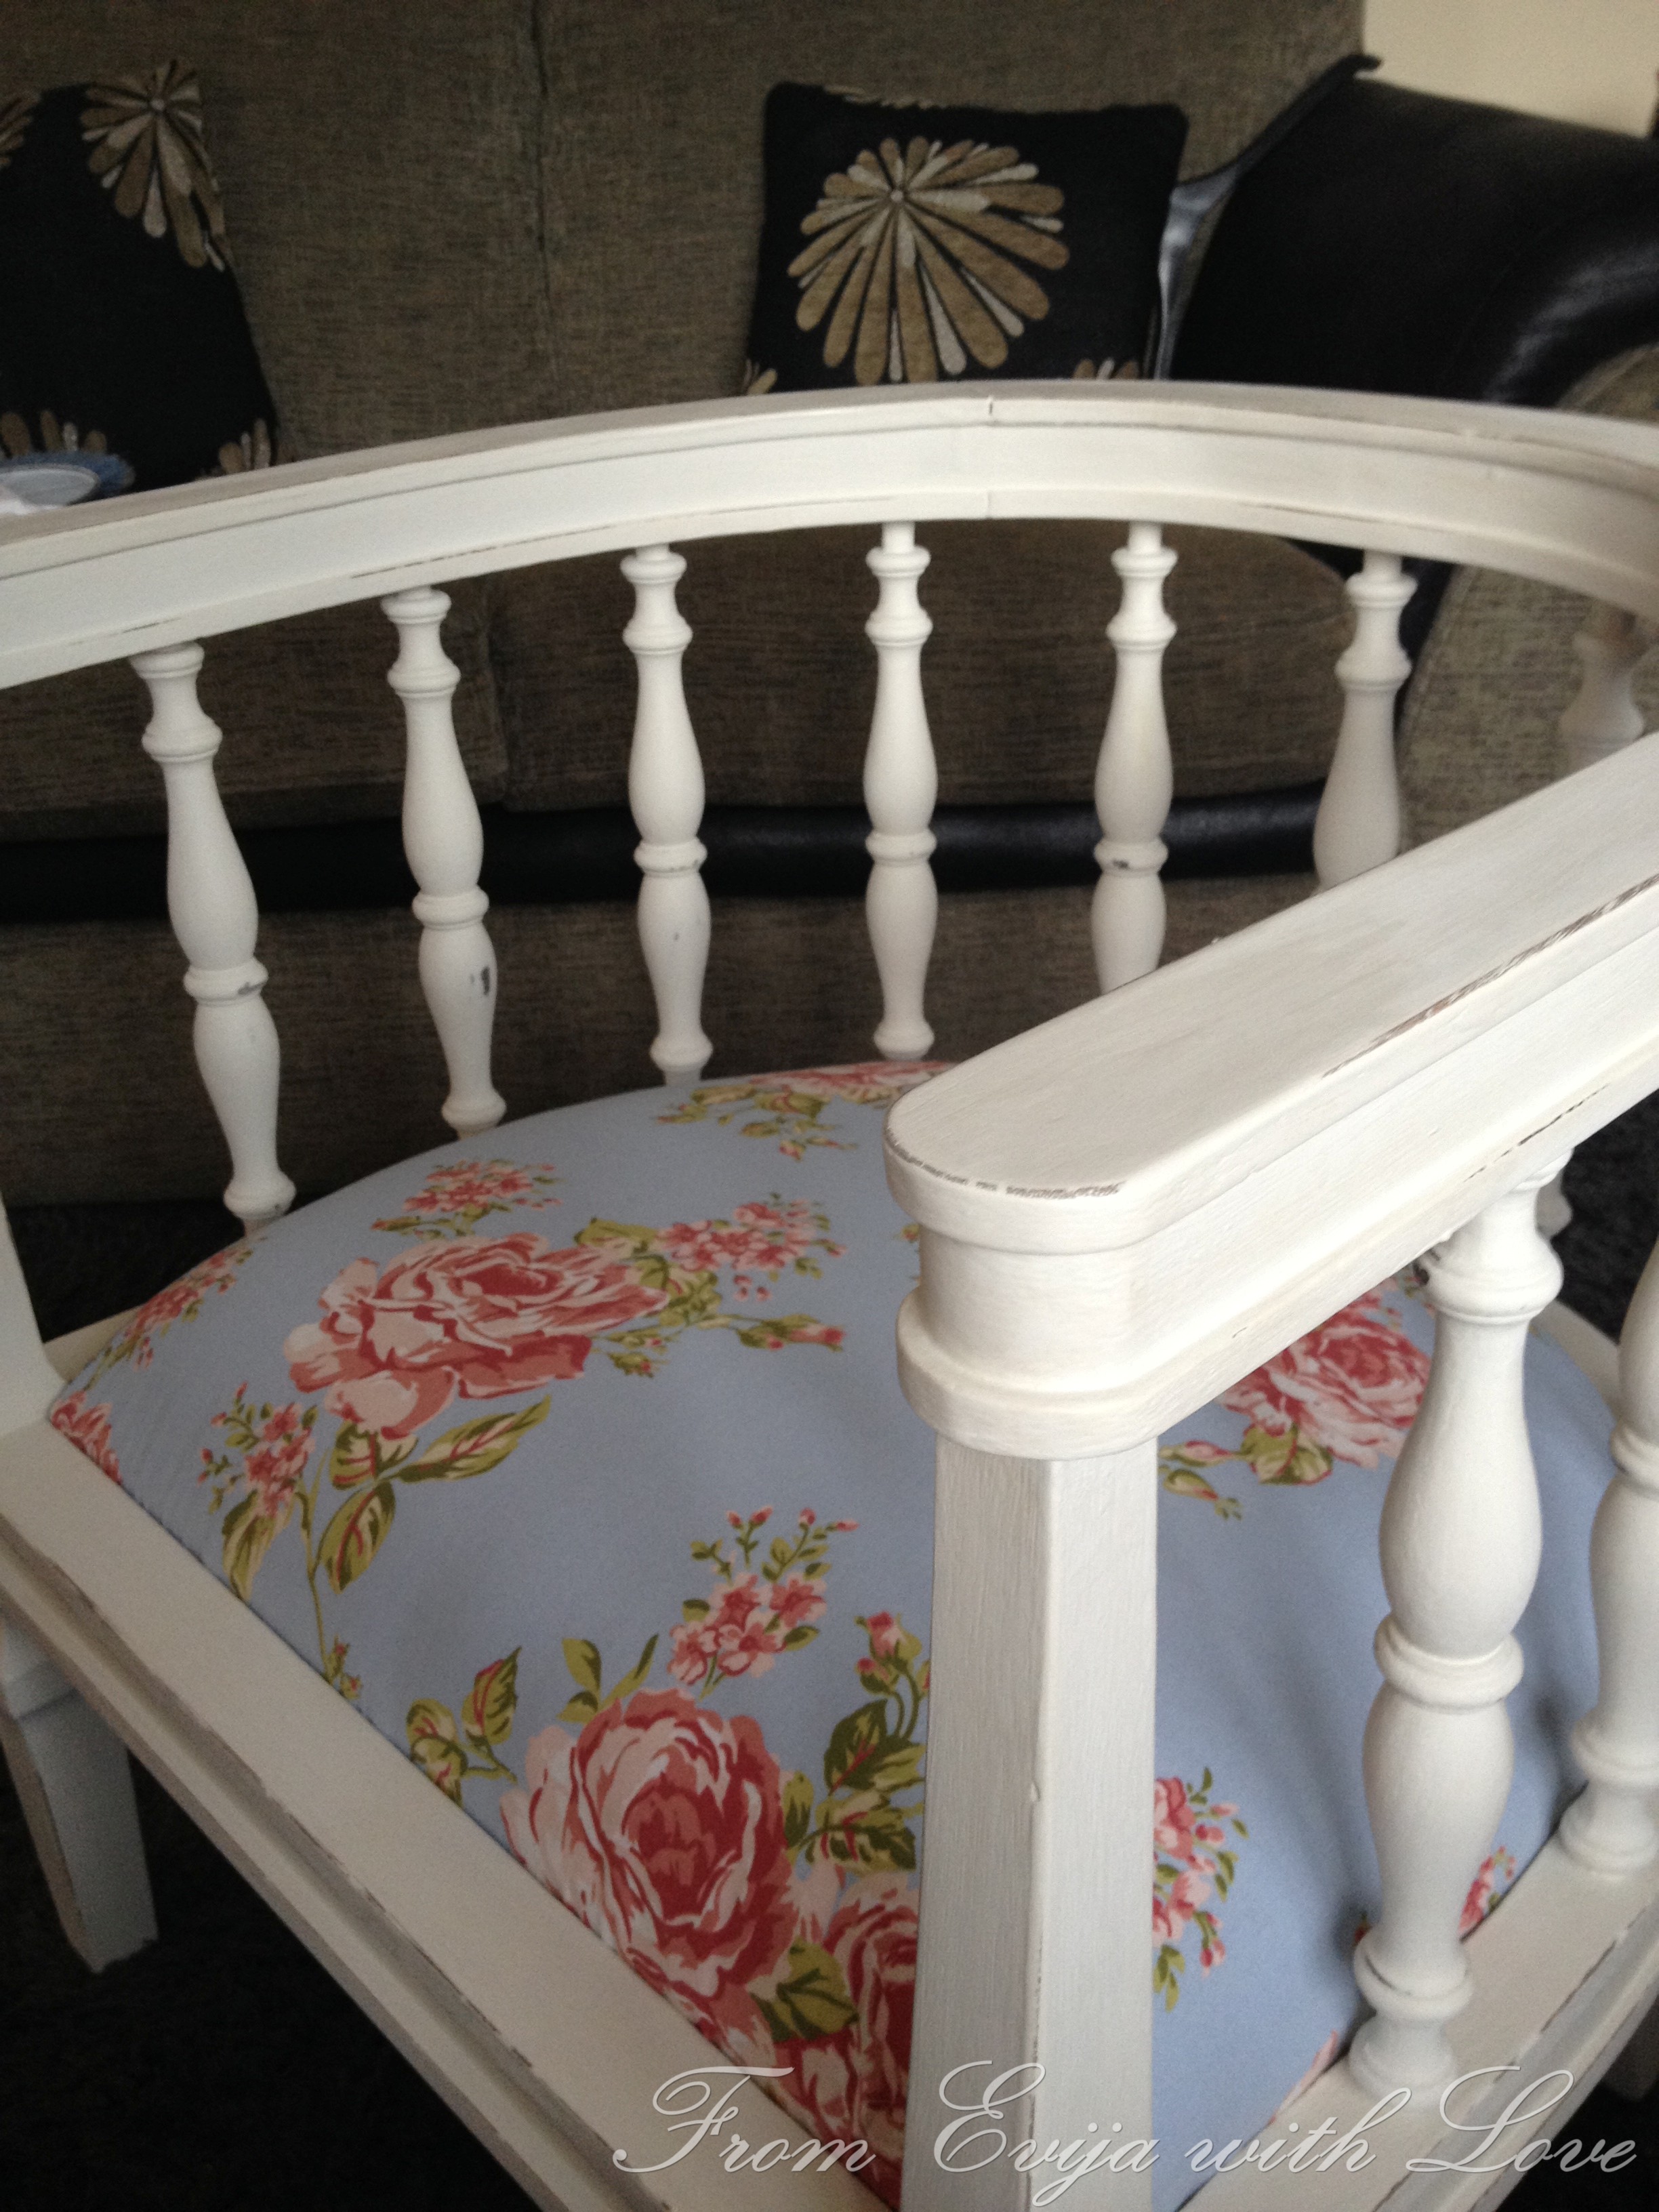
I sanded the sides a little to give the chair a little distressed look..
Then came the fun part choosing the fabric for the seat cover & making the seat. Unfortunately I didn’t record how I applied the fabric step by step with photos but it was pretty simple to do.
I decided to go with Clarke and Clarke – Flora fabric, which I absolutely love!

I removed the old fabric and padding which was stapled to the wooden panel and put a new foam pad which I cut out to the shape. I used my glue gun to attach it to the chair so it doesn’t move. Probably not the right way, but hey it did the trick!
I then cut out a shape from the fabric giving a few inches on each side, I then stapled the fabric to the chair and the seat was covered!
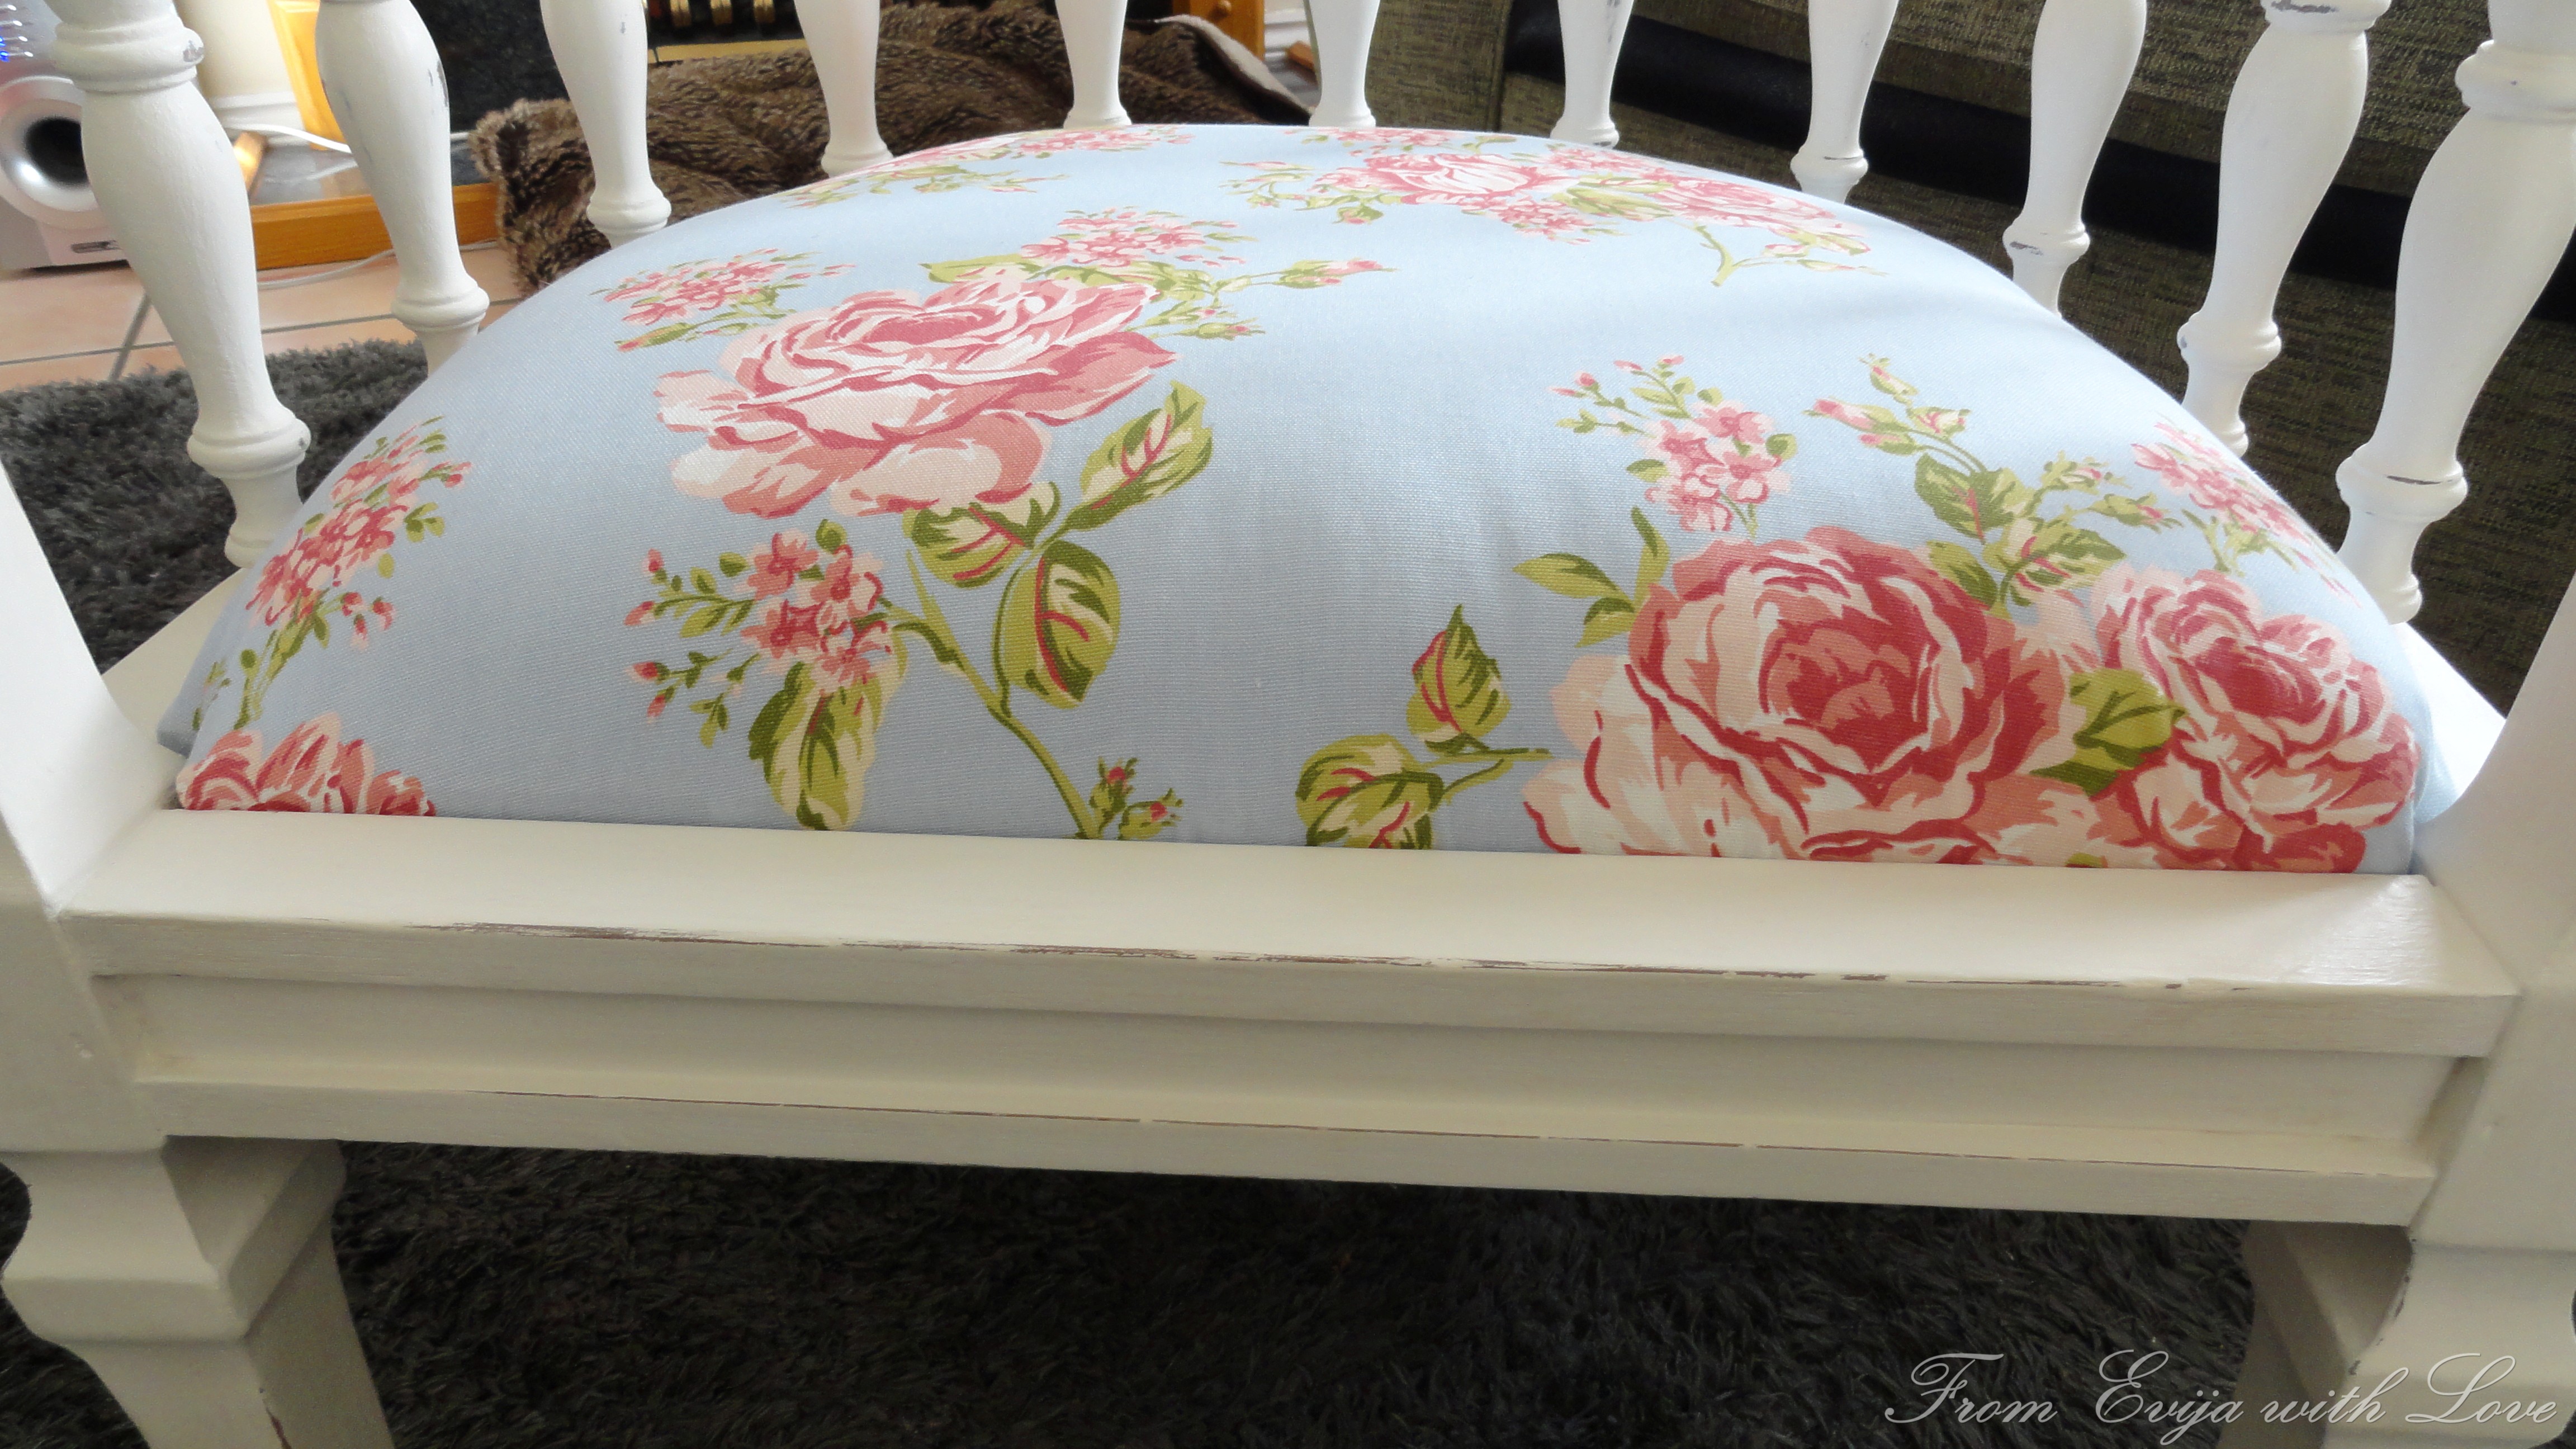
I then used wood glue to glue the seat onto the chair and it was done!

This post may contain affiliate links, which means we may receive a commission if you click a link and purchase something.
This transformation was featured on these beautiful blogs All Things Heart & Home, Restyle Relove , Anastacia Vintage Home, Snazzy Little Things and Shabby Art Boutique
