Upcycling doesn’t always have to mean complicated tools, specialist skills or a full weekend of mess. Sometimes the simplest projects bring the most joy and impact and this old lamp makeover is the perfect example. See what I did to upcycle this old lamp.
Disclaimer: This post contains some affiliate links, which means I may earn a small commission (at no extra cost to you) if you decide to buy something I’ve recommended in this post. I only share products I genuinely love and would use myself.

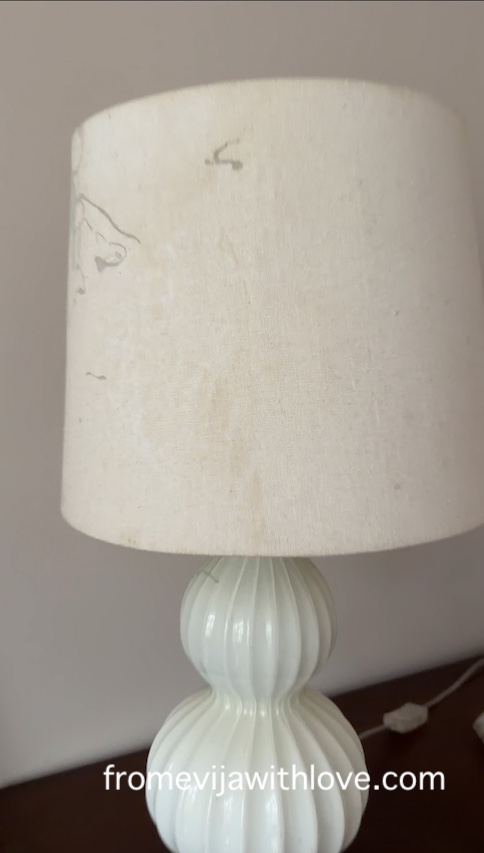
I had a lamp that worked perfectly fine but between the house move and the renovation work, it ended up looking pretty tired and a bit dirty with splatters of paint and dust. Instead of replacing it, I decided to give it a fresh lease of life using paint and tape. It turned out so much better than I first anticipated. I ended up saving money by not buying something new and saved an old lamp from the tip. It’s a win/win!!
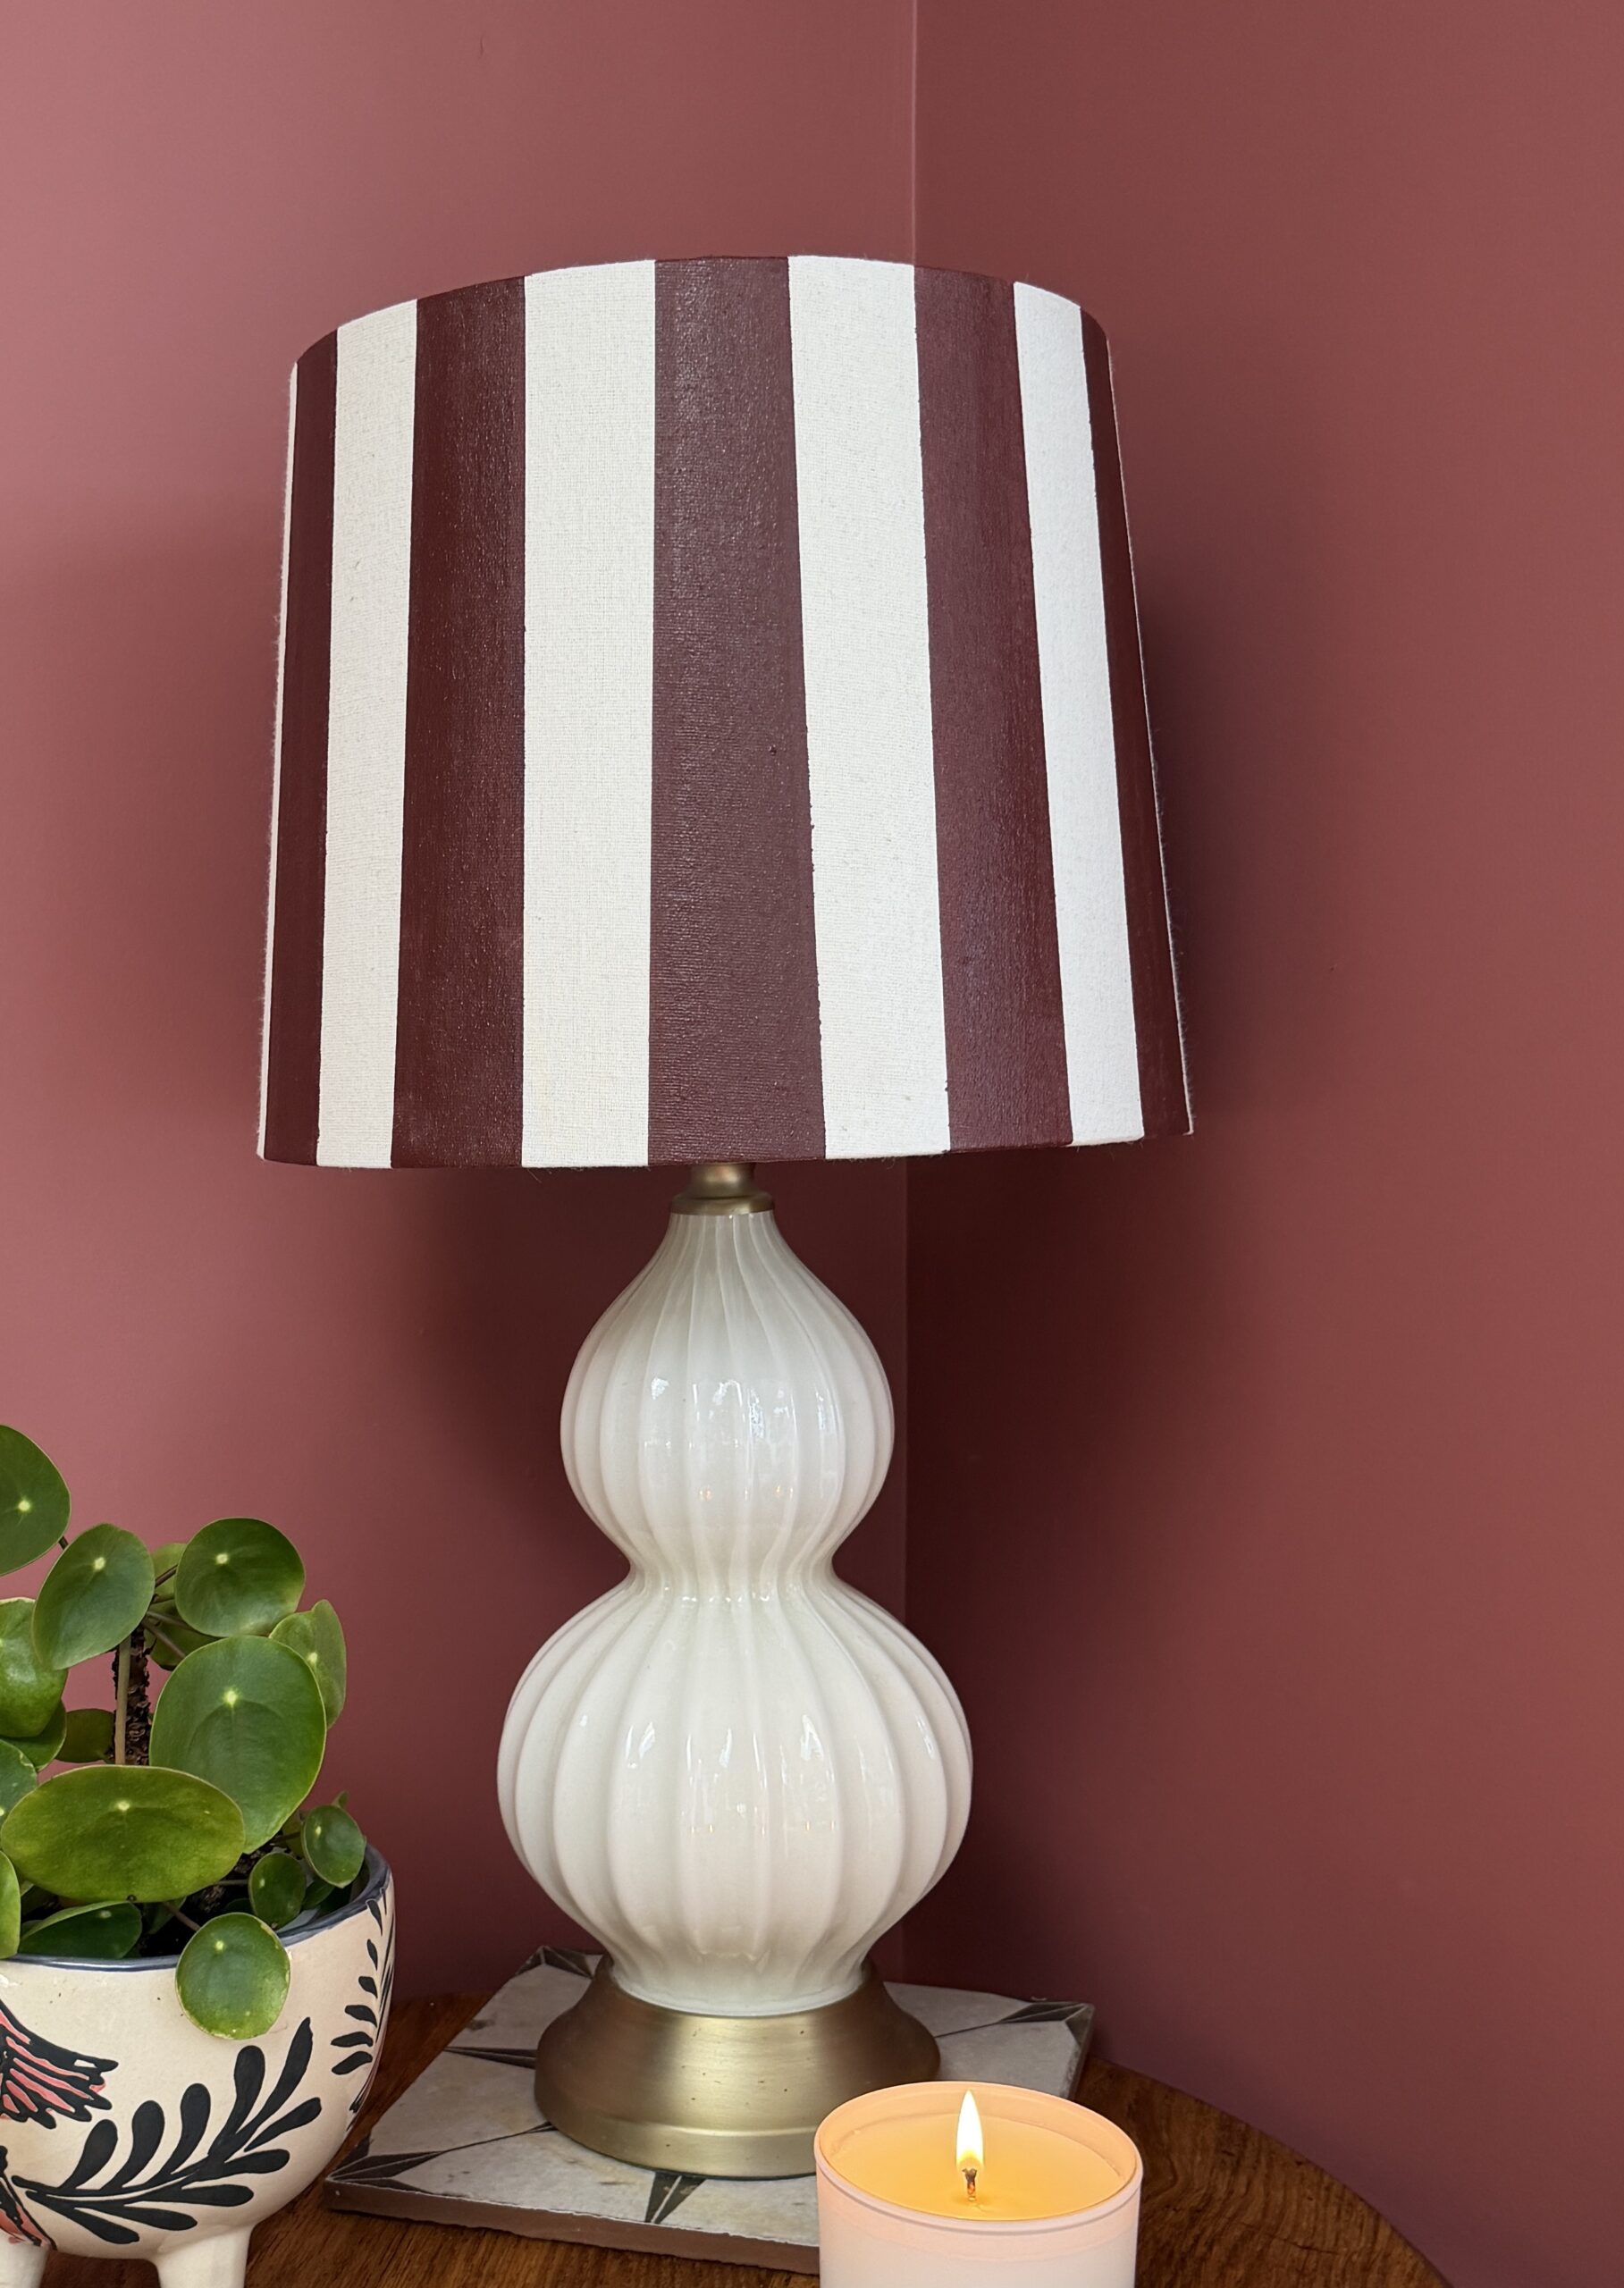
If you have got a lamp sitting in a cupboard or charity-shop find waiting for potential, this is one of the easiest upcycles you can try. Don’t forget to follow me on instagram!
What you will need
- An old lamp base
- Mild detergent or sugar soap
- Cloth or sponge
- Paint for the base colour
- A contrasting paint colour
- Water
- Paintbrush
- Masking tape (I used frog tape)
Step-by-step: an easy lamp upcycle

1. Clean the lamp
This step matters more than it sounds. Give the lamp base a really good clean to remove dust, grease or residue. Paint sticks best to a clean surface and skipping this can lead to peeling later. My lampshade was made of fabric/canvas type material.
Let it dry completely before moving on to the next step.
2. Water down your base colour
Choose your main colour and water it down so it is runny but not completely thinned. This helps the paint glide on smoothly and gives a softer, more natural finish rather than something thick or plasticky.
Apply an even coat and let it dry fully. You can add a second coat if needed. I then sanded the shade slightly as my lampshade was fabric, so I wanted to make sure I have smooth surface.

3. Tape your design
Once the base colour is dry, decide where you want your contrast. Straight lines, bands or subtle details all work beautifully on lamp bases. I wanted to have a nice stripe design with equal black and red lines.
Make sure you use good quality tape. I used Frog tape for crisp edges and clean lines.
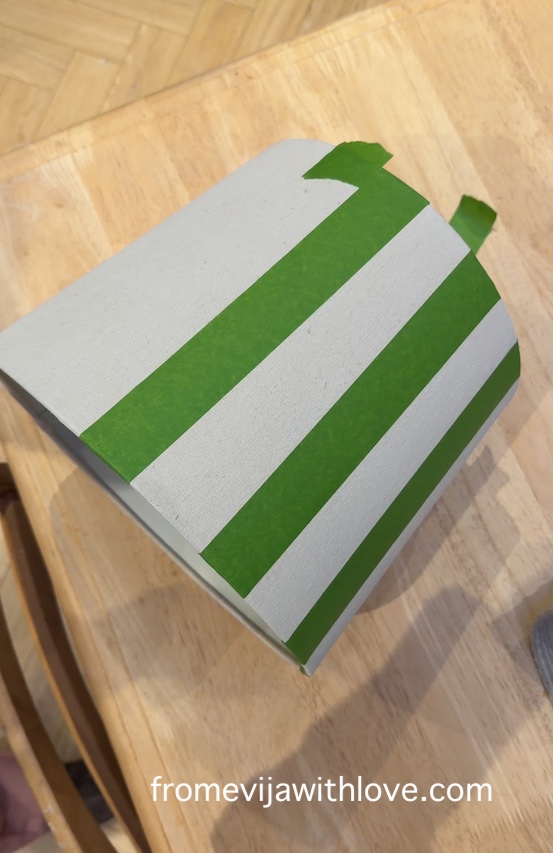
Measure the gaps you want. I wanted equal pattern so I used the tape as a guide in between. Press the tape down firmly and smooth along the edges.
4. Paint over the tape using the base colour (do not skip this step!)
This is the step people often skip, and it makes all the difference.
Paint over the taped areas using your base colour. Do not skip this step! This seals the tape and prevents the next colour from bleeding underneath. If there are going to be leaks, they will be in the same colour underneath so they won’t show.
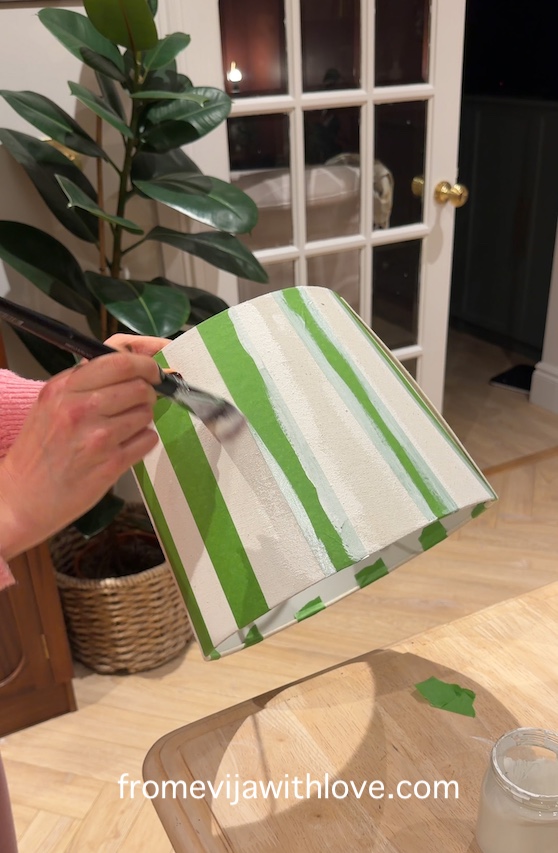

Let this layer dry.
5. Paint the contrasting colour
Once the base colour has dried, paint over the taped sections with your contrasting colour. One or two coats usually does the trick depending on the paint. I used the paint already had at home and did not water this coat, but check your paint consistency and see what works best for you.


Work gently and avoid overloading the brush near the tape edges.
6. Remove the tape
Remove the tape while the paint is still wet! This is key for sharp lines and no cracked paint.
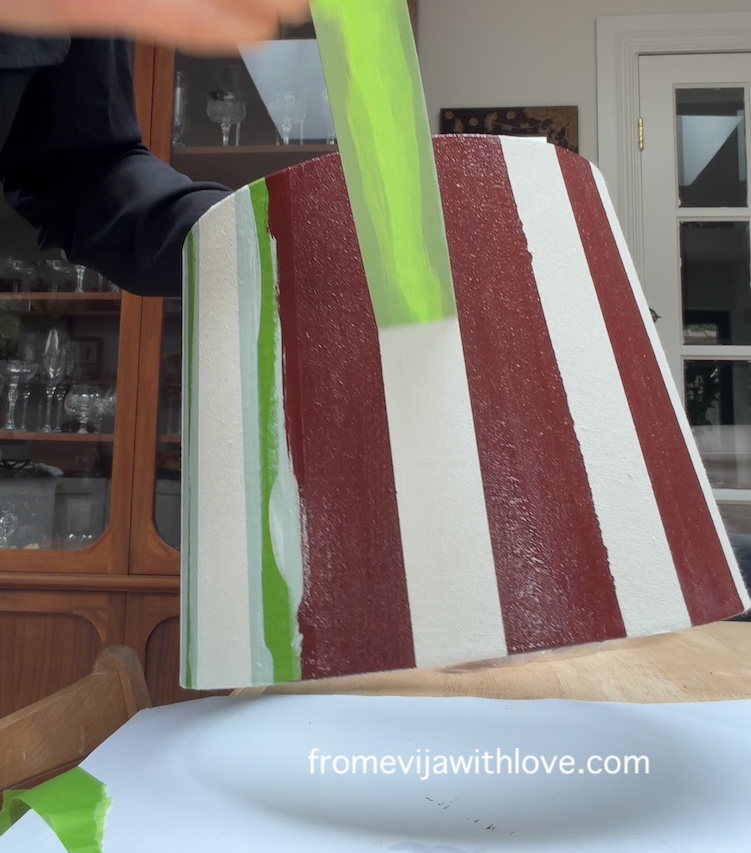
Slowly peel the tape back while the paint is still wet. It may get a little messy so pull it away from the painted edge rather than upwards to keep everything neat.

7. Enjoy your “new” lamp
Once fully dry, style it back in place and enjoy what you have created. It is truly that simple!

There is something deeply satisfying about taking an everyday object and making it feel special again.


Why I love simple upcycles like this
Projects like this remind me that DIY doesn’t need to be complicated or overwhelming. It can be quick, creative and done at your home without any special skills. Upcycling is not about perfection – it is about seeing potential and giving things another chapter instead of throwing things away. Would you try this??
If you are new to DIY or feeling short on time, this is the kind of project that builds confidence without pressure AND saves money too, what’s not to love??
If you try this lamp upcycle, I would love to see it. Tag me on Instagram or Pinterest so I can share your version!