


When we moved in our house last year we were so excited to learn that we have not one but two working fireplaces. We knew that they both will require some work before we could actually enjoy them. What we didn’t realise at the time was just as much work they will need (same old story as with EVERYTHING in this house!) Here is how we renovated our sitting room and turned the old fireplace into something beautiful (and safe!)

Safety first!
Before we even thought about lighting the fire, we knew we had to check if they were safe!! Fireplace design was not a priority when we first moved in, but safety definitely was! We arranged for a chimney sweep to see if the fireplaces were safe to use in their current state.
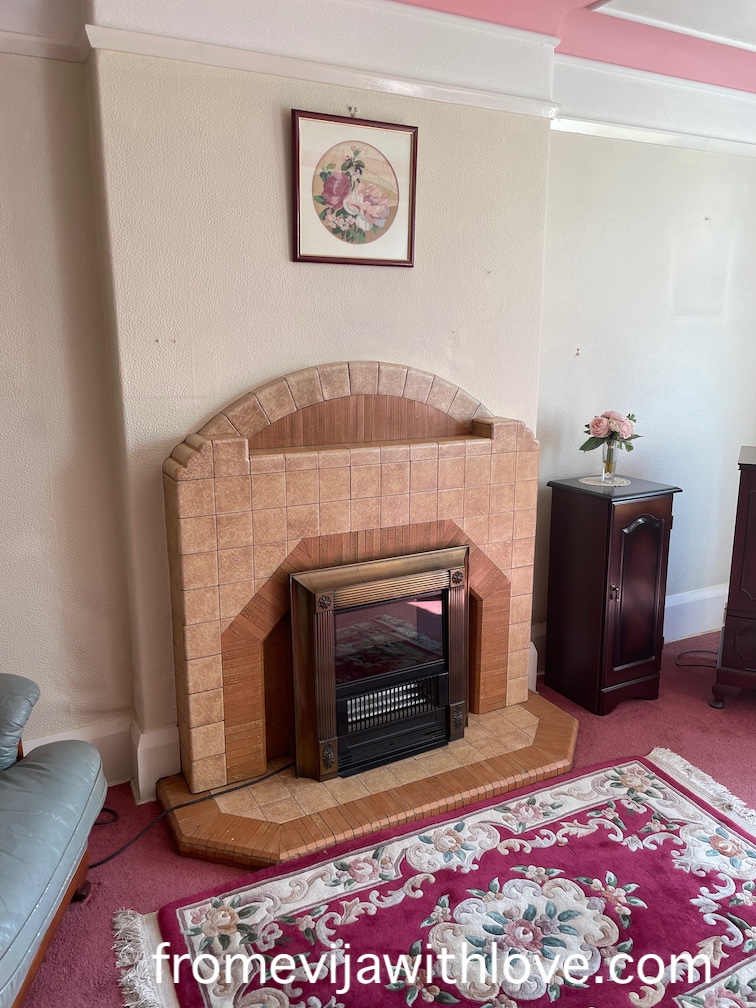

They were both stuffed with newspapers from the 90’s which was a good indicator, that these had not been used for nearly 30 years. The electric fireplaces were shoved in front and used instead of the open fires. Our chimney sweep was really surprised to learn that although they may have not been used for 30 years, they were in a very good shape, there were no birds nests inside or any issues as far as the chimneys and the chimney breasts were concerned. This was music to our ears. Once we started removing the fireplaces it was a different story!!
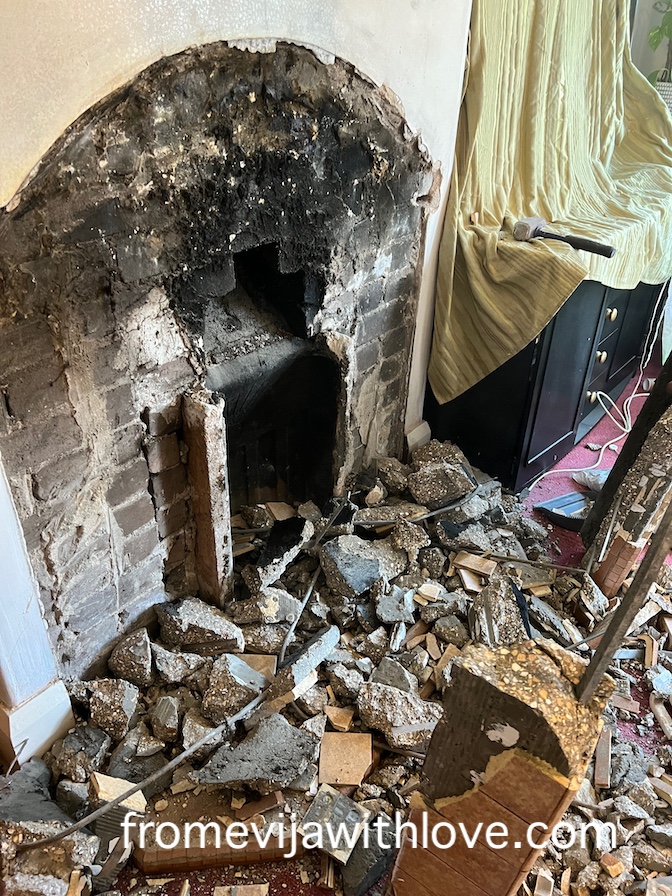
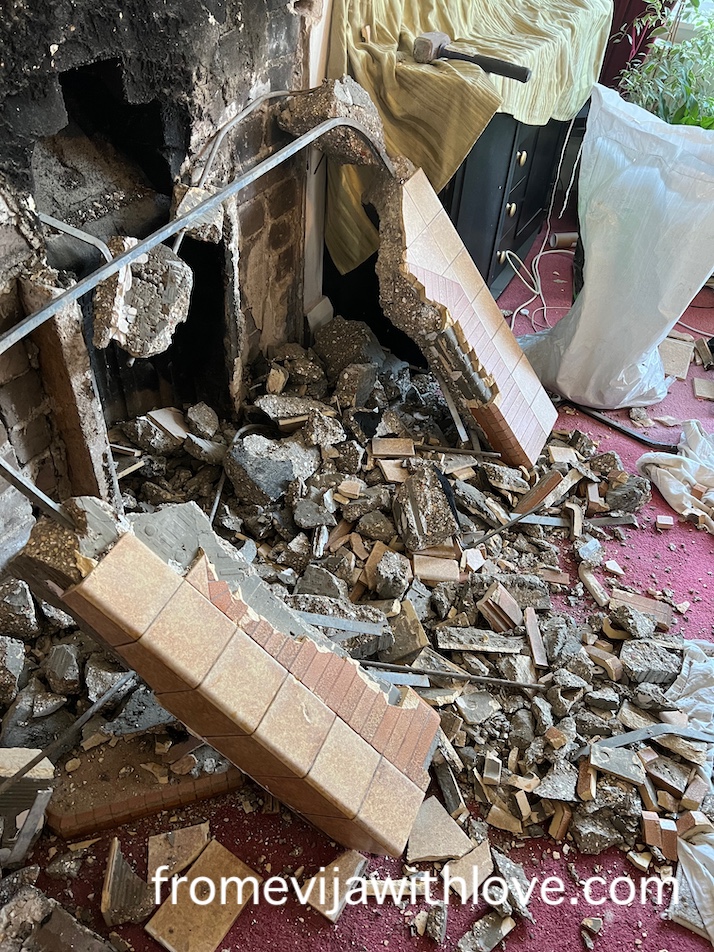
Old fireplaces
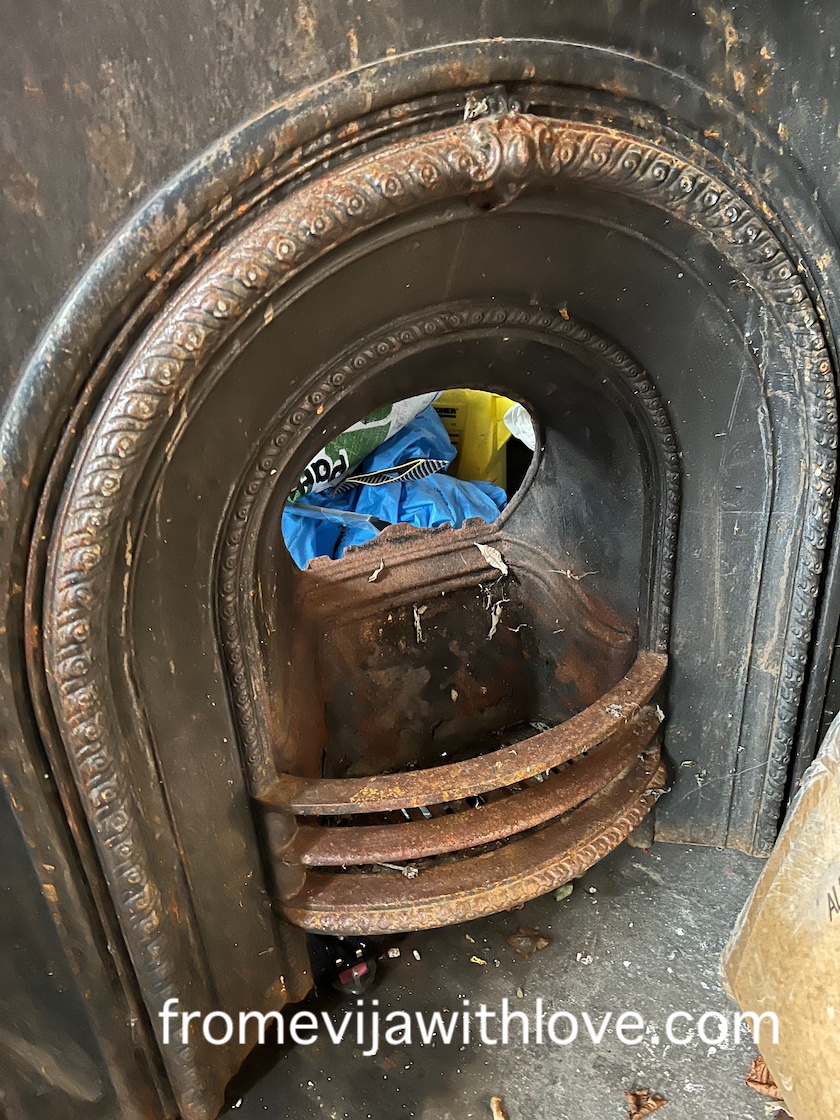
Both fireplaces were very dated and bulky. Although they both had an ‘interesting’ design, we knew we would change them eventually. We soon discovered that the fireplaces were not the original fireplaces that the house would have had when it was built in 1930s. I have kept some of the tiles for my memory box but as we were removing them it became apparent how unsafe they were as they came down very easily!
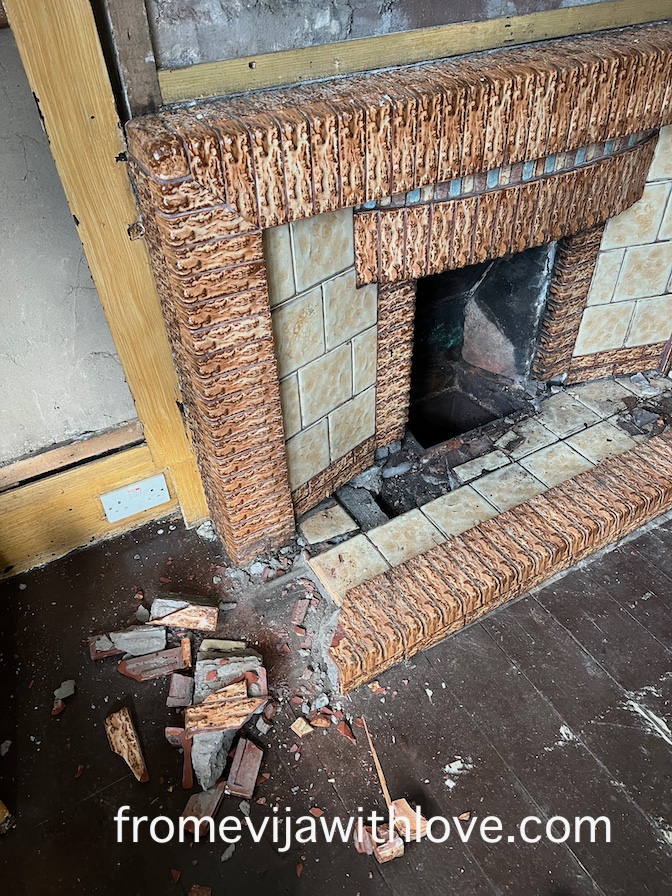

You can visit my highlight on Instagram to see more
I am big fan of open fire, where Shaun wanted to have a log burner. As installing a log burner can be quite costly, we compromised by keeping one as open fire and have log burner installed for the other one. Having the log burner in the open space made perfect sense as the old dining room was going to have an opening into the extension and this would mean that wood burner could heat up the whole space. I started looking around for designs and getting a few quotes in to get both fireplaces done.
Open Fire – Living Room
I found an old marble surround and cast iron insert on FBMP someone was ripping out of their home and got it for £50. We knew we would have to get a professional in as we wanted the fireplaces to be in working order and more importantly safe. We had them installed by a professional HETAs registered installer, but to save the costs we did most of the demolition and finishing touches.
Please make sure that any such work is done by a professional if you want to use them as fireplaces, as installing it yourself might deem your home insurance void and most importantly could be very very dangerous if not done correctly.
I cleaned up the marble using (affiliate) Bar Keeper’s Friend and this amazing iron paste to restore the cast iron insert. It looked as new.

Log Burner – (new) Sitting Room
As with the other fireplace, we did the demolition and removed all the old tiles and bulky exterior. Unfortunately, this fireplace was in a worse state than the other one. This fireplace used to host a water cylinder behind which was used for heating and hot water for the house. Once the fireplace installers started to work, they had to remove the old pipes and the water cylinder, which meant some of the stone work suffered.
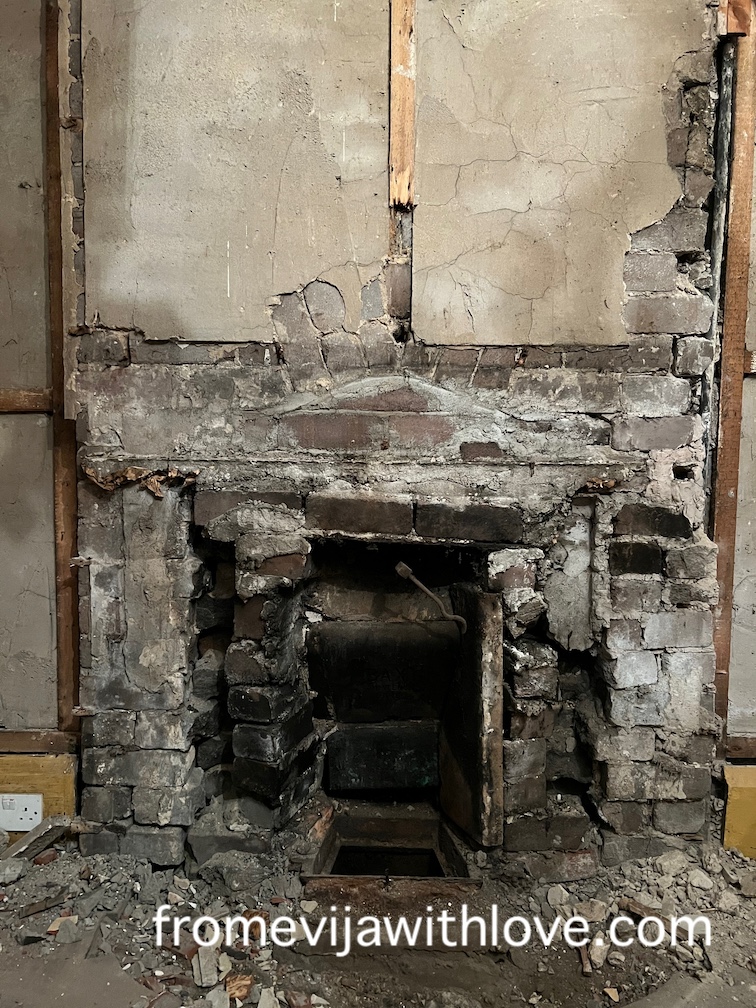
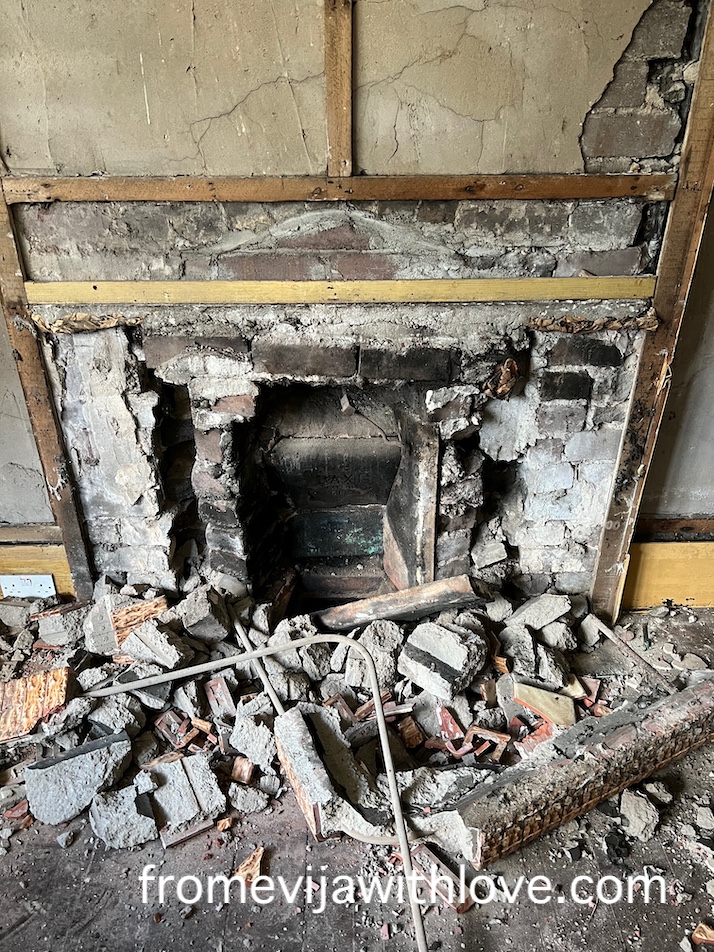
The brickwork was a little wobbly and they had to put a lintel in as well to ensure it was secure and safe. It was in a pretty sad state.


We knew we could do the rendering of the chimney breast and tiling (inside) ourselves to save the costs, so once the installers had finished the lining etc. it was time for us to do the work.
We had a think about how to best proceed with the chimney breast as it was quite bad and not straight, so after a quick chat with our plasterer we decided to build a stud around the chimney breast to make sure it was level and straight.


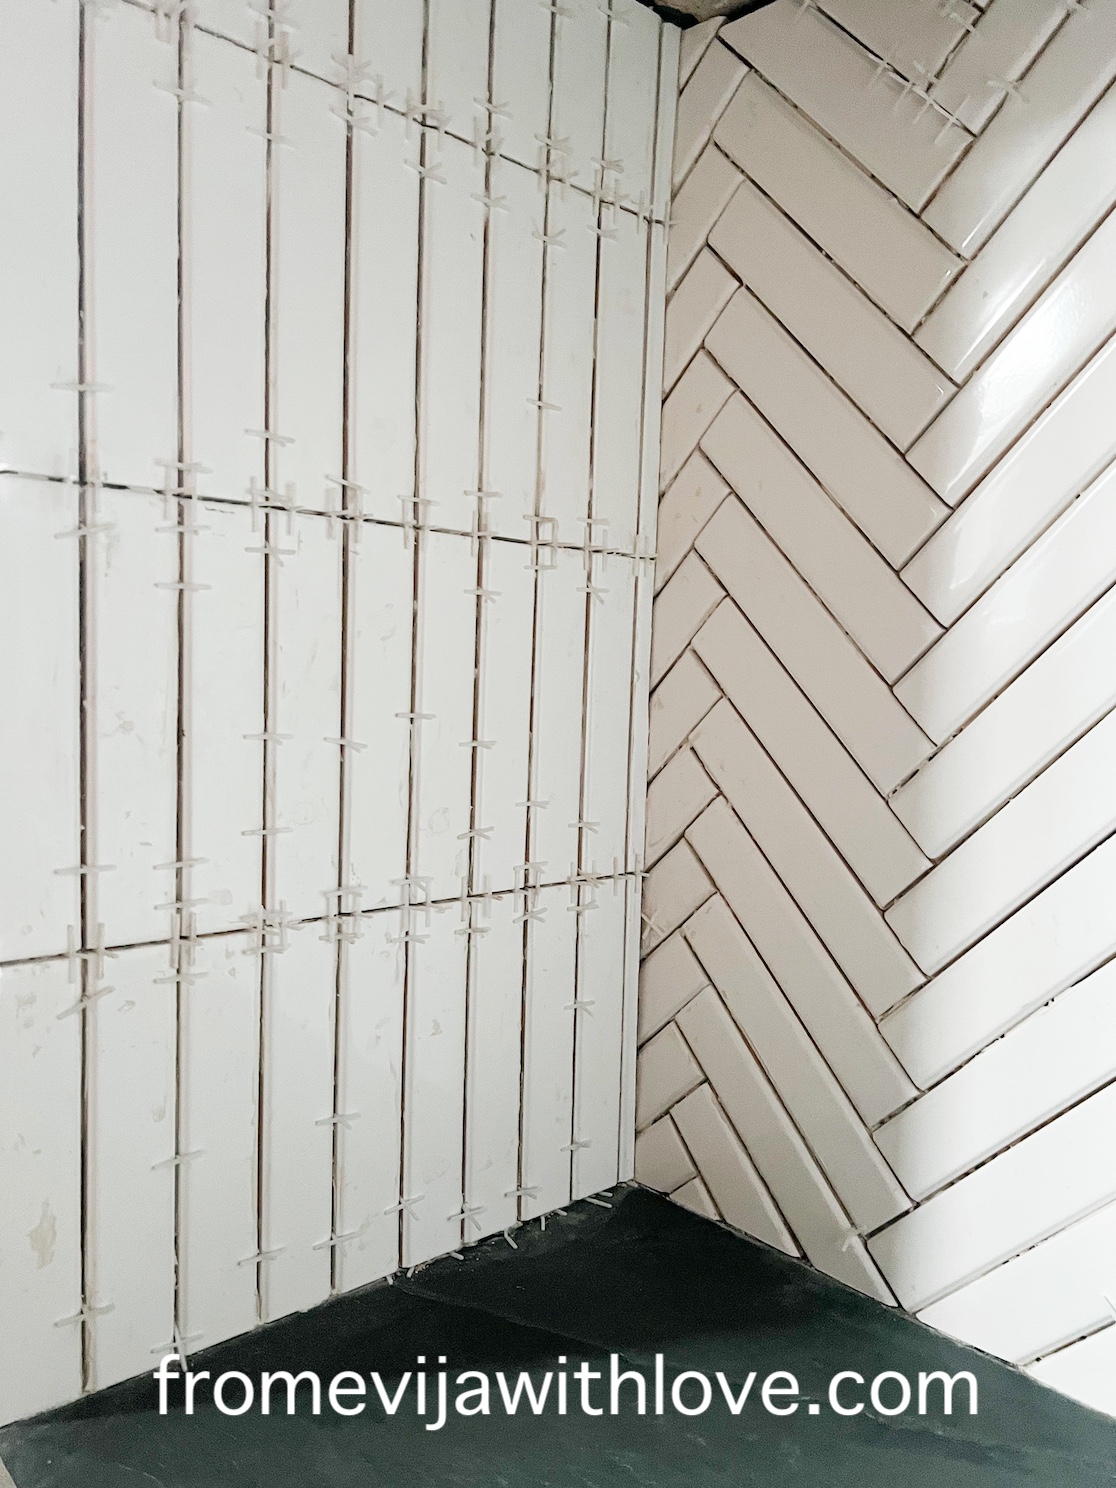
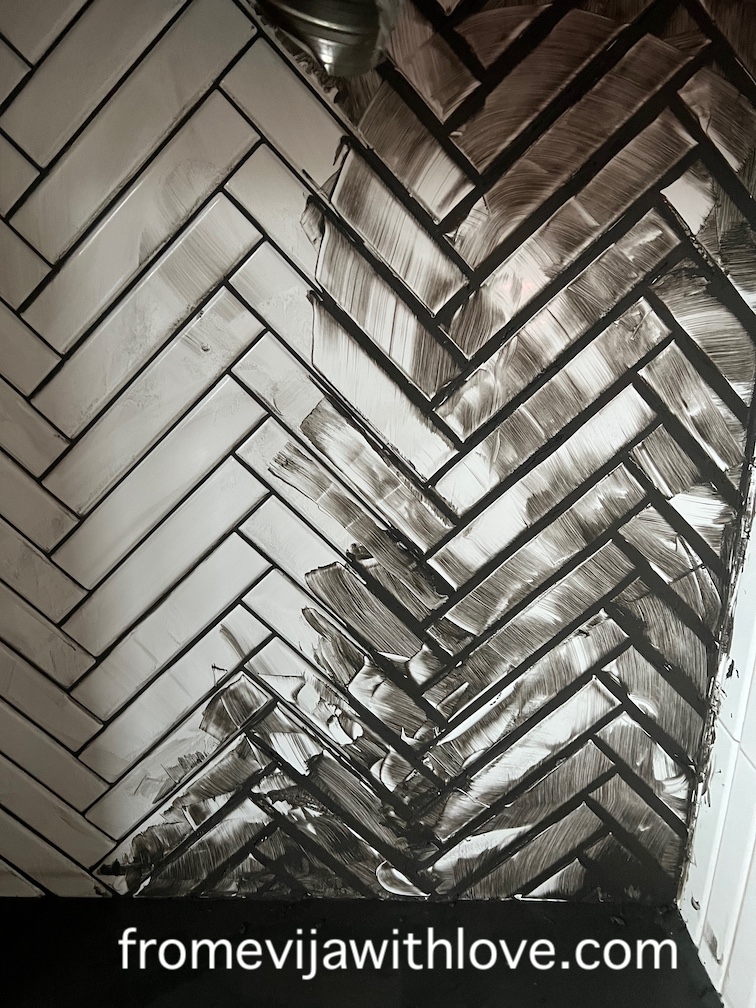
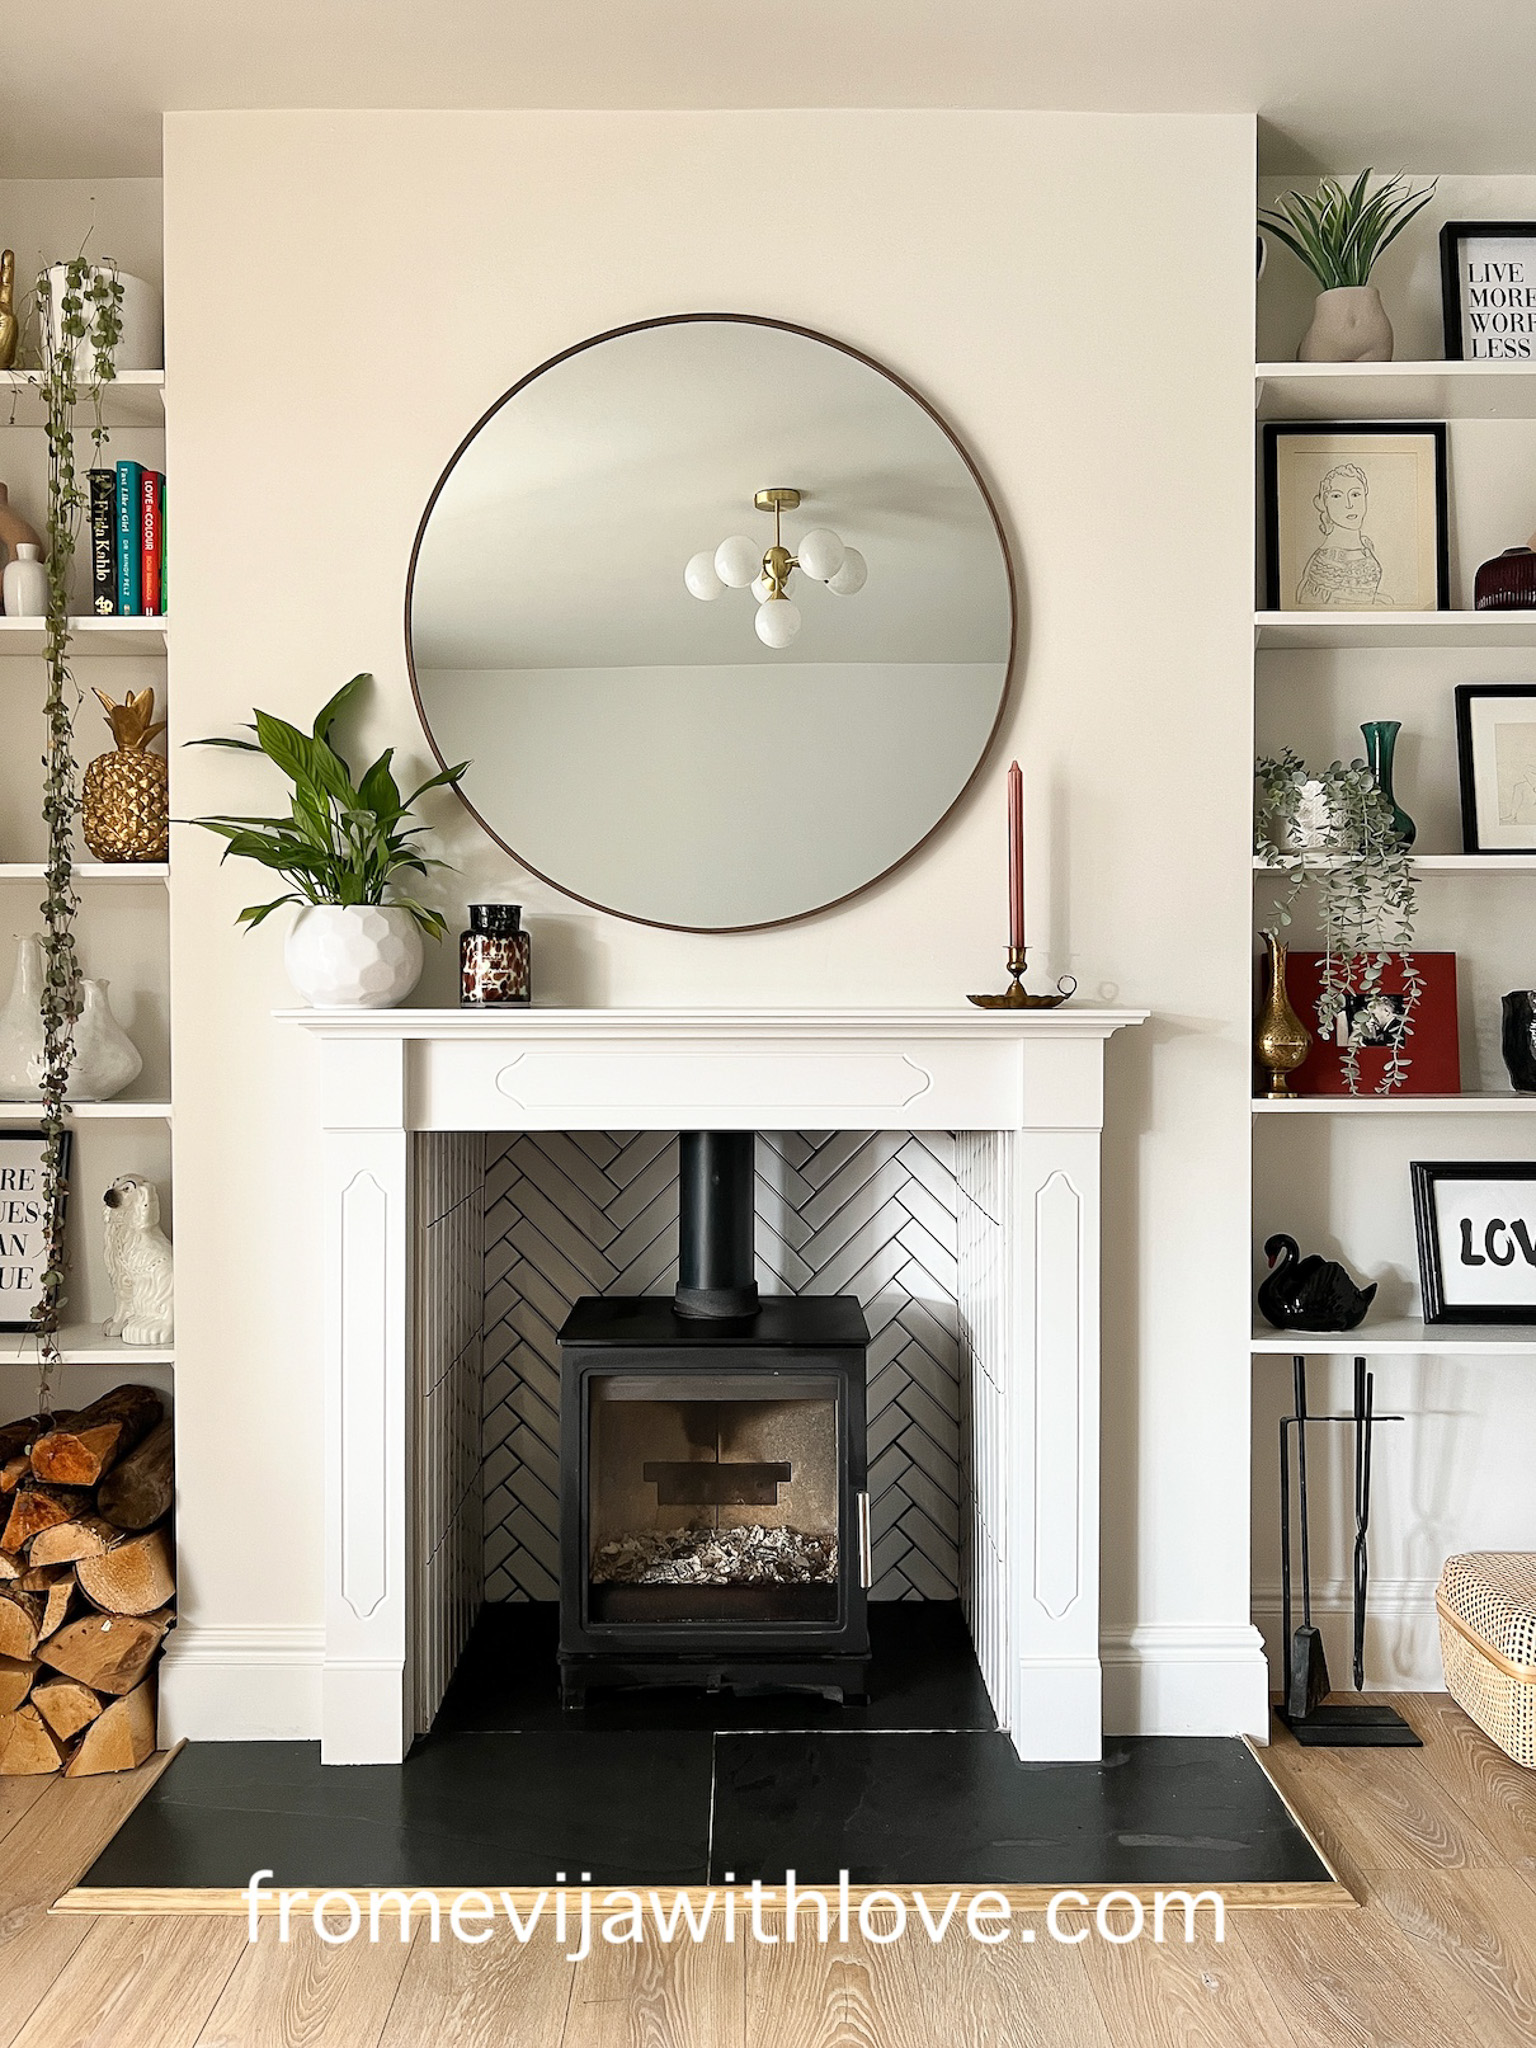
The inside was rendered and ready for me to tile! I changed my mind several times and in the end settled on classic Ca Pietra white herringbone tiles with dark grey grout.
In the midst of this we also realised that we had a leak from the chimney and it was slowly seeping downstairs, this too had to be addressed and we ended up fixing the chimney to make sure there were no leaks.
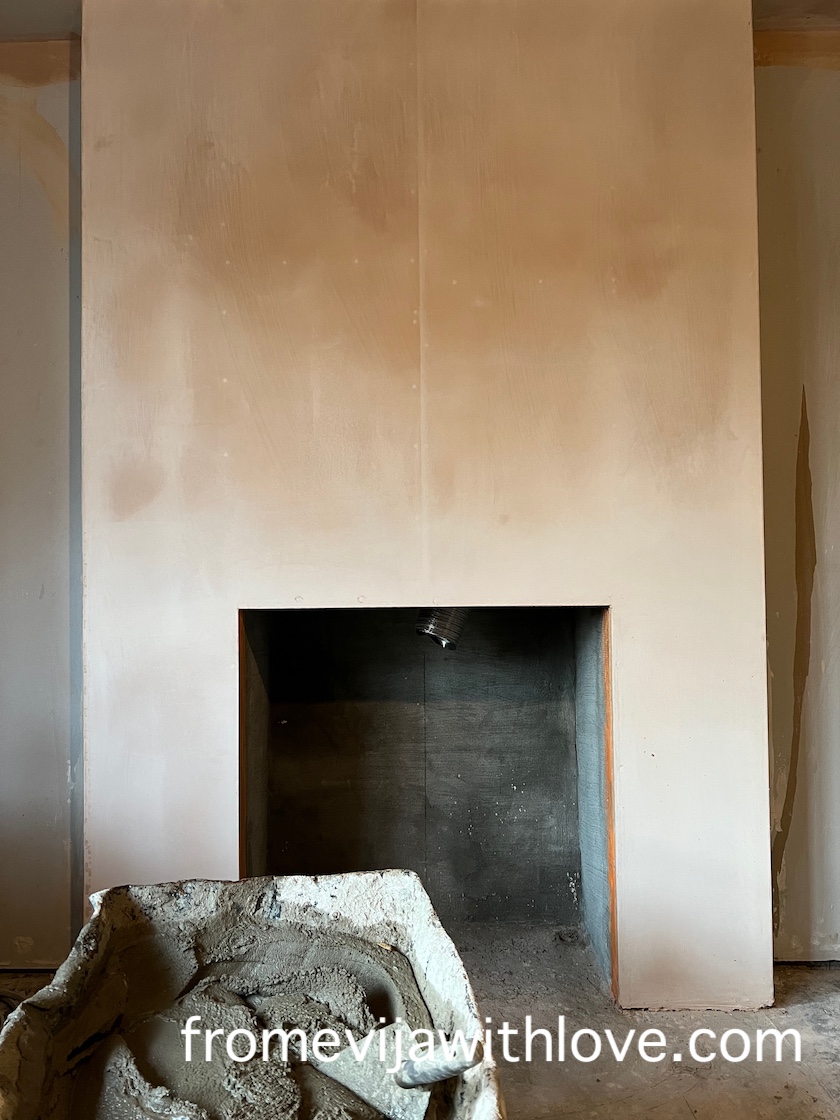

We bought Brazilian slate for the hearth and installed it on a bed of self leveller and a concrete mix, which we poured ourselves.
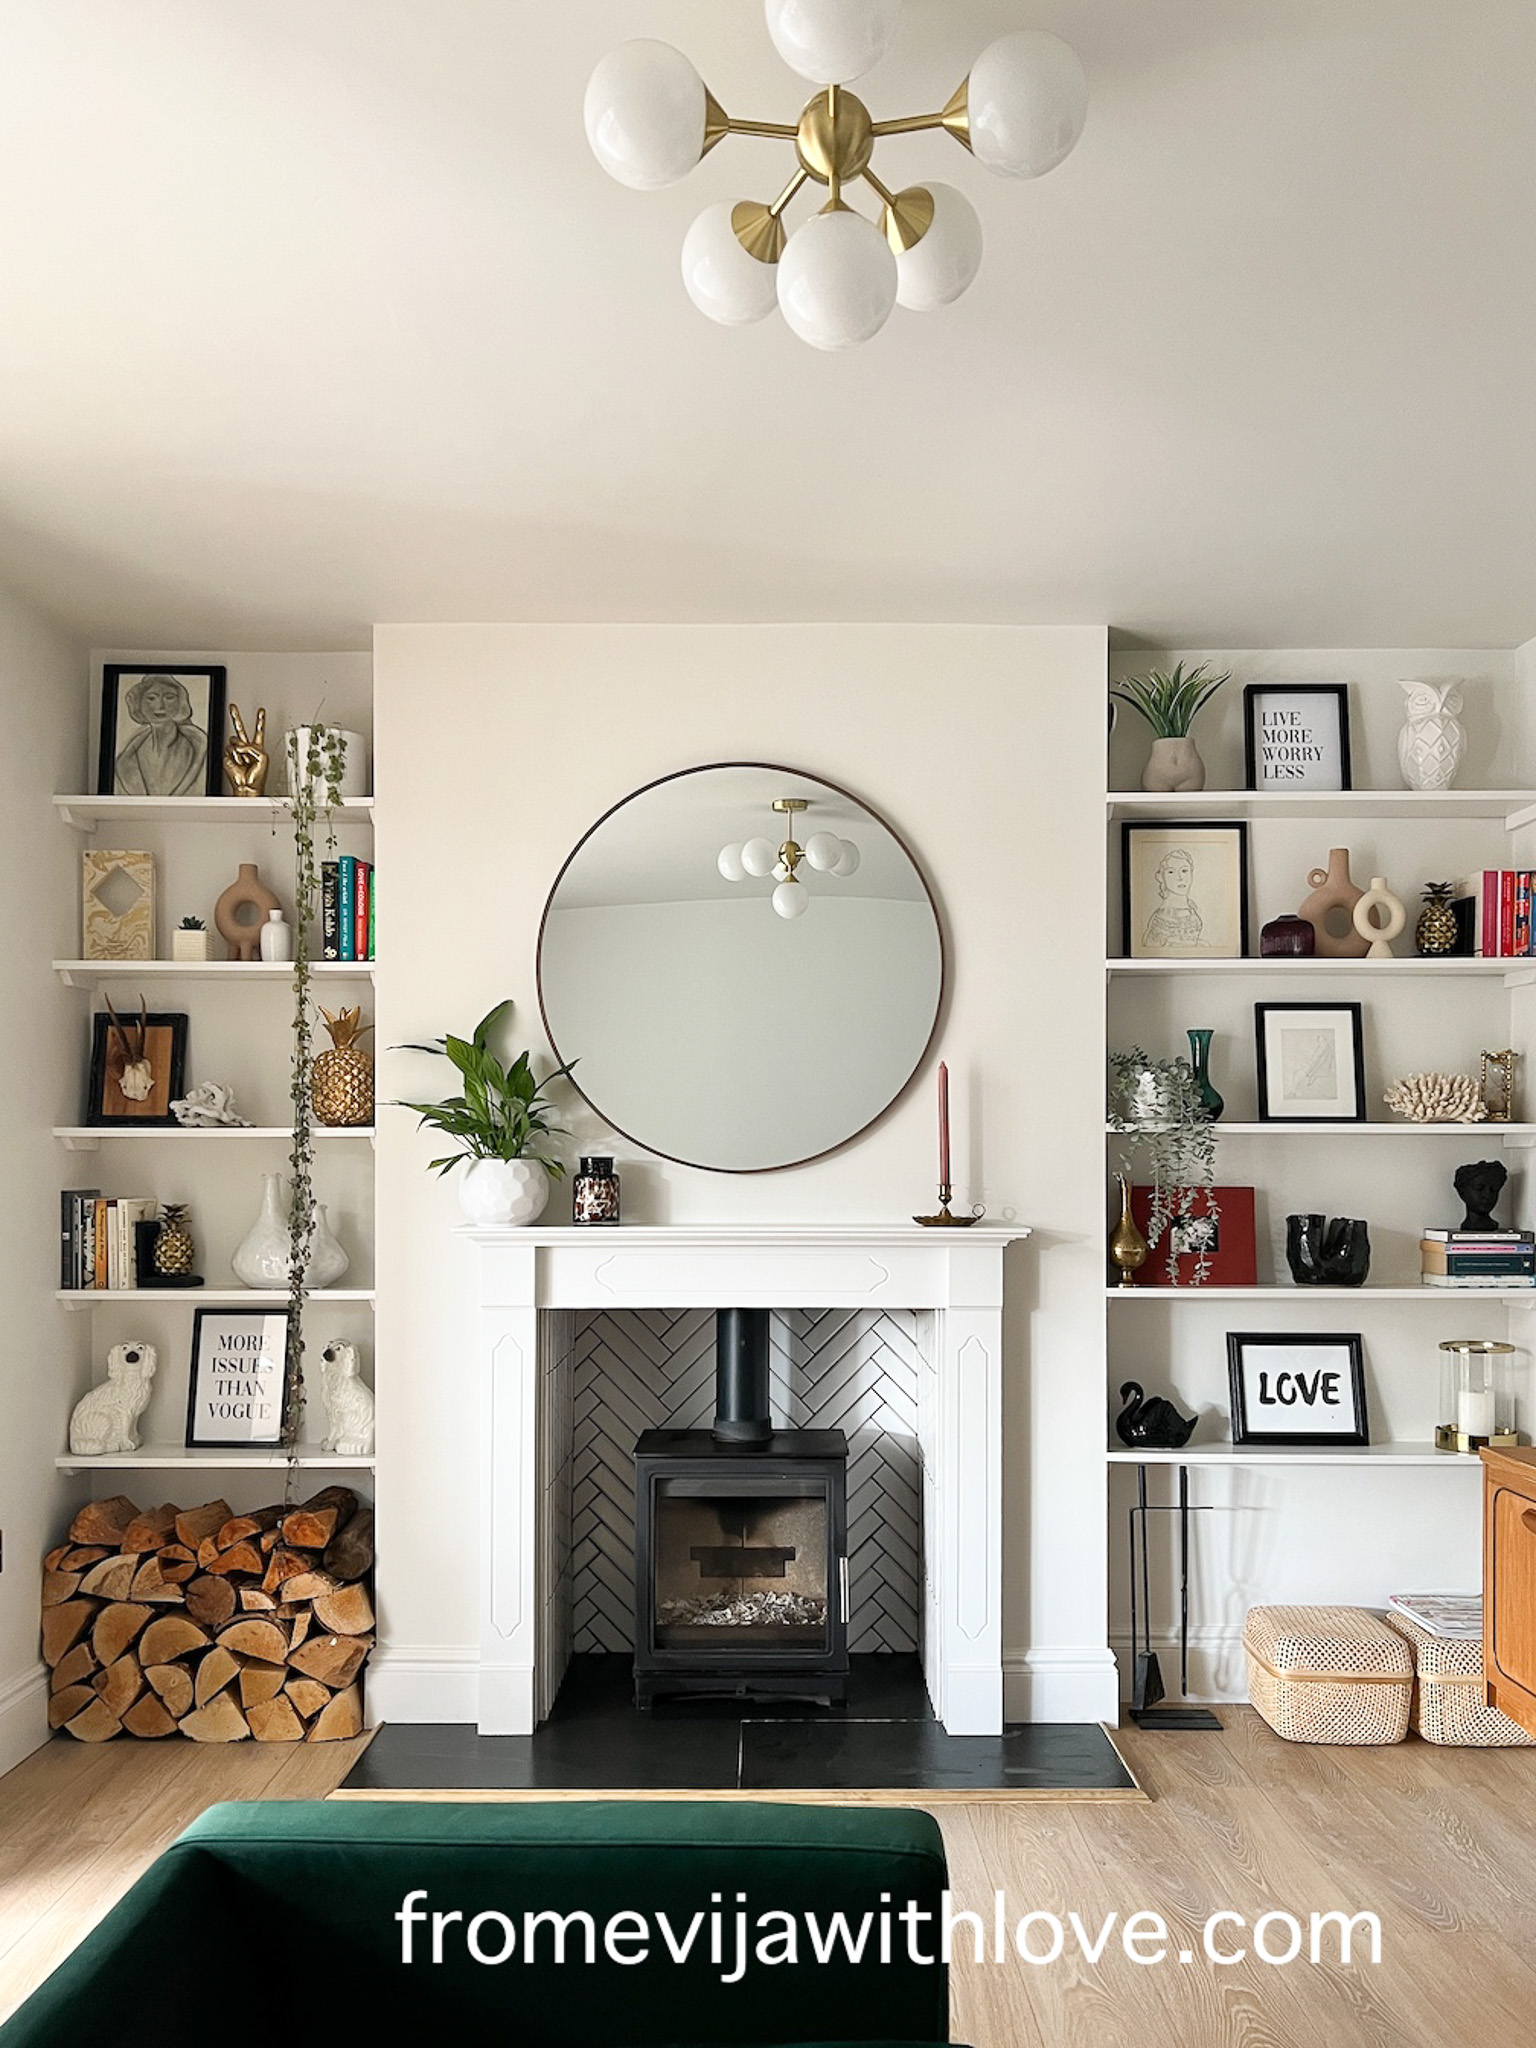
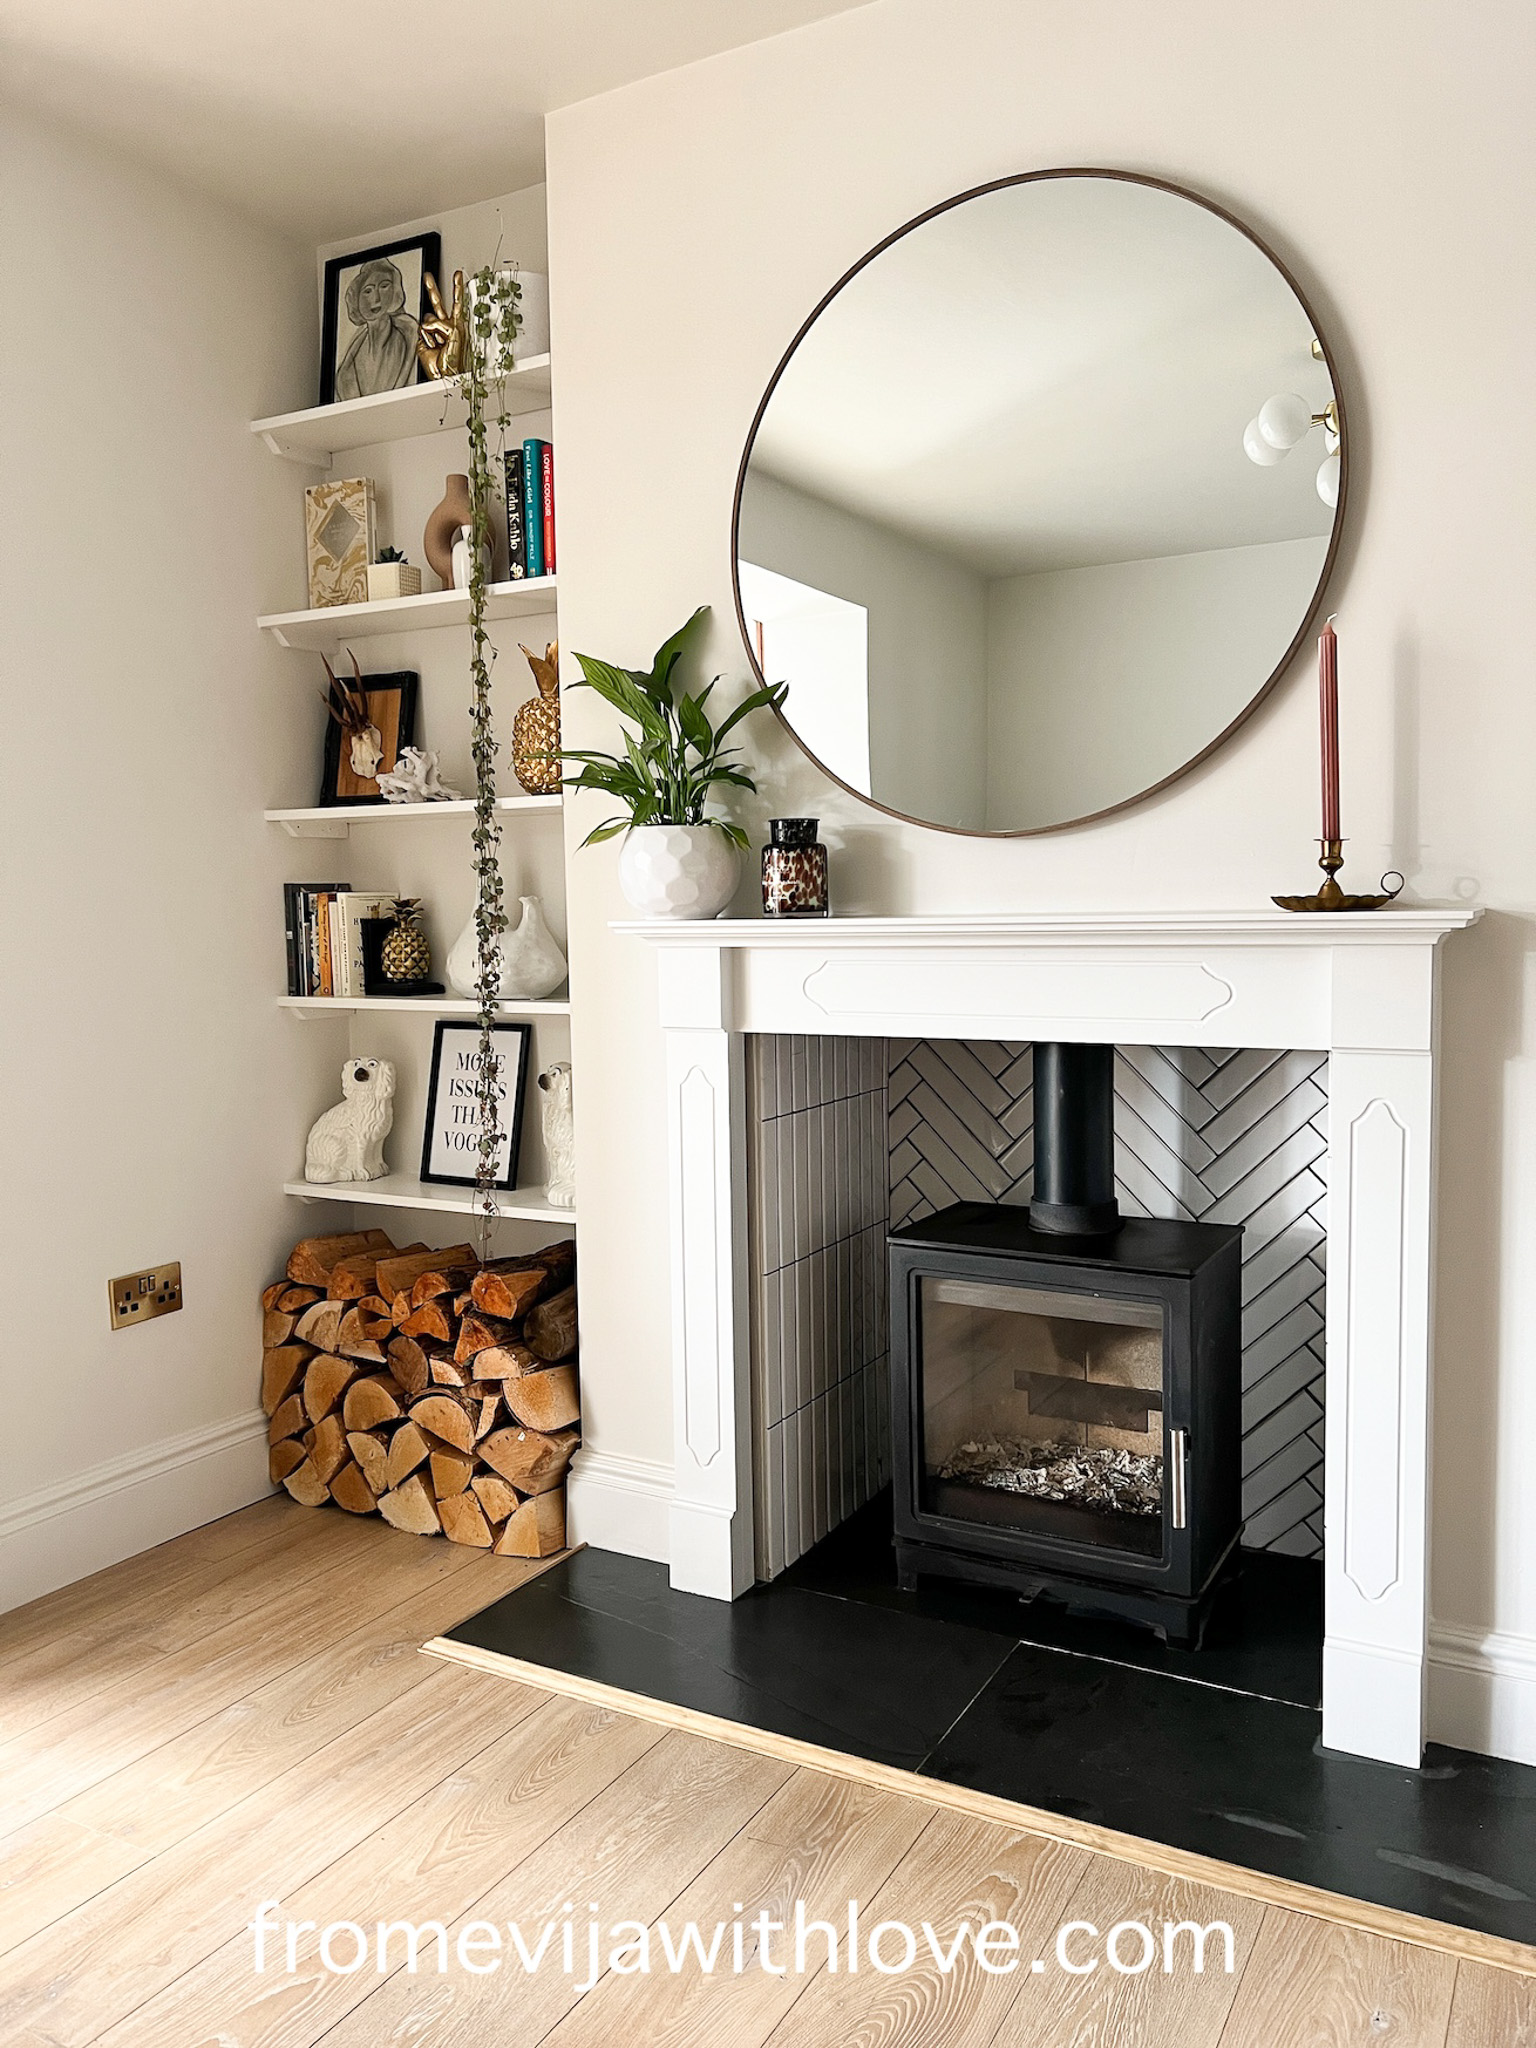
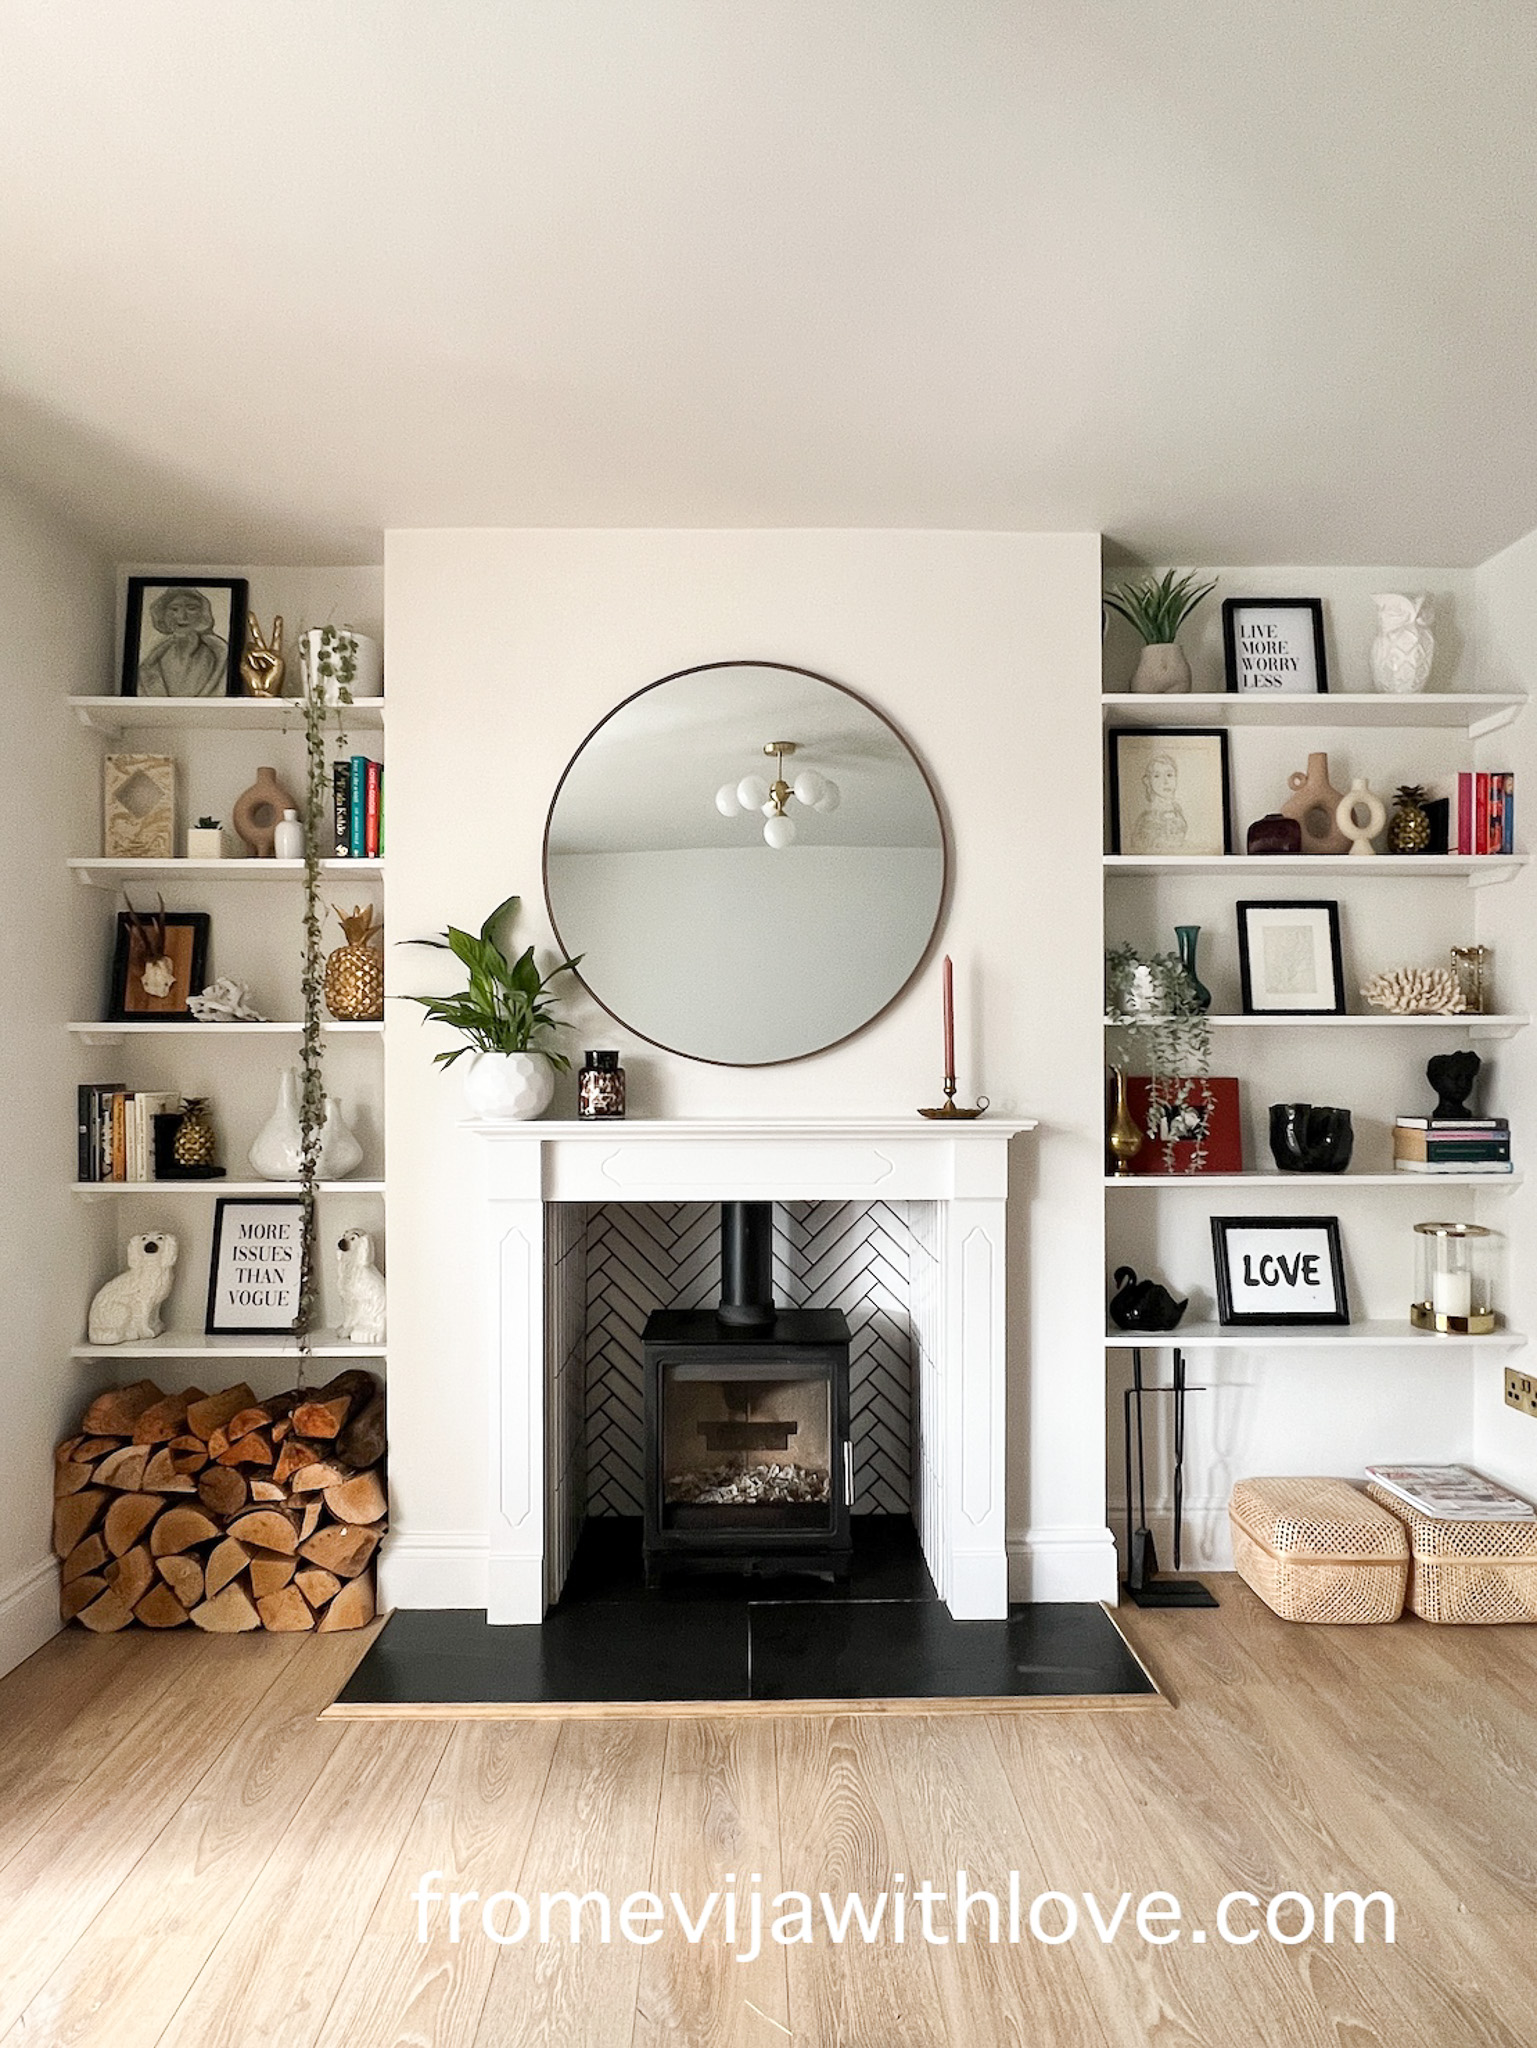
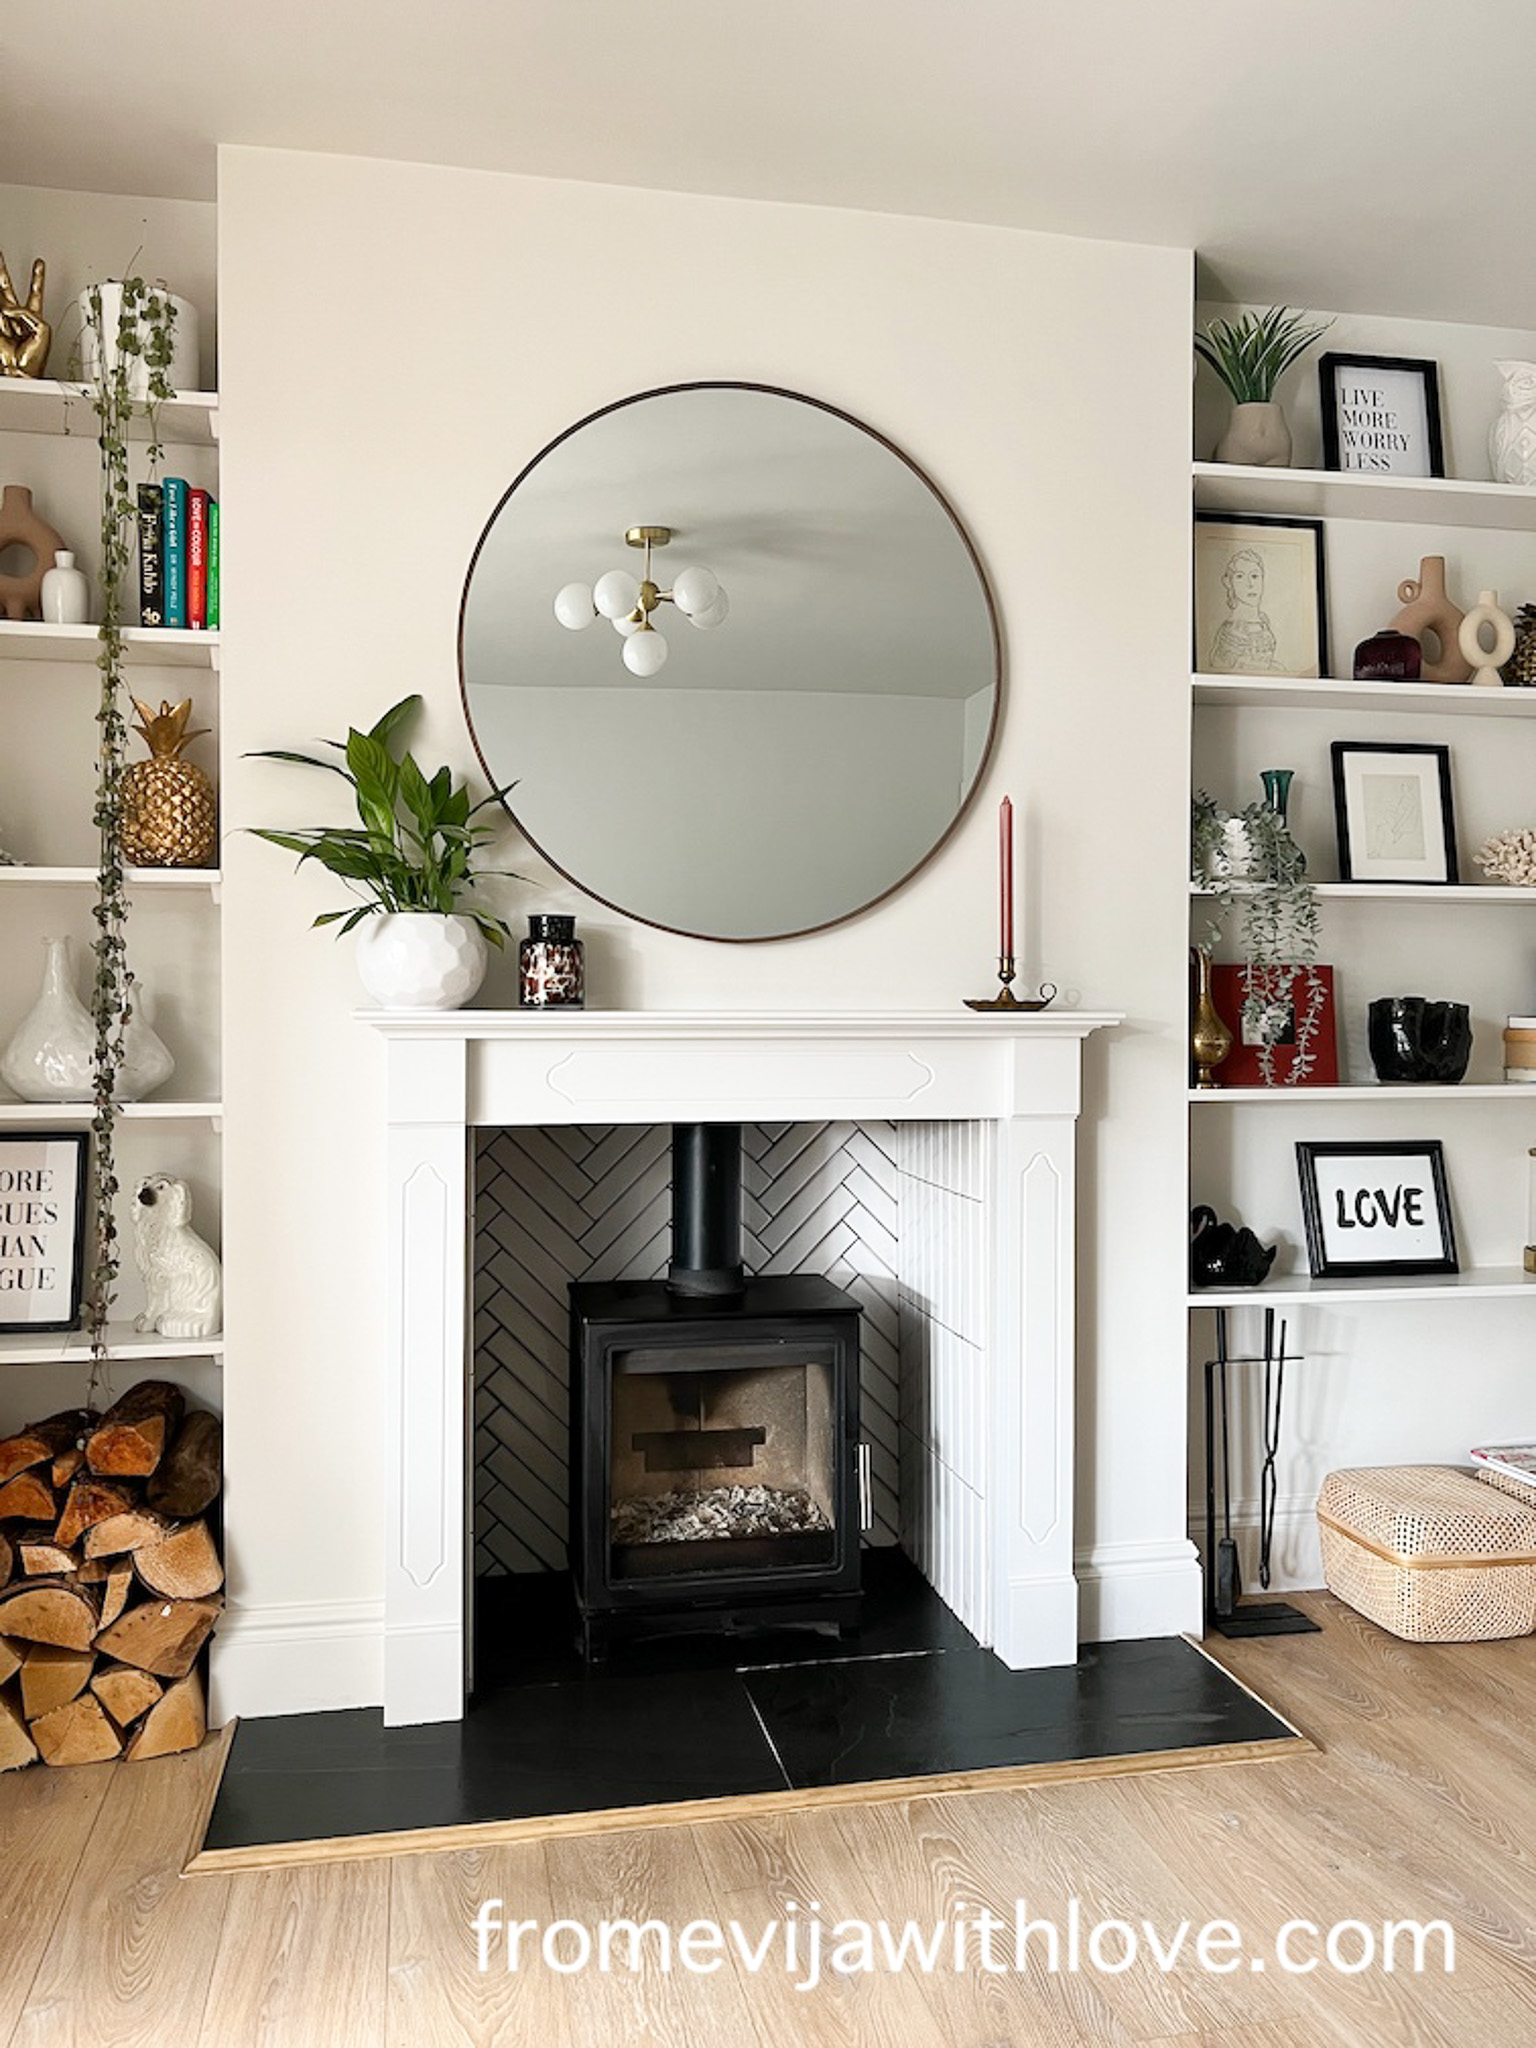
As it was all tiled, it was finally time to have the log burner installed and have some heat in the house! We absolutely love our log burner and I am so happy Shaun convinced me to have one installed!! Can you believe it is the same space??
Stay tuned for the reveal of the beautiful marble open fireplace coming very soon!!


Absolutely gorgeous ! Well done can’t believe the transformation
Thank you so much!
Beautiful. Where did you get the surround from on log burner and what is it made from?