Disclaimer: This post contains some affiliate links, which means I may earn a small commission (at no extra cost to you) if you decide to buy something I’ve recommended. I only share products I genuinely love and use myself. Will you believe me if I told you that this beautiful space didn’t even exist 4 years ago! When we moved in our house in 2021, the original living room and dining room were quite large spaces. You have to see this toilet makeover to believe it! We decided to make a few alterations to the house, including an extension, so the old dining room would become a second living room/sitting room. Creating a downstairs toilet made sense to us. By partitioning this space, we would also gain a bit more space in our hallway.

Disclaimer: Before doing any building work, please ensure you have consulted a specialist to ensure any walls you are taking down are not structural.
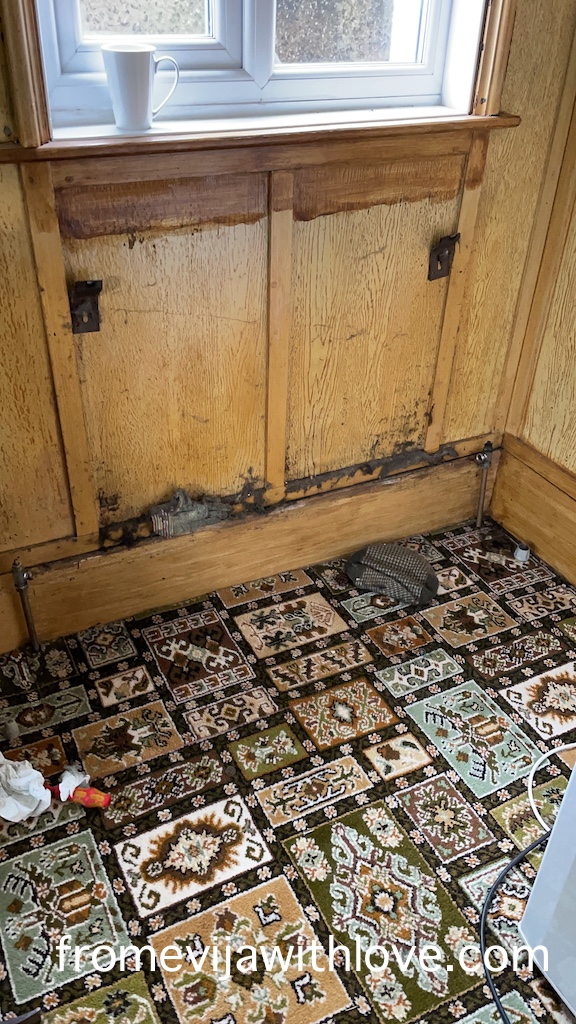
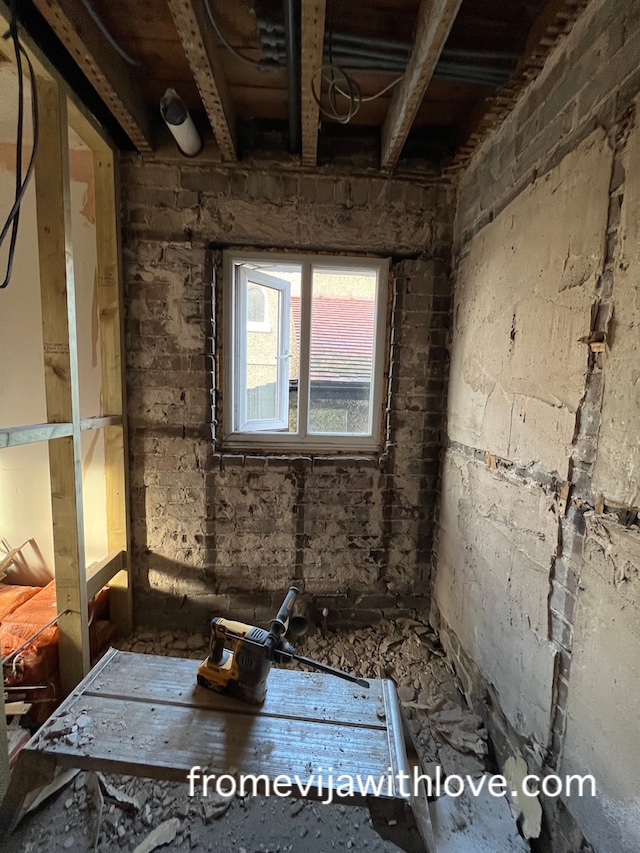

After consulting with our architect, who helped us with the internal plans and electrician who found the steel beam we knew we could remove the small partition wall in the hallway and create a stud wall to mark the new hallway and toilet. Toilet makeover was a go! For some reason it felt like this room may have been intended but last minute someone changed their mind and instead built a larger dining room. I guess we will never know.

I removed the old render that was crumbling away. We then built a stud wall and once our electrician and plumber did the first fix, we were able to put the plasterboard up. The walls got skimmed over and it was time to do the mist coat and get the flooring down.


I used Floor Street Desert Oak in wide plank and installed it all by myself! Don’t forget to use code FROMEVIJA if you are looking to purchase flooring via Floor Street link for additional discount (affiliate link).
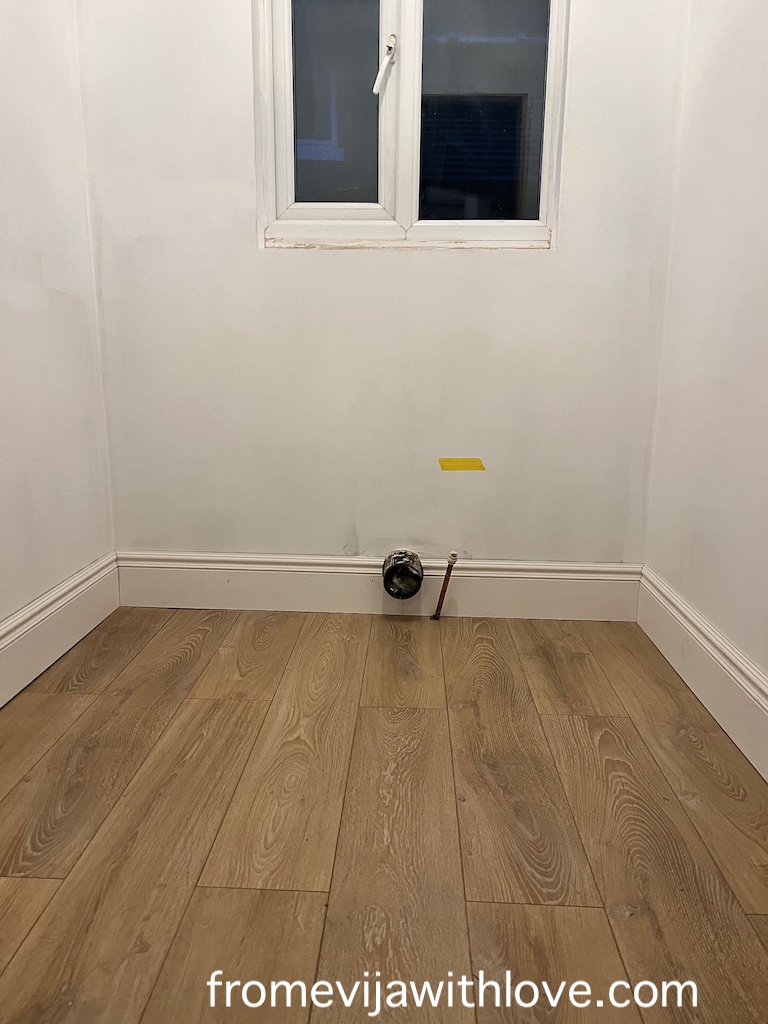
Once the floors were down we were able to get the plumber back in to fit the toilet, our beautiful pink sink and the radiator.
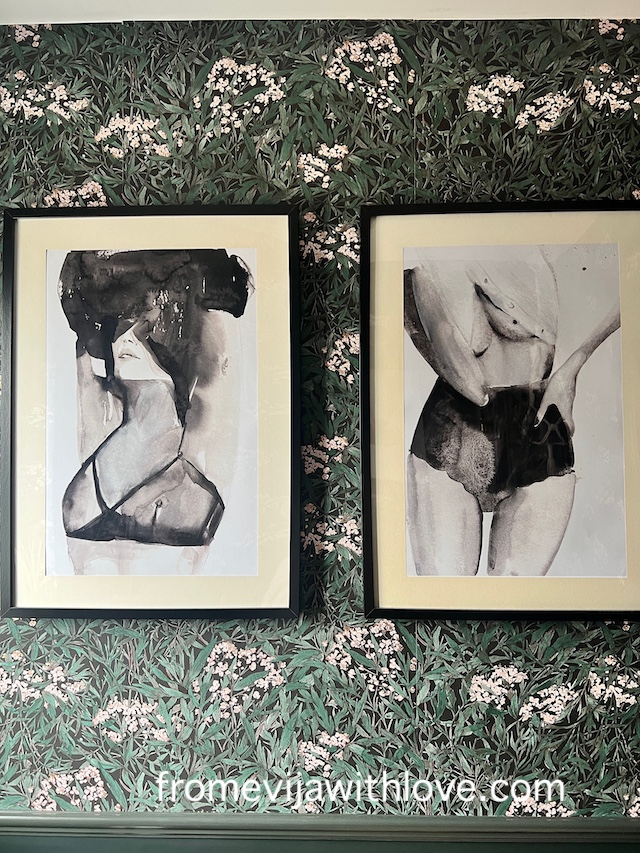
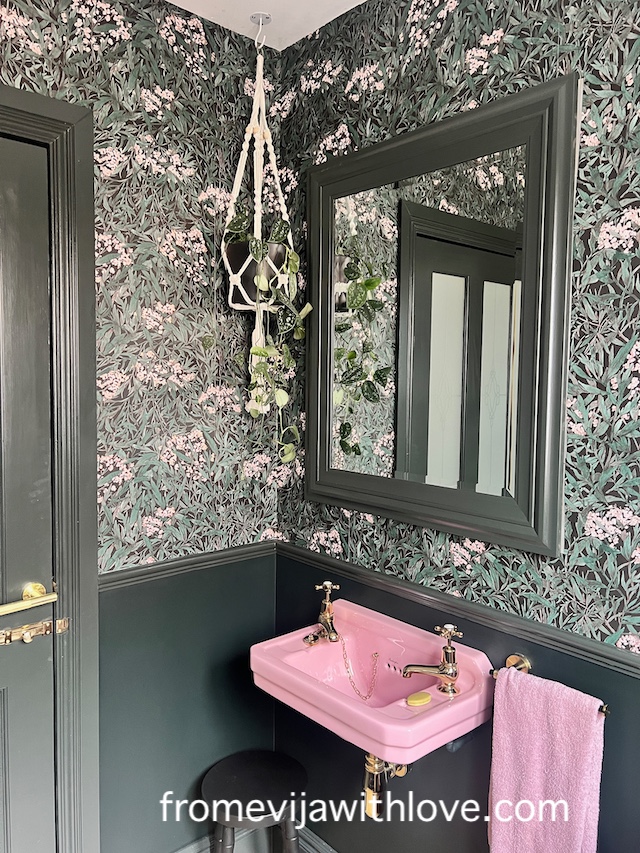
It was then time to paint the toilet. I’ve had my eye on this wallpaper for ages and even though wallpapering is not my favourite job, it felt perfect for this space. The design is called Malin by Sandberg.
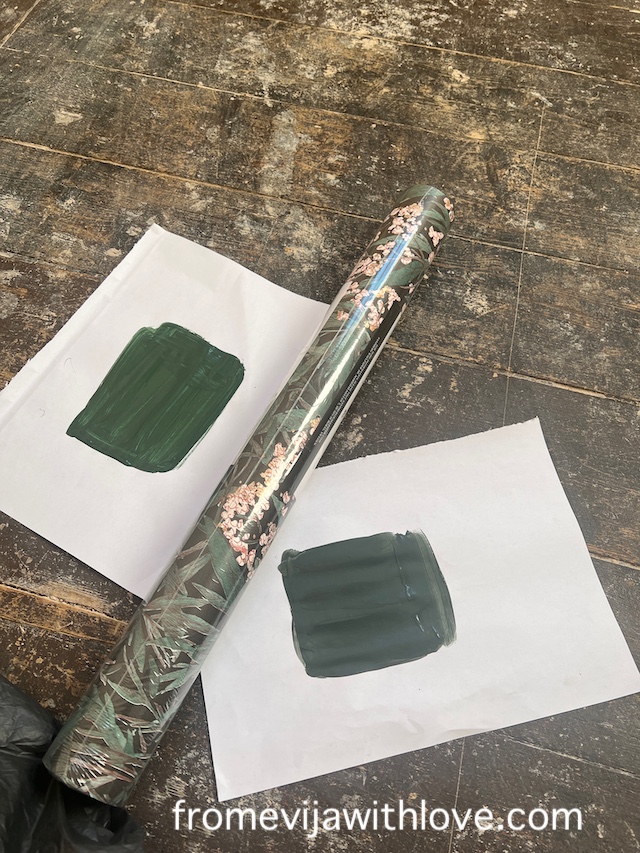
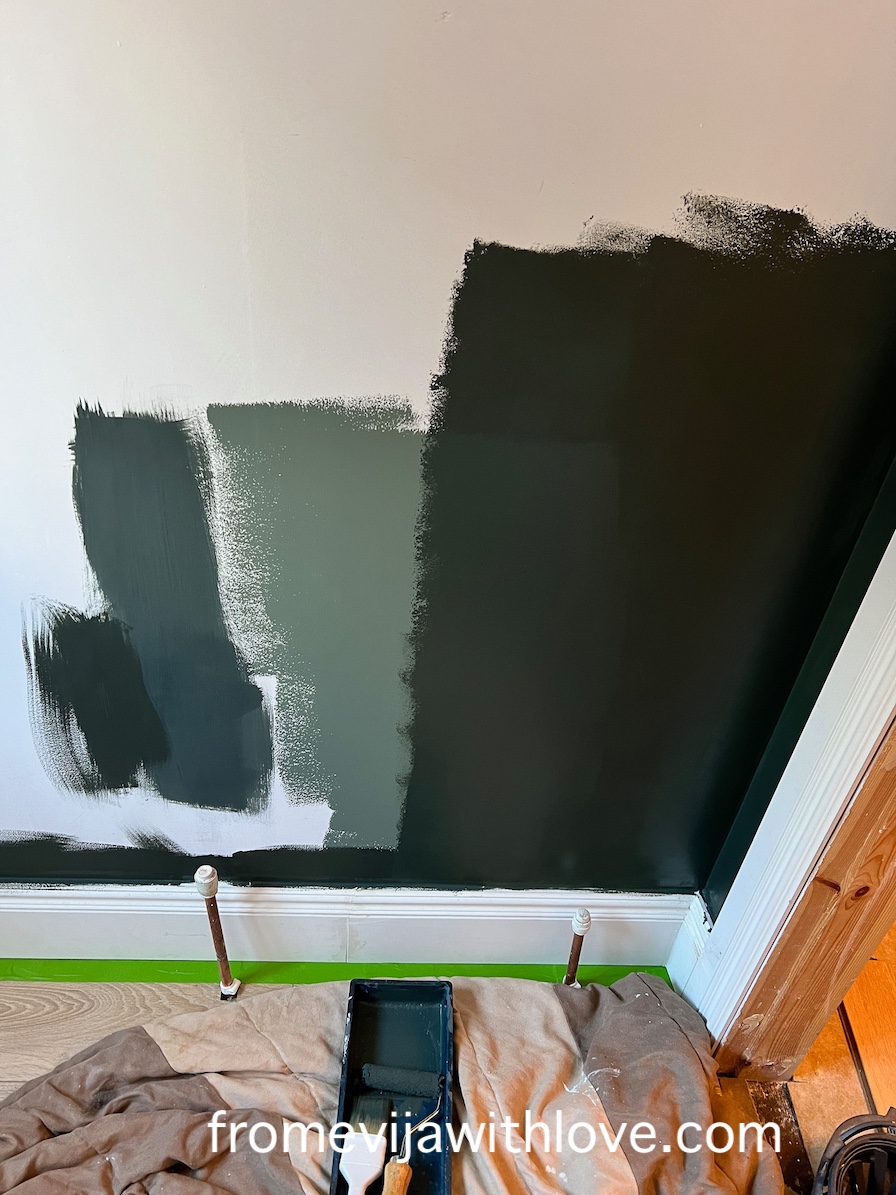

Instead of wallpapering the whole room, I added a dado rail to create a contrast. The top is wallpapered using this beautiful and bold wallpaper and the bottom is painted for balance. It took me ages to select the right colour and I ended up getting various tester pots to match the green on the wallpaper!
I upcycled an old TV cabinet I bought at a charity shop using black paint and some cane webbing. The pink sink of dreams was actually free as I won this beauty on an Instagram giveaway a few years ago. The whole toilet was pretty much designed around the pink sink.

Pink Sink, Taps and Toilet seat is from Burlington Bathrooms.

What do you think?


Any questions, let me know?