DISCLAIMER: I was sent skirting boards and architraves free of charge.
You know by now that I love to do everything that I can in the house not only to learn new skills but to save money! Our house renovation has been ongoing and trust them when they say that the renovation will take longer than you expect and it will definitely cost a lot more than you thought it would!!! As all skirting boards and architraves need replacing in our house (eek), I was definitely looking at ways to save money and fitting them myself seemed like a no brainer. I have never fitted skirting boards or architraves myself, but I have done dado rail in our old house and I am pretty good with measurements and angles. What could possibly go wrong??

I am not claiming to be a professional joiner or a skilled carpenter, but I love a challenge and learn something new. They may not be perfect (not bad for a beginner if I say so myself), but the money we have saved by doing this is definitely worth it.
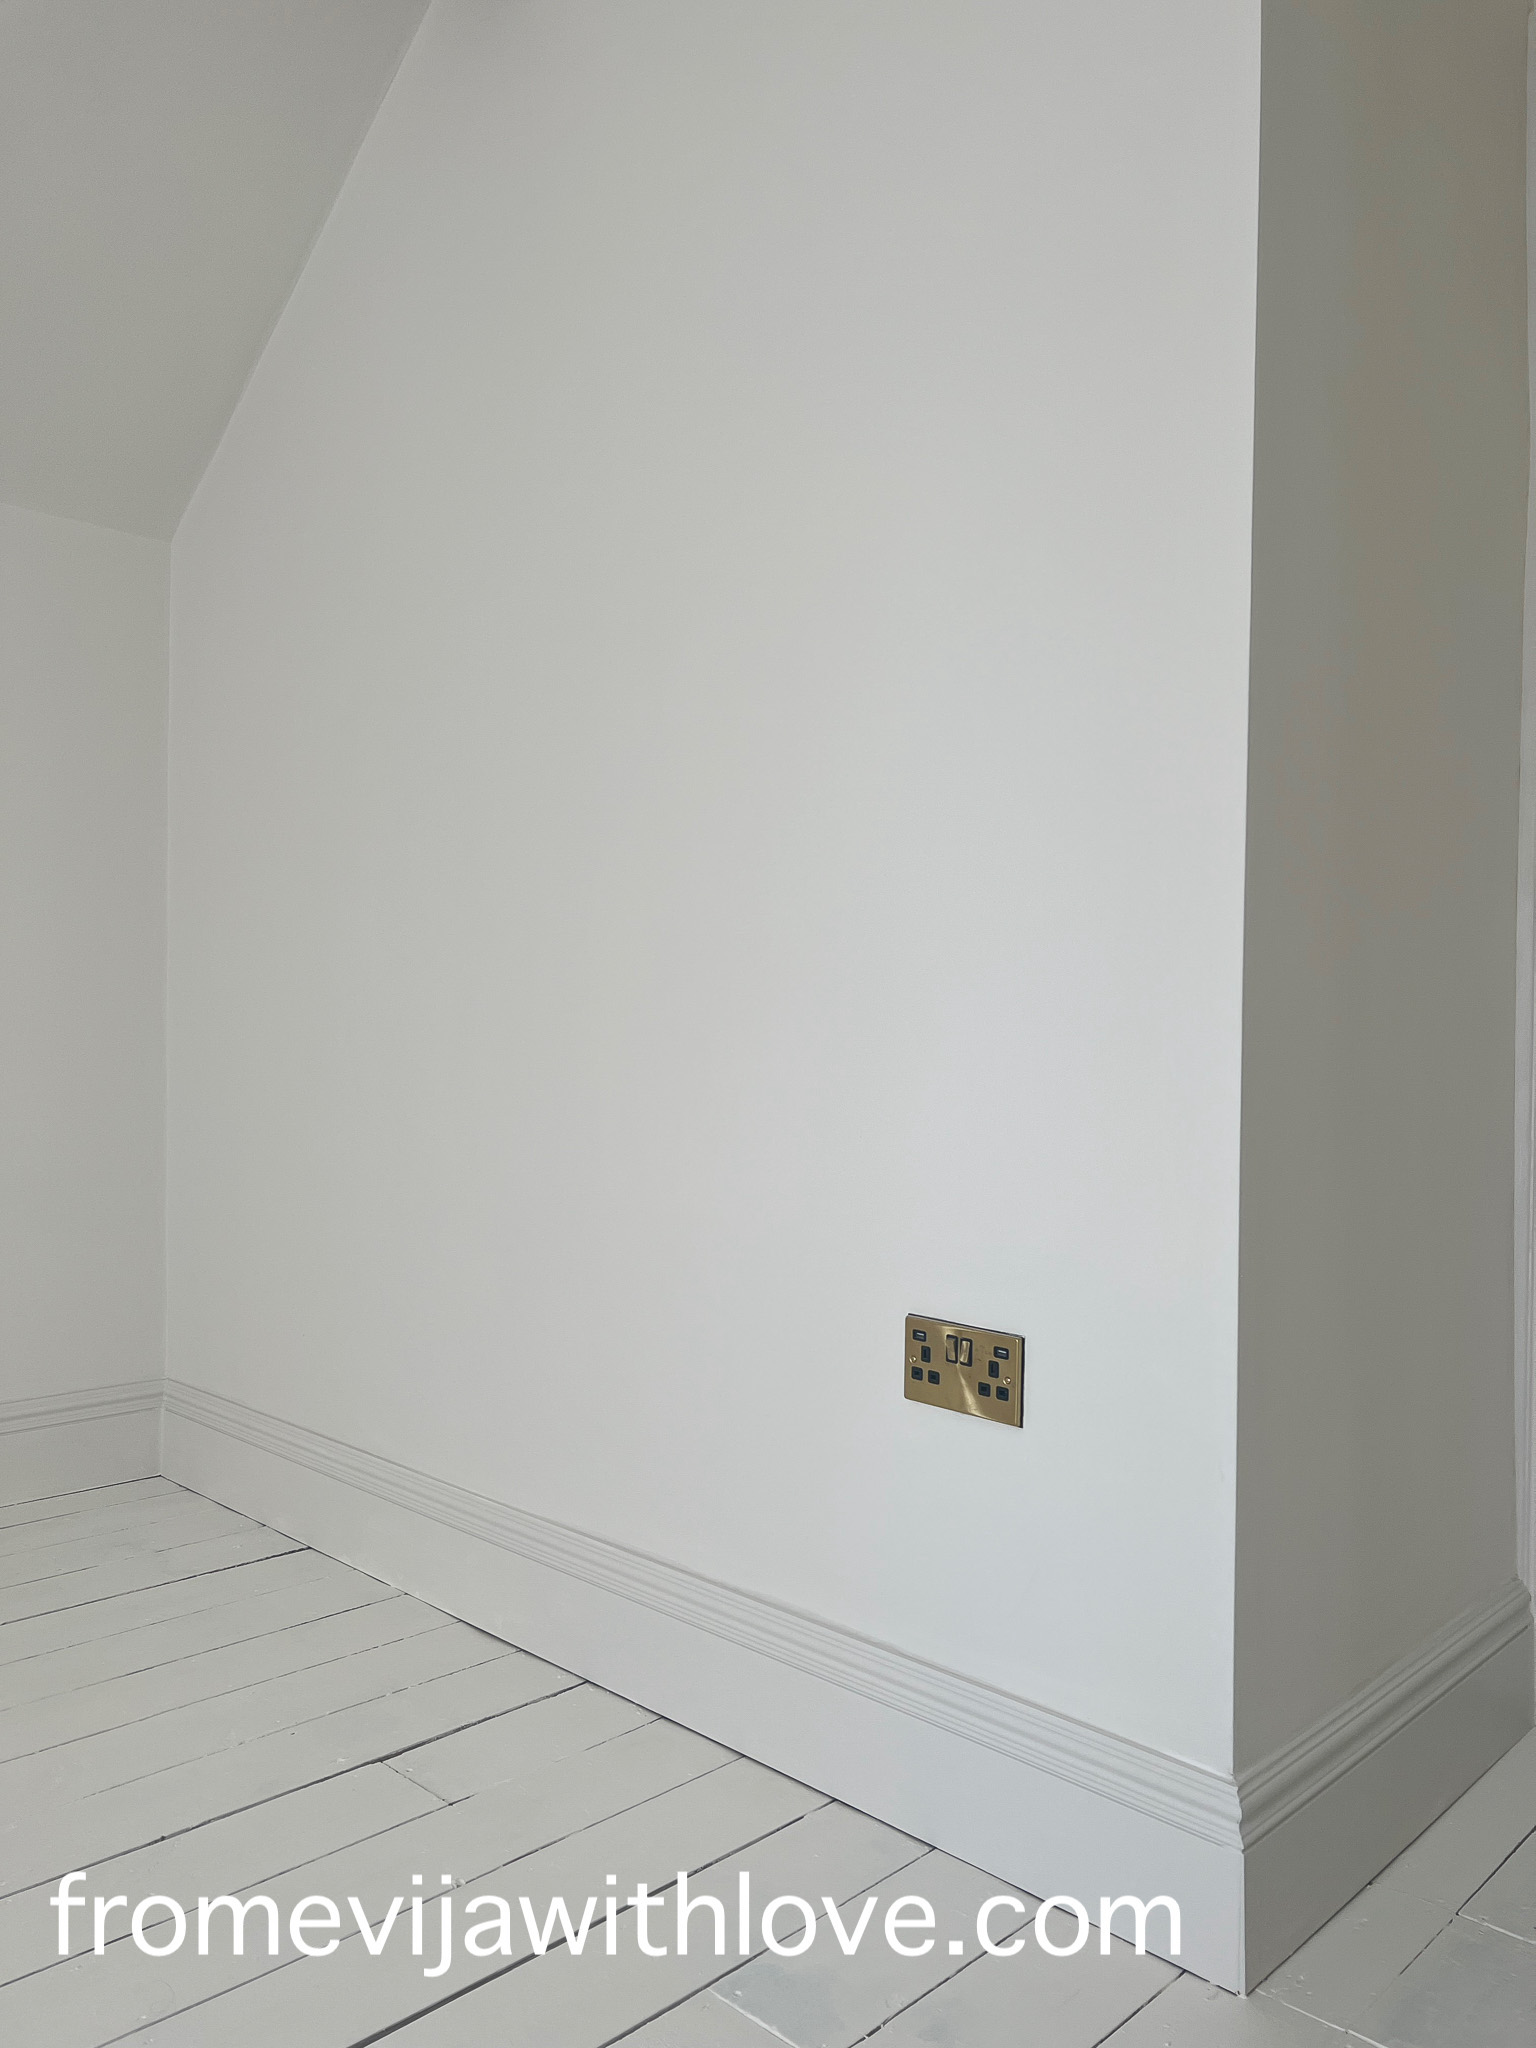
It took me a while to decide which profile to go for as The Skirting World offers such a wide range of different options. After ordering numerous samples, I eventually opted for this gorgeous skirting board (style 330) by The Skirting World and the matching architrave for our second floor renovations.


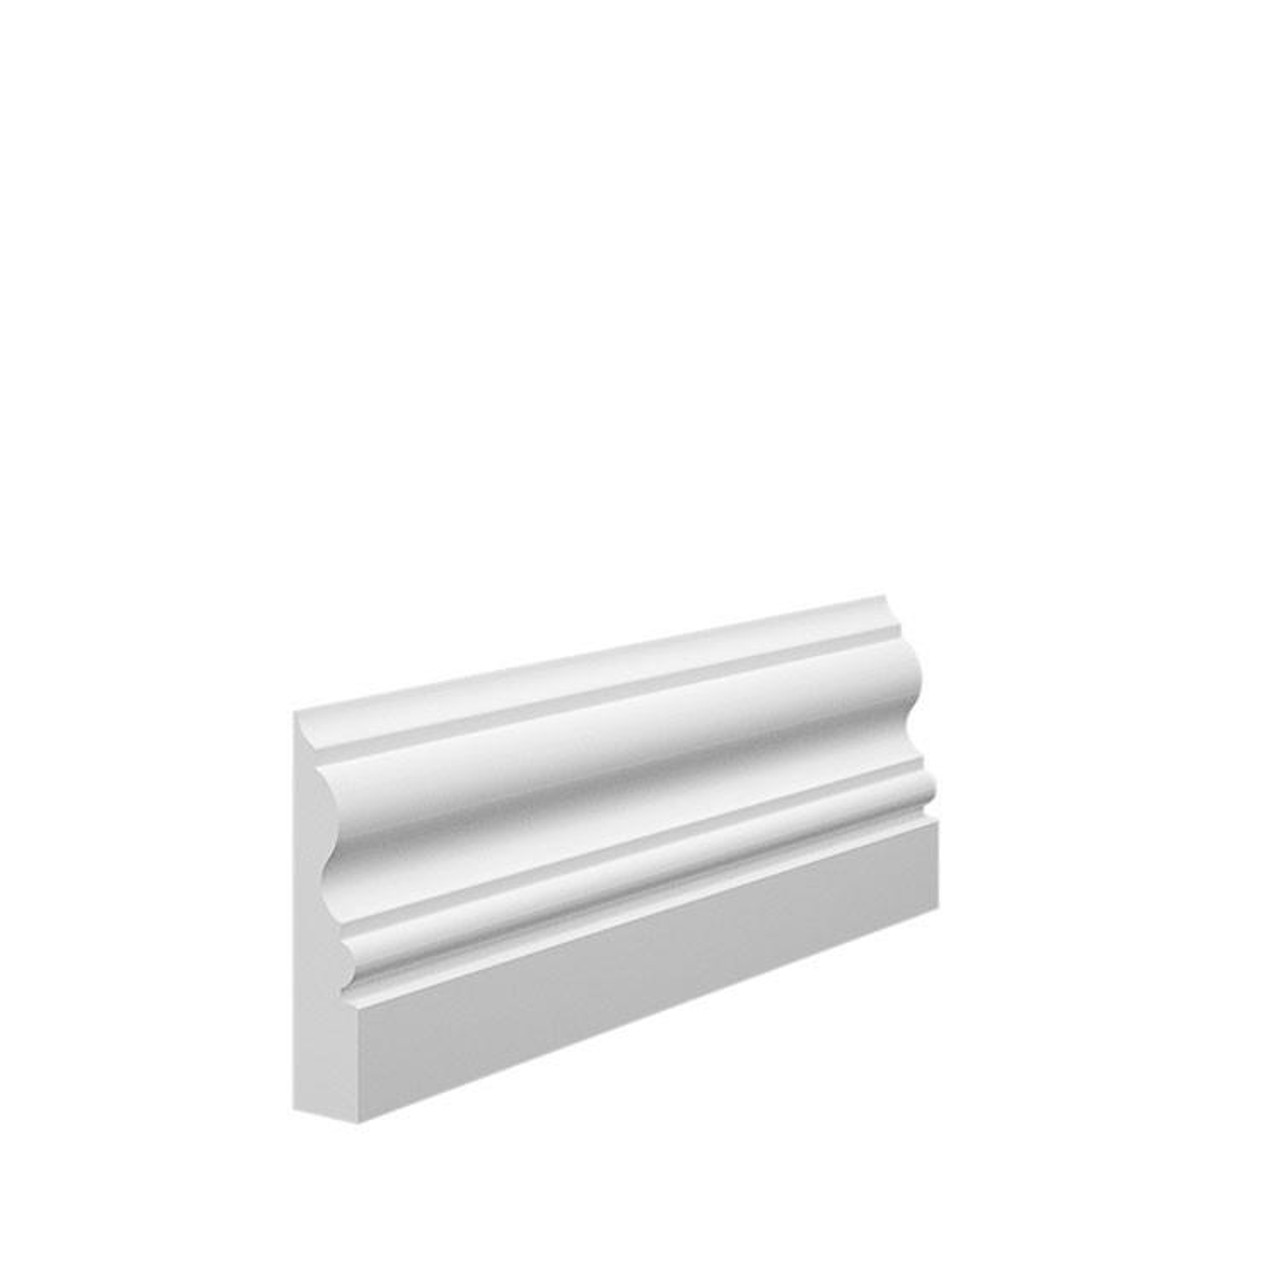
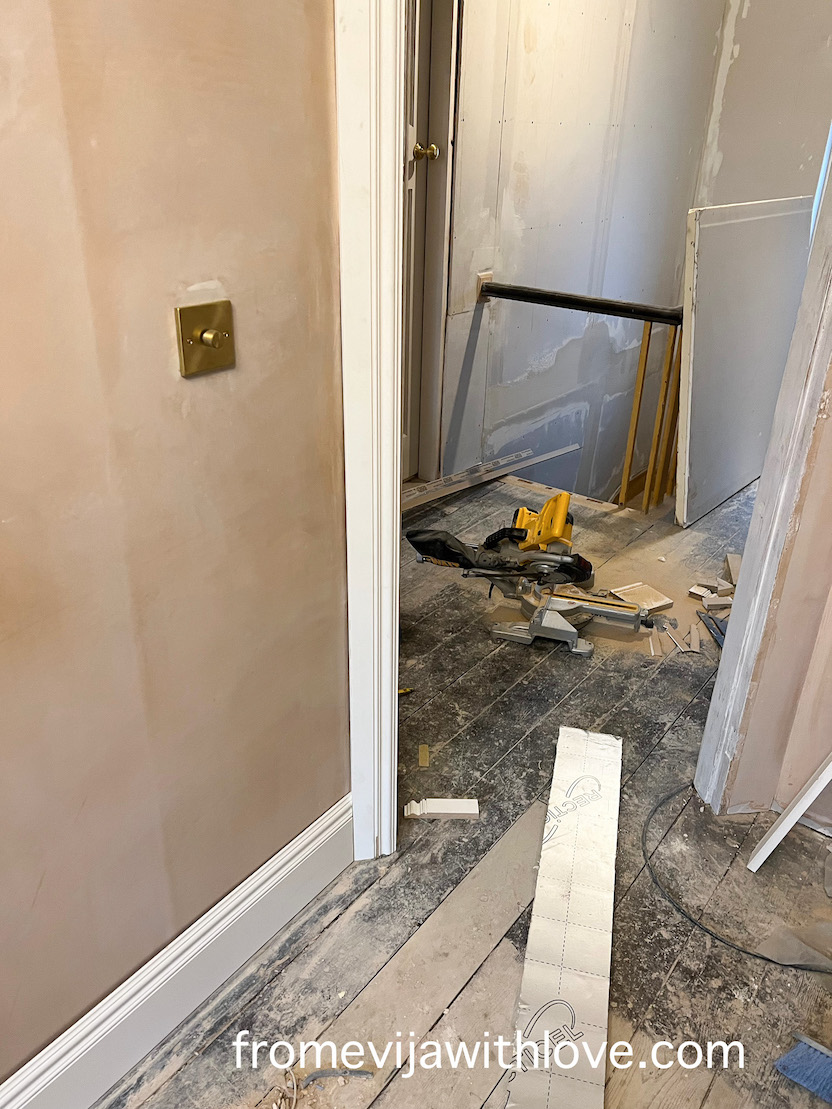
At the moment we don’t have finished flooring anywhere in the house. As we will be putting down the carpet upstairs eventually, it didn’t matter that the skirting boards were fitted before the carpets were installed.
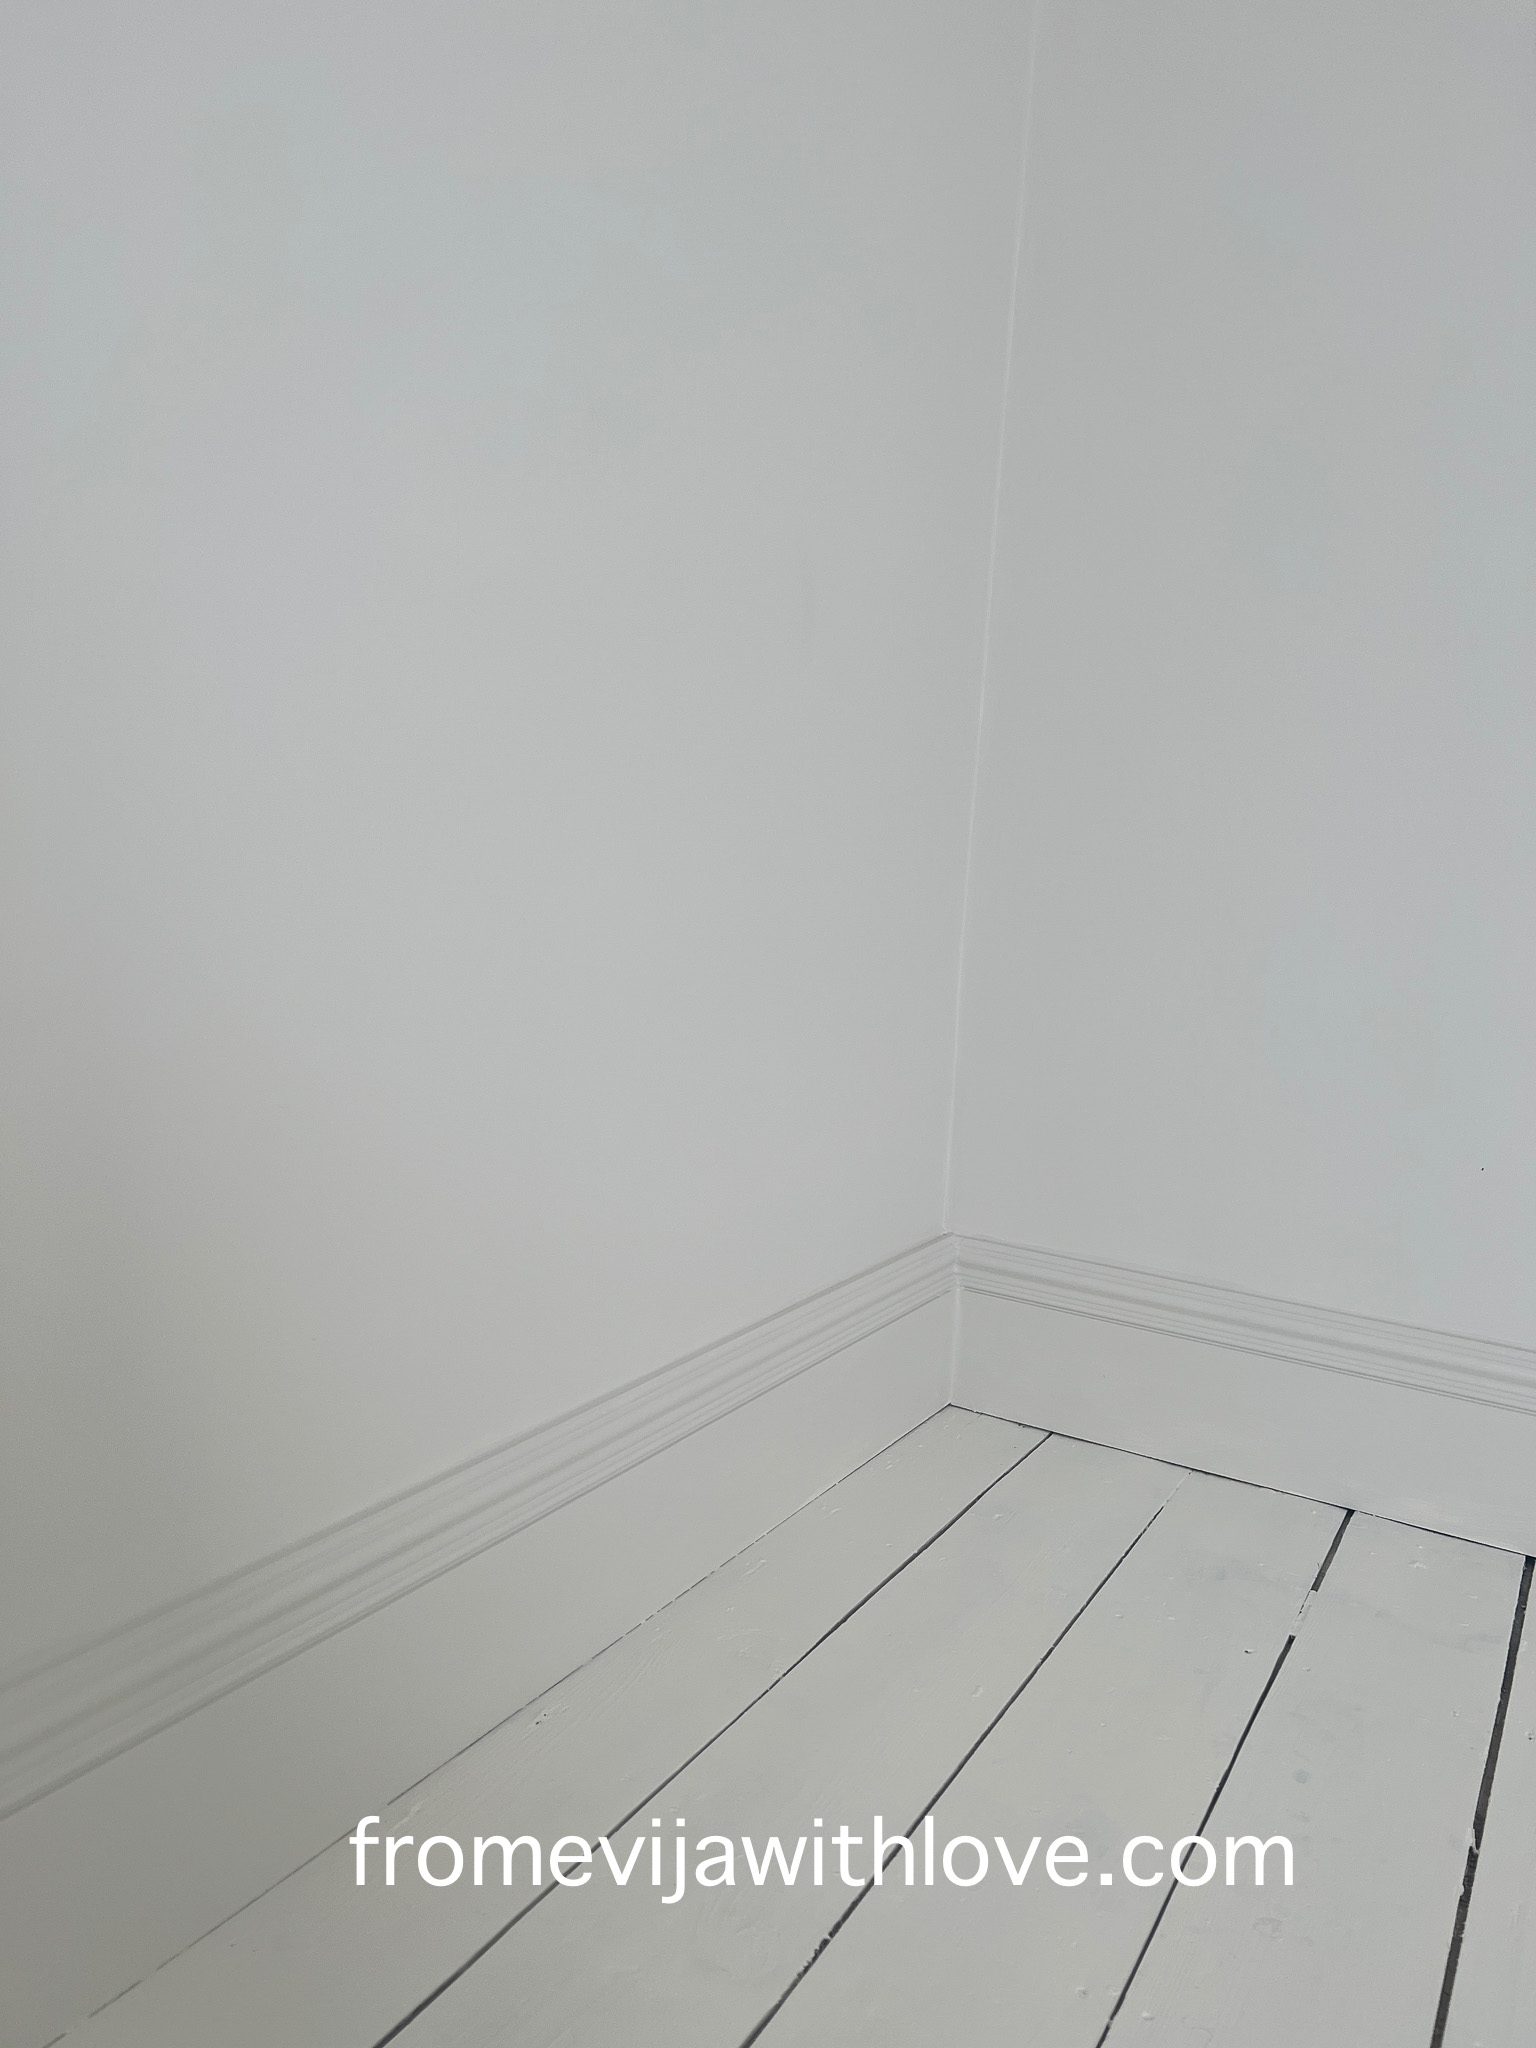
I started by measuring the room and writing down the measurements and making a note which way to have the angle for the cuts. I measured the lengths and cut at 45 degree angles for the corners to meet (remember caulk and wood filler will hide any gaps if the walls are not completely square!).

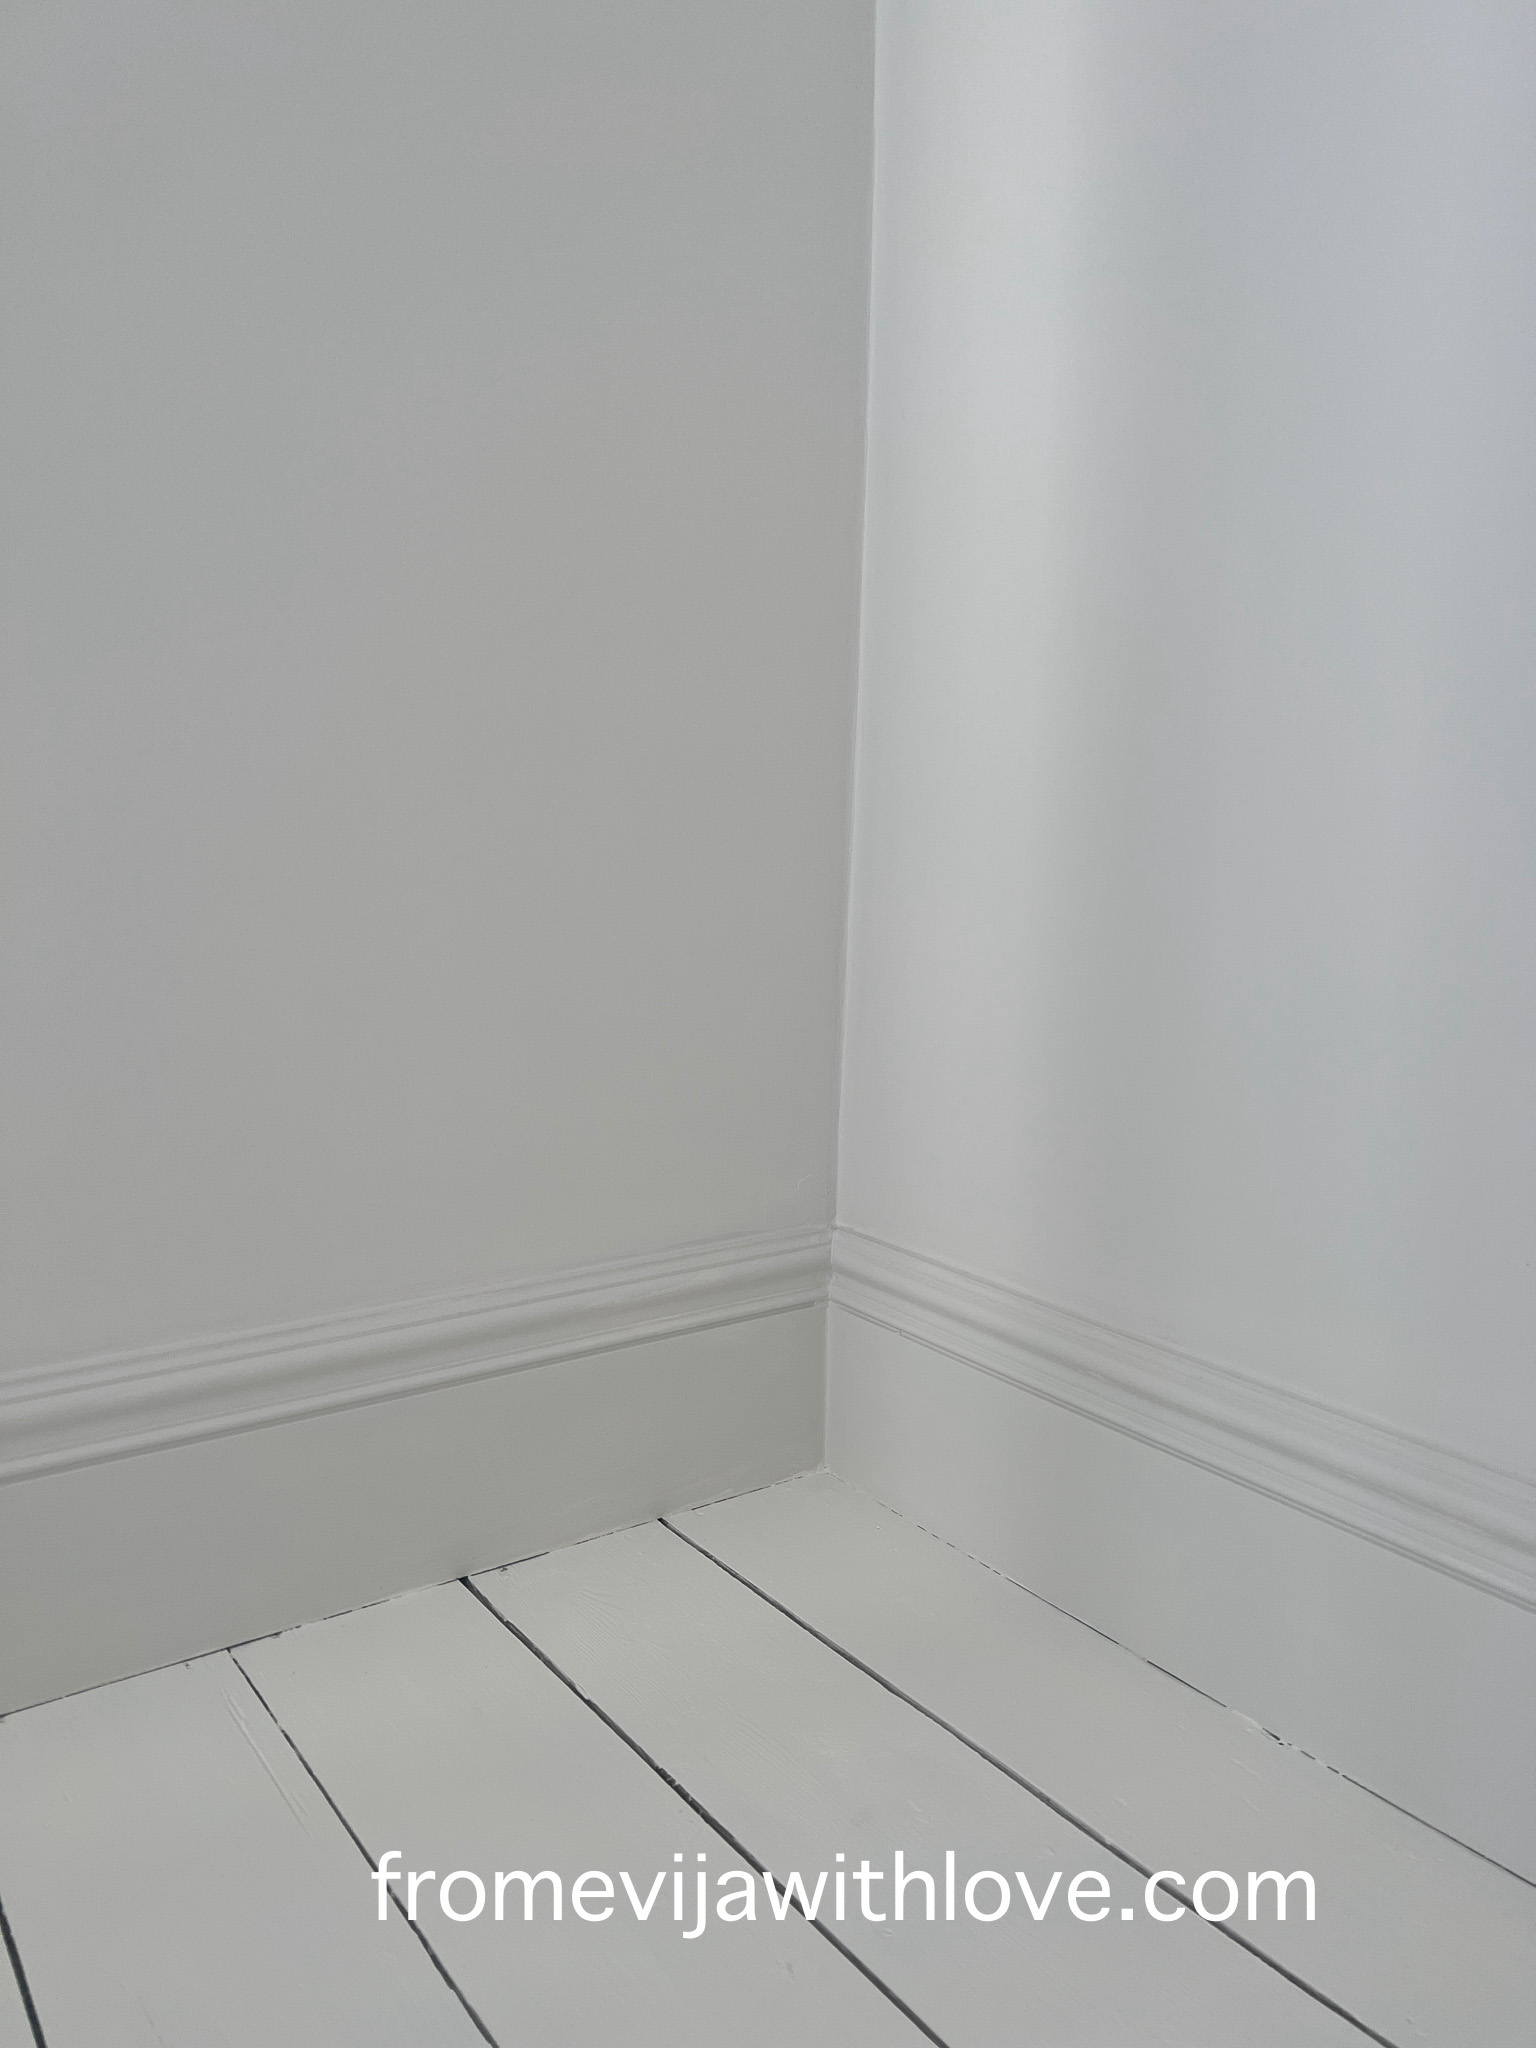
The inside corners were trickier. Measure the length and then cut at 45 degrees, then using a small coping saw cut out the wood so that the part can slide onto the skirting board that is on the wall and tuck in nicely in the corners. You can see this step below in more detail on my post here.
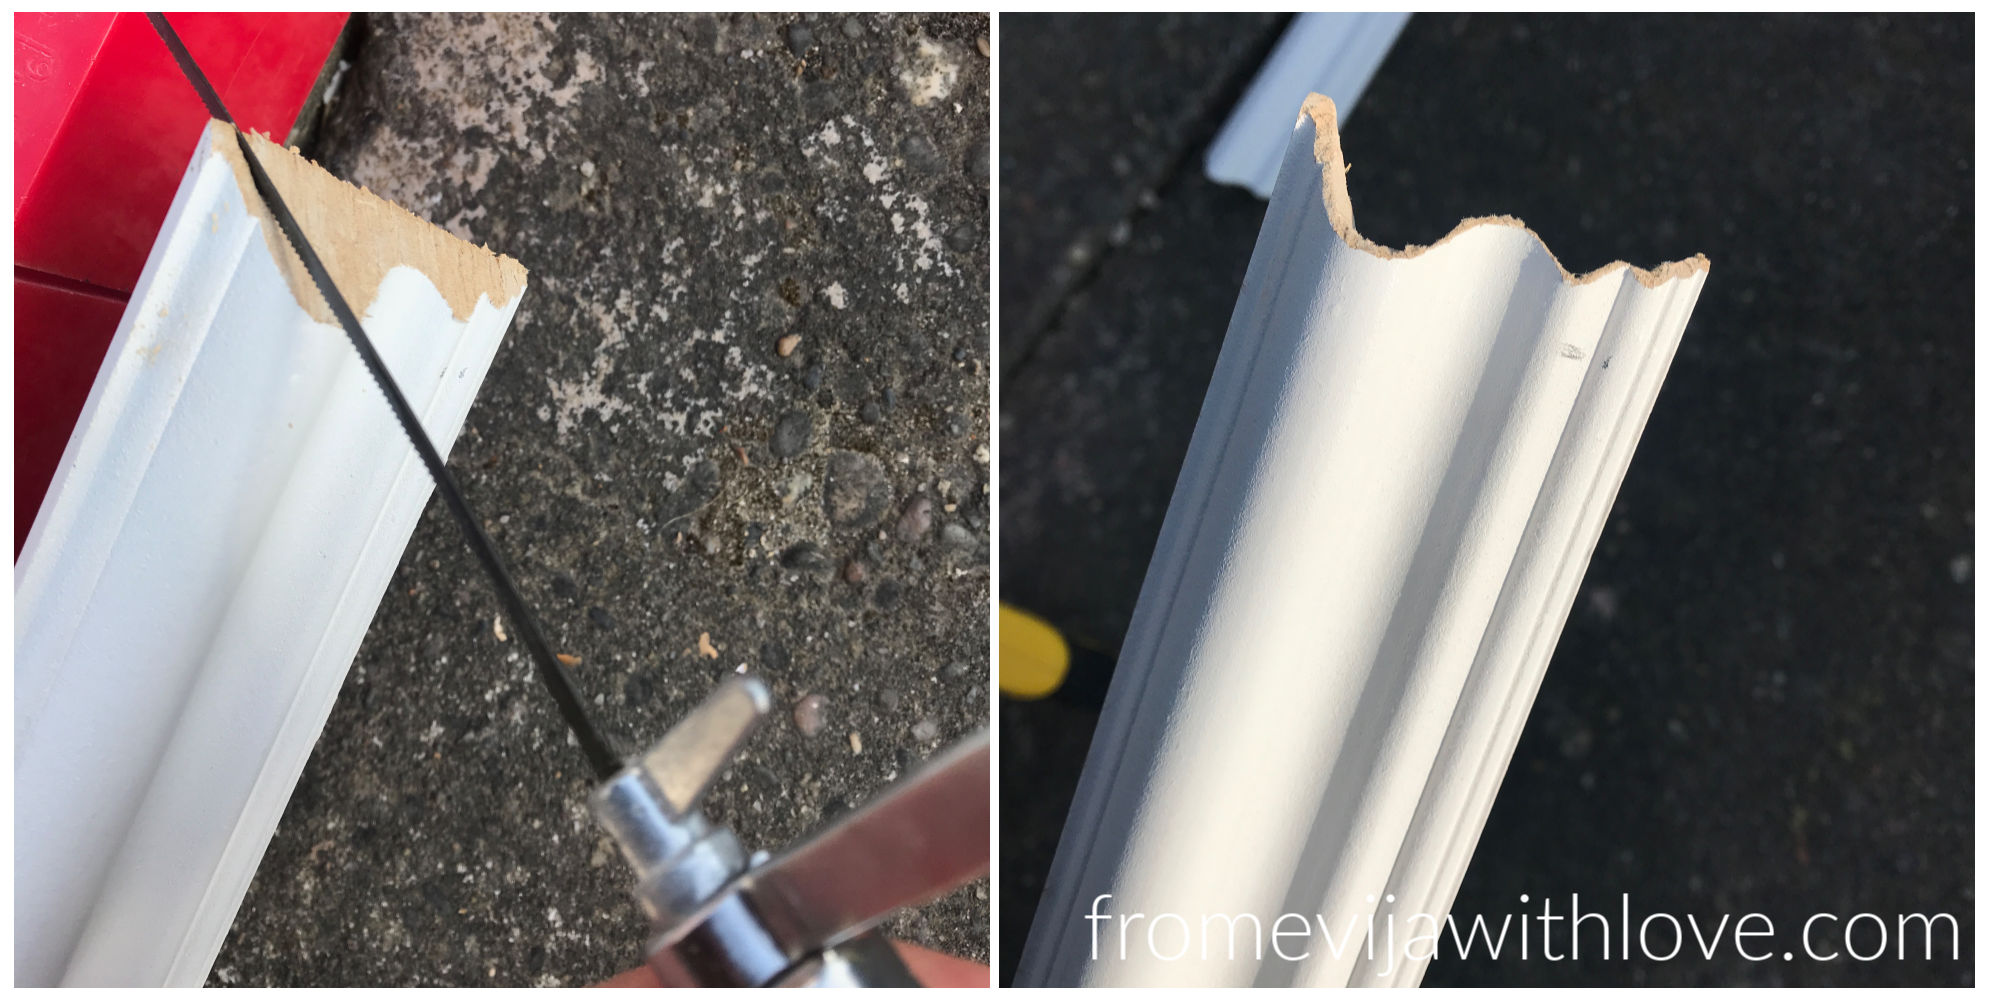
I must confess I didn’t quite do it on all the corners as (a) I just didn’t have time and (b) our walls were never square in any of the rooms and (c) caulk is the best to help you hide little imperfections!
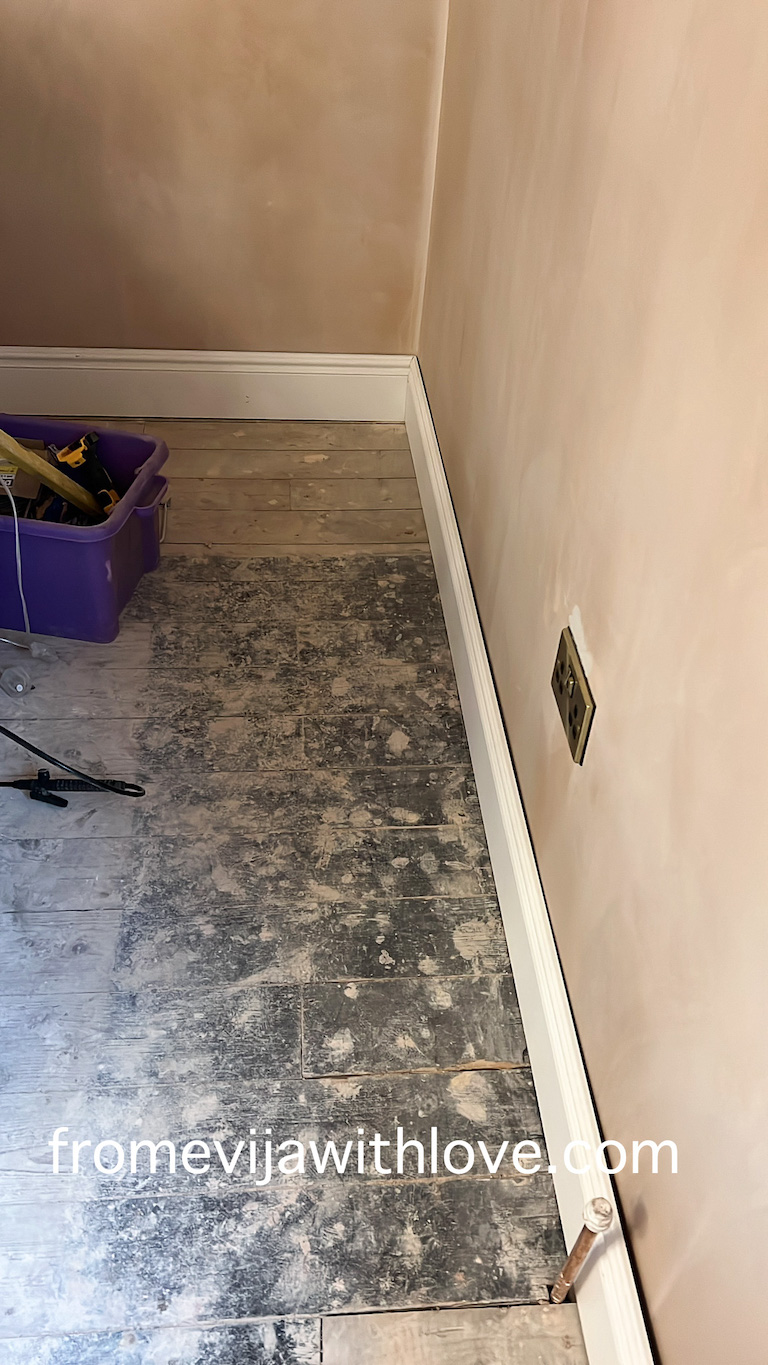
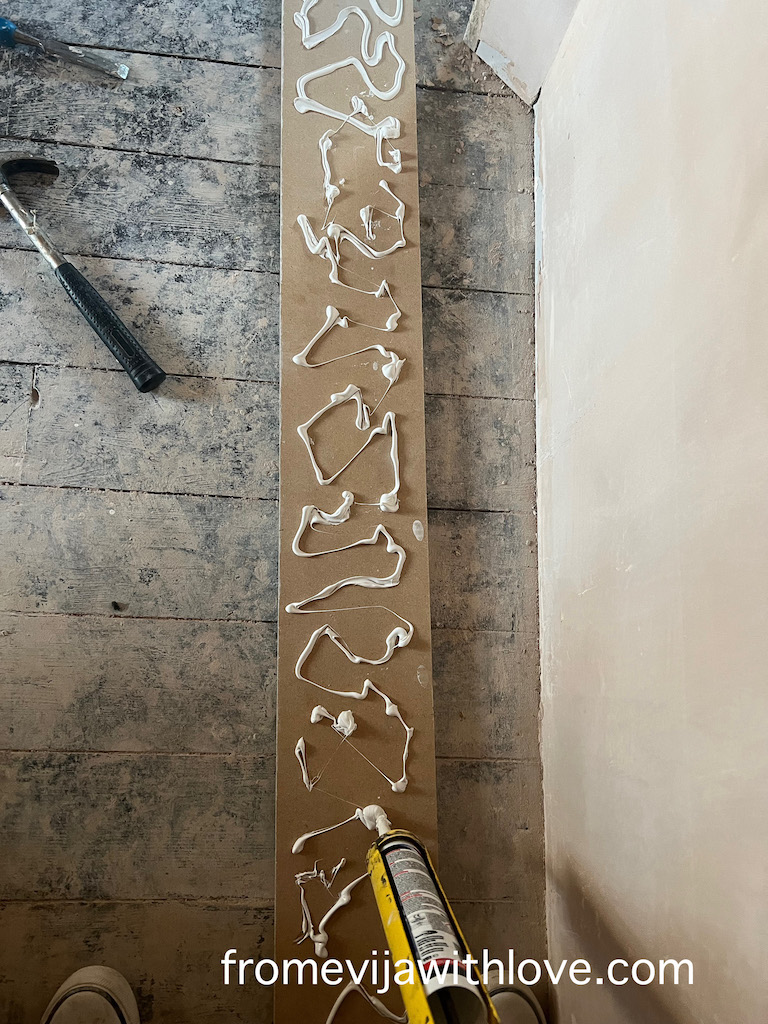
Once they were cut I used an adhesive and nail gun to fix them in place, using a level to make sure they were well.. level.. but don’t worry too much if they are not quite 100% perfect as in our case the floors are not level so any gaps will be covered by the carpet eventually anyway.

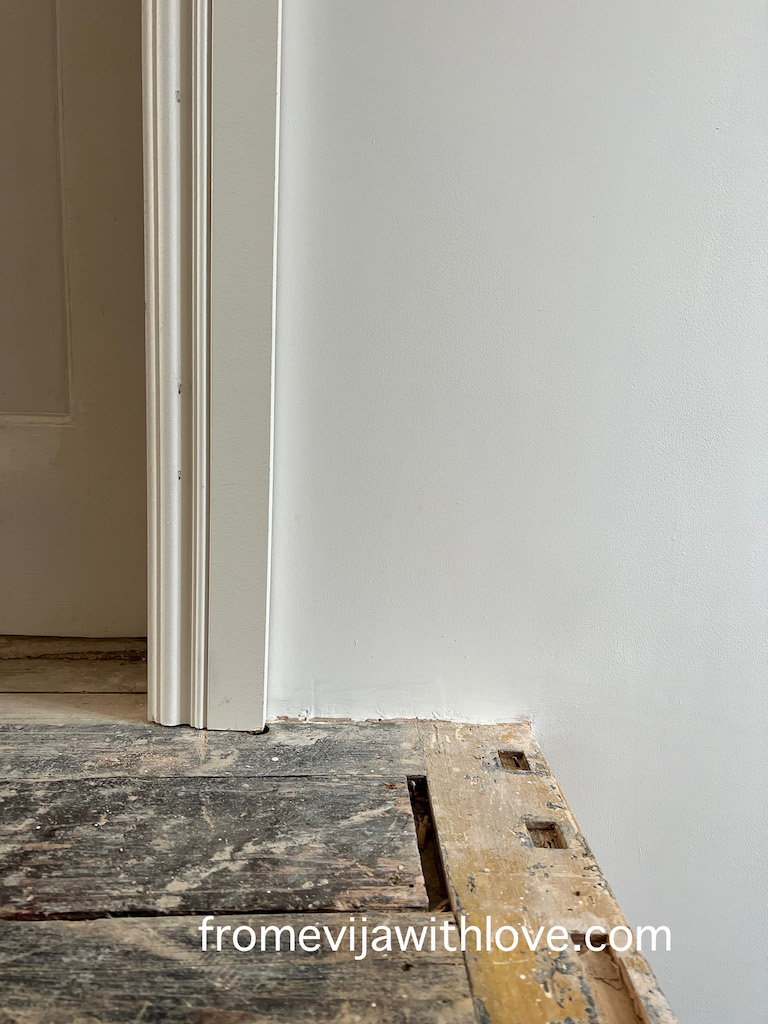


I used my mitre box to cut the angles on the door architraves.
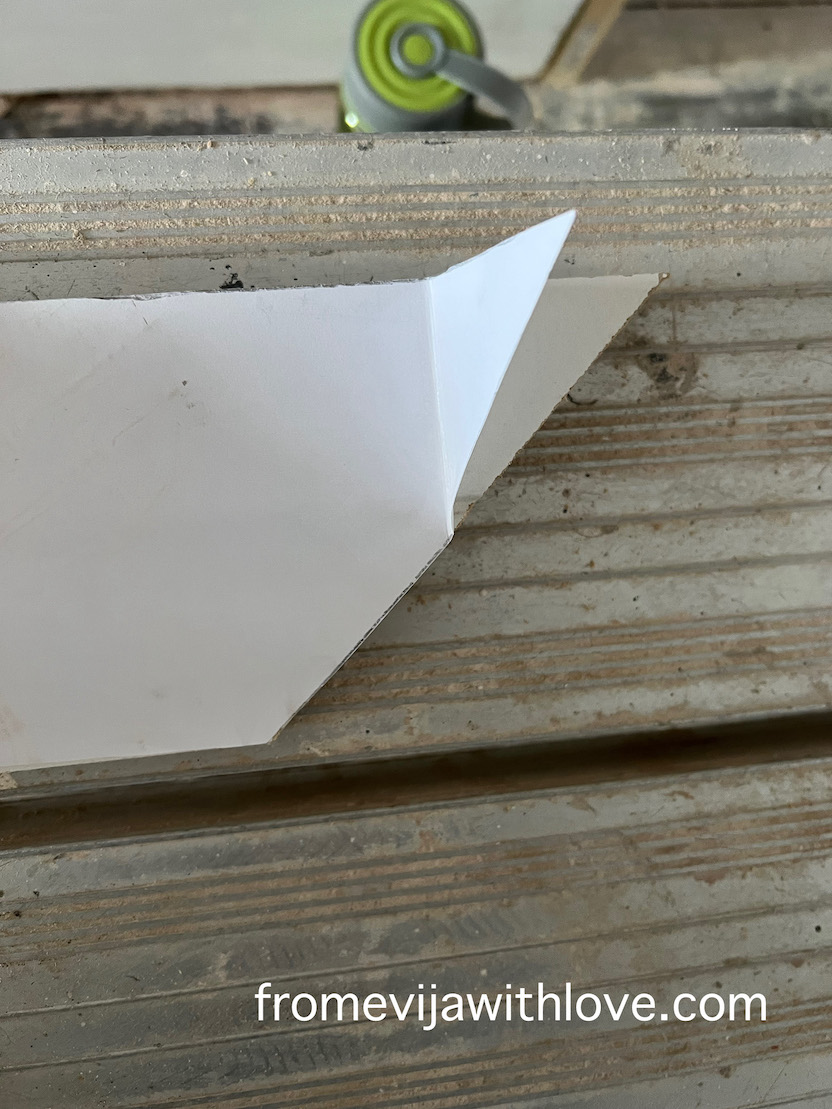
I used a paper template for the tricky corners!

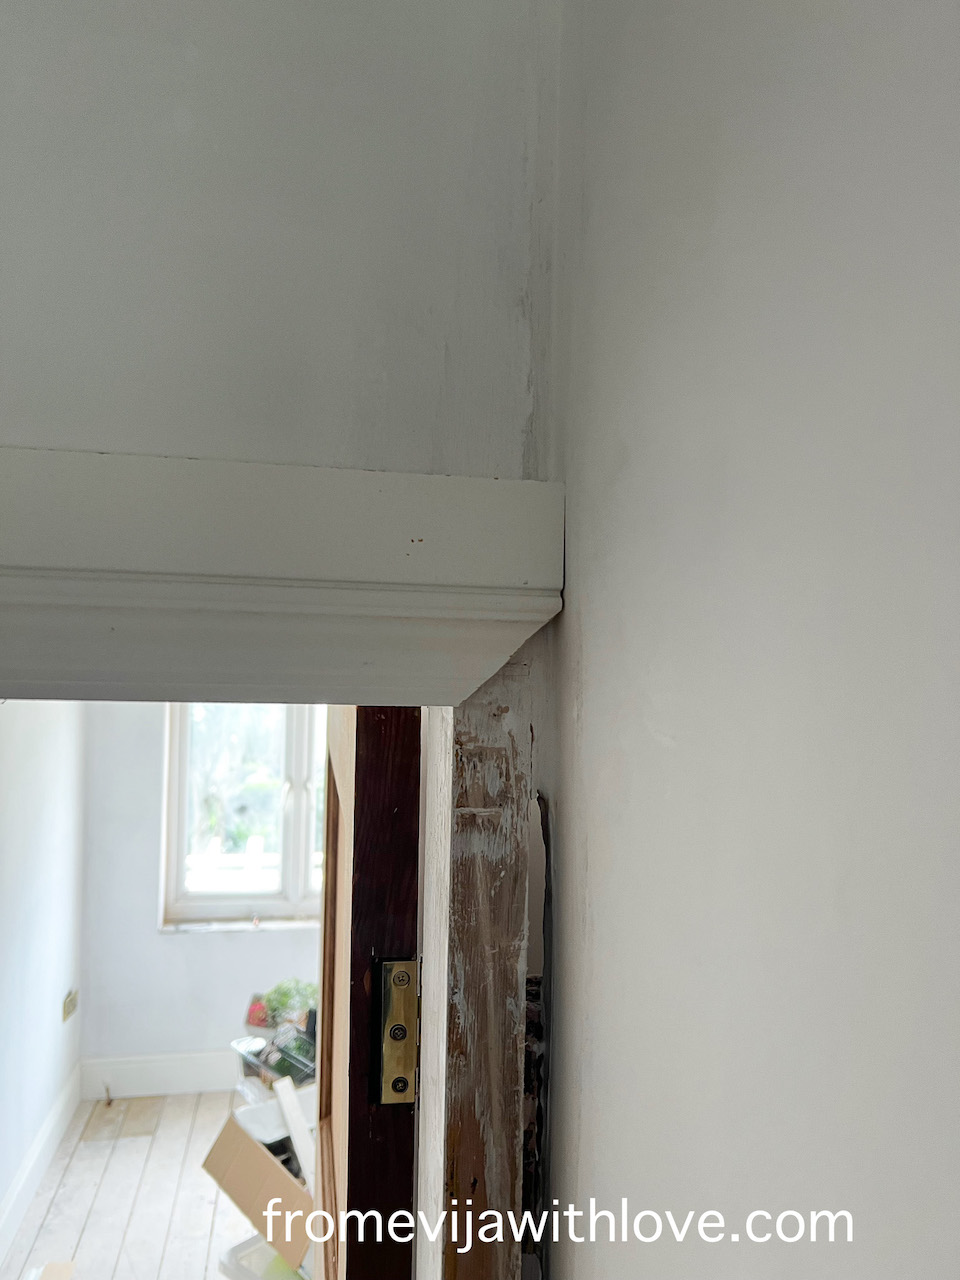

What do you think? Would you give it a go?