


This post contains affiliate links and some gifted items, which are clearly marked. I can’t quite believe how long it has taken me to actually share this bathroom makeover with you. It has been a while since we started renovating this space, there was quite a lot happening in our lives since we started the project back in April last year, so sharing the finished bathroom and this post has taken a bit longer than I anticipated.

We did have a few mishaps along the way with the plumbing (different coloured taps that needed replacing, minor leak and old drainage). I also had a long snagging list of things I needed to finish off before I could show you the bathroom makeover. The extension also took over a little as we needed to get the footings and the floor slab done and get it signed off before the winter kicked in. ANYWAY.. Thank you for hanging in there and if you missed any of the posts, you can catch up and read about how we planned the space and how we organised the trades to ensure the smooth running of this project.

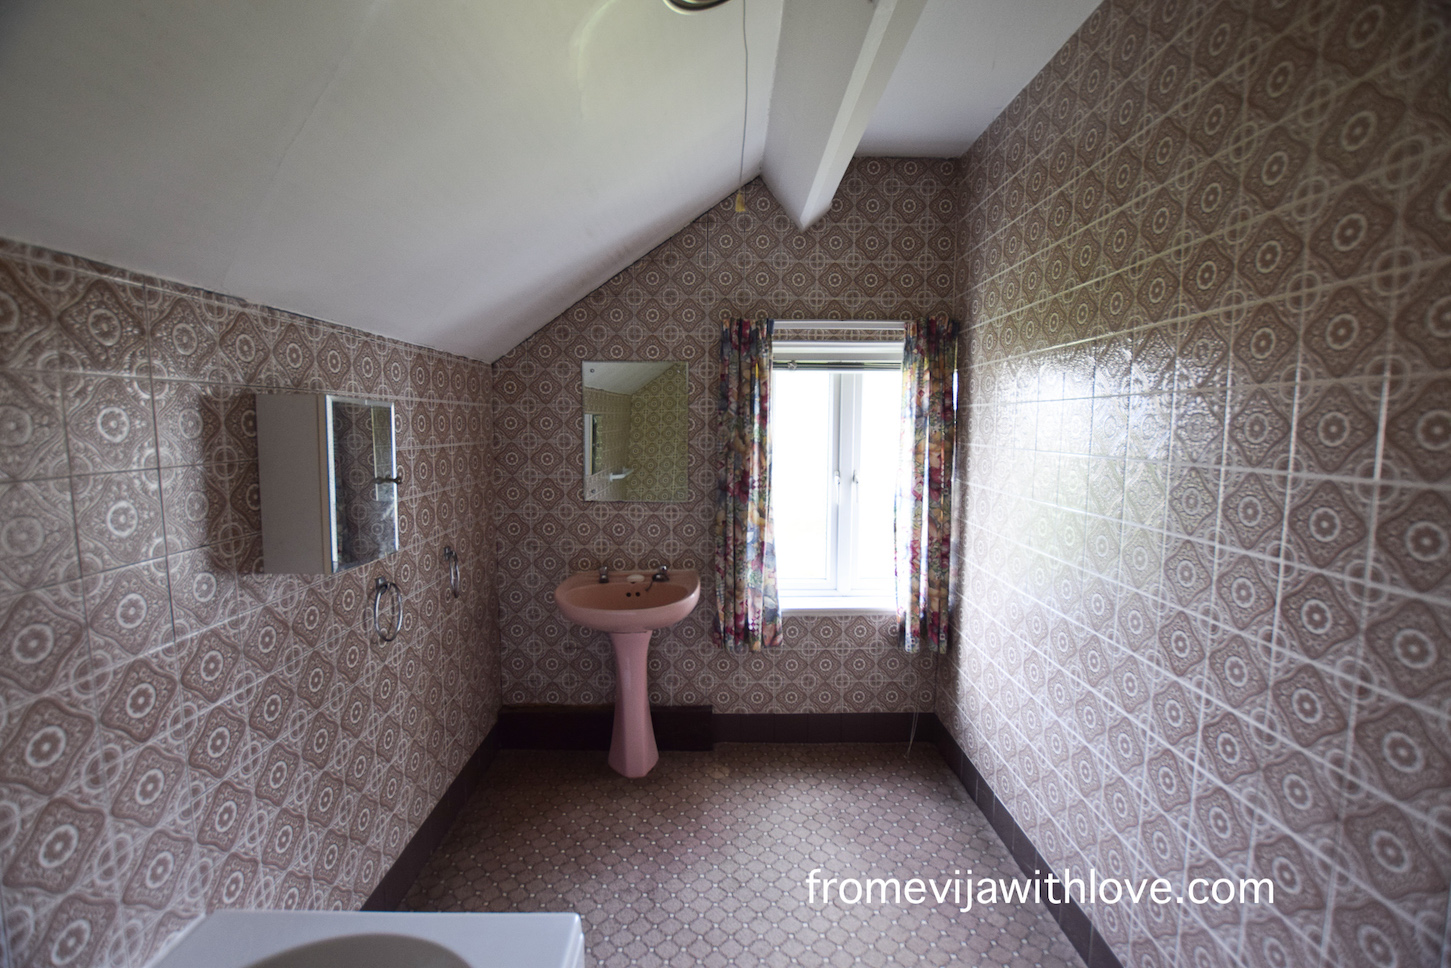
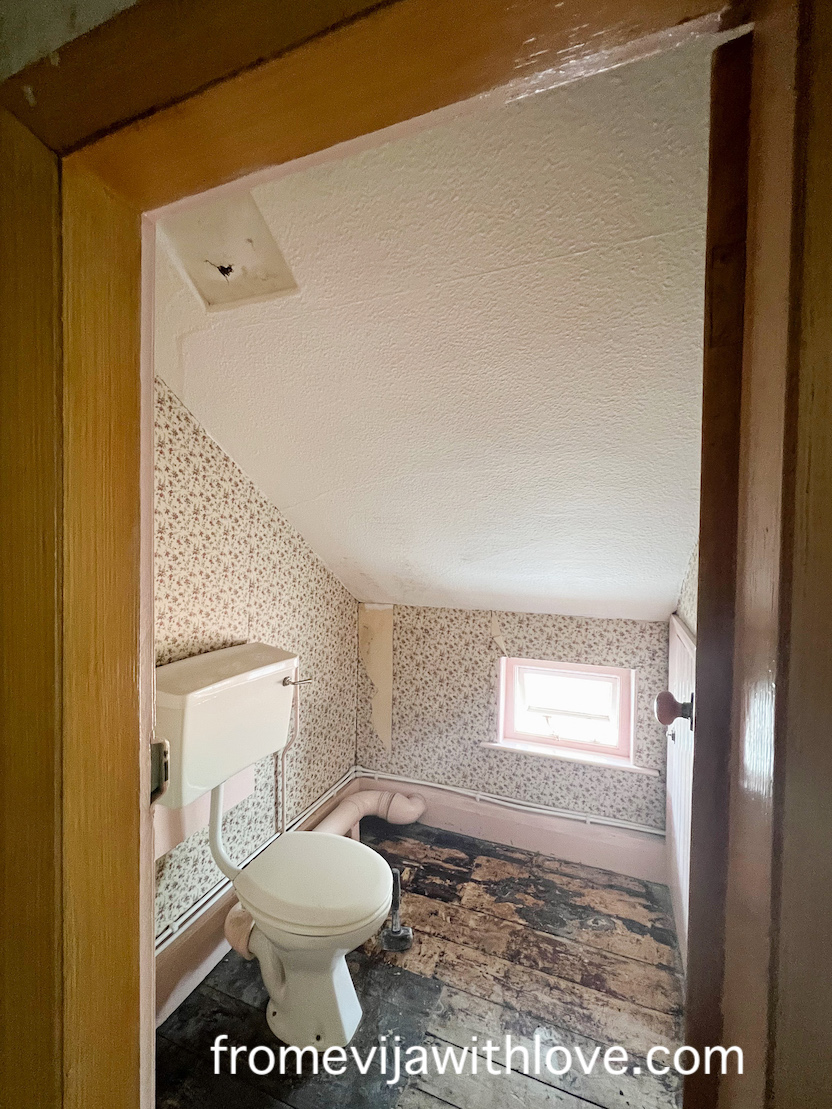
Let’s remind ourselves how this space looked BEFORE we started.
Bathroom Before
Layout


Tiles
It was very important for me to create a bathroom that we would love and would not want to change as bathrooms and kitchens are the two rooms that will cost you the most money to do. I didn’t want to play it too safe but also didn’t want to go too wild and then get sick of the tiles or the pattern in a few months. I also don’t really follow trends and tend to follow my gut feeling.

Monochrome in my eyes is such a classic look, so after a lot of research, numerous tile sample orders, we settled on these gorgeous tiles by Mandarin Stone. I went with the Hoxton tile for the shower enclosure in white and Casablanca mono 12/12 for the floor.
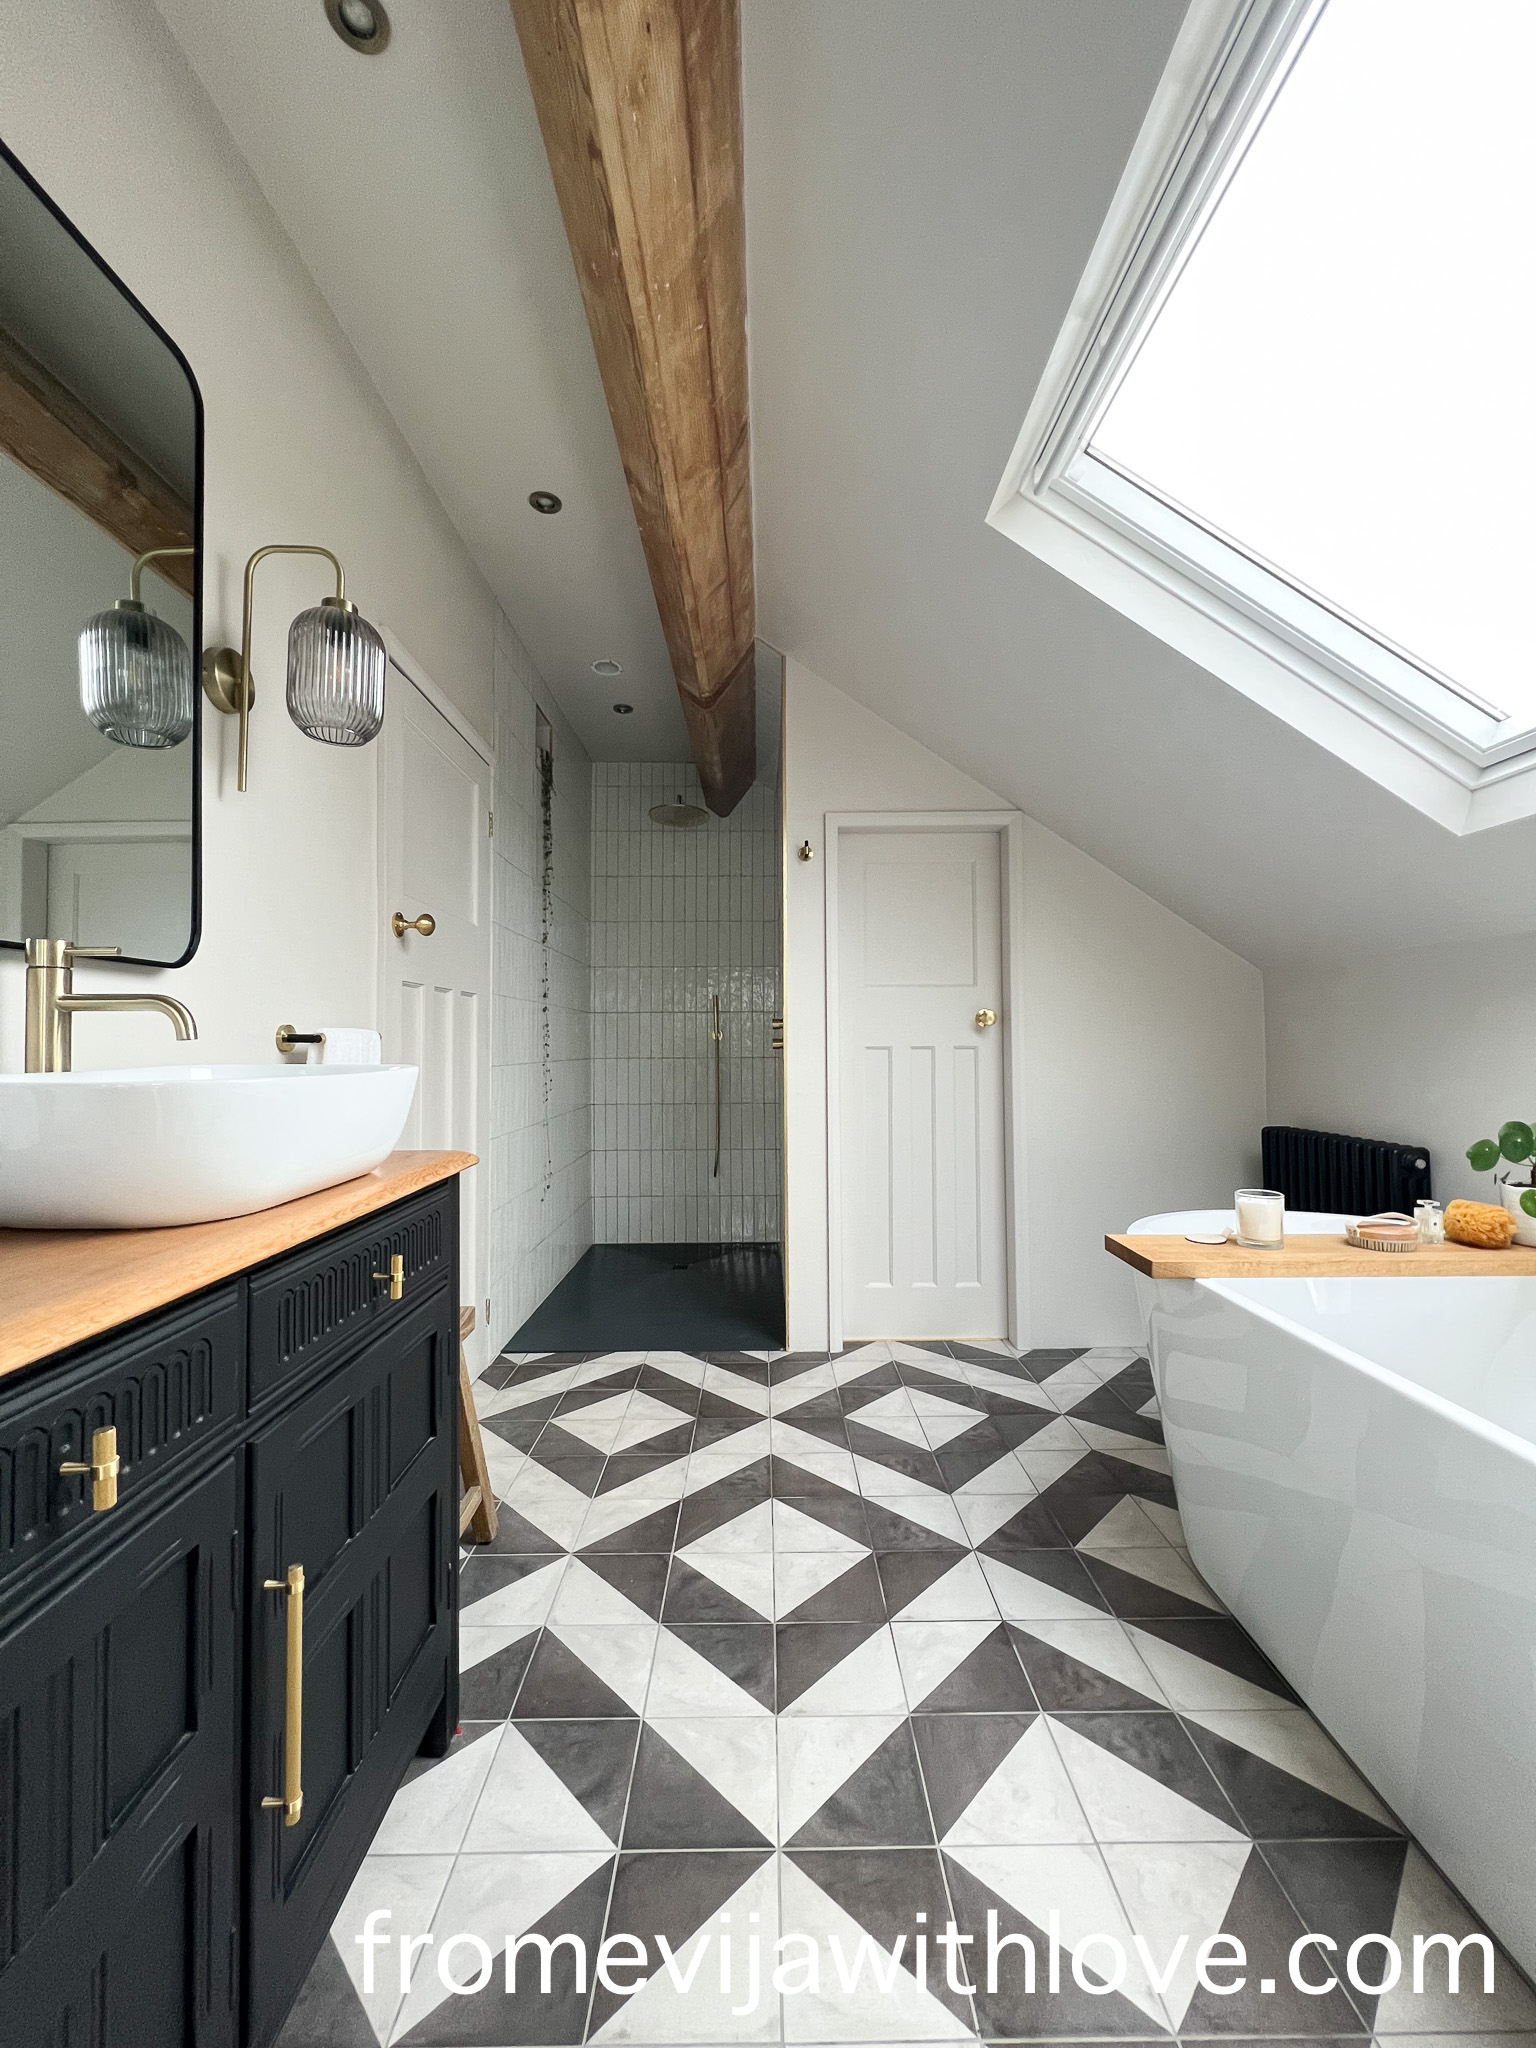
We used darker grey grout for the floors and light grey grout for the shower enclosure.
Bath
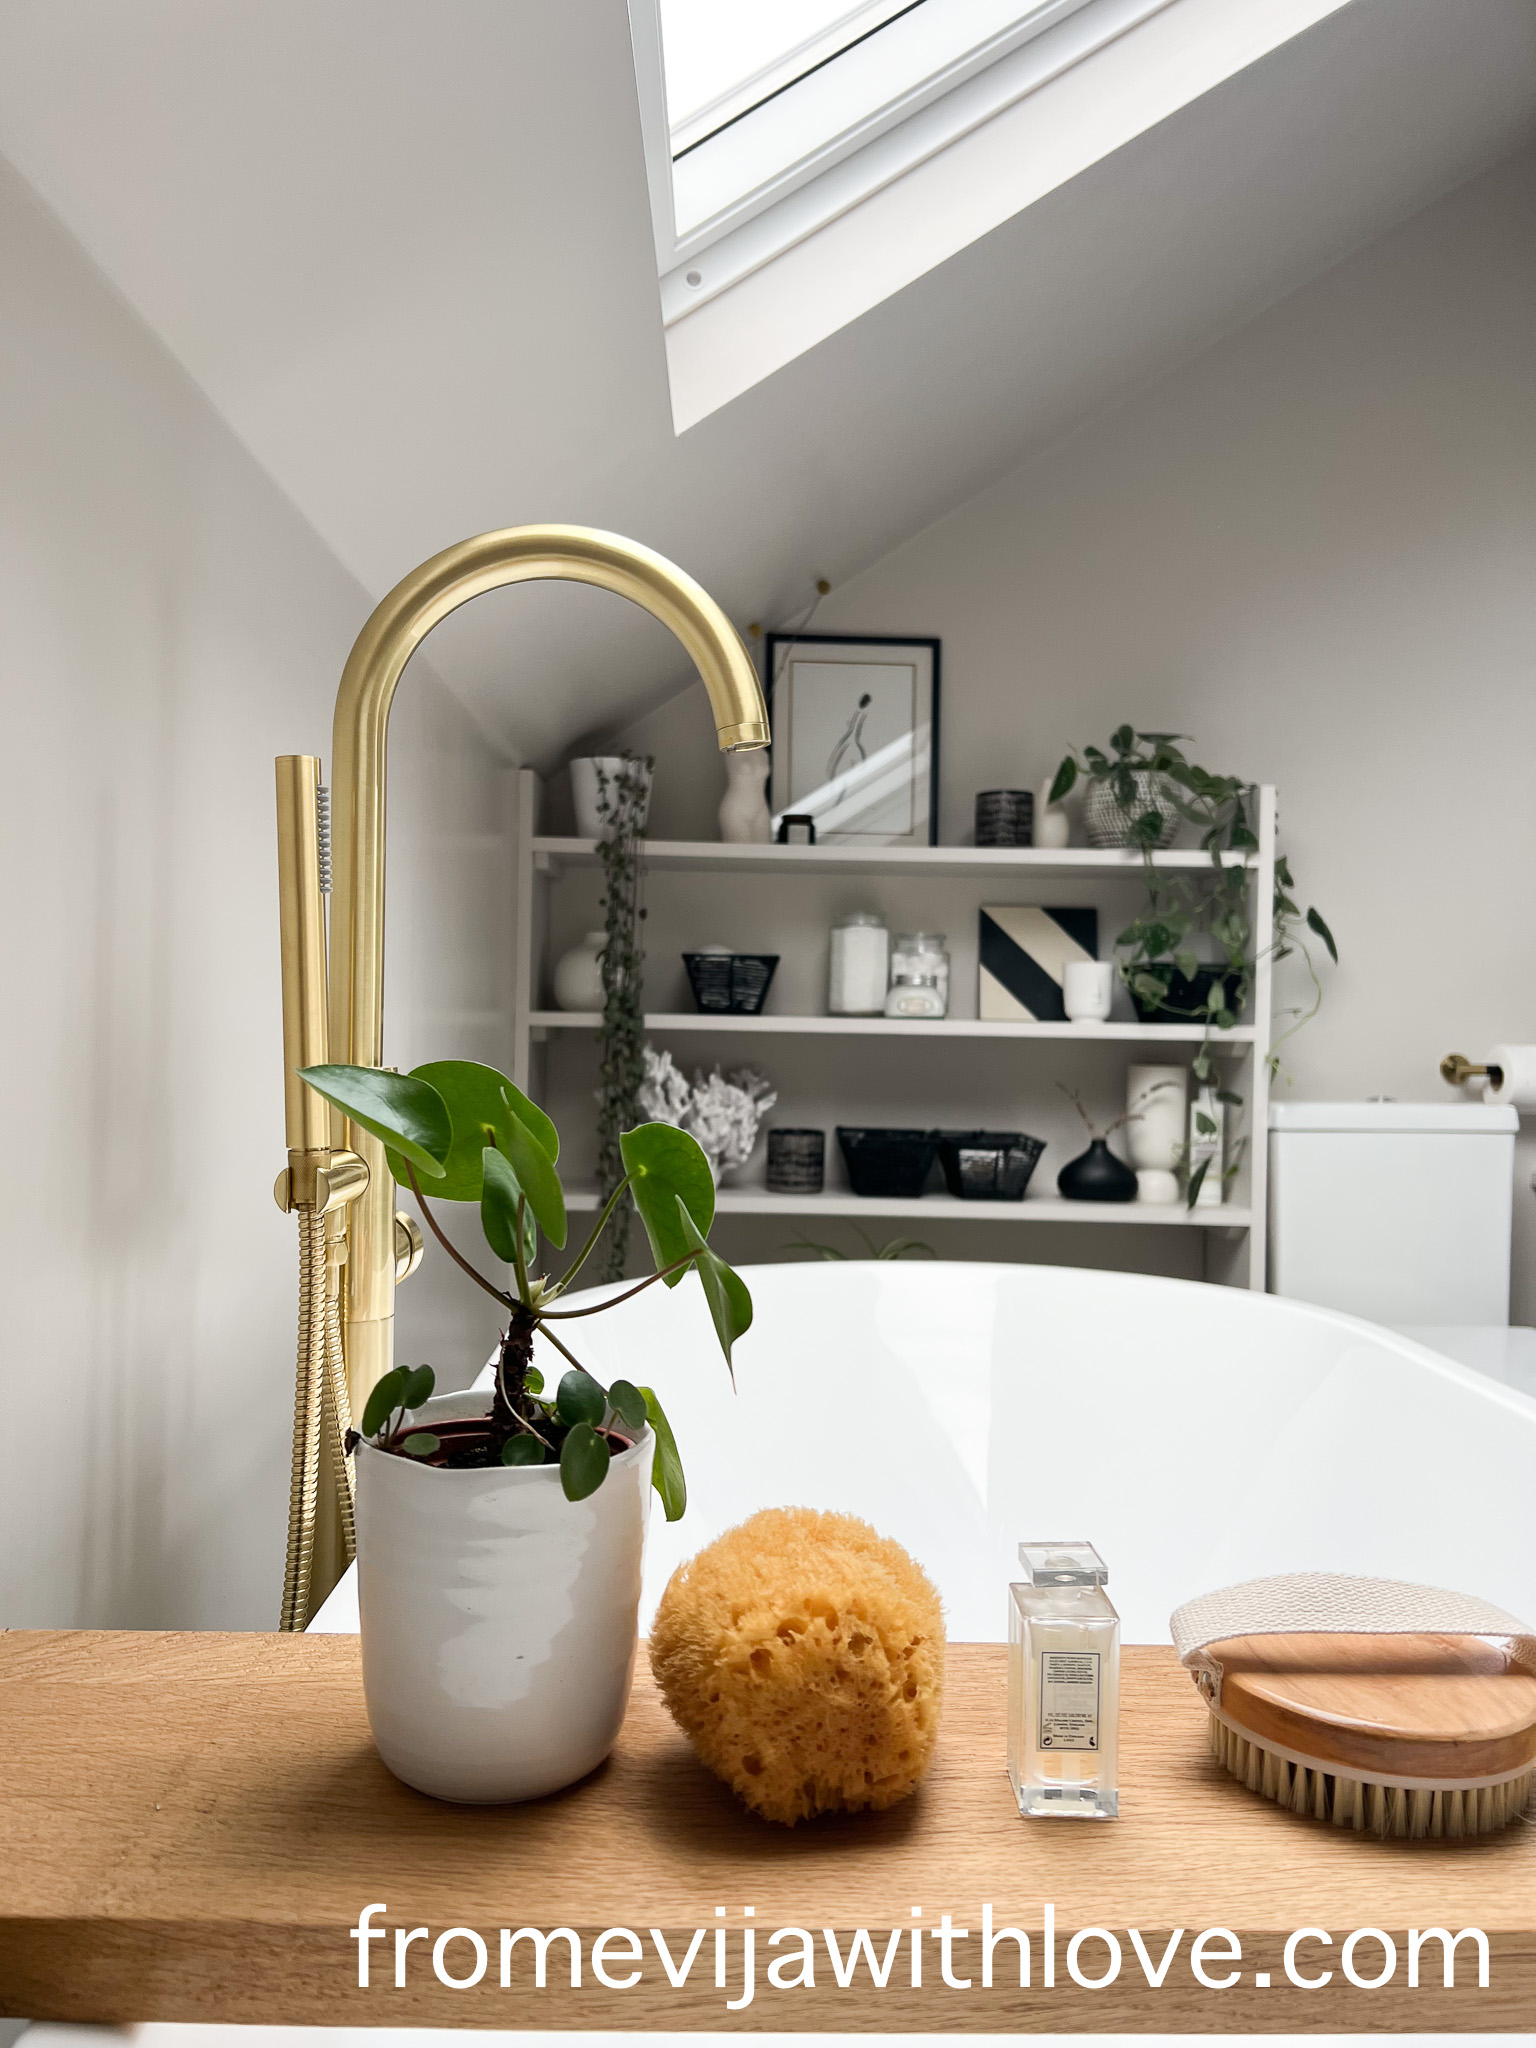
My dream bath is from Bathroom Mountain. It is MASSIVE!! We had the space to have a large bath so decided to go for it. It is nice and comfortable although it is very deep and I have to make sure it’s not completely full. It is called Hyde and is 1800mm long, we got it from Bathroom Mountain.

Shower
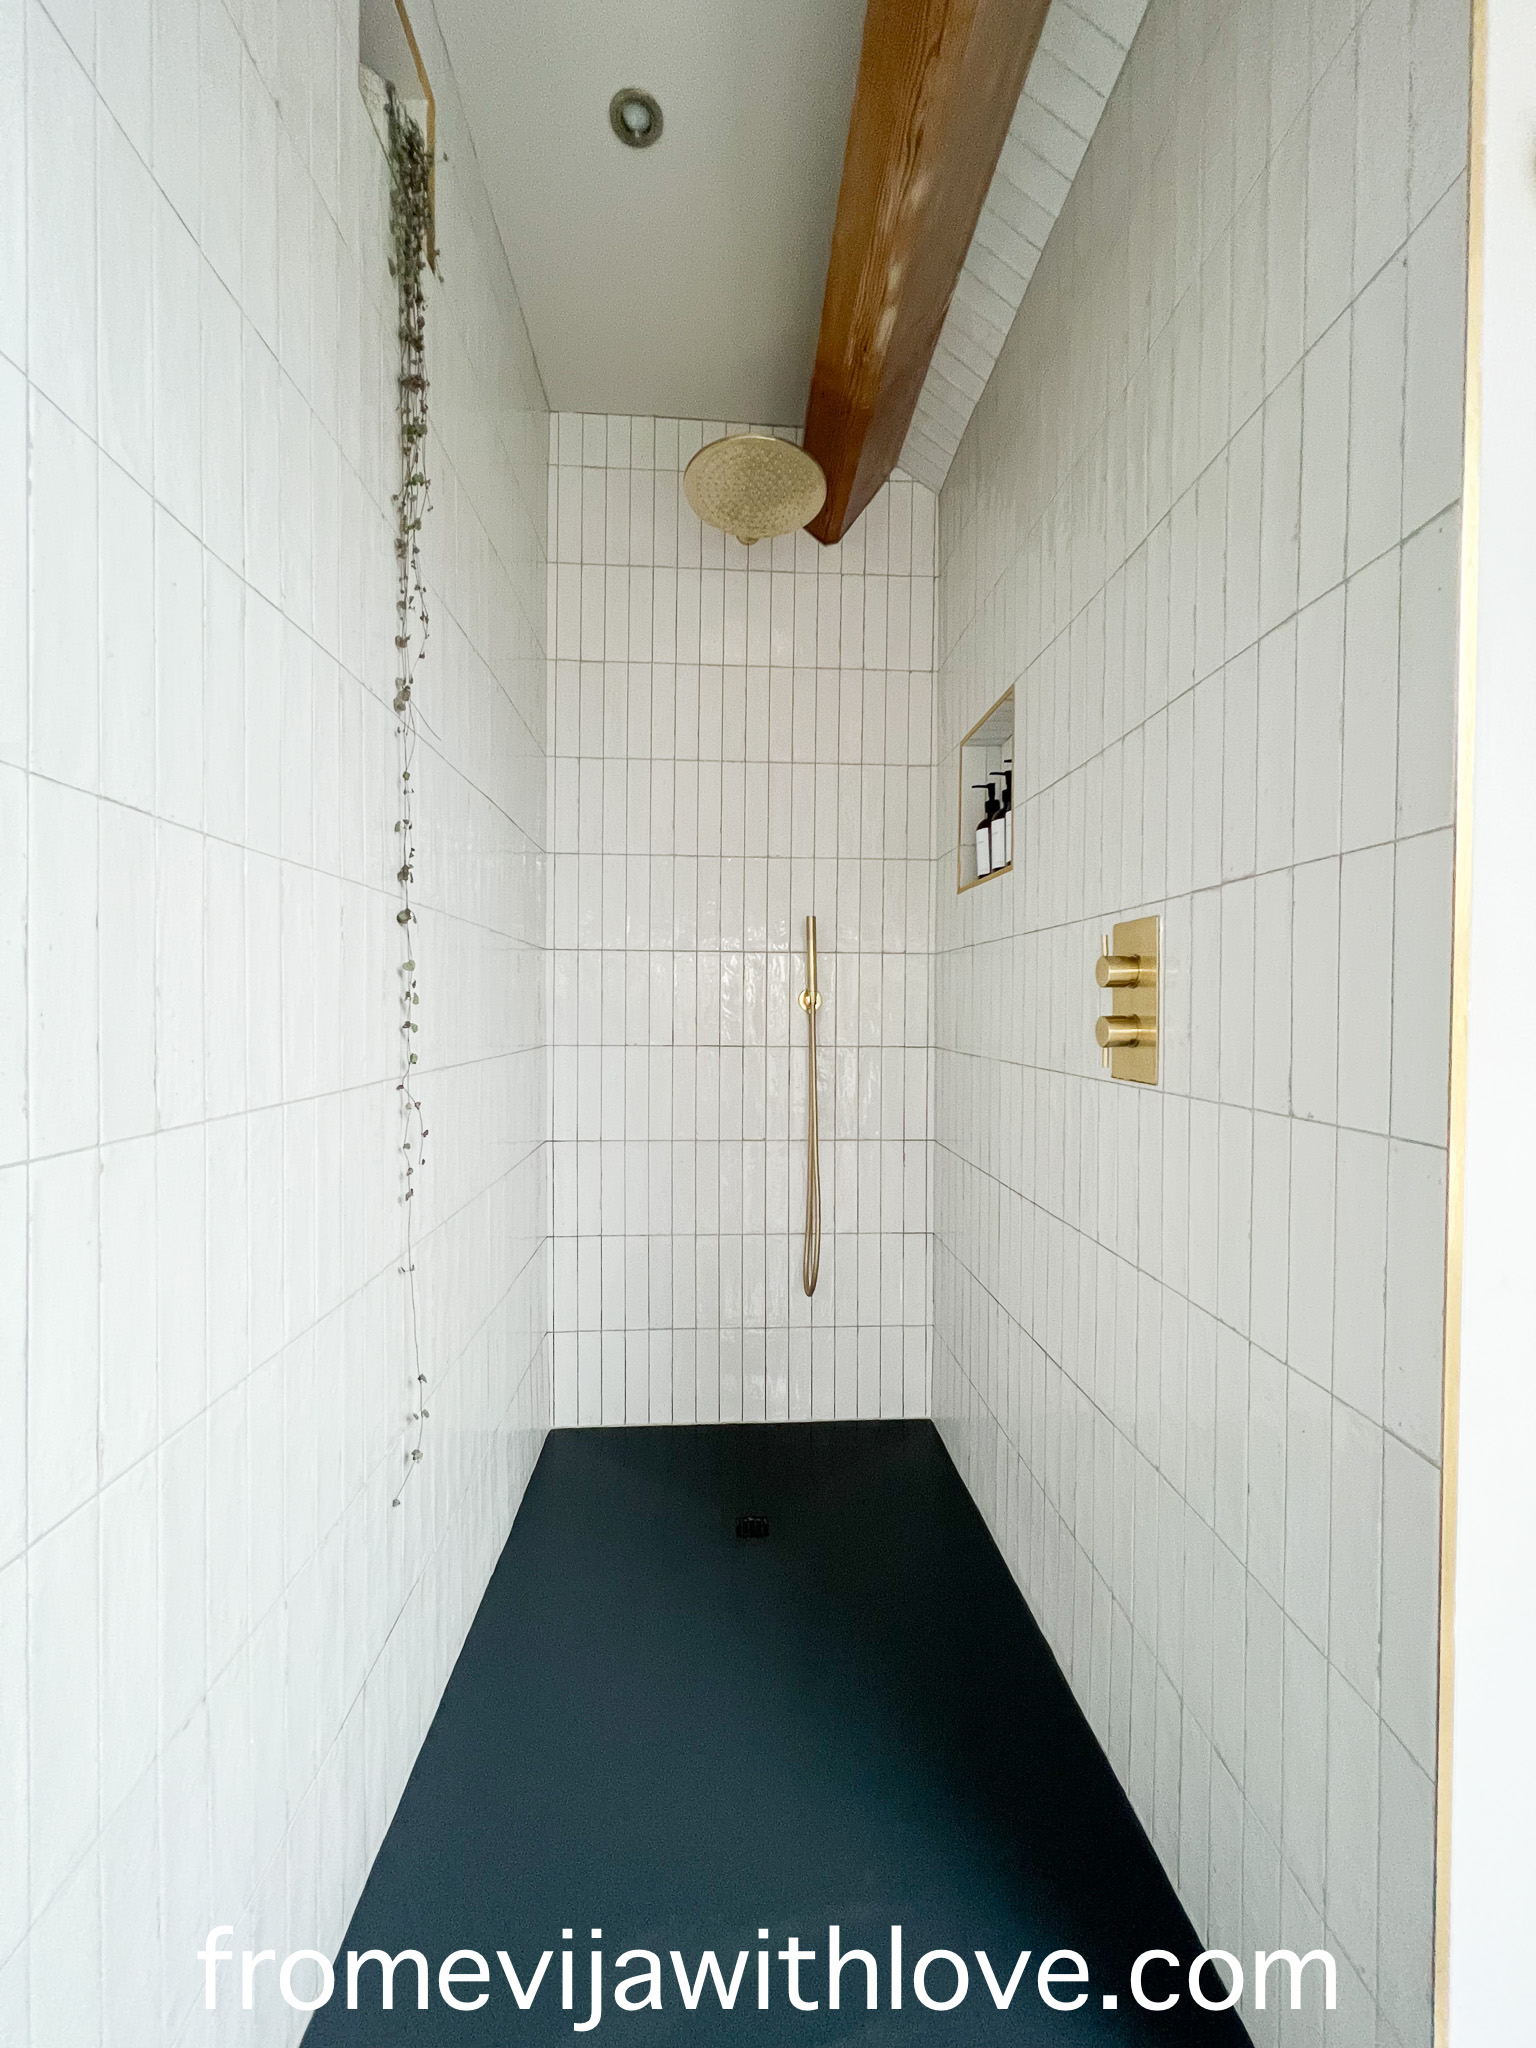
We LOVE our shower. The shower tray is Giorgio from Tissino in slate grey (measures 1.5 m x 1m). We originally wanted a black tray but due to the delays in shipment, which kept being extended we ended up going for the slate grey instead as we didn’t want this to hold up our renovation. We used matching taps and accessories but I won’t link them as we’ve had some issues with the colour matching and also the quality is not as great as I would like them to be especially for the amount they cost us!!
Radiator and valves
The radiator is also from Bath Mountain and I ordered some lovely brass valves and matching radiator covers. I thought the cost was for a set, so not quite the bargain I thought they were, but they do look very pretty so they were worth it.

Vanity unit
I couldn’t find the vanity unit that was big enough for the space and everything I could find was so over the budget, we decided to instead build our own by upcycling an old cabinet.


Accessories and lighting
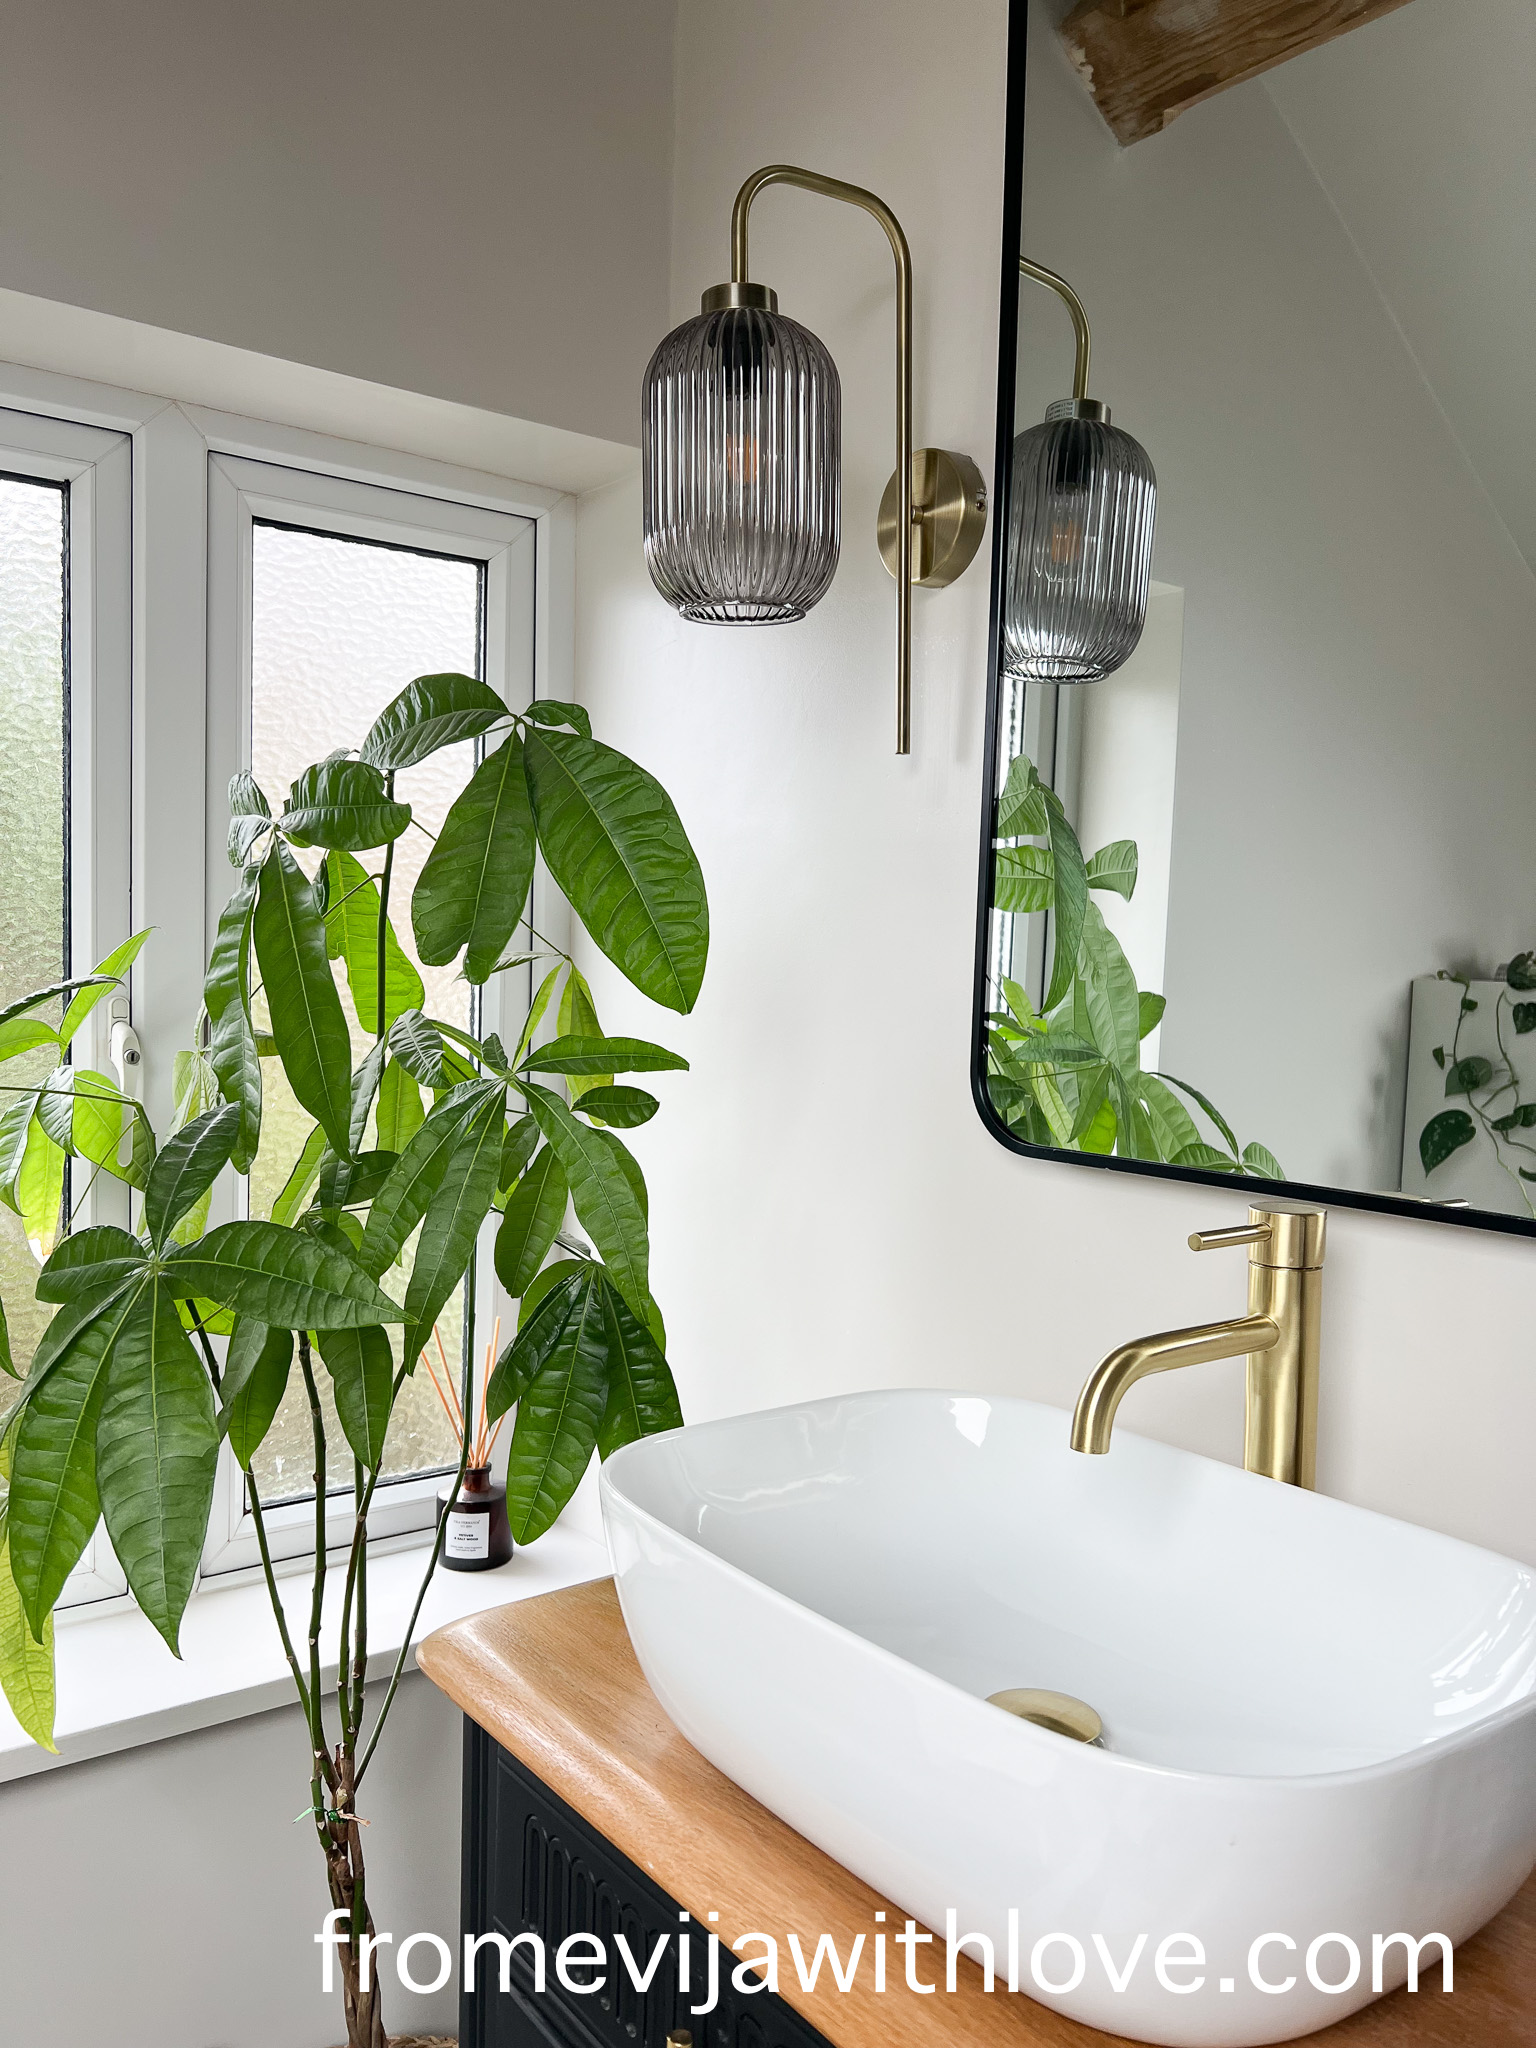
We got the downlights in brushed brass and the wall lights are from made.com. We ordered these mirrors from Amazon and they are perfect for the space. The door handles are by Touchpoint and we have them throughout the house.

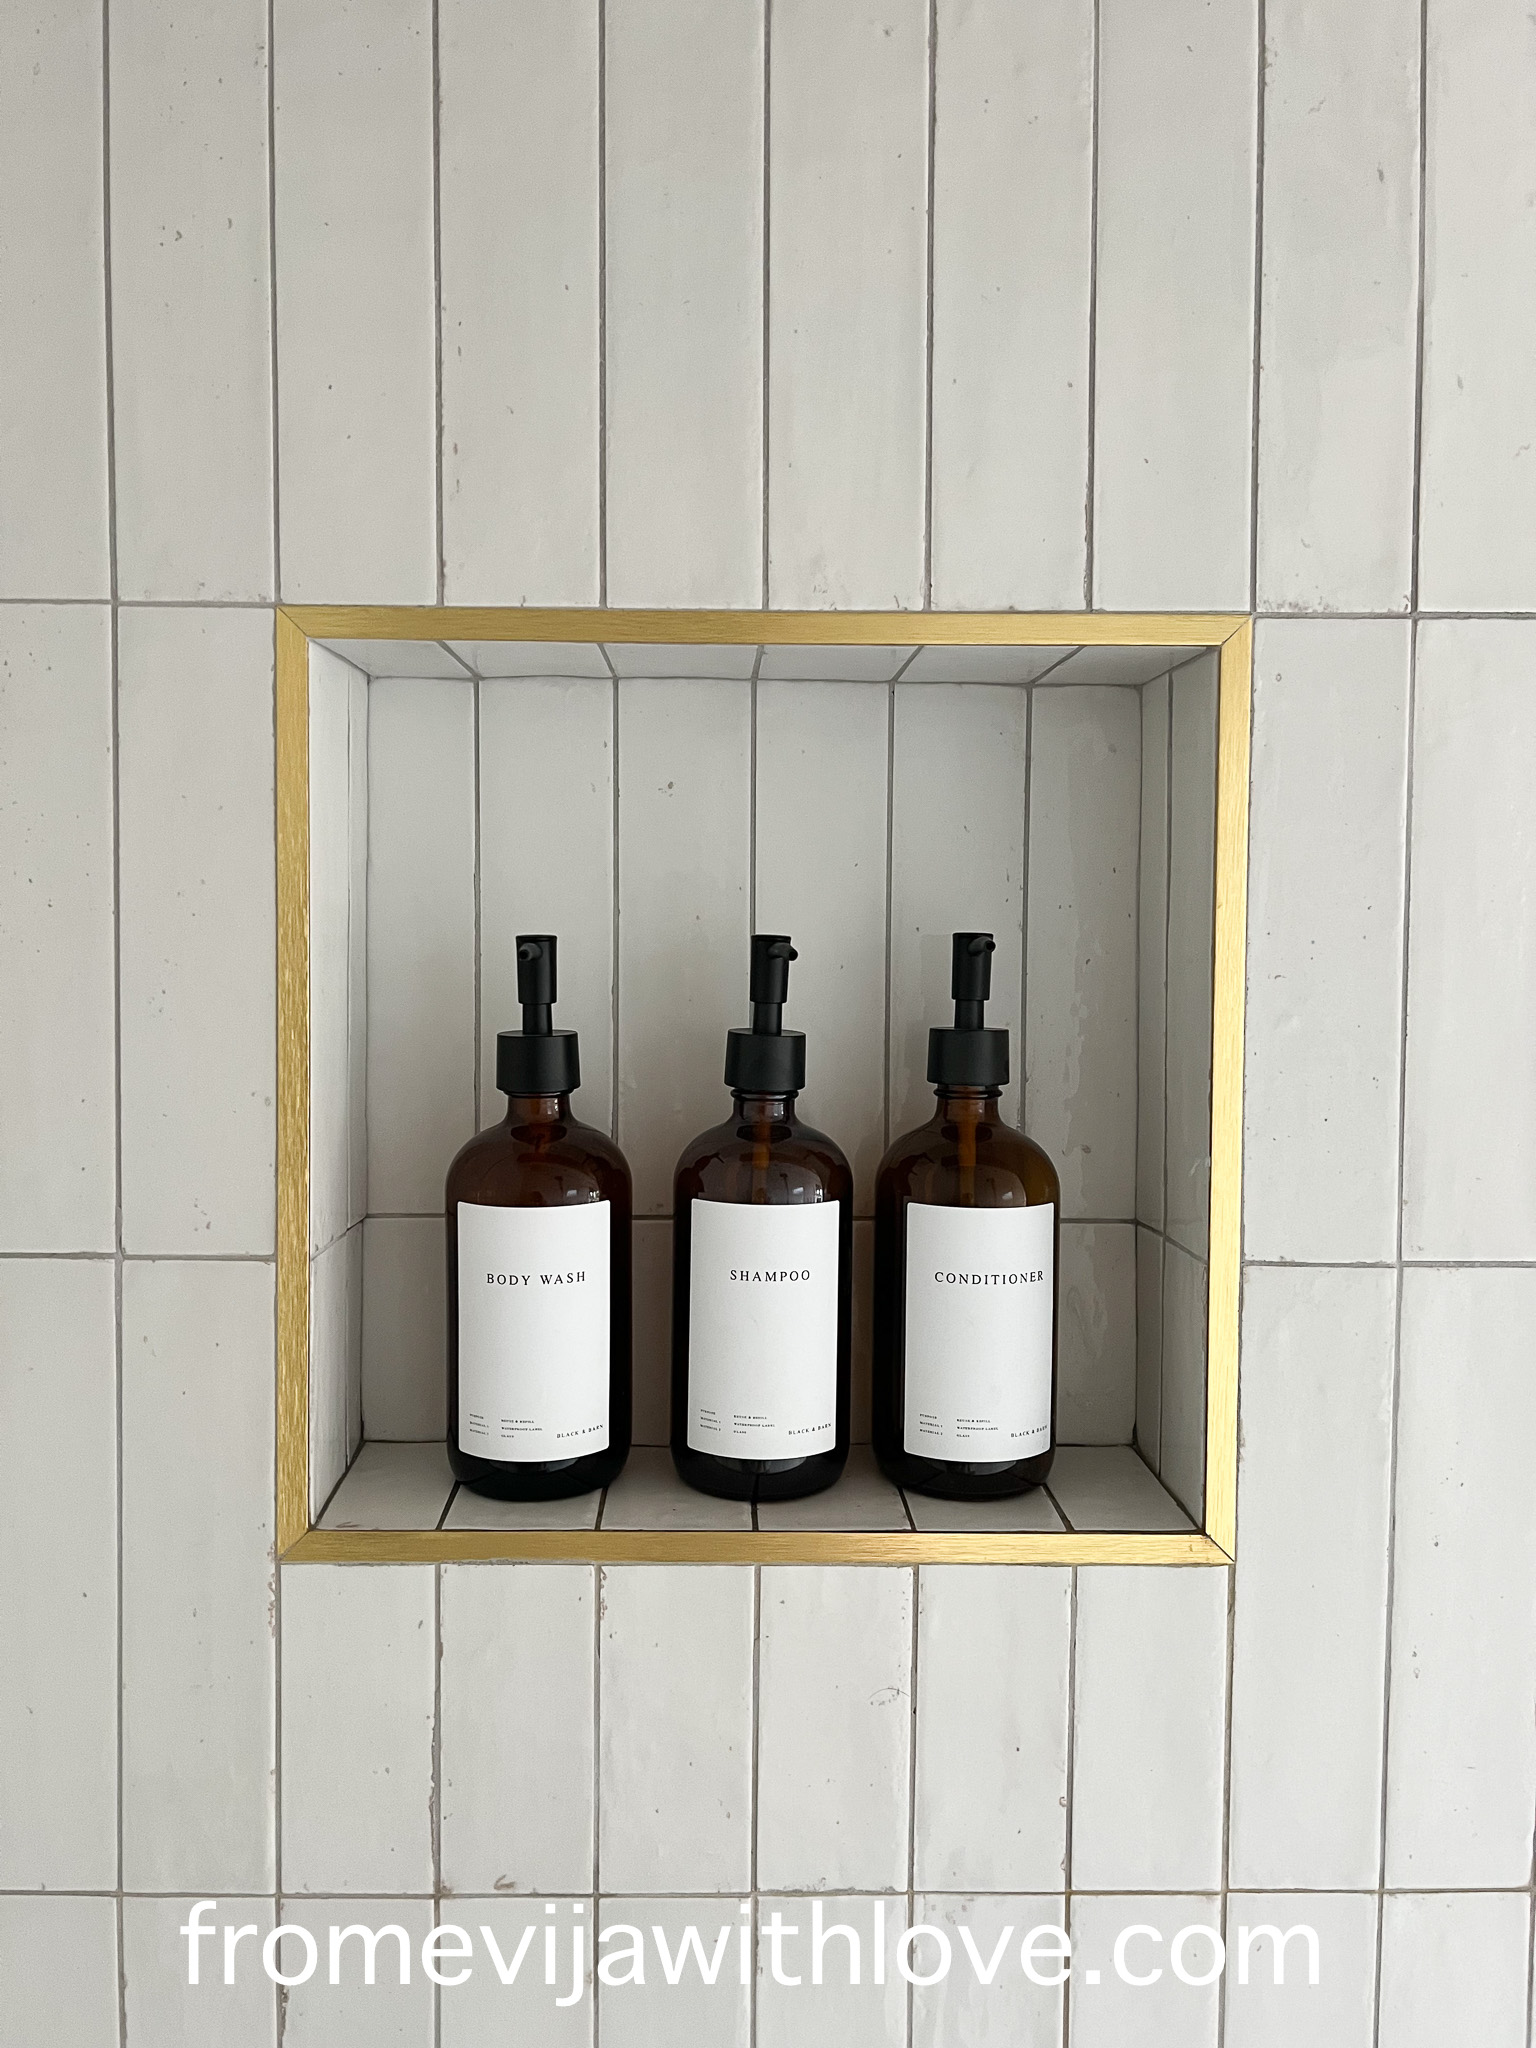
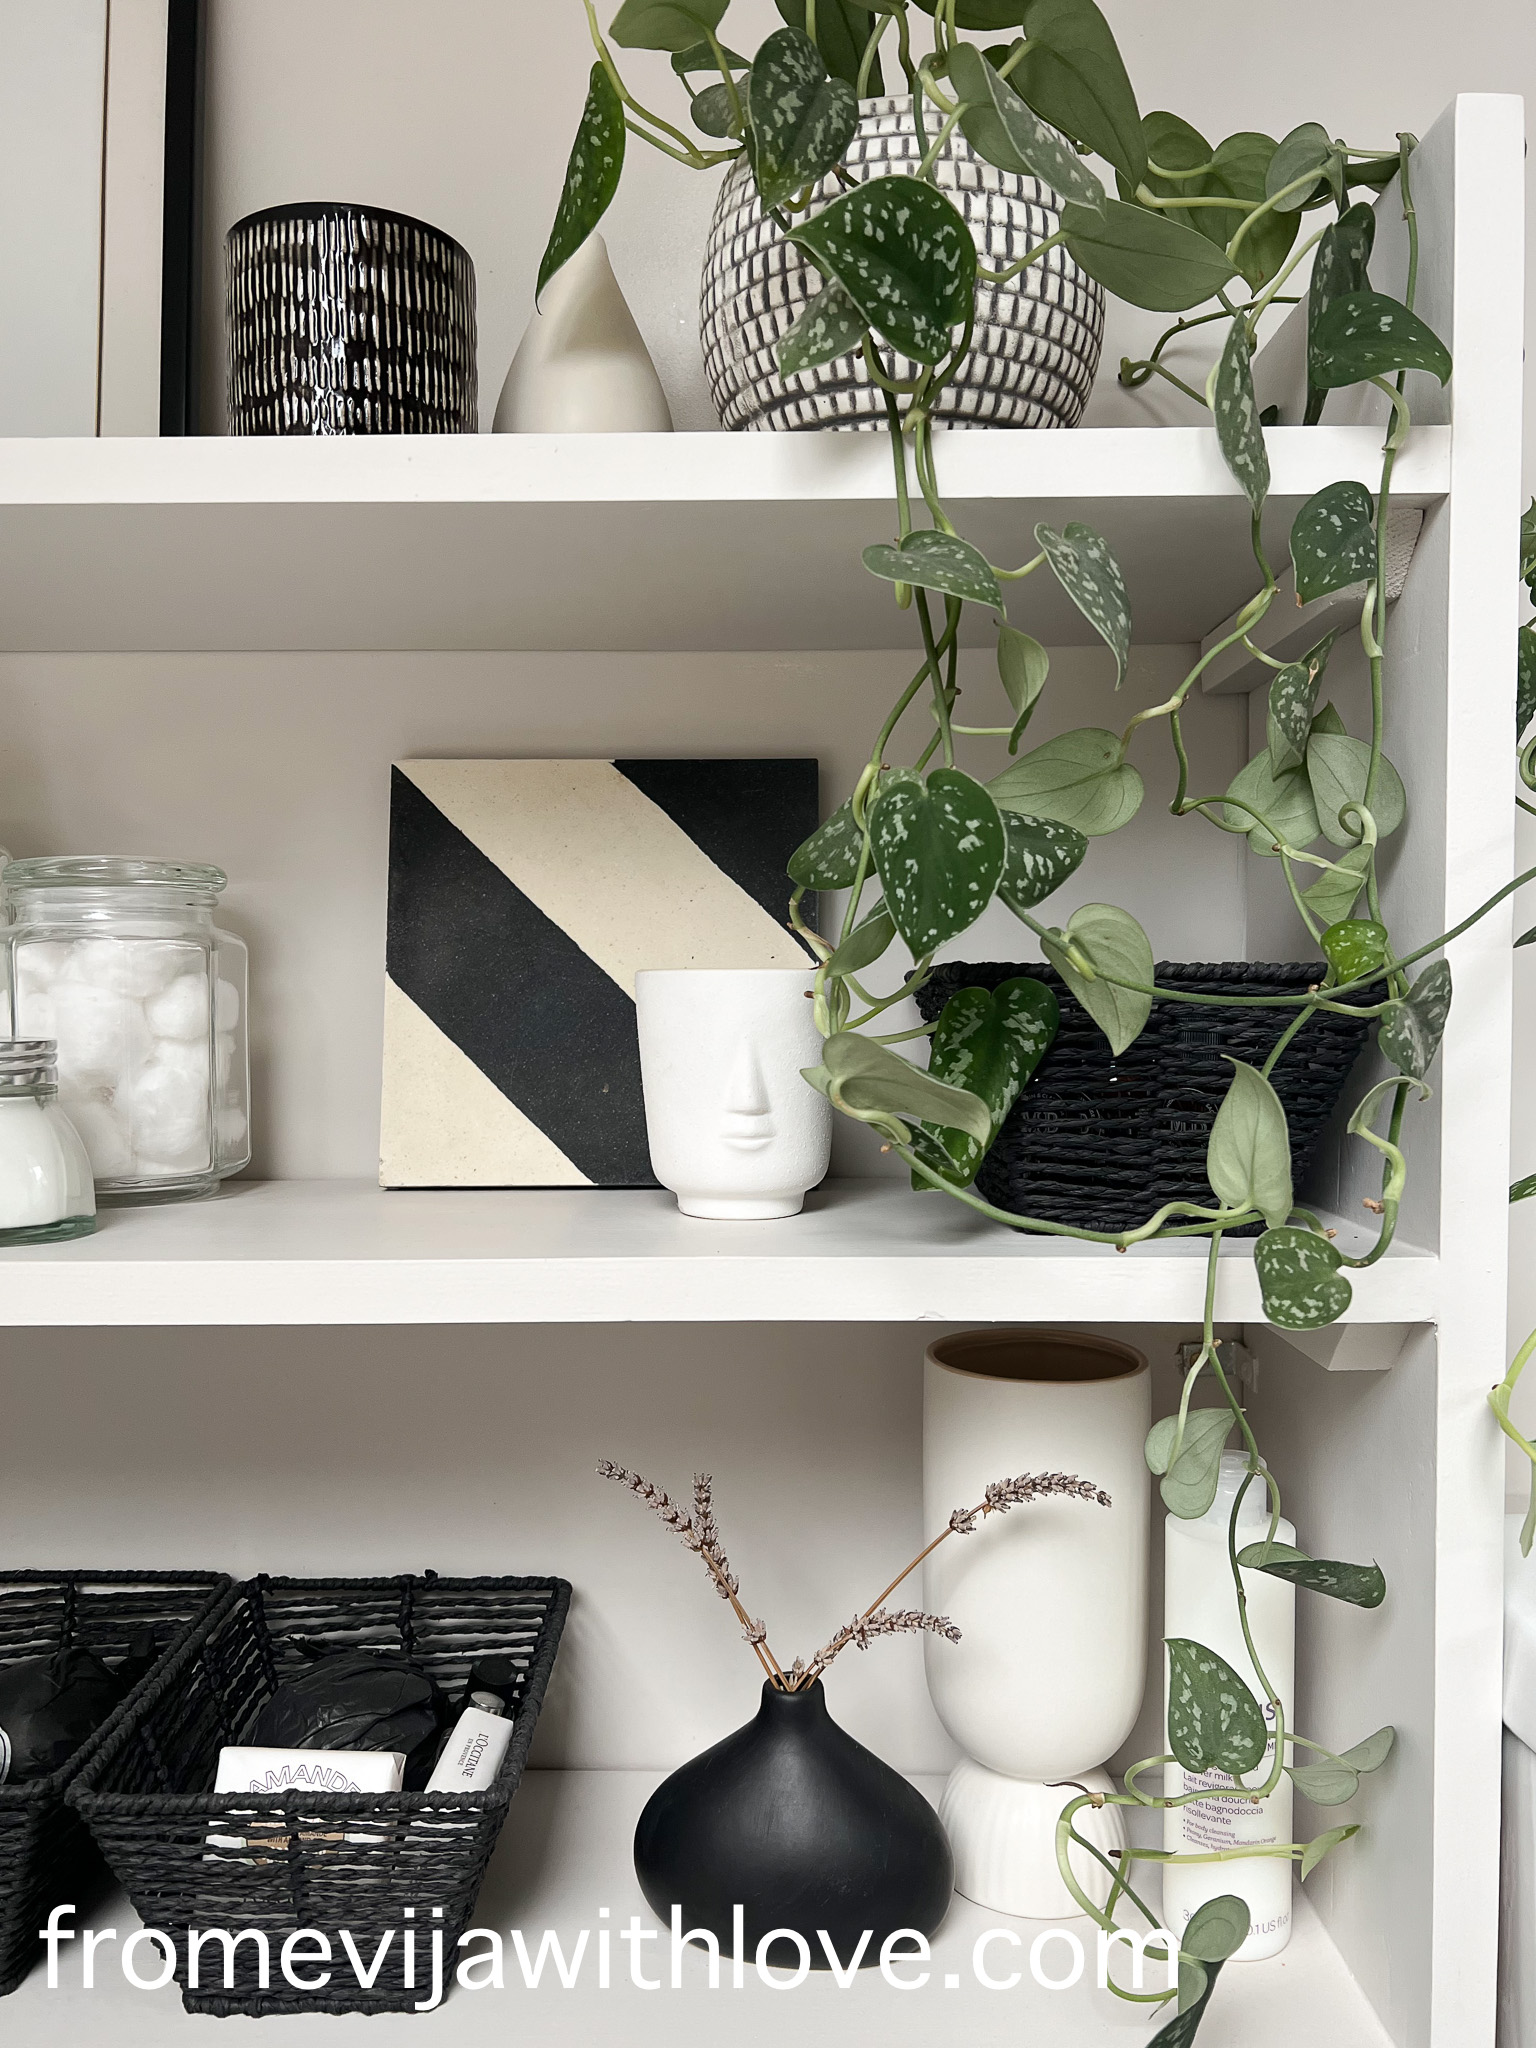
The beautiful glass pump bottles are all from Black & Barn and the cement tray is from a small business on Etsy called OpheRose. Candle and the difuser are both from an Isle of Man small business called Imvelo Candle Co and are absolute gorgeous! They smell divine and are eco friendly! The little bathroom stool is from La Redoute and towels are from H&M.


Paint
I used the beautiful paint by Coat Paints. The wall and unit colour is called “Good Intentions“. I used the “soft sheen” finish for the walls and ceiling (as this was for the bathroom) and “eggshell” for the woodwork.

This paint is so thick and creamy, the bathroom only has had 1 mist coat and 1 coat to finish it off. I was a little apprehensive to use soft sheen as I really wanted a matt finish, however, the finish is beautiful and not at all shiny, it bounces the light off nicely and the coverage is absolutely amazing. I primed the doors and the wooden unit using Zinser Primer before painting it using the eggshell finish.

Beam and windowsill
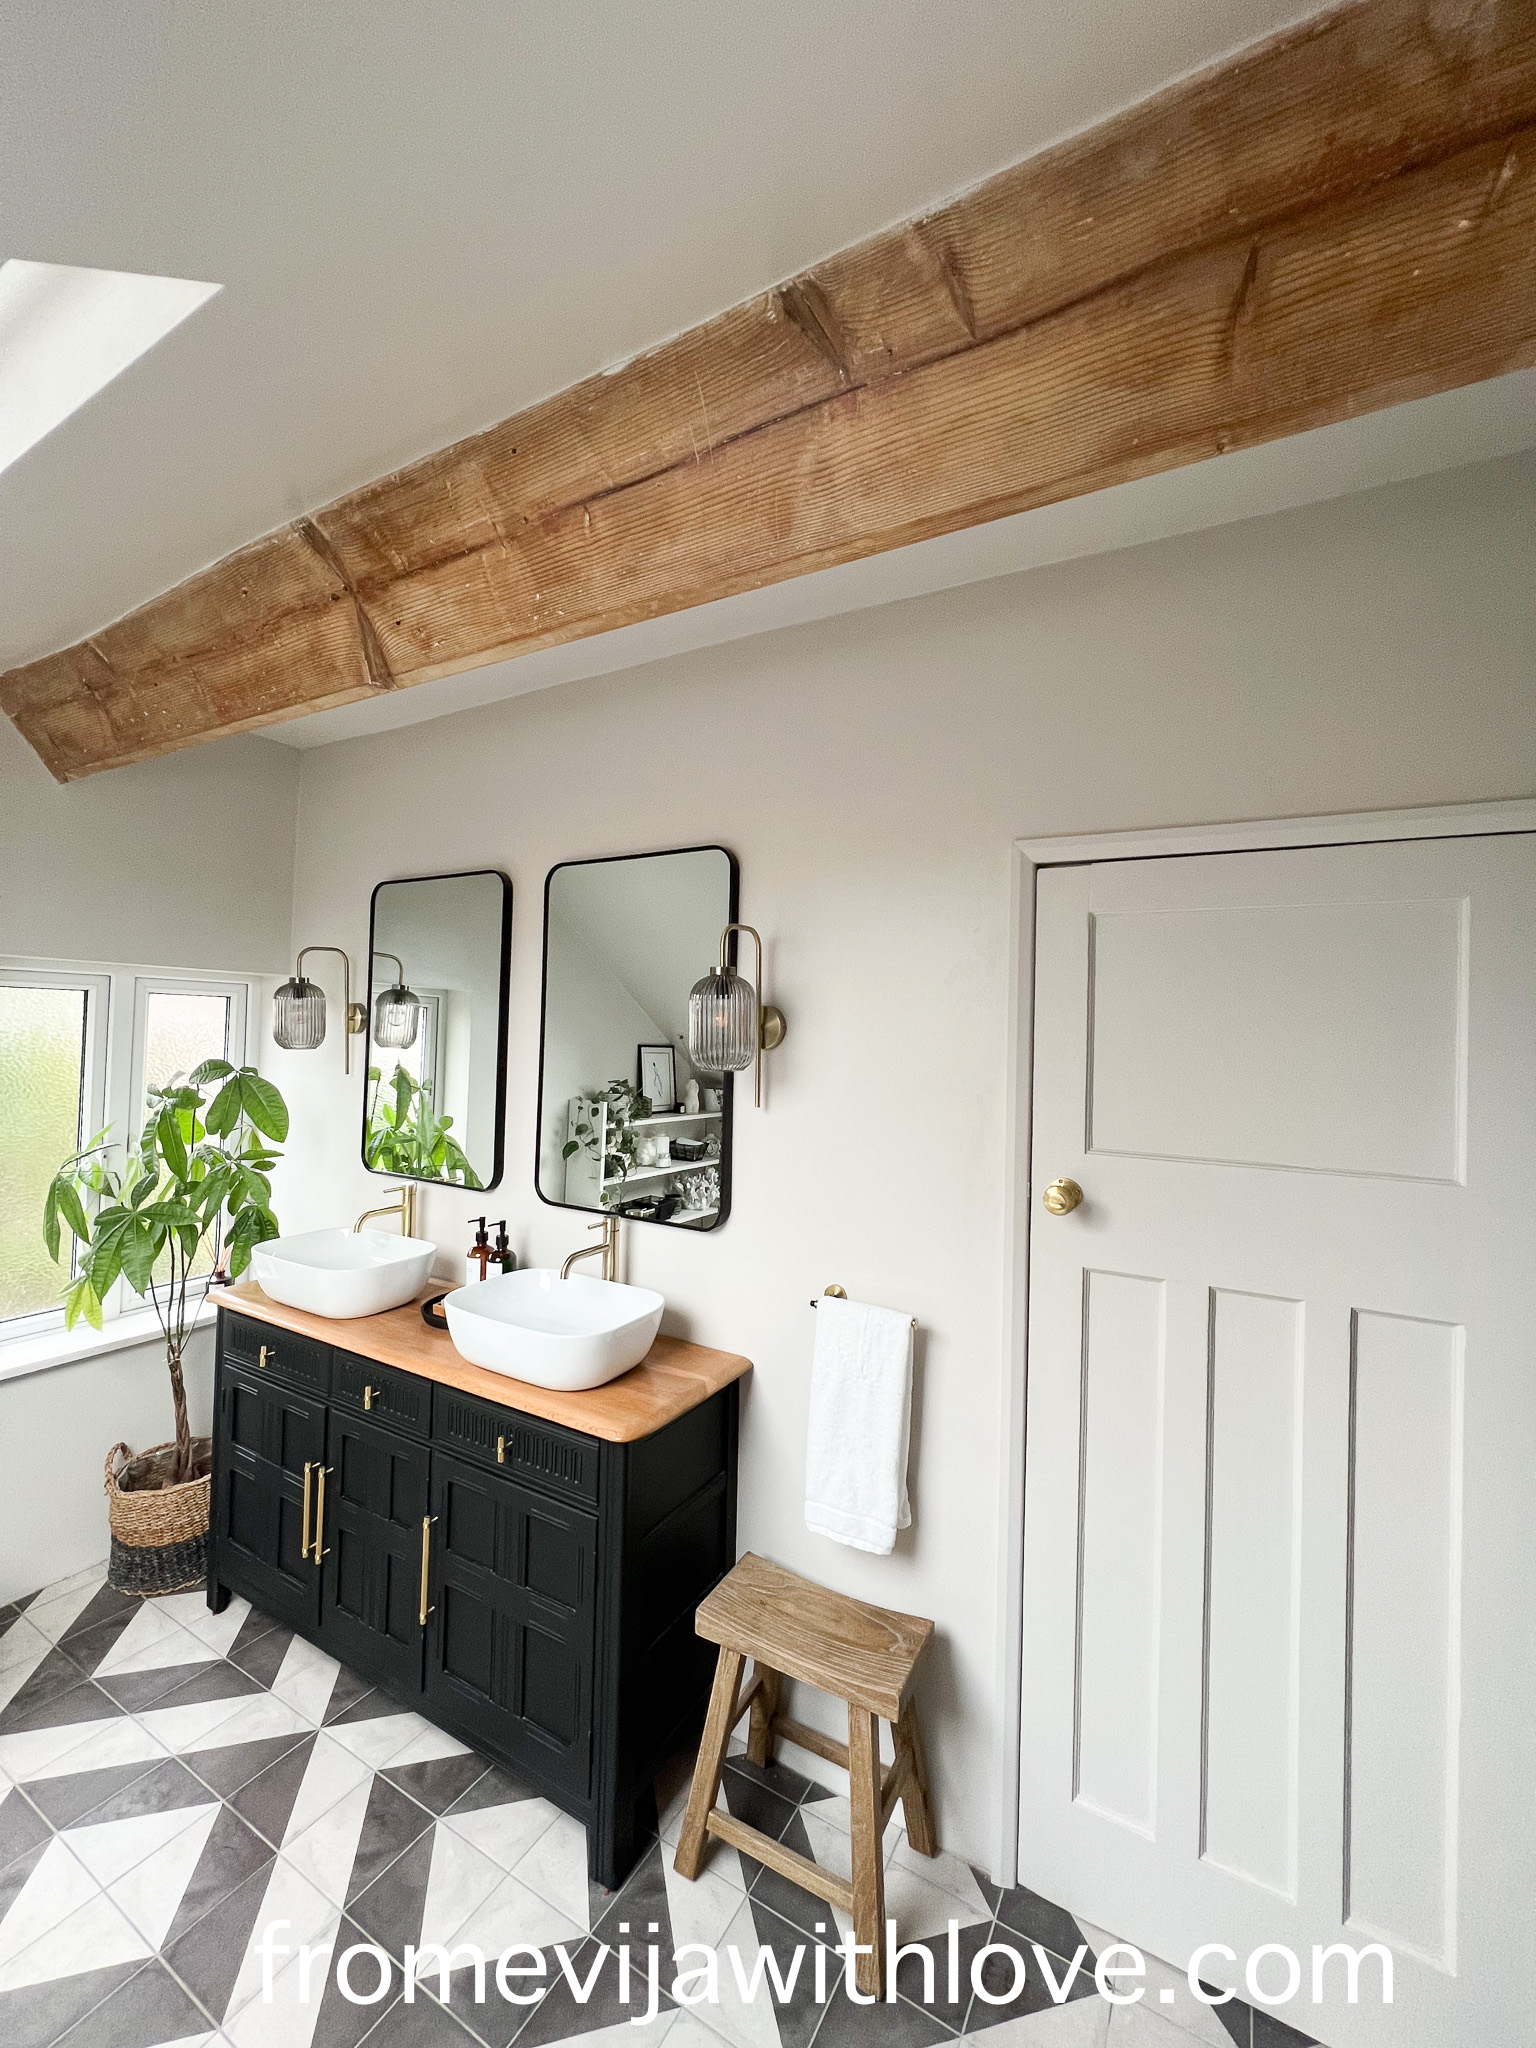
I stripped the beam using the Kling Strip which is the best stripper I have used and brought the beautiful beam back to its bare bones. I sealed the bare wood using the varnish.
We found some hardwood timber in the loft and decided to re-use it in the house and cut it to the size to create a windowsill, I painted it using the coat paint to match the walls.
Custom built shelf
We built this little shelving unit to hide the waste pipe, if you missed my post, you can read more about it here. We reused an old bookshelf, which was left in the house and painted it to match the walls.

The doors
We used the existing doors we had in the house as they were nice solid wood doors and had them dipped to remove the layers and layers of old paint. I new we wouldn’t keep the bare wood so wasn’t that worried when they were dipped we discovered a few cracks and holes in them. I patched them up and painted them using eggshell paint to match the walls and other woodwork.

Don’t forget to follow me on instagram to see more behind the scenes of our renovation projects as we go along. If you have any questions or comments – leave them in the comment box or message me!!


What an article!
Great detail also I’m in awe after comparing the before and after images, great work!
Looking forward to give my bathroom a little makeover as well, will surely come back to this blog for reference!
Cheers!
Such a beautiful bathroom makeover! I love how the thoughtful design choices—from tile selection to lighting and fixtures—create both style and functionality. It’s inspiring to see how a well‑planned renovation can completely elevate a space.
This reveal is a fantastic example of how a thoughtful makeover can completely change the energy of a room. It really highlights how updating the textures and fixtures can take a dated space and make it feel modern, bright, and incredibly welcoming.