


This is Part Two to our Bathroom Renovation mega project. I have previously shared our plans and Part 1 of the bathroom renovations which you can read and catch up on by clicking on the links. In this post, I will be sharing with you what happened, once we completely changed the layout and completed all the demolition. I will also share the timings and how we organised all the trades to ensure that the project runs smoothly and we wouldn’t be behind schedule and could move back in. Our aim was to finish the bathroom in 4 weeks. We allowed an extra week for any additional work to be carried out if necessary.

Our bathroom is a good size but as part of the ceiling is slanted, we were a little bit limited to the layout especially once the dormer was a no go. We thought long and hard and came up with a great plan to make surer gar we both got what we wanted. Shaun really wanted a big walk in shower and I was obsessed with a free-standing bath, so we decided that there will be no compromise over this. After a lot of thinking, measuring and designing we both came up with the perfect layout!!
Layout done, calculations made, tiles and appliances ordered, it was time to organise and arrange all the trades people. Thankfully, we had a good team on hand to make sure we were on track!
Week One – first fix plumbing and electrics (full week)
Our electrician re-wired the bathroom, installed the extractor fan in the shower and put all the cables through the floorboards ready for the bedrooms and hallway. As the house needs a full rewire, it meant that the whole of upstairs had to be done before the bathroom flooring could go down.
Next up was our plumber to do the first fix. We ended up paying twice for the same job, as the newly installed water cylinder had to be moved. We had to do this to make sure our layout worked and we could not have anticipated this (as we never in a million years thought that our dormer wouldn’t be approved).
All our plumbing, pipes and radiators are getting changed, which meant there was a lot of work and it took our plumbers about a week to get the first fix done. There were a few back and forth to make sure that everything was correct. The vanity I chose, wasn’t a vanity but a cabinet that I was upcycling, which in itself was a little pain for the plumbers..

Week 2 – Building stud walls
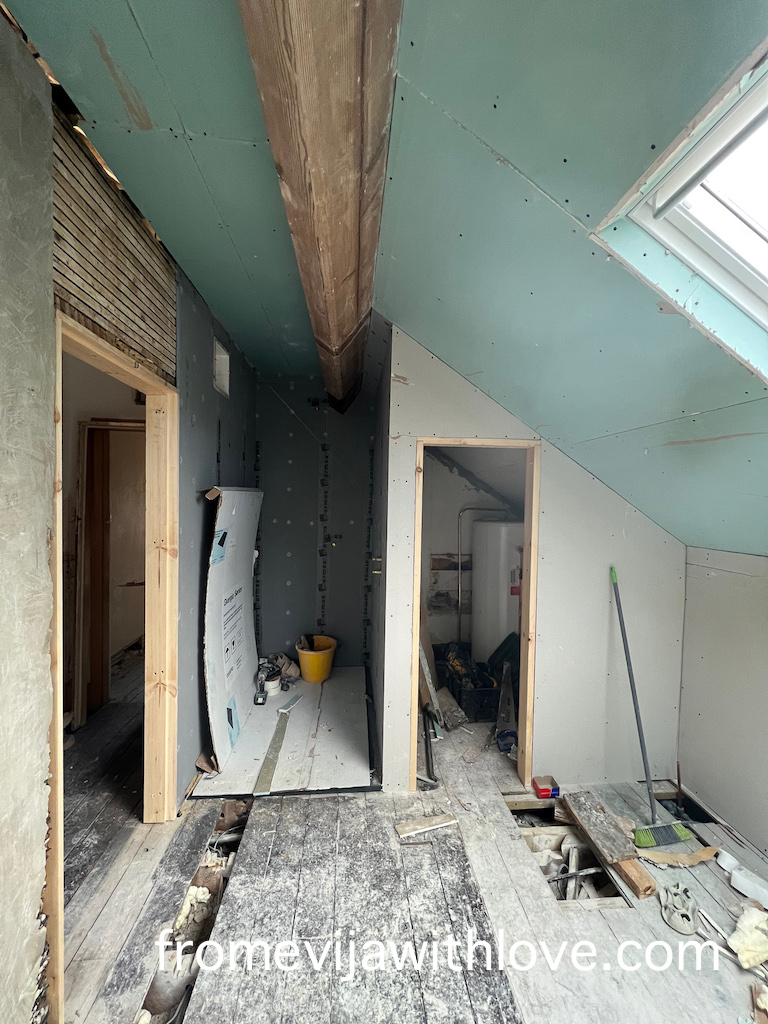
Once the plumber had finished, we got our joiner in to do the stud walls. At this stage, we were on tight schedule and feared that we would fall behind if we were to build these walls ourselves, so our friend who is a joiner built the new stud wall for the shower enclosure and the cupboard.

As the stud wall wall was built in the shower enclosure, the plumber came back to get the shower all plumbed in ready for the tiler to put the wedi board up.


Our joiner also finished the door frames for the two doors.
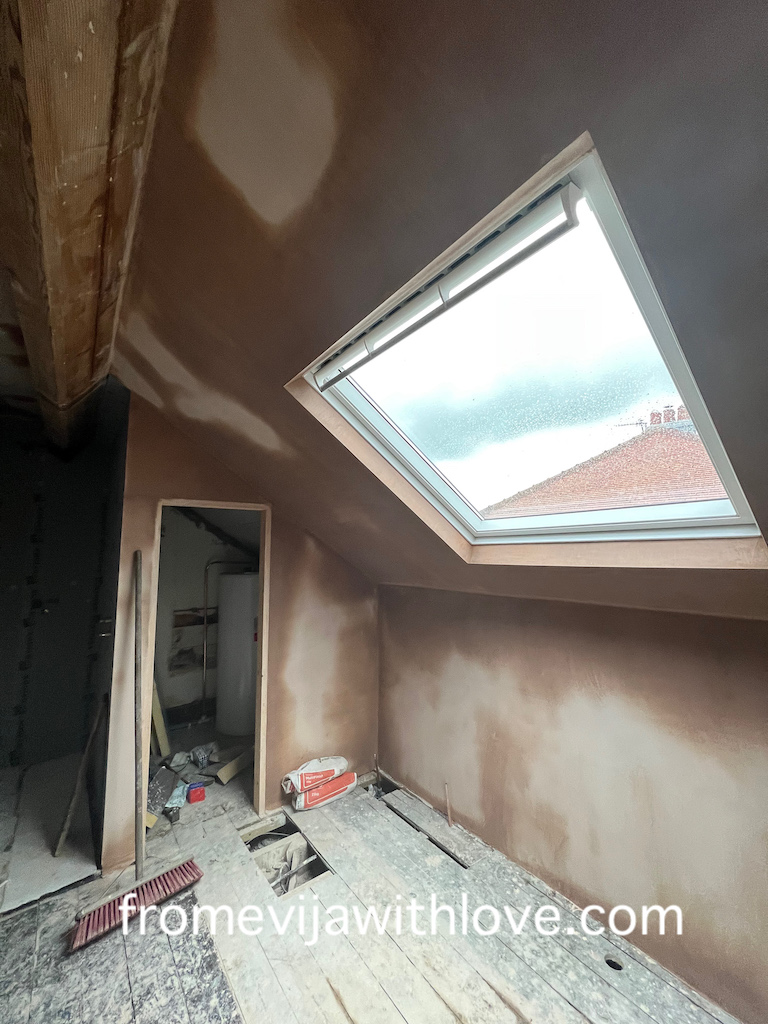
As he was sorting the walls, our roofer turned up to install the beautiful velux window. Putting this velux made such a difference the light coming in is unbelievable. It took our roofer half a day (if that) to install the window and remove the tiles etc.

Week 3 – Woodworm treatment, sealing the roof tiles and insulation (DIY 2-3 days)
The house is old and there was evidence of woodworm when we moved in (not active). I had treated the eaves at the time, but as ceiling and walls came down, I used the same woodworm treatment to treat the newly exposed beams as a precaution. Always seek expert advice when dealing with woodworm, but if you are confident and take all precautions to have the woodworm treated, this is what I used.
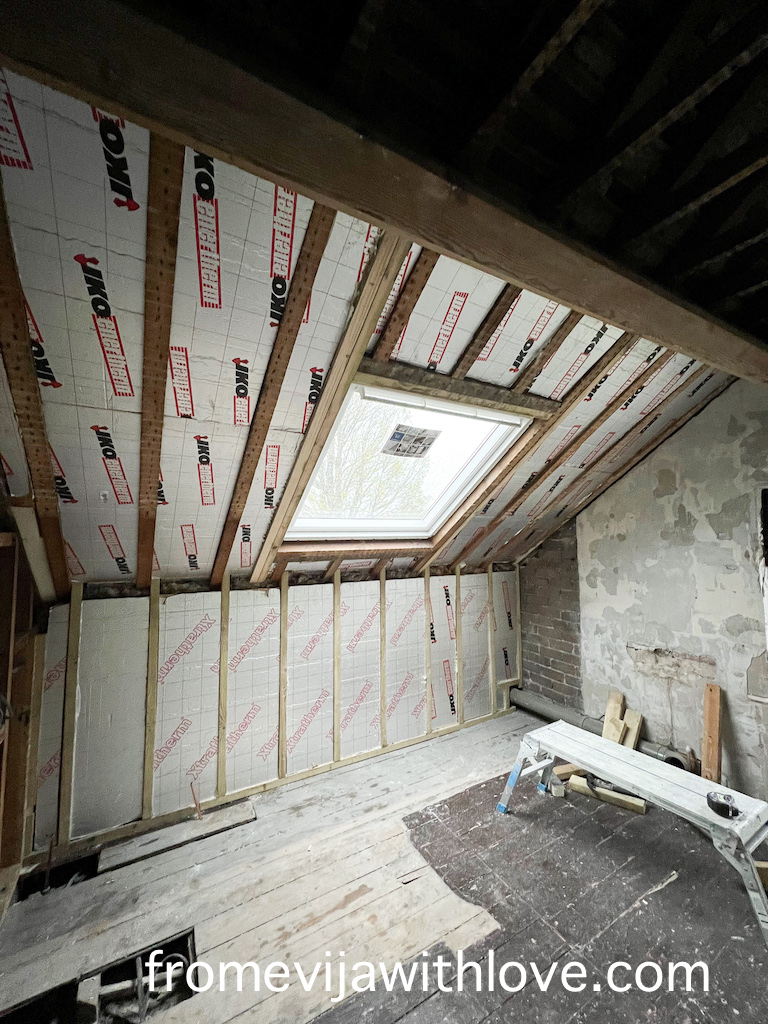
There is pretty much zero insulation in the house so it is very cold!! As we are renovating, we are making sure that we properly insulate the house, so next job was for Shaun to insulate the roof and the eaves using kingspan. I made sure that the tiles on the roof were sealed by using a gazillion tubs of roof sealant to fill any gaps. [You may remember me rendering the eaves in the two bedrooms but having spoken to a roofer, he said the quickest way would be using the sealant/silicone.]
Once the stud walls were up, the plumber came in to plumb the shower enclosure and our tiler put the wedi board up ready for the shower tray to go down and make a start with tiling.

Our shower tray was custom size and colour and the delivery kept being delayed, it was now nearly 7 weeks and it still hadn’t arrived.. As we were on a tight schedule we had to make a decision and ended up going with a different colour than the one we ordered but it meant we would be on schedule and this was more important than the shade of the shower tray.
Week 3 – Plastering (2 days)
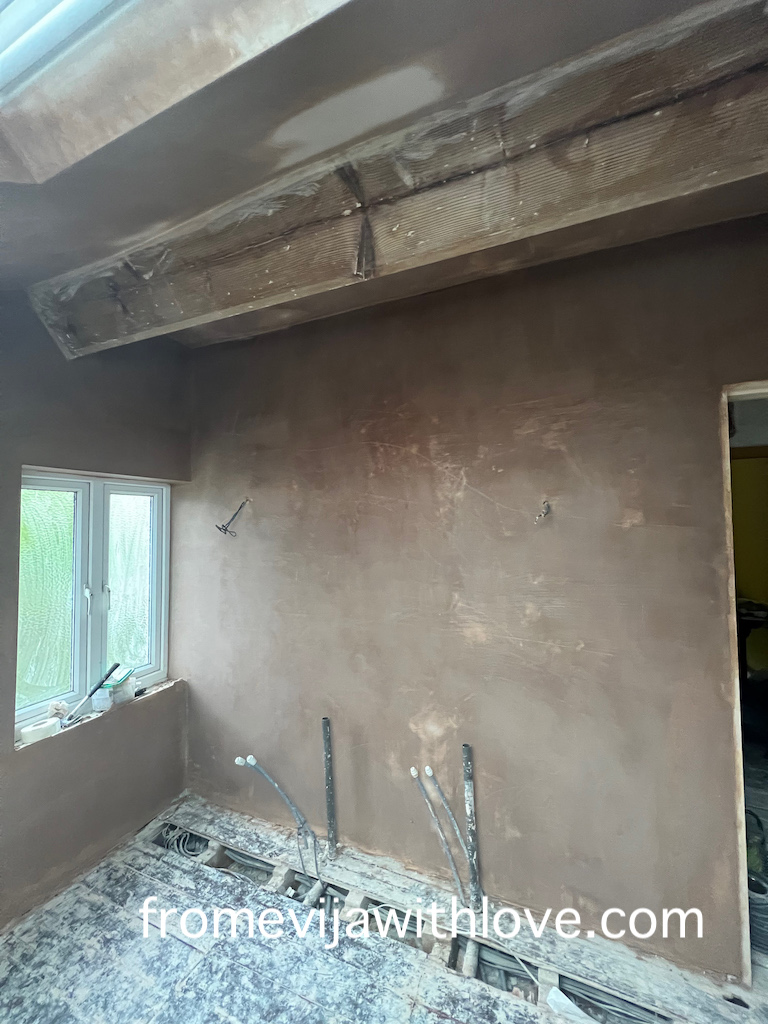
Next up was our plasterer. He came in and it probably took him a couple of days to put the plasterboard up and skim the walls. Shaun took the day off to help out with putting up the plasterboard. Once the walls were plastered we could finally see it all coming together.

Week 4 and 5 – Tiling
As the walls were drying, the tiler came in to start on the floor tiles. As our sub-floor was quite uneven and floorboards were moving slightly (even after screwing them down). The tiler put sheets of plywood down and the membrane on top the plywood before the started the tiling to ensure the tiles wouldn’t crack or move once they were laid. The pattern was a little bit confusing and our poor tiler had to keep stepping back to make sure it was all correct. We chose dark grey grout for the floor tiles to make the tiles pop.
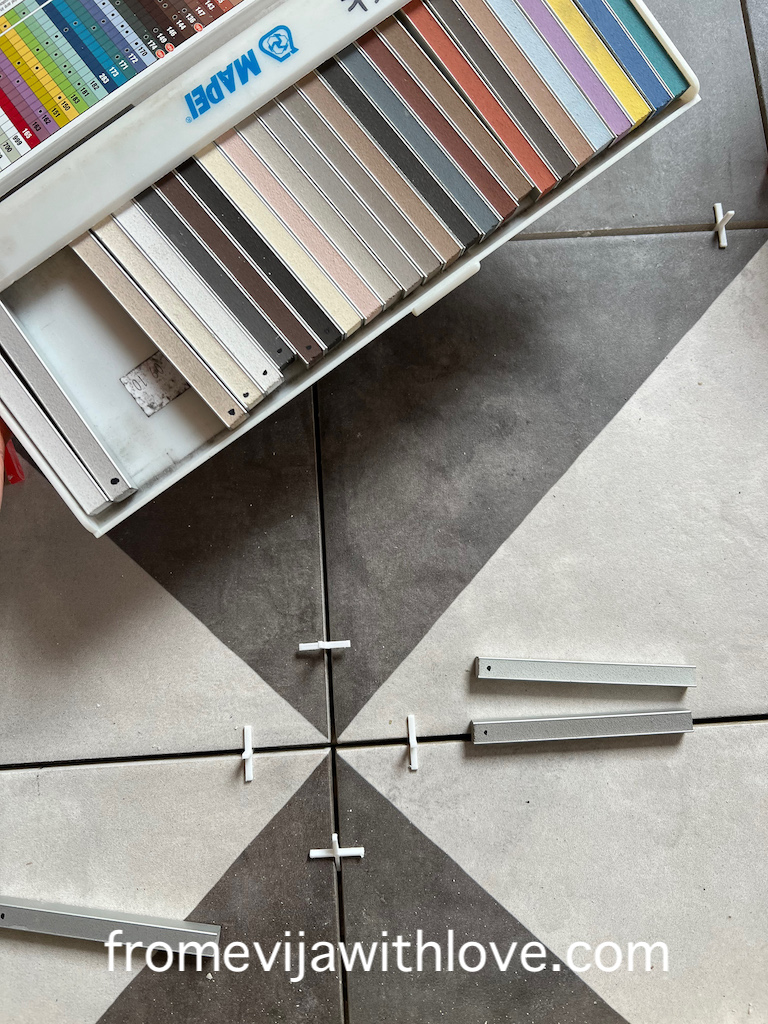
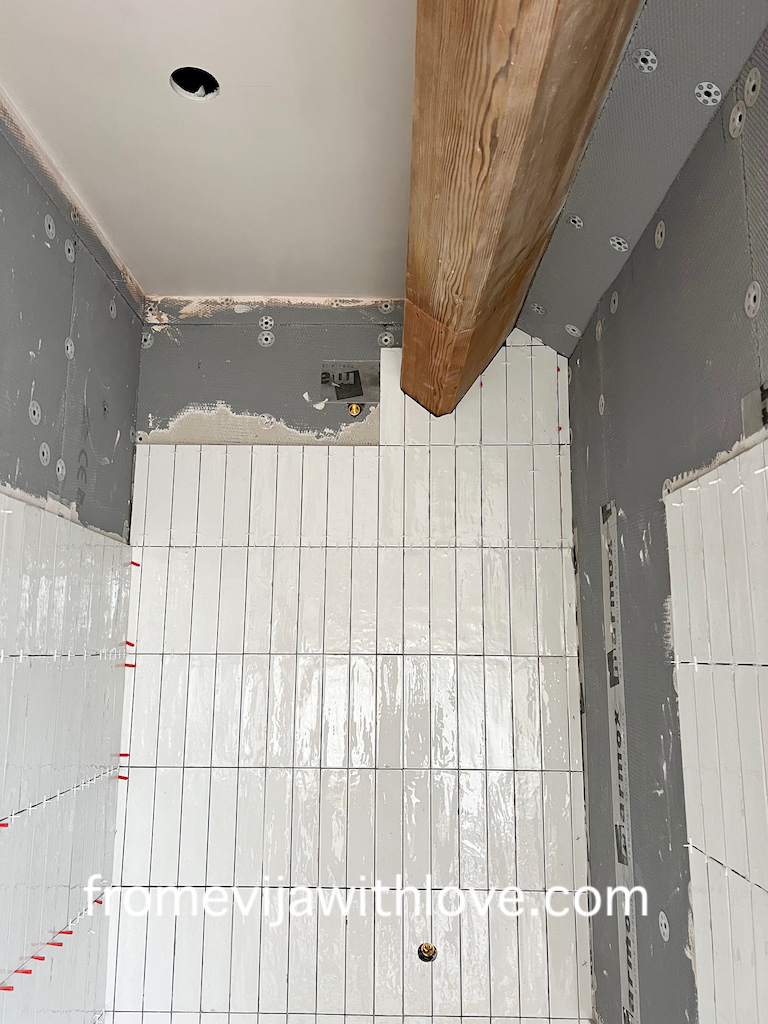
The shower enclosure probably took the longest as the tiles were so small (but gorgeous) and took a long time to get nice and straight. I had to source the brass trims, which we couldn’t find on the island, another minor delay. The tiling of the bathroom took just under 2 weeks, but this was due to many factors (sourcing trims, difficulty in tiling because of the size and pattern, shower tray being a pain, getting the grout colour right, delay as some of the trades needed to pop in and out as the tiling was happening so work couldn’t continue etc.)
Week 5 – Second fix plumbing, electrics and finishing touches (1-2 days)
Electrician came to connect the lights and the extractor fan in the shower.
Plumber came back to finish off connecting everything, whilst our tiler was still tiling the shower (half a day to get everything in place). This meant that most of the things were connected and once the shower was tiled and grouted, it would be a small job to come and connect.
I debated long and hard when to paint the walls and ceiling, before or after the plumber had been. I did a quick mist coat before anything was installed, but left the final coat to be done once everyone had been. I ended up painting the last coat after everything was finished. [The decision was really made for me as I technically didn’t have time to do it, before the plumber was coming back in.] Even though I had to paint around sinks and taps, this meant that any scuffs on the walls caused by moving vanity or bath could now be covered. It worked out in the end.

We are nearly there, just need to finish off the last few things like putting the doors back up (once I have stripped and painted them), which reminds me I need to go and order the hinges and door handles!
Cannot wait to share with you our dream bathroom – it’s going to be a good one!!!
Don’t forget to follow me on instagram, where I share a lot more updates and live content from the renovation process.


Hi there,
This is a great post about renovating a bathroom! I really appreciate you sharing your insights and tips, especially about the importance of planning the layout, dealing with unexpected issues, and hiring the right tradespeople.
I also loved how you documented the challenges and successes throughout the project. This is so helpful for others who are considering a similar project.
I would be interested to know more about how you found the right tradespeople for your project. Did you get quotes from multiple companies? What were some of the factors you considered when making your decision?
Thanks again for sharing your story!