


Disclaimer: AD, I have received the items free of charge and this staircase makeover post is made in collaboration with Rust Oleum, however, all views, experiences and ideas are 100% my own and are not influenced in any way. This post contains affiliate links.

This is part two of the staircase makeover and you can see part one where I share the preparation work here. It was a tedious job to do all the preparation work and it took a very very long time to get to this stage. I was really excited for this part as I could finally start the fun part – painting the stairs and getting one step closer to finishing the hallway.
Don’t forget to follow me on Instagram for more amazing projects and behind the scenes.
Decide on the design and colours
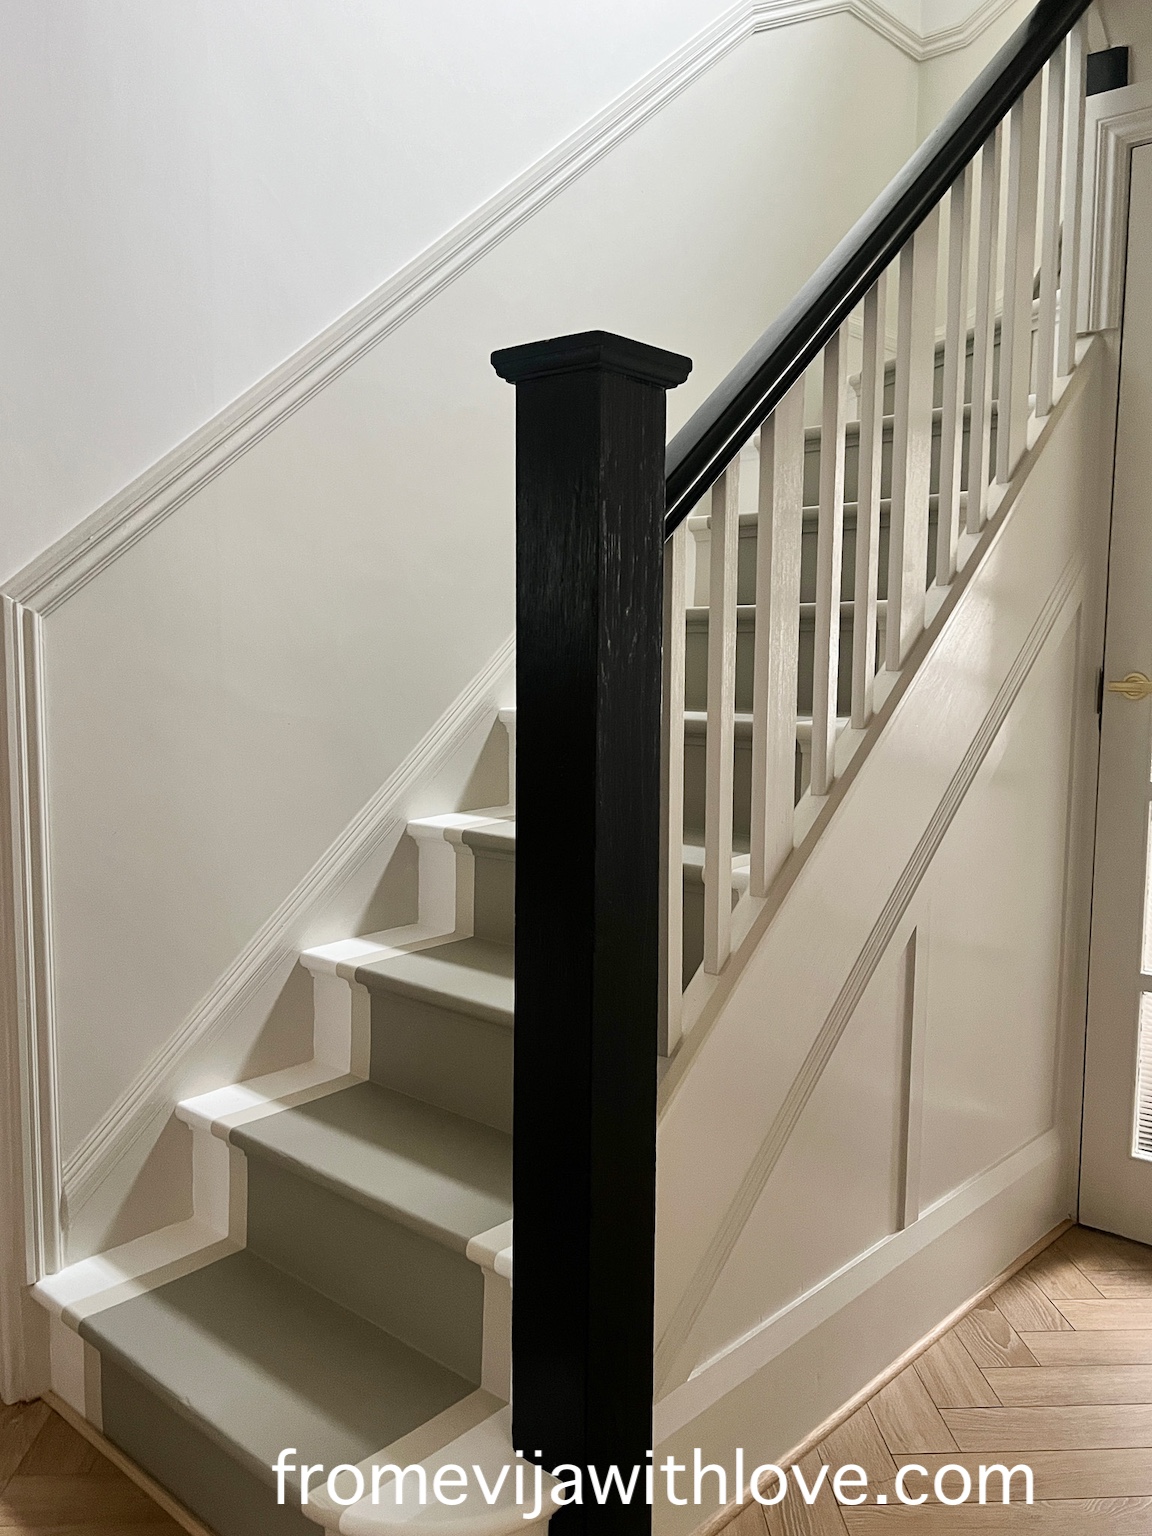
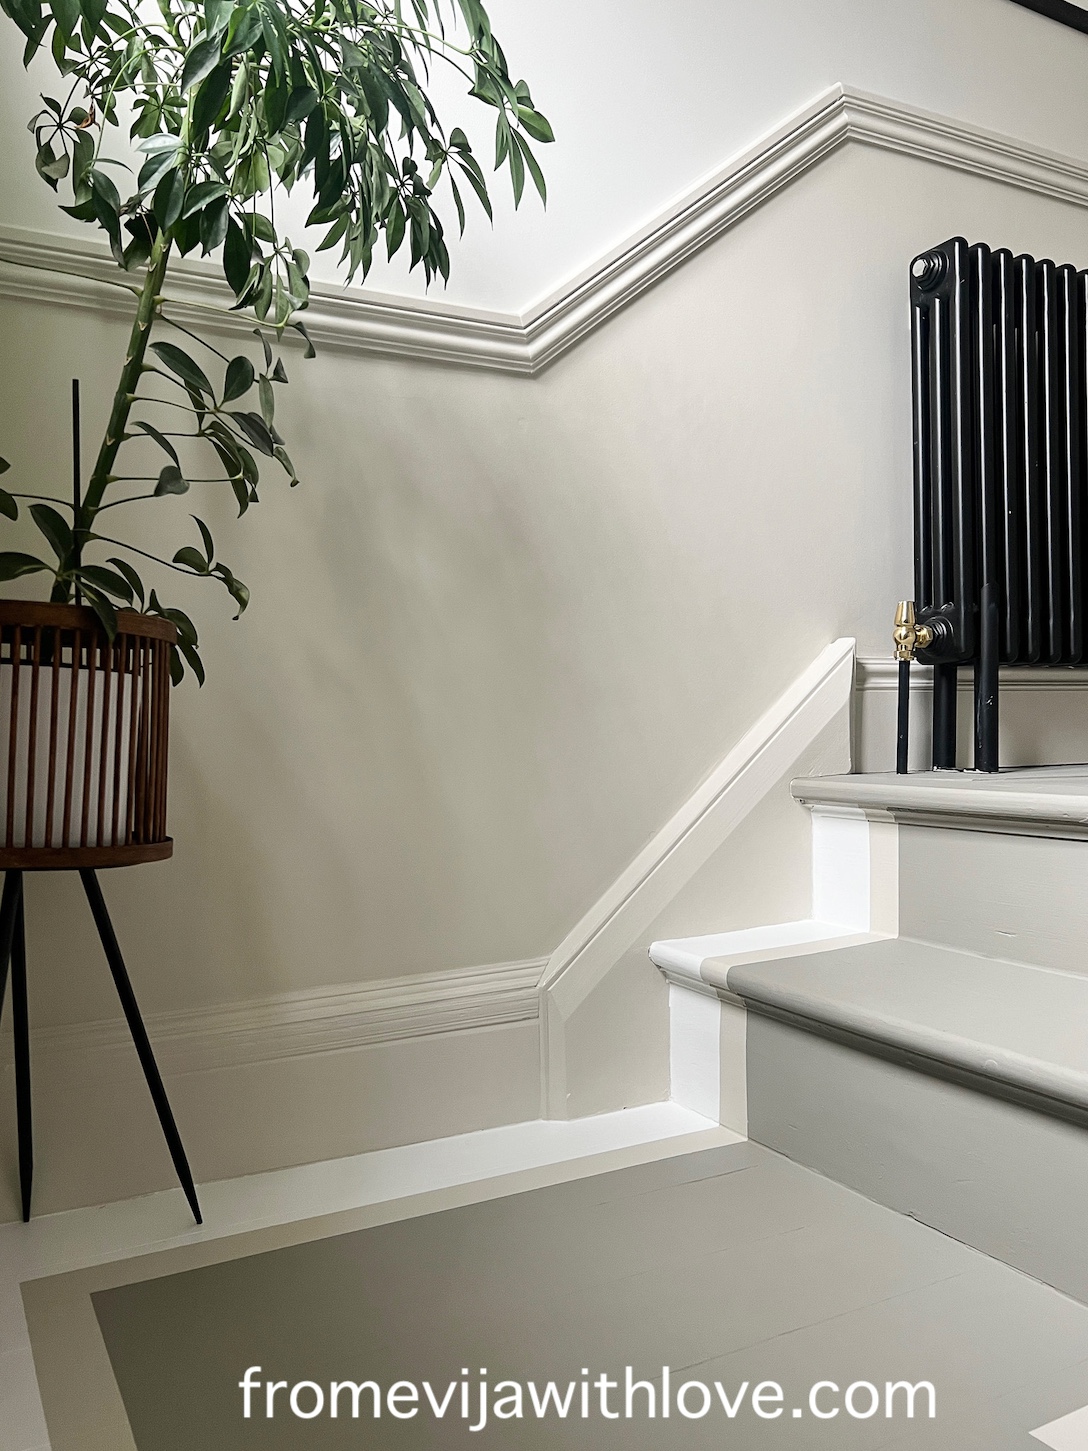
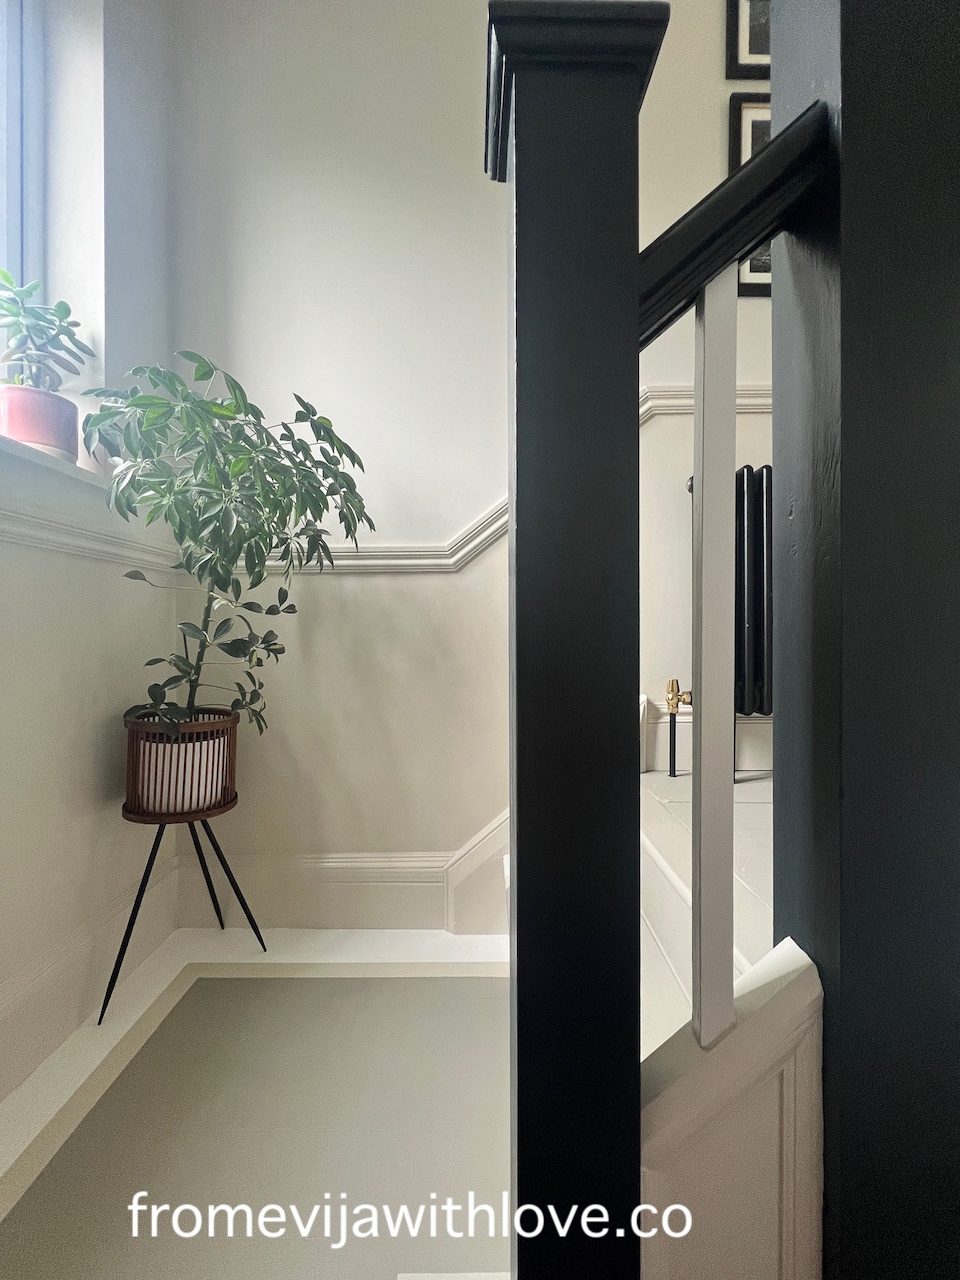
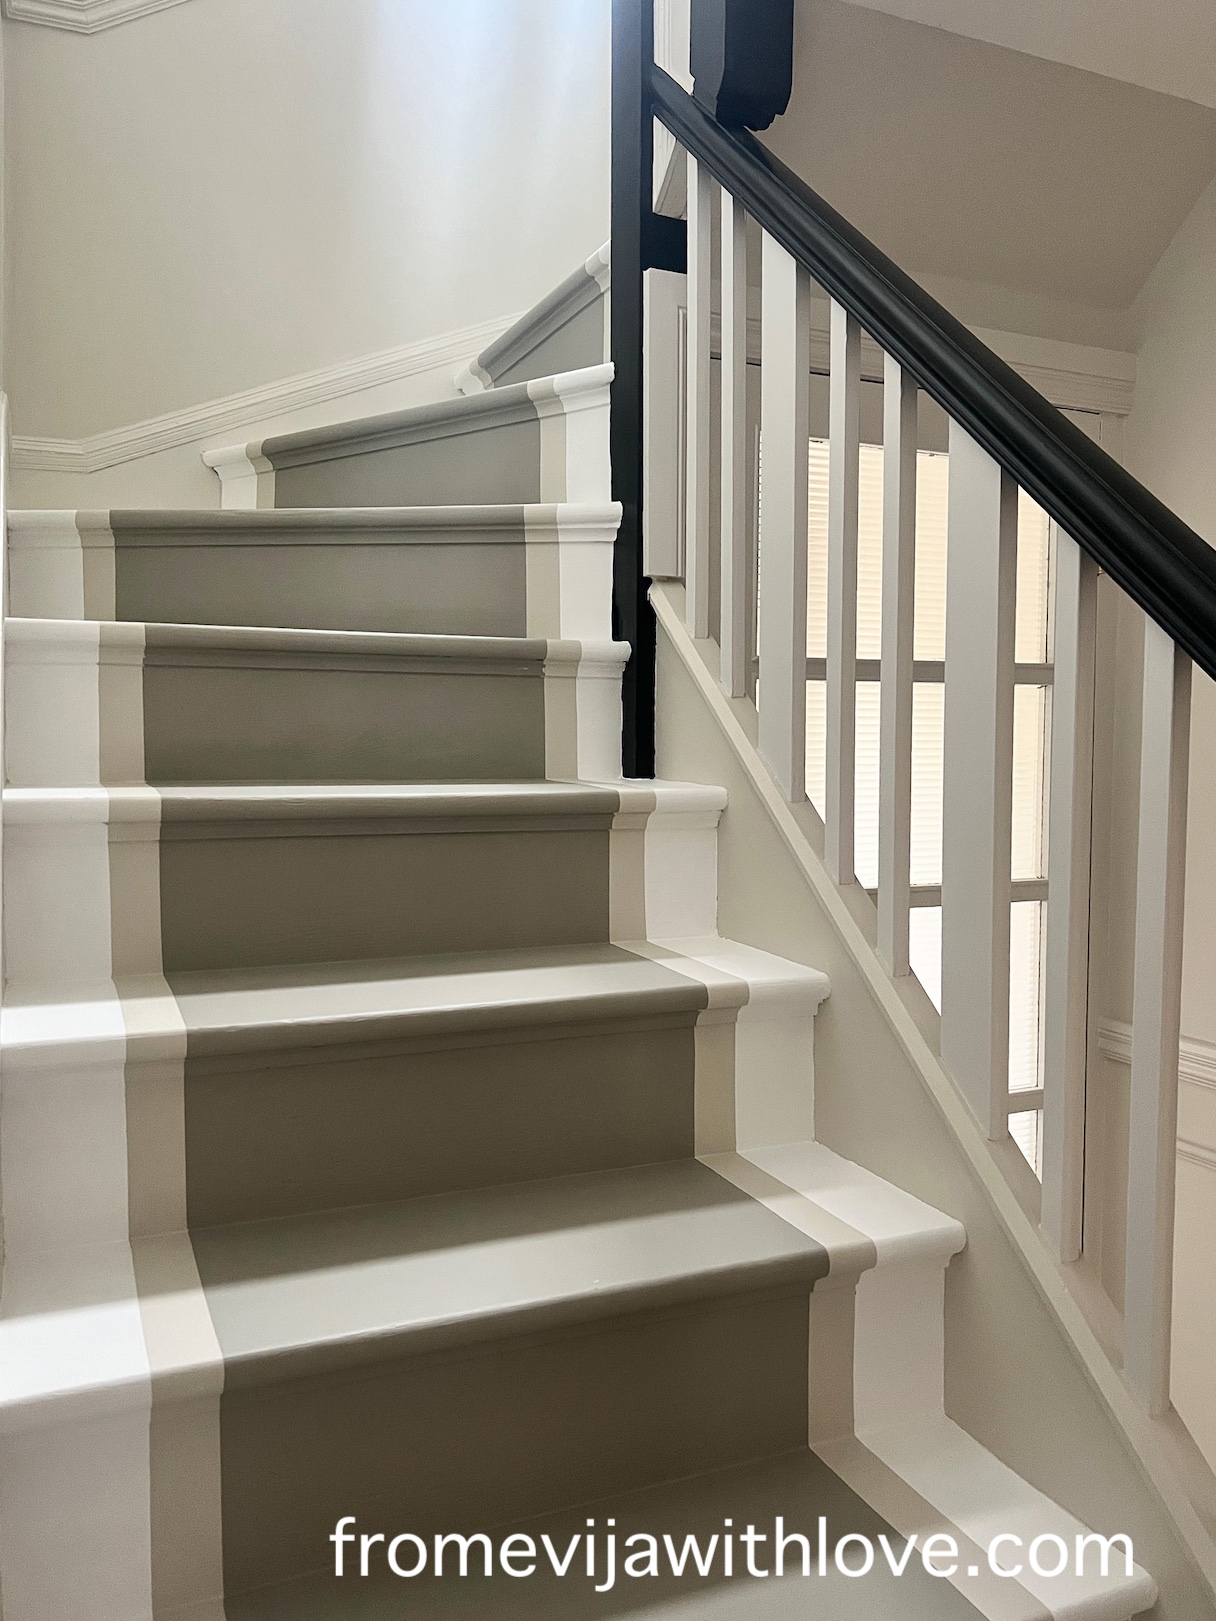
I had a design in my mind from the beginning for this staircase and I knew the colours that I wanted to use, but I did change them around a bit and ended up using the darker colour (tanglewood) on the main part of the stair runner and the landing on the second floor. I wanted to have a little contrast between the wall and the stairs so decided to use the following colours:
Steps – Chalk White, Oyster for the edging and Tanglewood for the main runner.
Shop my amazon storefront HERE – US and UK
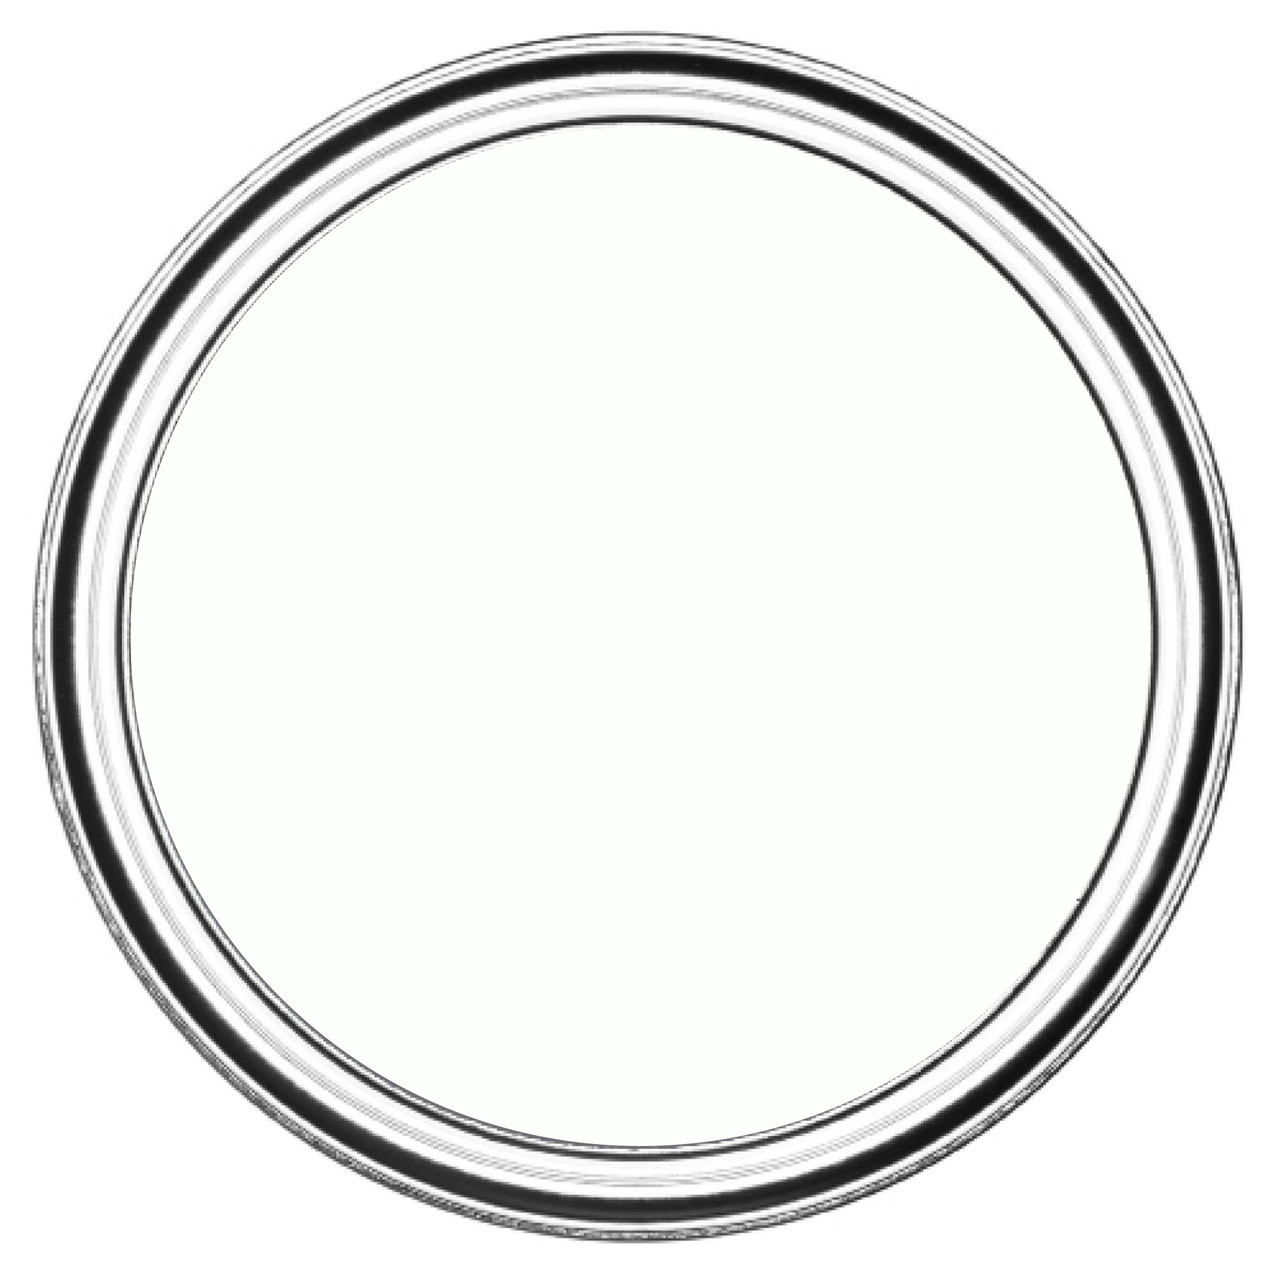

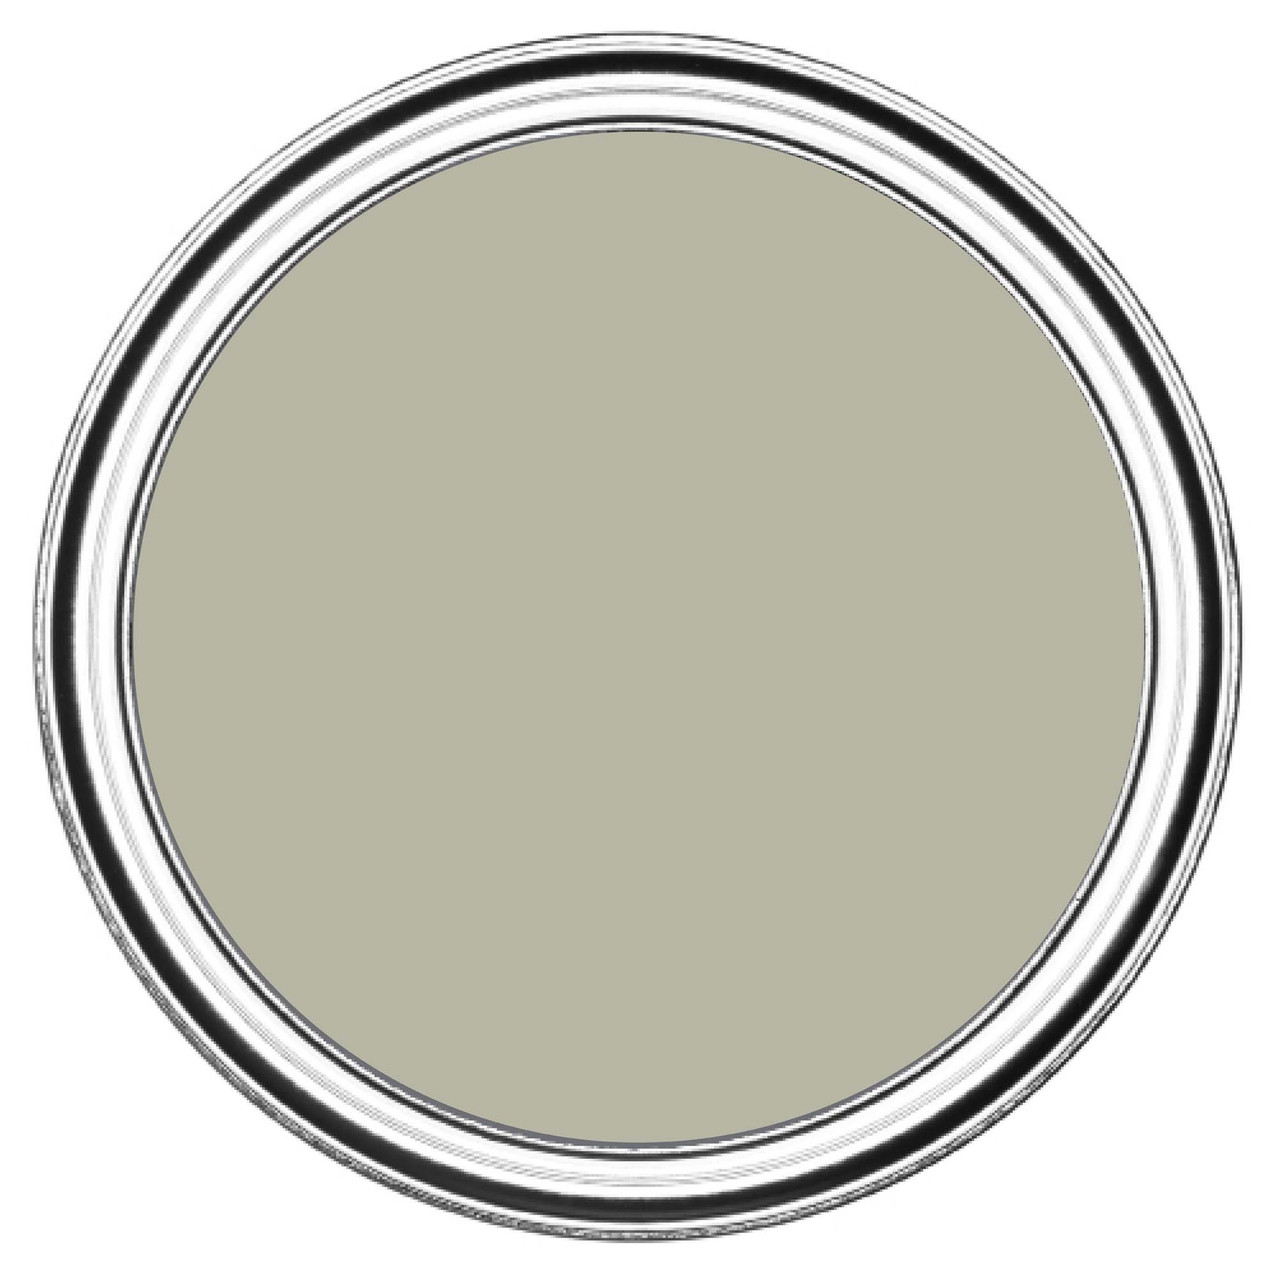
- Chalk White, 2. Oyster, 3. Tanglewood (c) images from Rust Oleum website
Spindles, handrail and woodwork – handrail was painted in Black Sand and spindles were painted in Steamed Milk. I ended up using Oyster on the second floor so this colour was used on most of the woodwork (skirting boards, doors and architraves) so this also travelled down the stairs on the woodwork to tie in with the scheme.

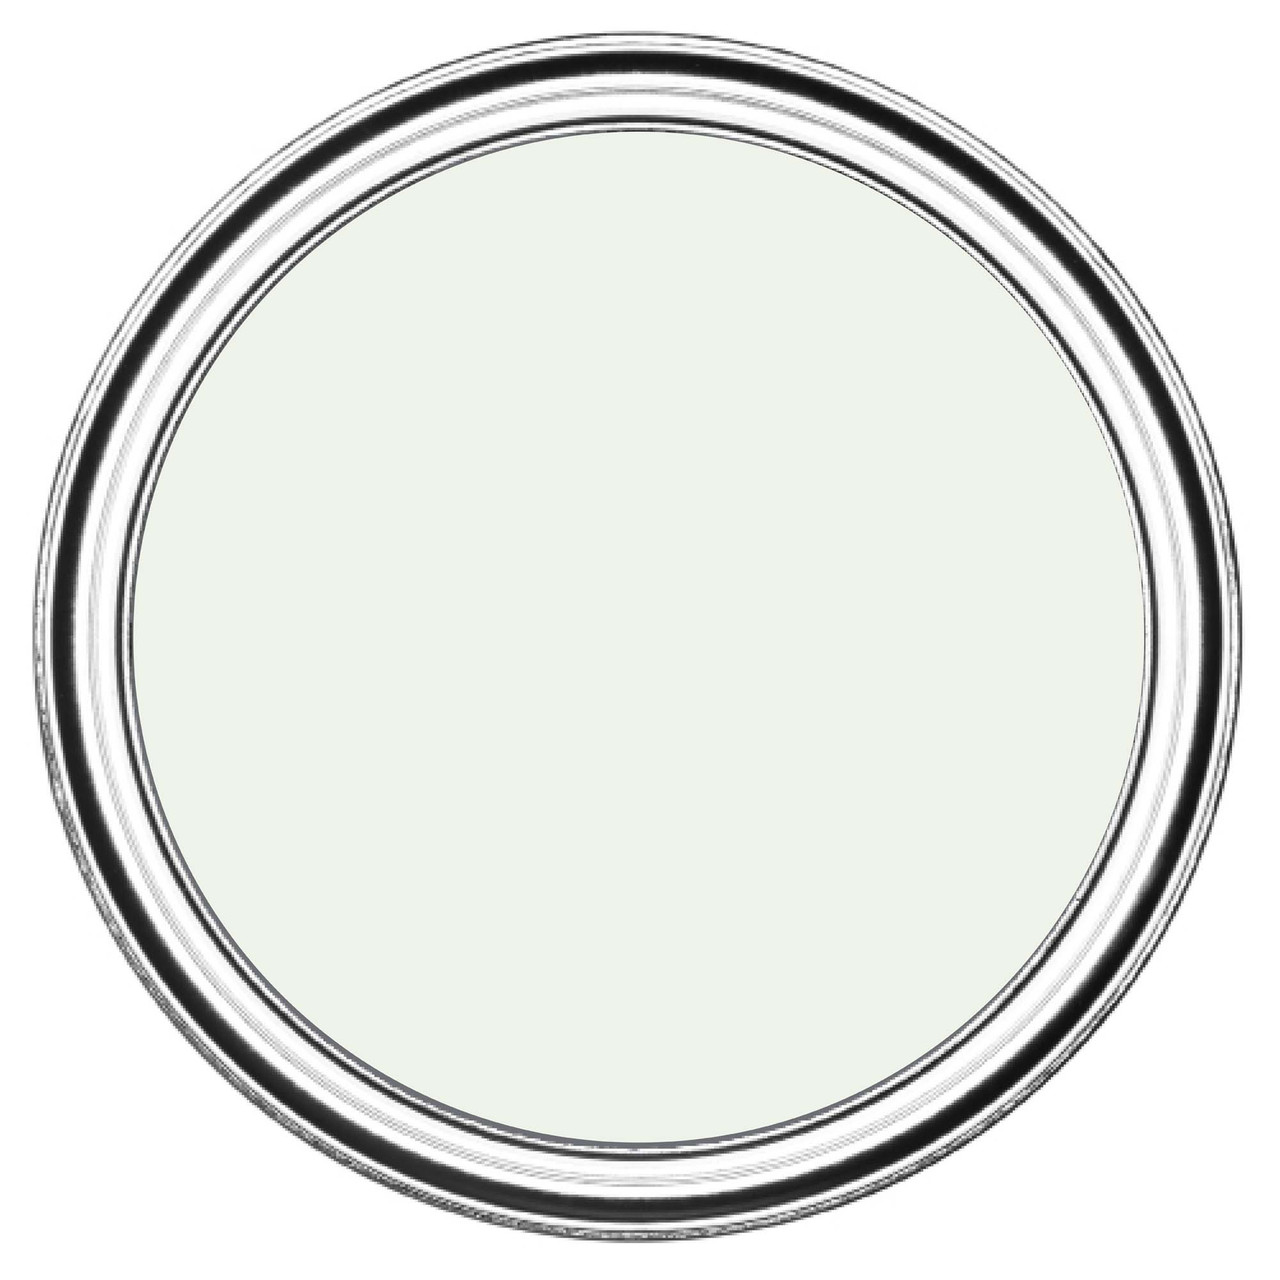
- Black Sand, 2. Steamed Milk, 3. Oyster (c) images from Rust Oleum website
Painting the handrail, spindles and woodwork
Before I started on the steps, I painted the woodwoork, handrail and the spindles. As I knew I would make a mess, I started with painting the woodwork in Oyster and then continued to paint the handrail using Black Sand.
The last step was to paint the spindles using Steamed Milk. I loved the contrast between the different colours.

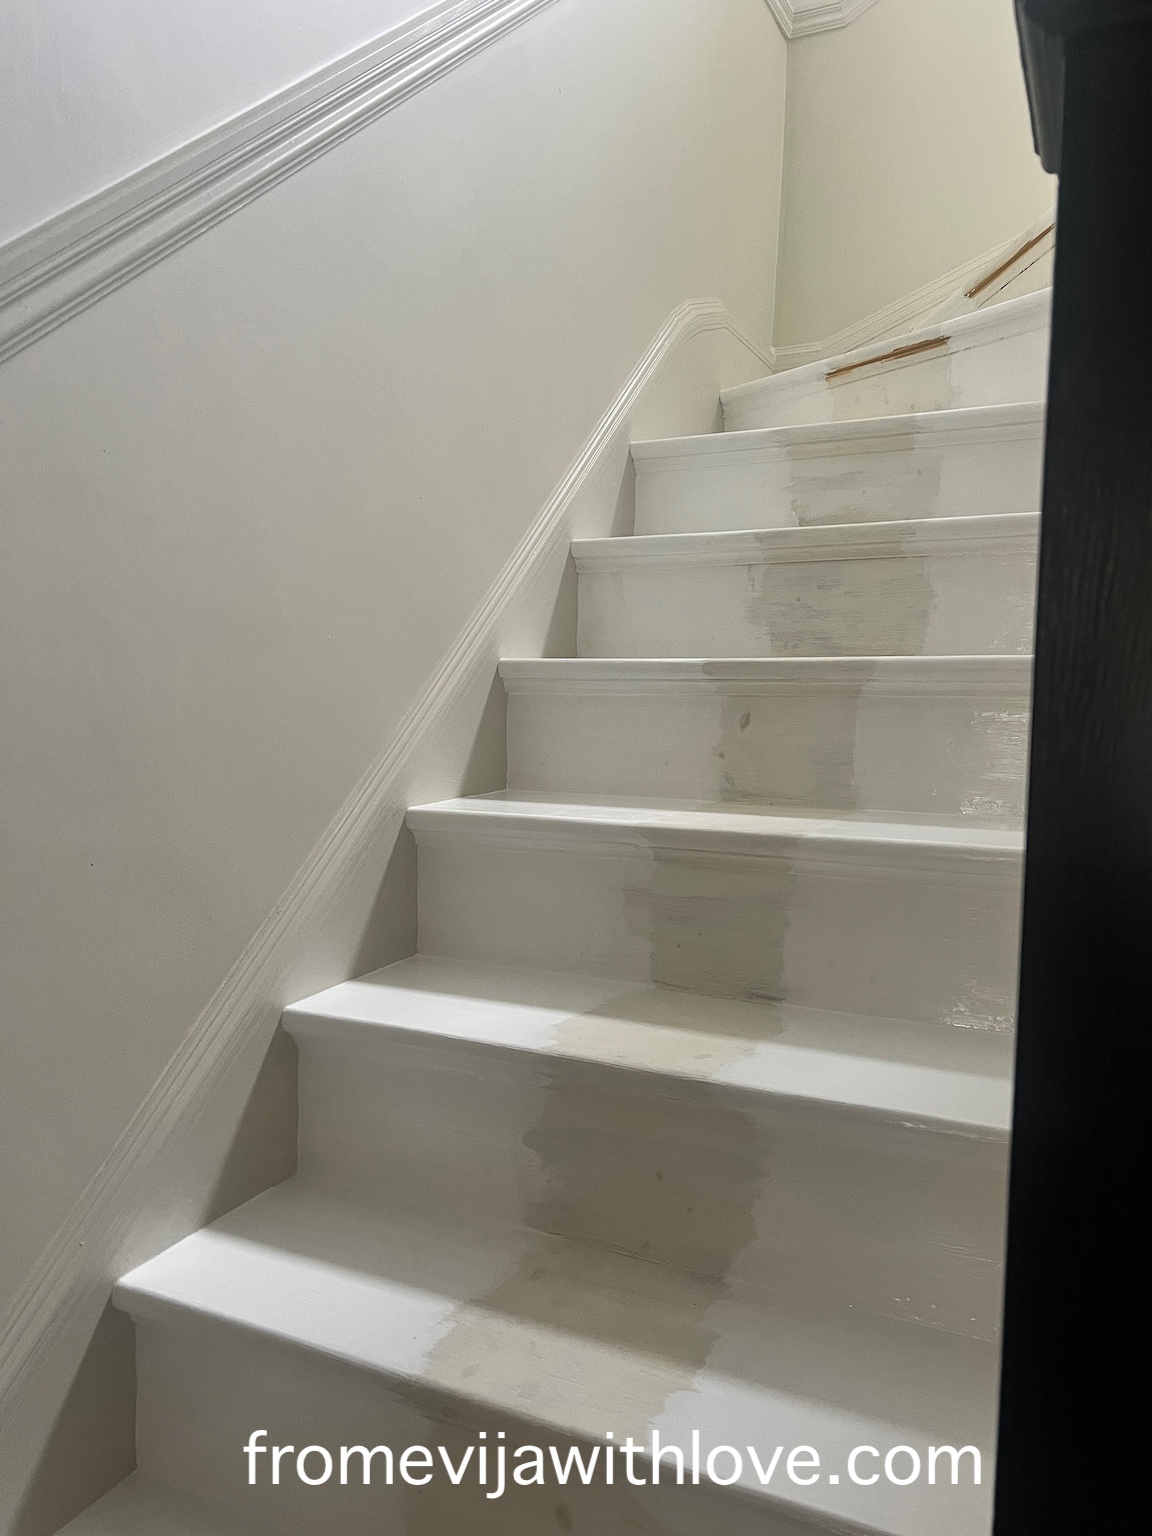
Visit my DIY tools must haves here. Once this was all painted, I moved on to the stairs next. Before I taped the steps to paint the runner, I painted the sides using floor paint in Chalk White.
Measure and tape
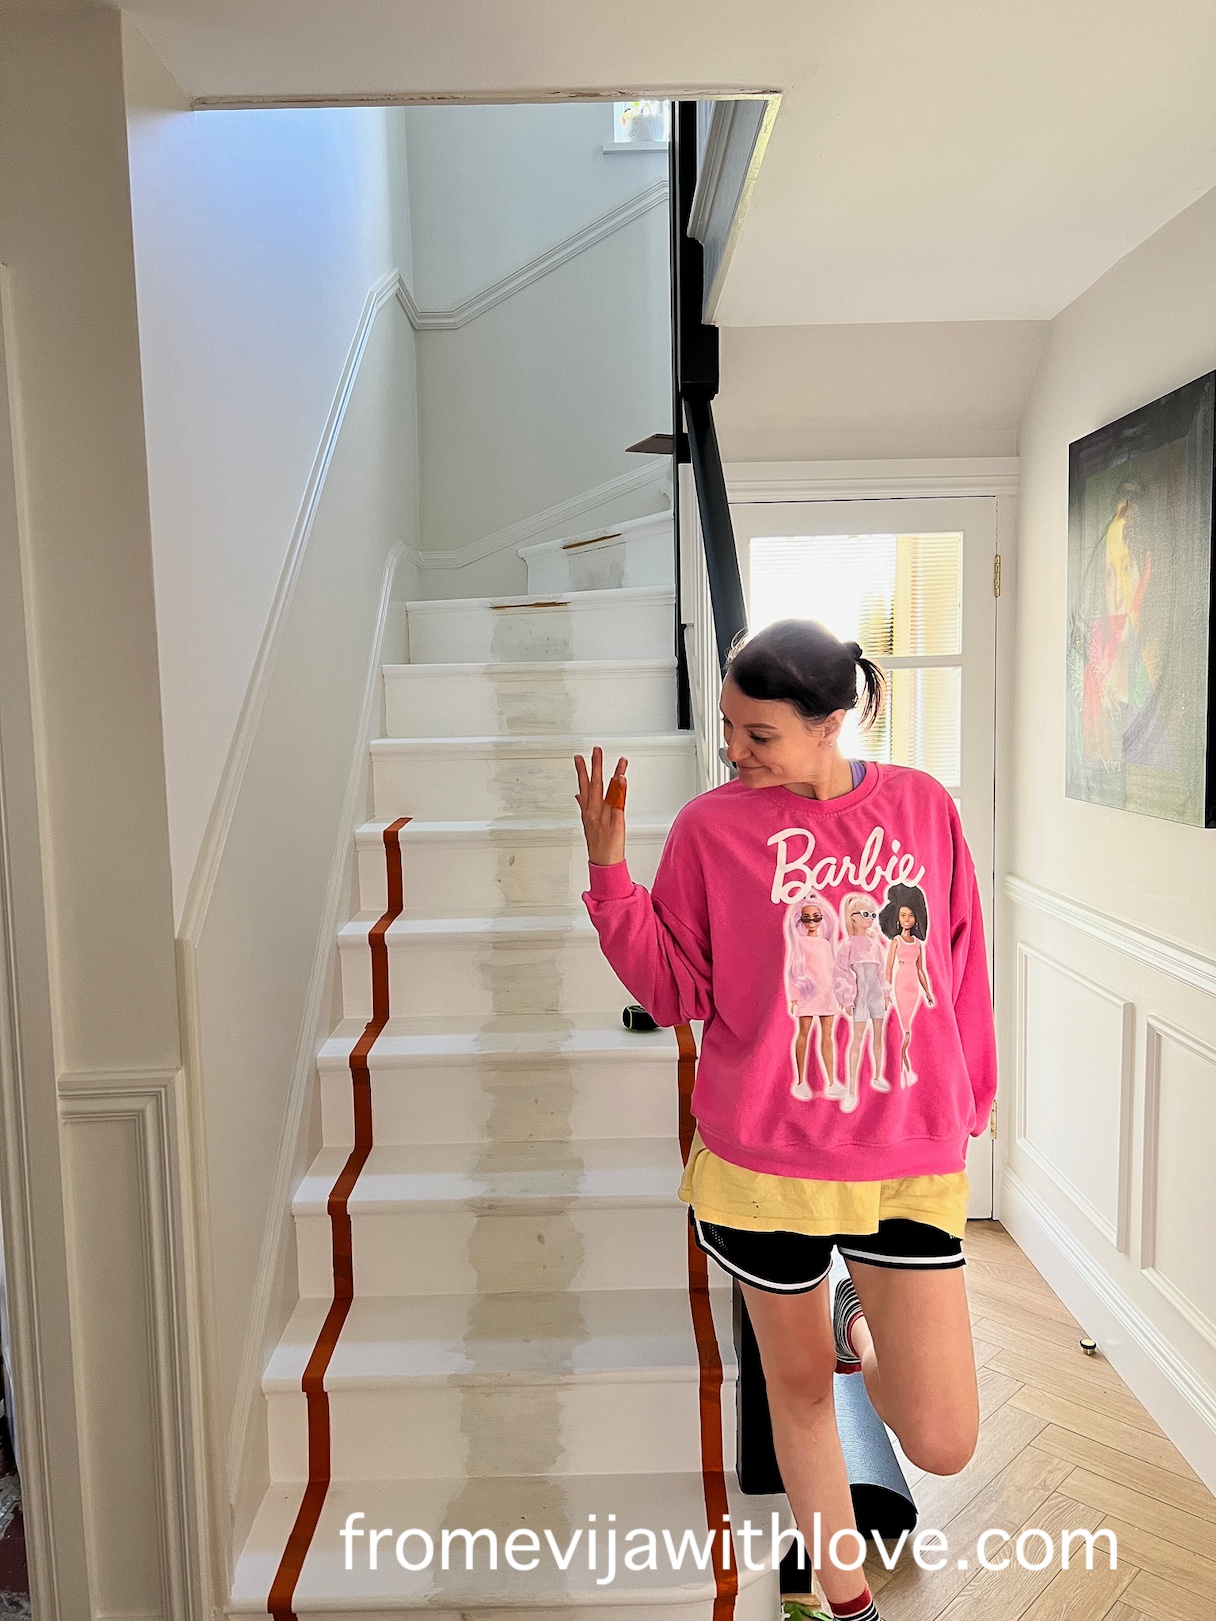
This was the most time consuming part, which required quite a bit of concentration and ensuring the measurements are all correct. I measured 10 cm on either side of the step and marked it using a pencil. Once measured I used the orange painters tape to tape the entire width of the runner.
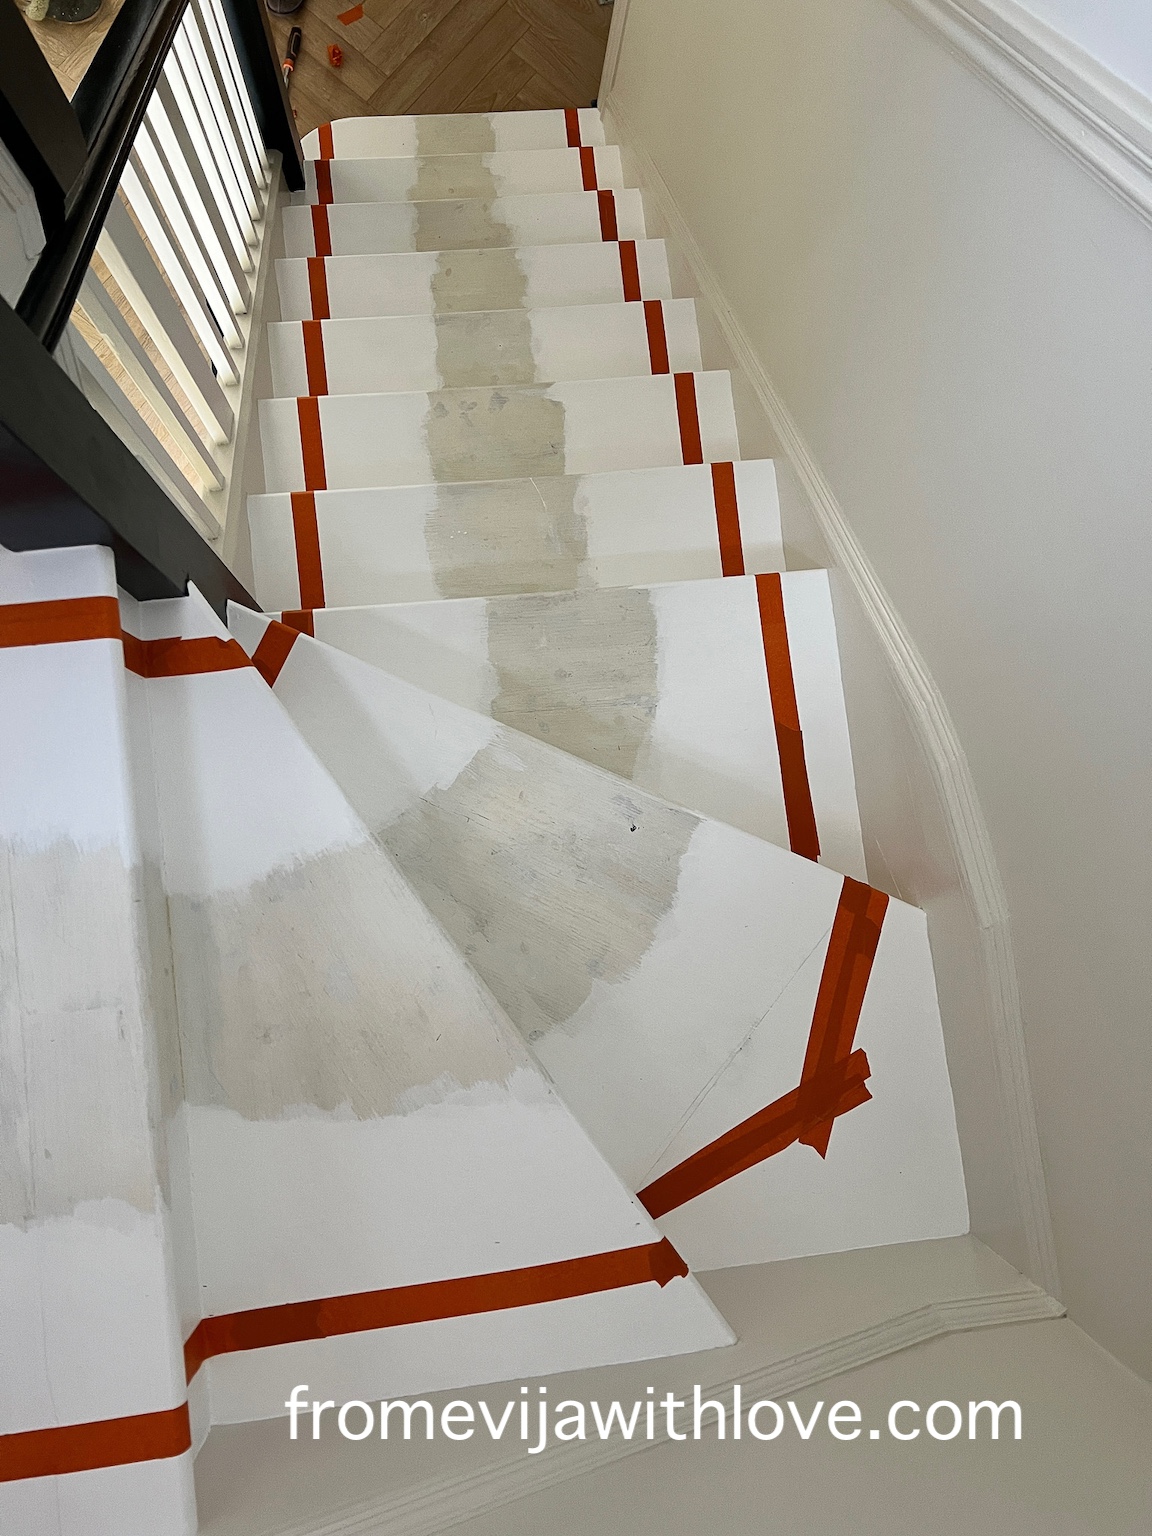
While I was getting the steps taped, I went out to get something from the garage and ended up slipping and falling. I hurt my hand but I had to carry on so I just taped my fingers together and carried on. Luckily no bones were broken in the process.
Paint & tape again
Once the tape was done, I started painting the stairs using the main colour (Tanglewood). The paint is so nice and creamy I only needed to use two coats. I used a paintbrush and honestly it didn’t take me too long as the coverage is amazing.
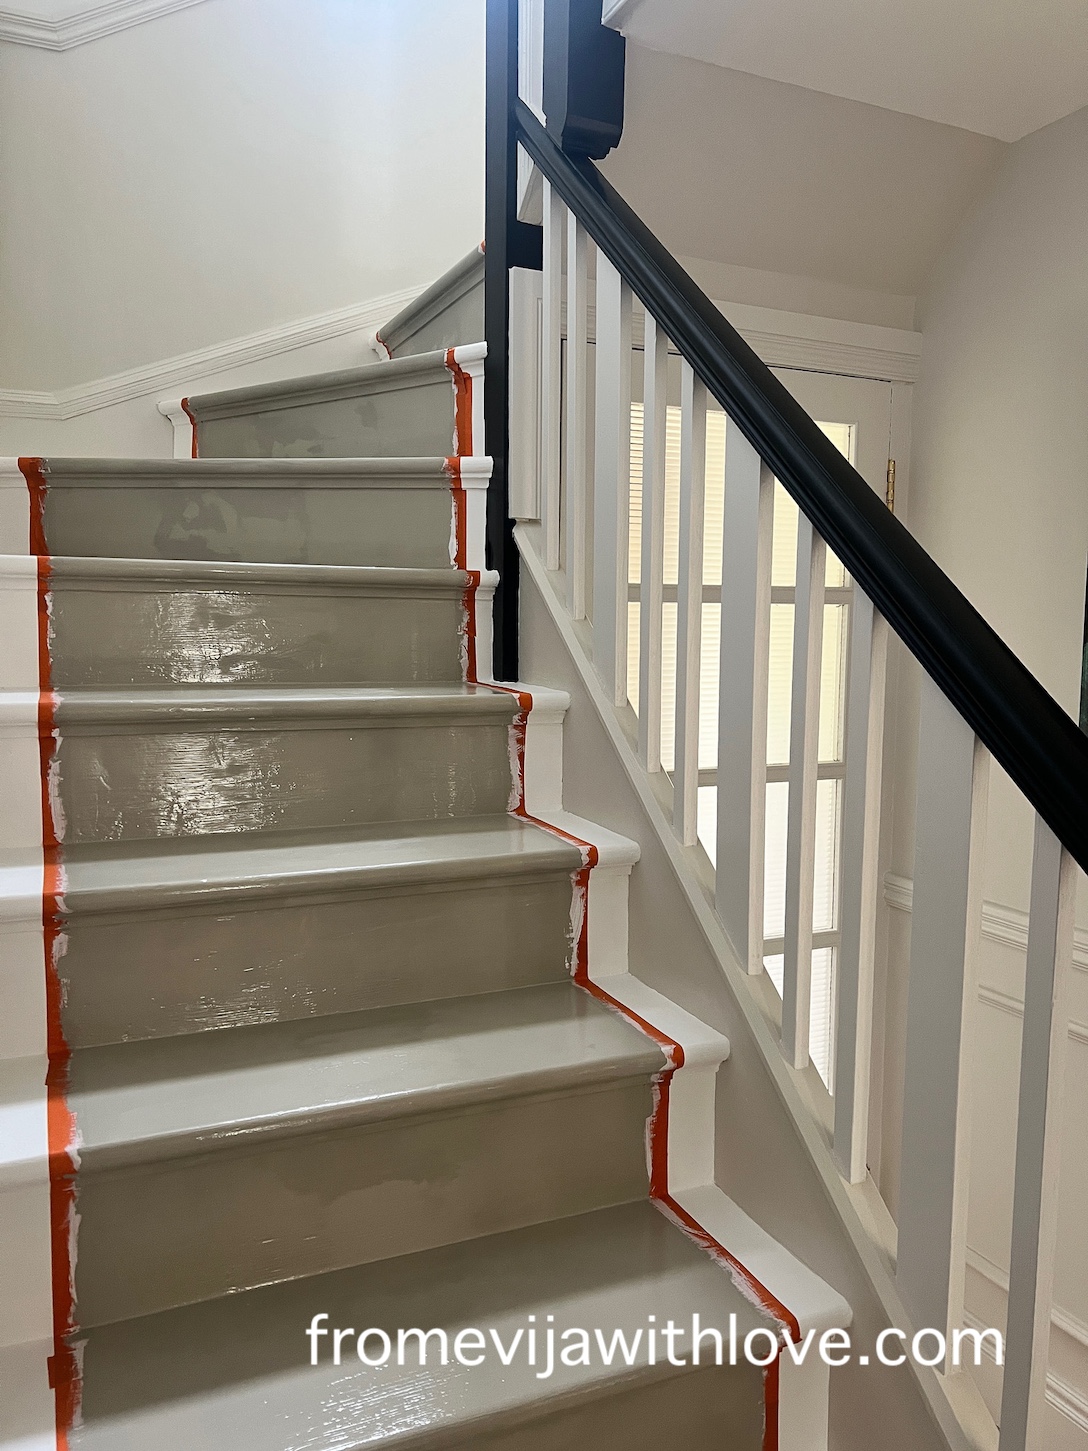
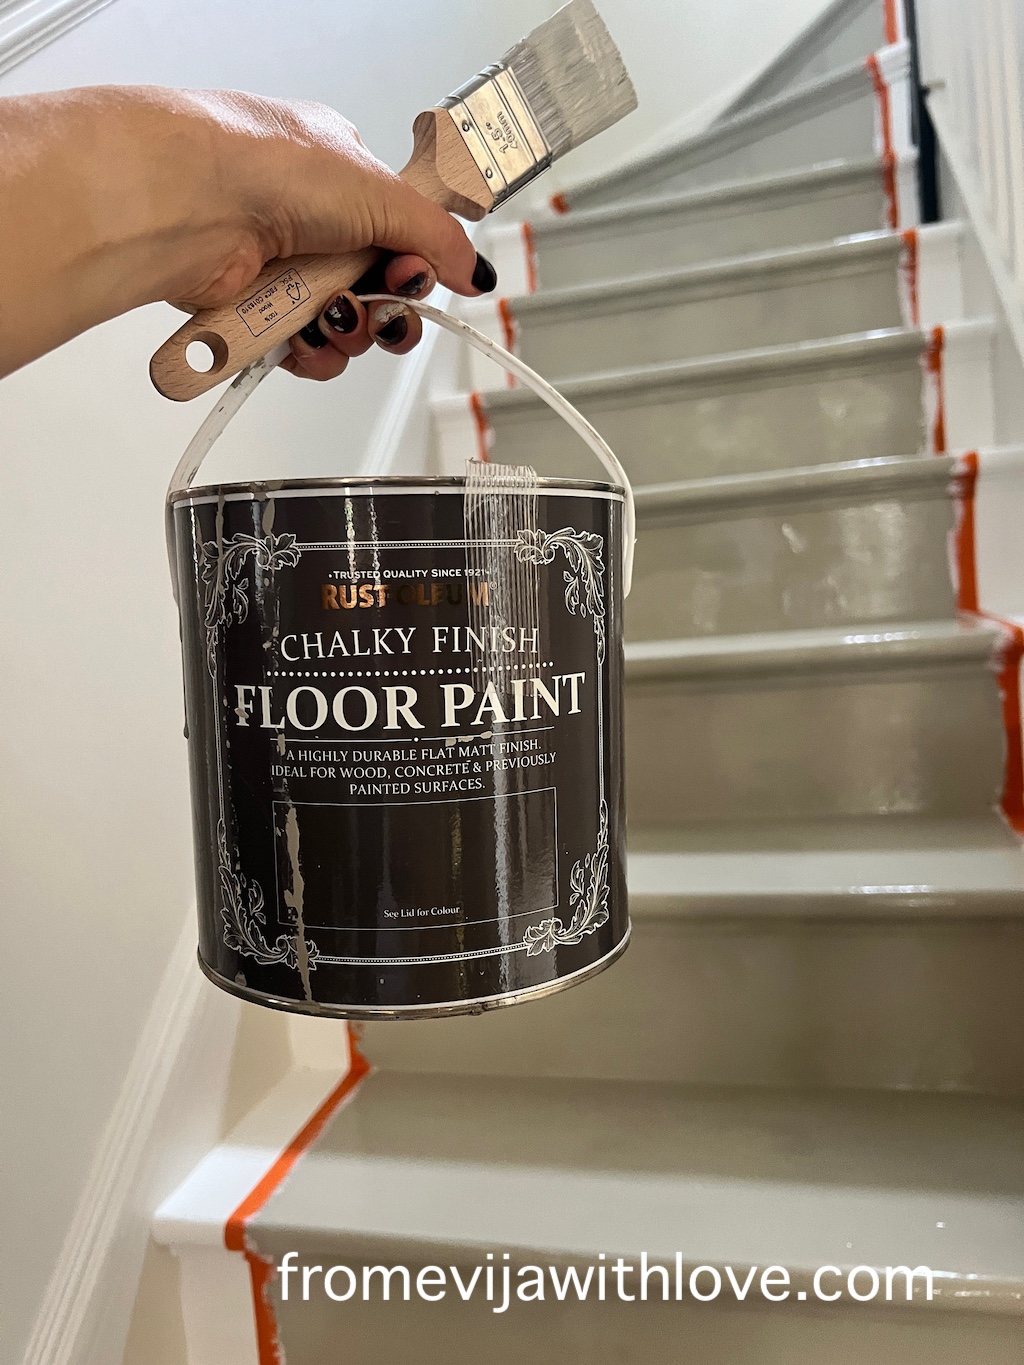
I was on a mission to get these stairs done. The paint was such a dream to use it also dried really quickly which meant I could continue to the next stage.

Measure, mark and tape the sides of the “runner” to create a different coloured edging.
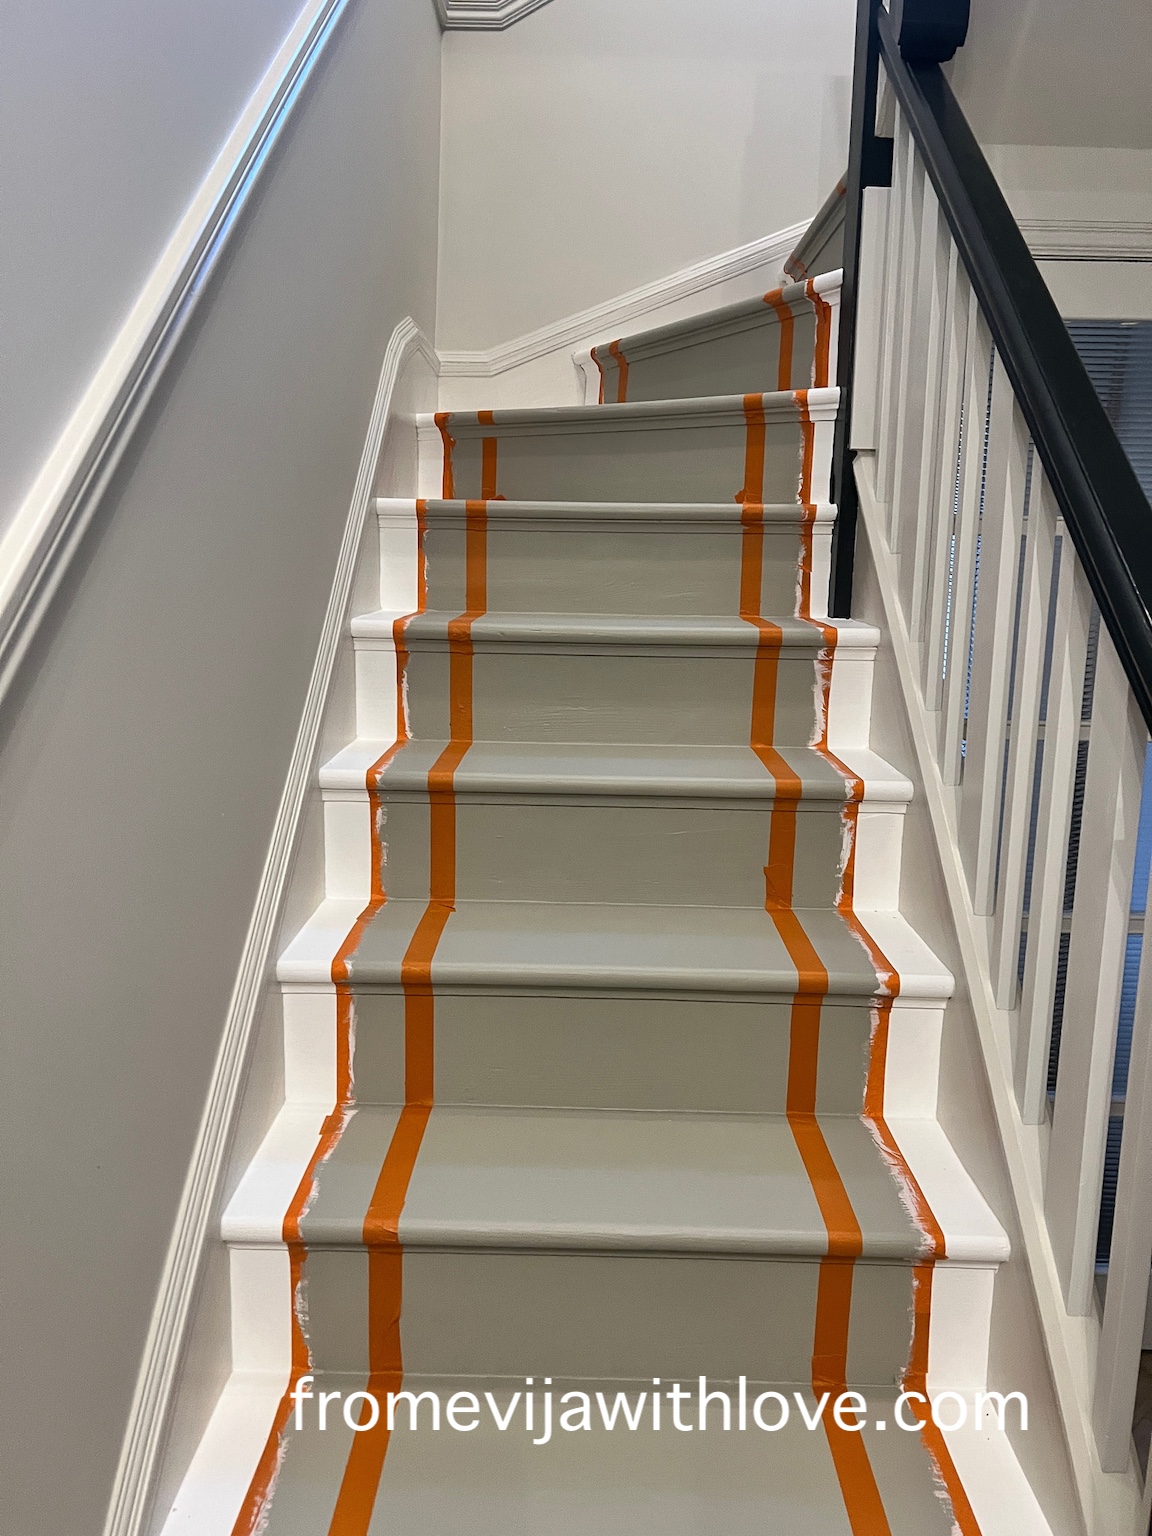
I painted the edging sides using the colour Oyster.
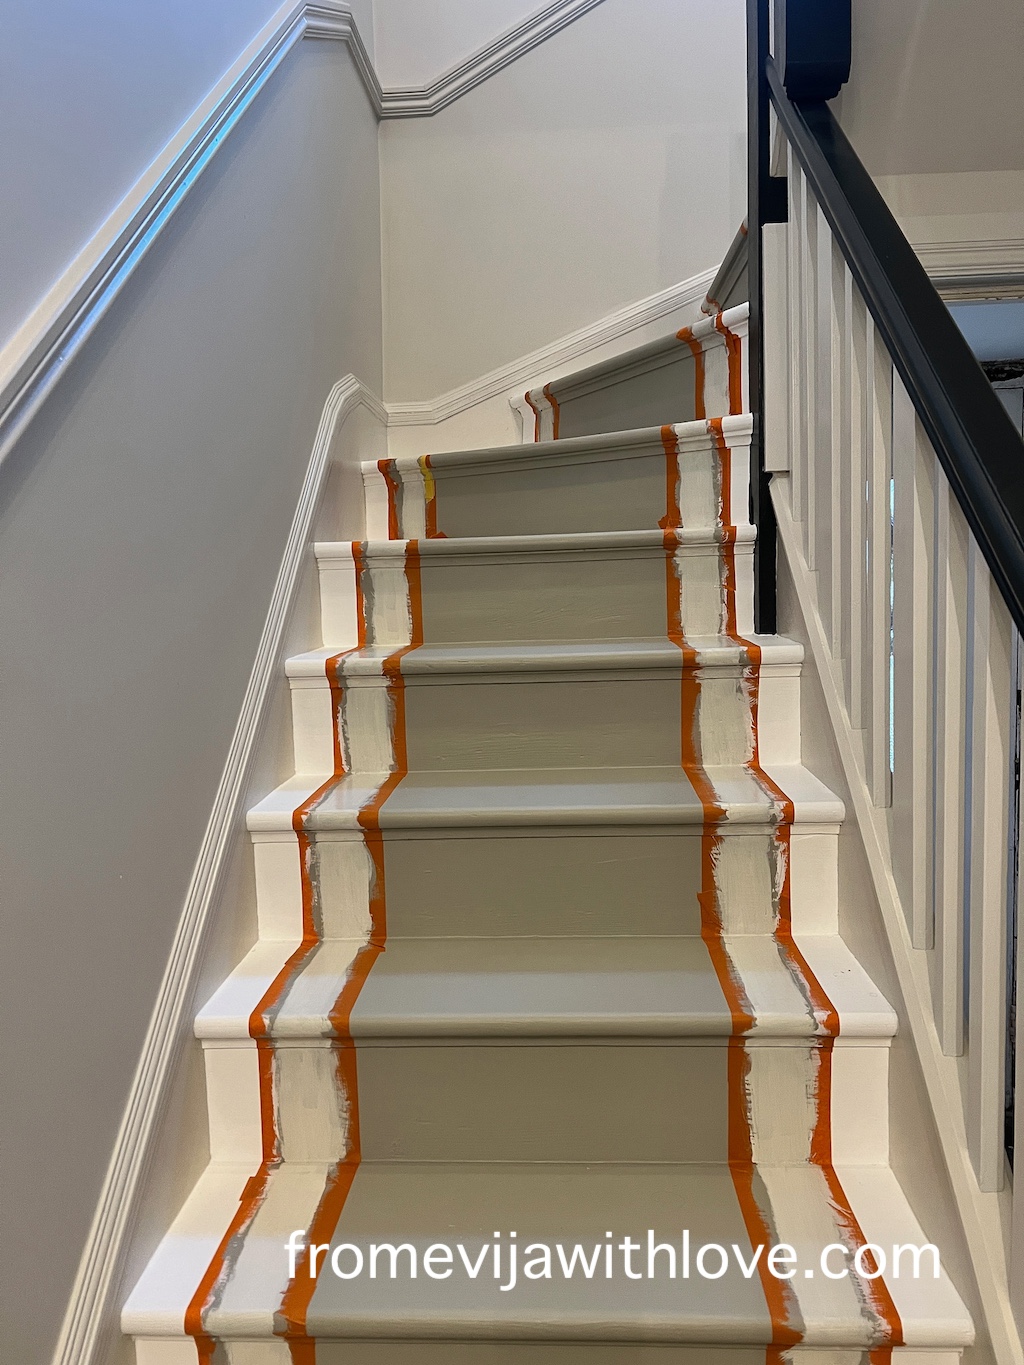
As I was painting over a darker colour, I put three coats of the lighter colour (Oyster) and on the last coat, while the paint was still wet, removed the painters tape. I held my breath as I was removing the tape as I had no idea whether my plan would work. Thankfully the painters tape didn’t let me down and the staircase turned out amazing!!
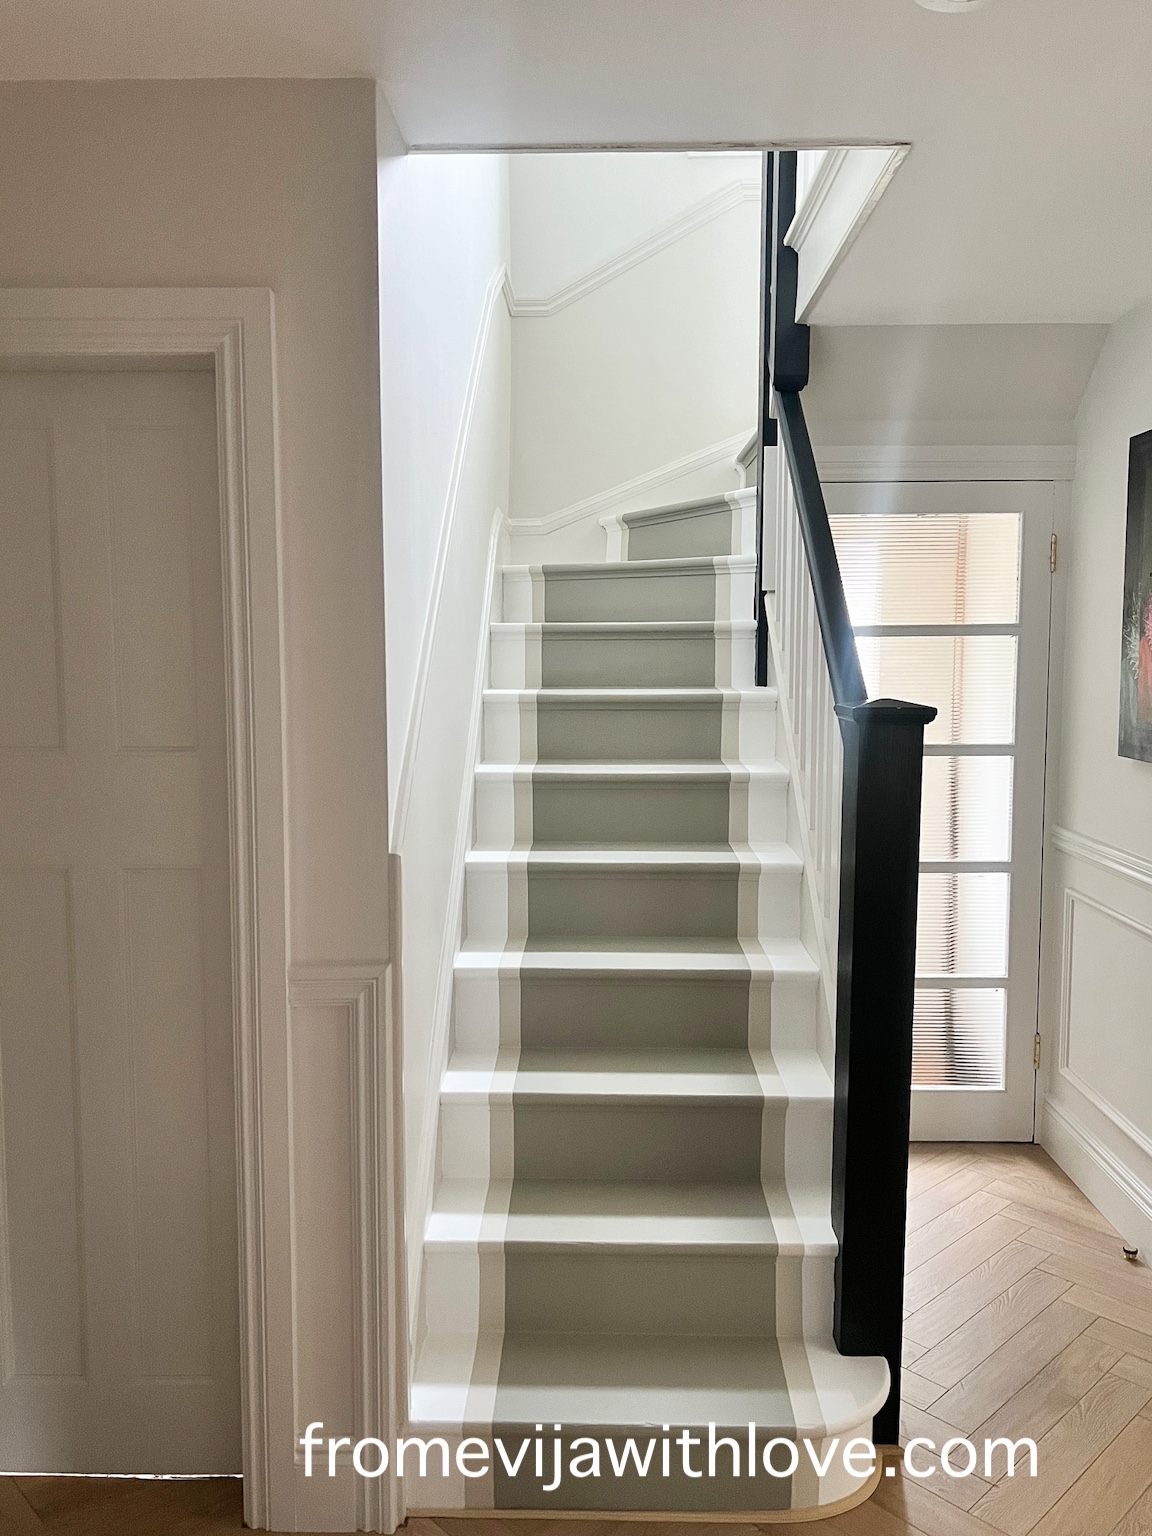
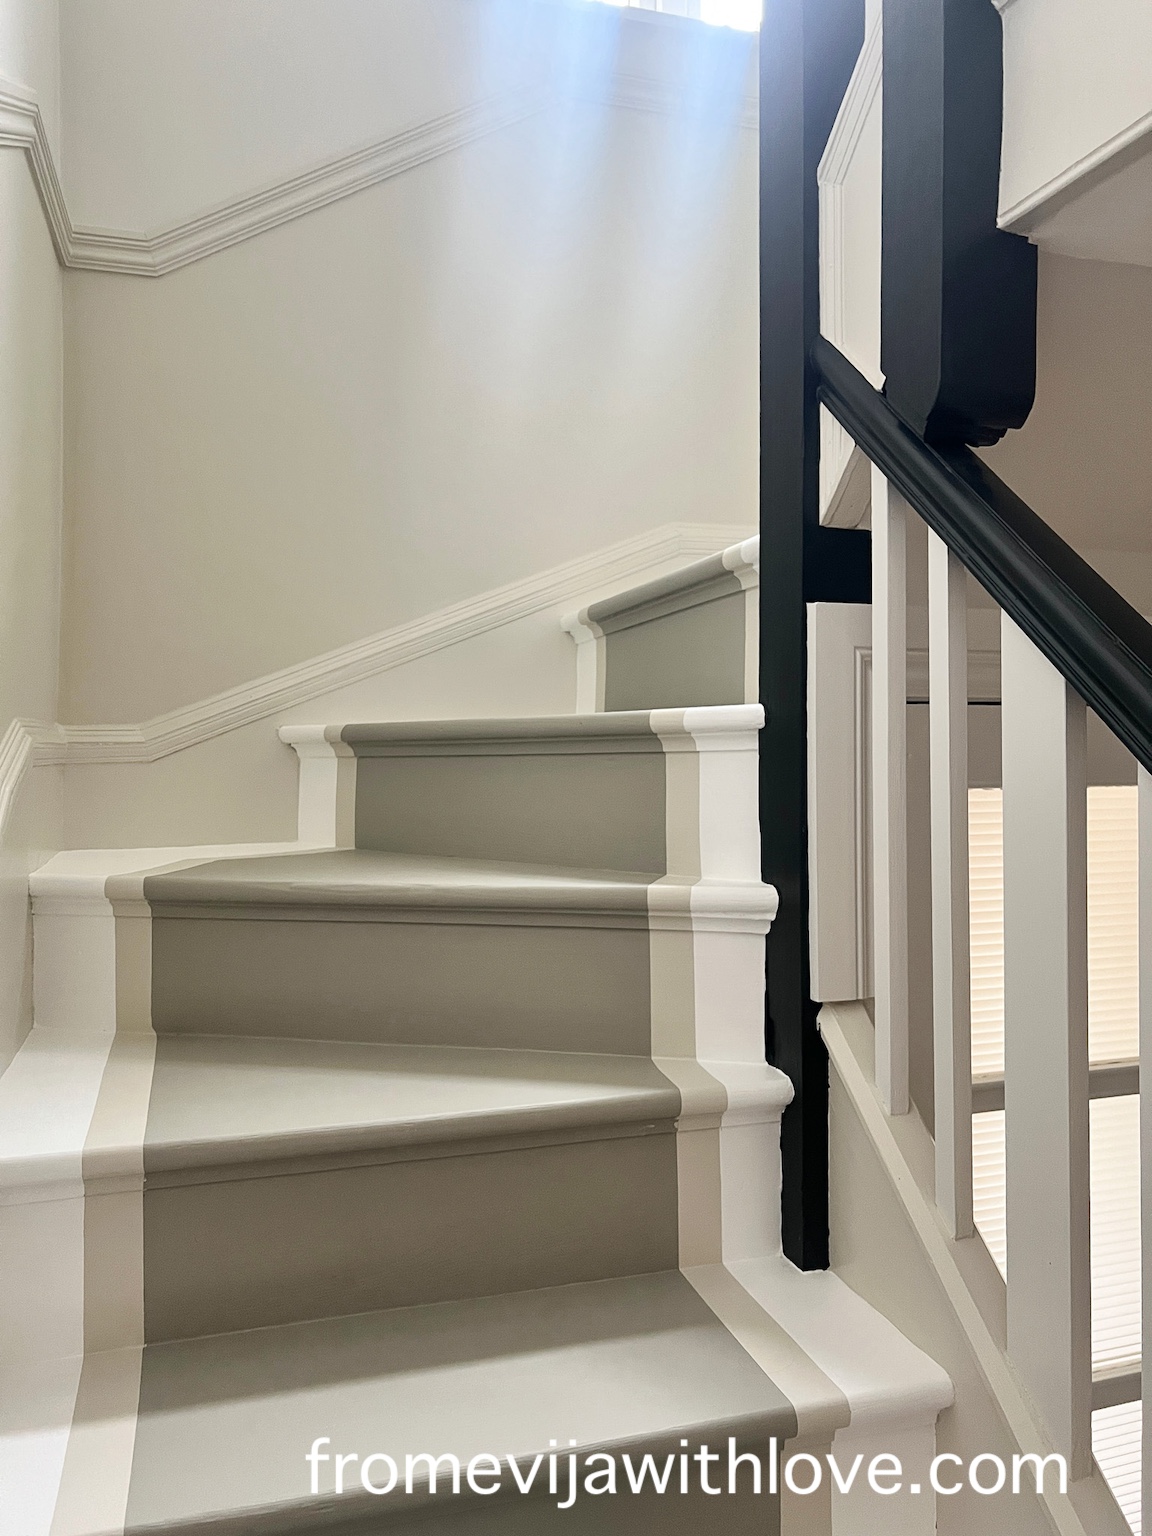



Materials I used (contains affiliate links):
Orange frog tape for gloss and satin, Rust Oleum floor paint – OYSTER, TANGLEWOOD, CHALK WHITE, Rust Oleum furniture paint in satin for the spindles, handrail and all woodwork OYSTER, BLACK SAND, STEAMED MILK, Bendable moulding
I will share my tips on using the painters tape for that nice crisp finish in a separate post shortly.
What do you think?? If you have questions let me know in the comments !


Beautiful what a lovely look! Well done!
Hey Vija!! Such a stunning transformation! The final reveal is worth the wait
WOW!!!! Absolutely beautiful.
Thank you so much Beth 🙂