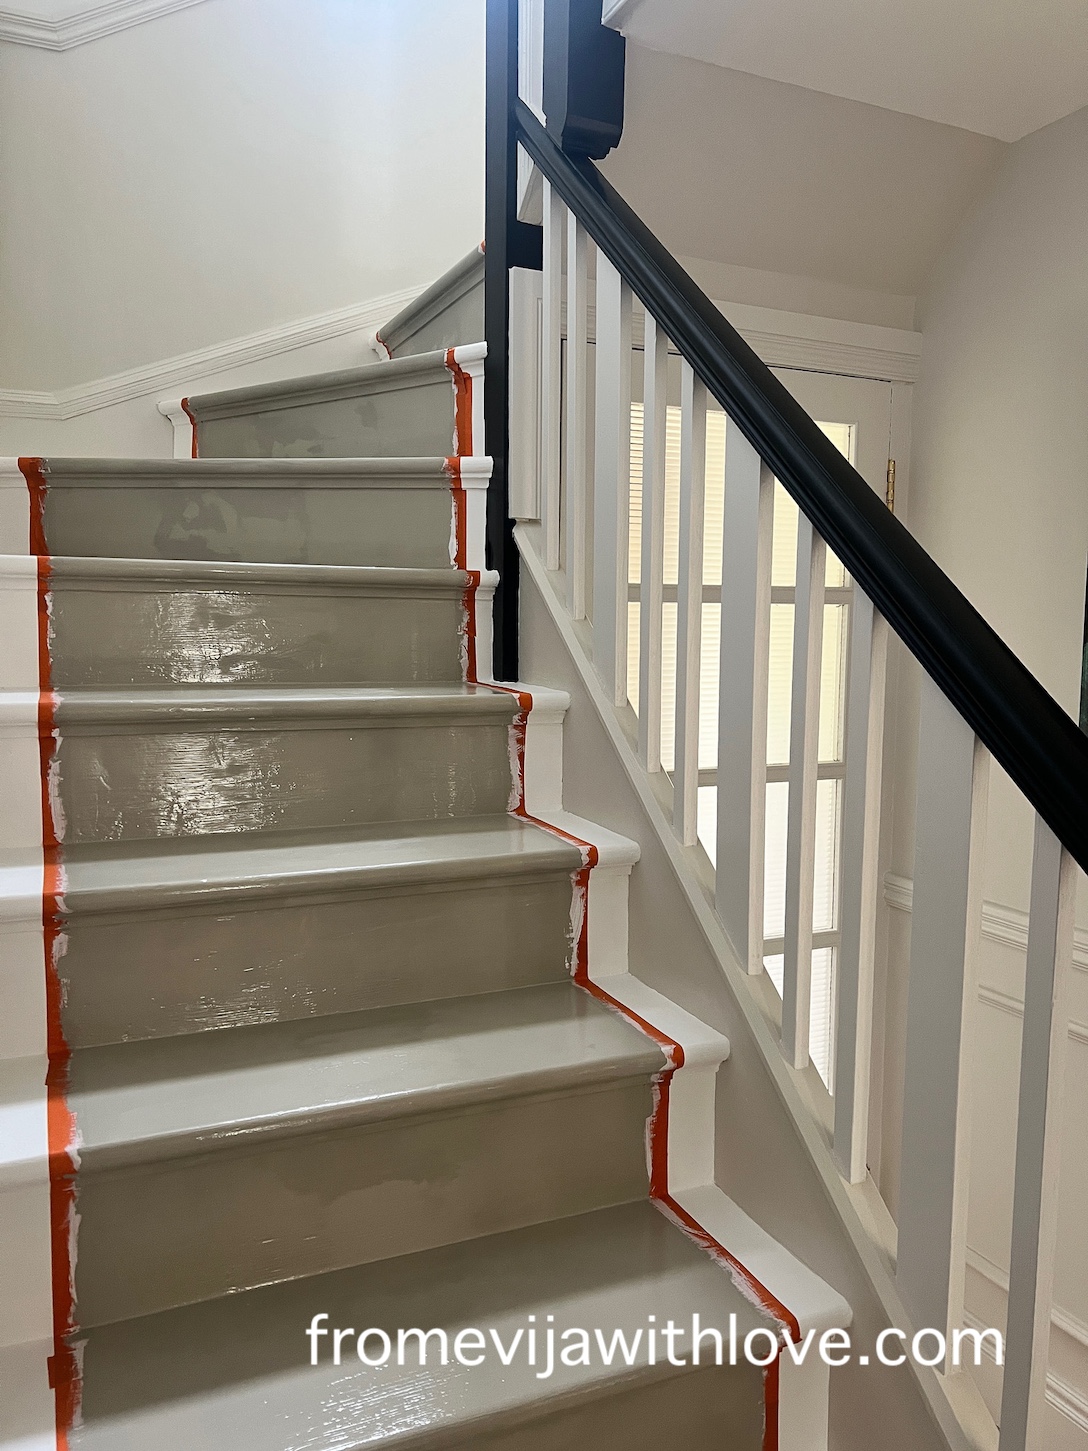
One of the questions I get asked after stating my staircase makeover is: How do you get crisp paint lines using painters tape? Painters tape can either be your best DIY friend or the thing that makes you question everything. I have been using the painters tape on different projects and have learnt what to do and more importantly what NOT to do. Preparation, using the right tape and knowing how to use it is what matters the most if you want to get a nice crisp line every time! I’ve been on both sides of that experience and painting our floor stair runner taught me exactly why prep and process matter far more than rushing to the “fun” part.
Disclaimer: This post contains some affiliate links, which means I may earn a small commission (at no extra cost to you) if you decide to buy something I’ve recommended in this post regarding painters tape. I only share products I genuinely love and would use myself.
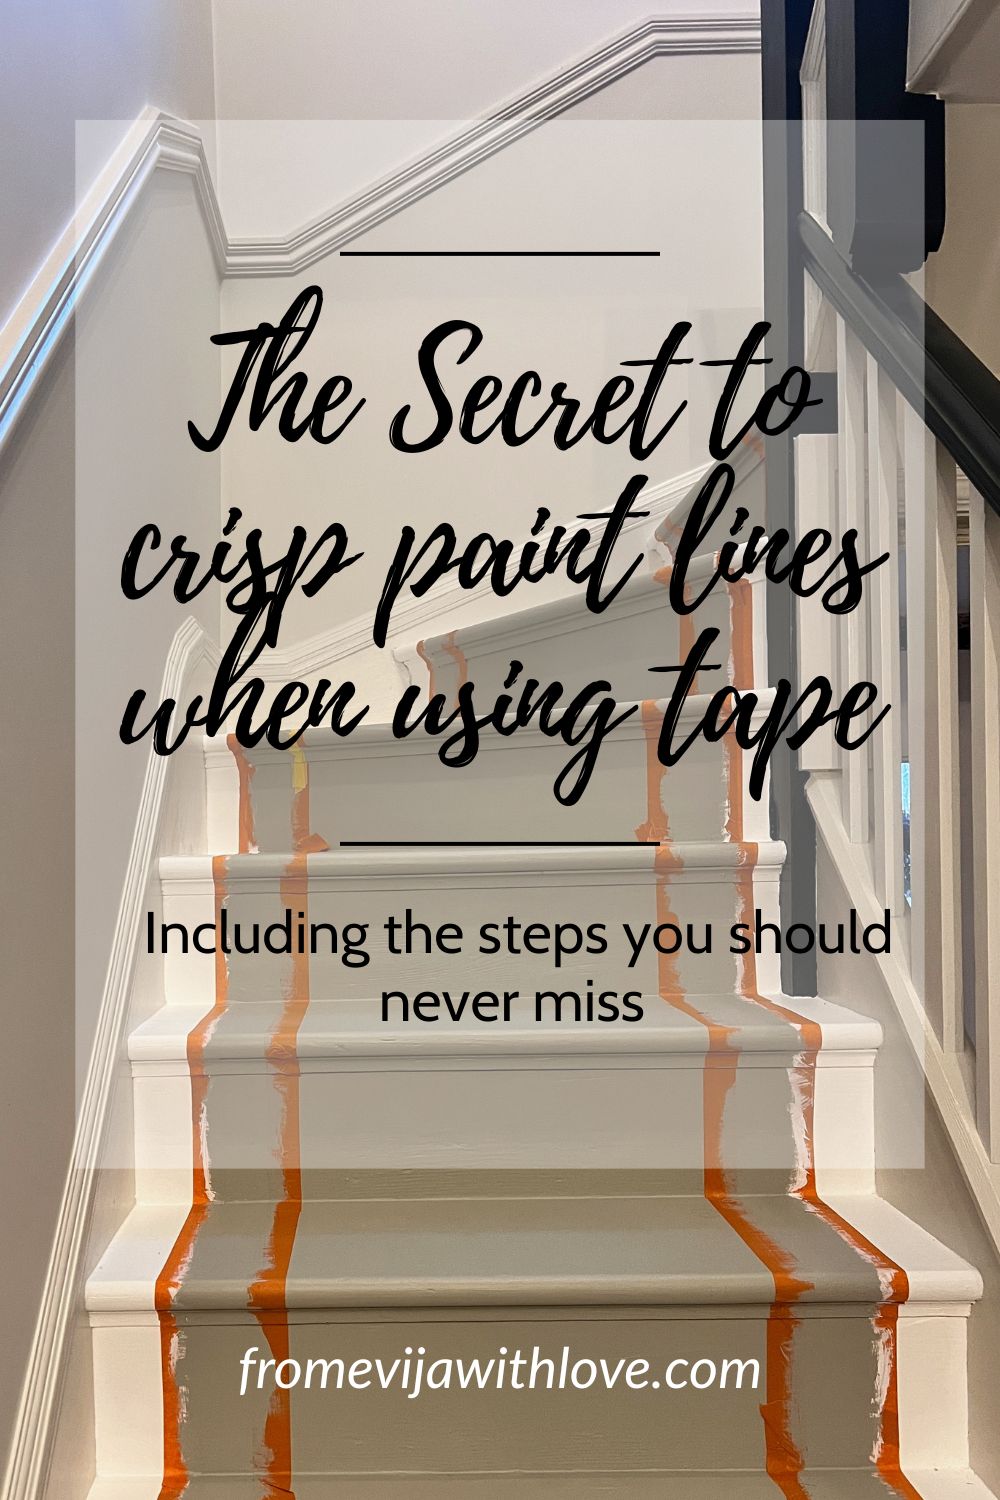
If you want to achieve crips lines using painter’s tape but end up with peeled paint, bleeding, fuzzy edges once you take the tape off, this post is for you.
Here’s how to use painter’s tape properly for clean, sharp lines that actually look professional.
Step 1: Prep work is non-negotiable
I know everyone thinks prep work is boring and sometimes can be skipped. However, prep work is KEY for any renovation project, you must ensure you have a properly prepared base to ensure a nice finish that will last. Using a painter’s tape is no exception.
Before you even think about using the tape or paint for your project:
- Remove any old or flaky paint
- Sand the surface so it is smooth and even
- Clean thoroughly and make sure it is completely dust free
It is important that the surface is dust free as any dust or texture under the tape will create gaps and gaps are where paint seeps through. If you leave your surface glossy or oily, the tape simply won’t stick.

Once clean and dry, prime the surface using appropriate primer. My current go to primer is Zinsser B-I-N Aqua. This gives you an even base and helps the paint adhere properly, especially on floors, stairs or high-wear areas.

Only once all of this is done should you move on to taping.
Step 2: Choose the right tape for the job
Many people overlook this simple step. Different painter’s tape is used for different projects. Make sure you select the correct tape and read the instructions. The colour of the tape will have different adhesion strength, surface compatibility and clean-up time, helping prevent damage or paint bleed, so make sure you choose the right tape for the project!
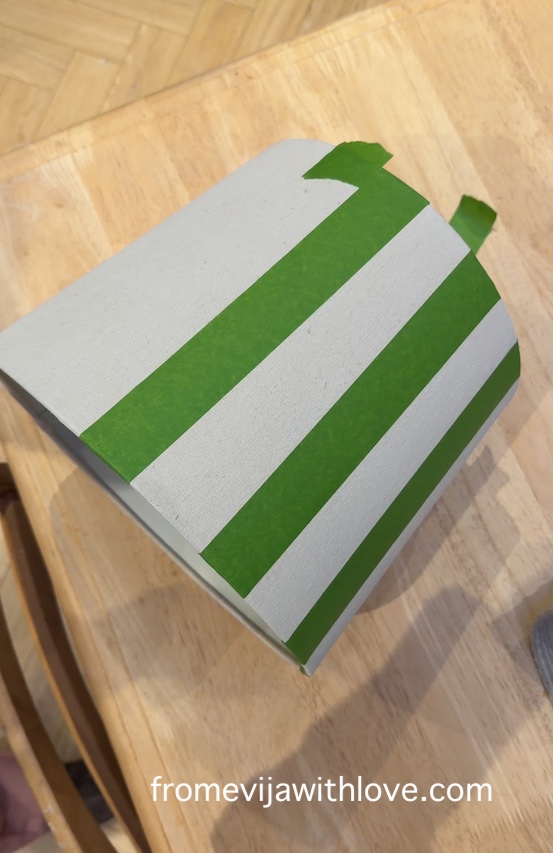
Green tape – multi surface, orange tape – gloss and satin, yellow tape – recently painted/delicate surfaces

Step 3: Tape carefully
Apply your painter’s tape slowly and with precision. Go slowly and press it down firmly along the edges, especially where the paint line will be most visible.
Don’t rush this step, even if it does feel like the most boring task. Trust me, rushing this step will almost always show in the final result.
Step 4: Seal the tape with the base colour
If you are using two different colours – this step is essential. DO NOT SKIP THIS STEP!!!
Once the tape is in place, paint over the tape edges using your base colour, not the contrasting one first. This will ensure that you have sealed the tape and even if any of the tape seep through it will be the base colour (i.e. invisible underneath).
Why this matters:
- If any paint seeps underneath the tape, it will be the same colour as the base
- This prevents visible bleeding and creates sharp lines
Let this layer dry fully before moving on to the next step.
Step 5: Paint the main colour
Now paint your contrasting or main colour over the taped area. If one coat isn’t enough, let it dry completely before applying a second coat.
Step 6: Remove the tape while the paint is still wet
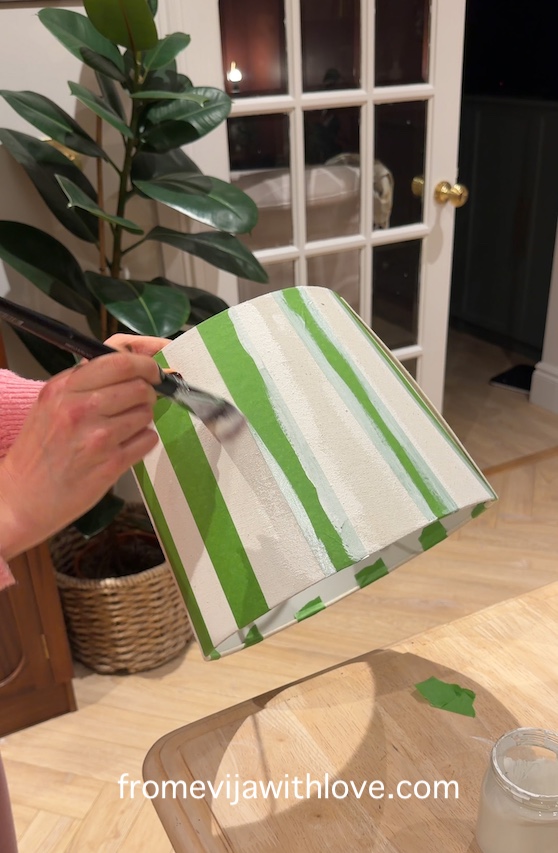
Many people think you must allow the paint to dry completely before removing the tape – this is wrong! Carefully remove the paint by peeling the painter’s tape away while the paint is still wet.
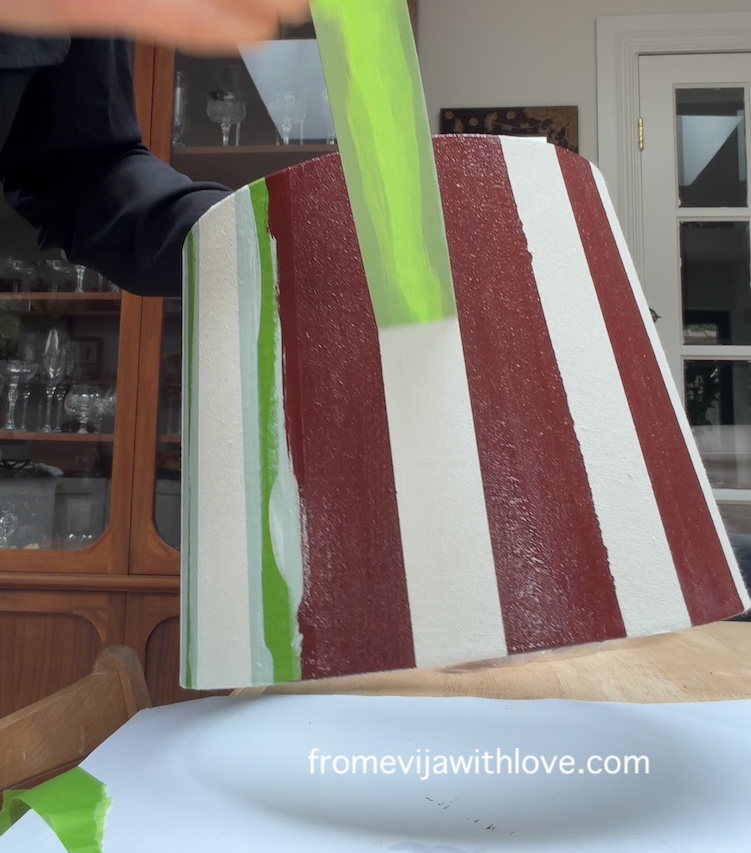
This helps prevent:
- Jagged edges (this happened on the lampshade before as the surface is textured)
- Paint lifting
- Cracking along the line
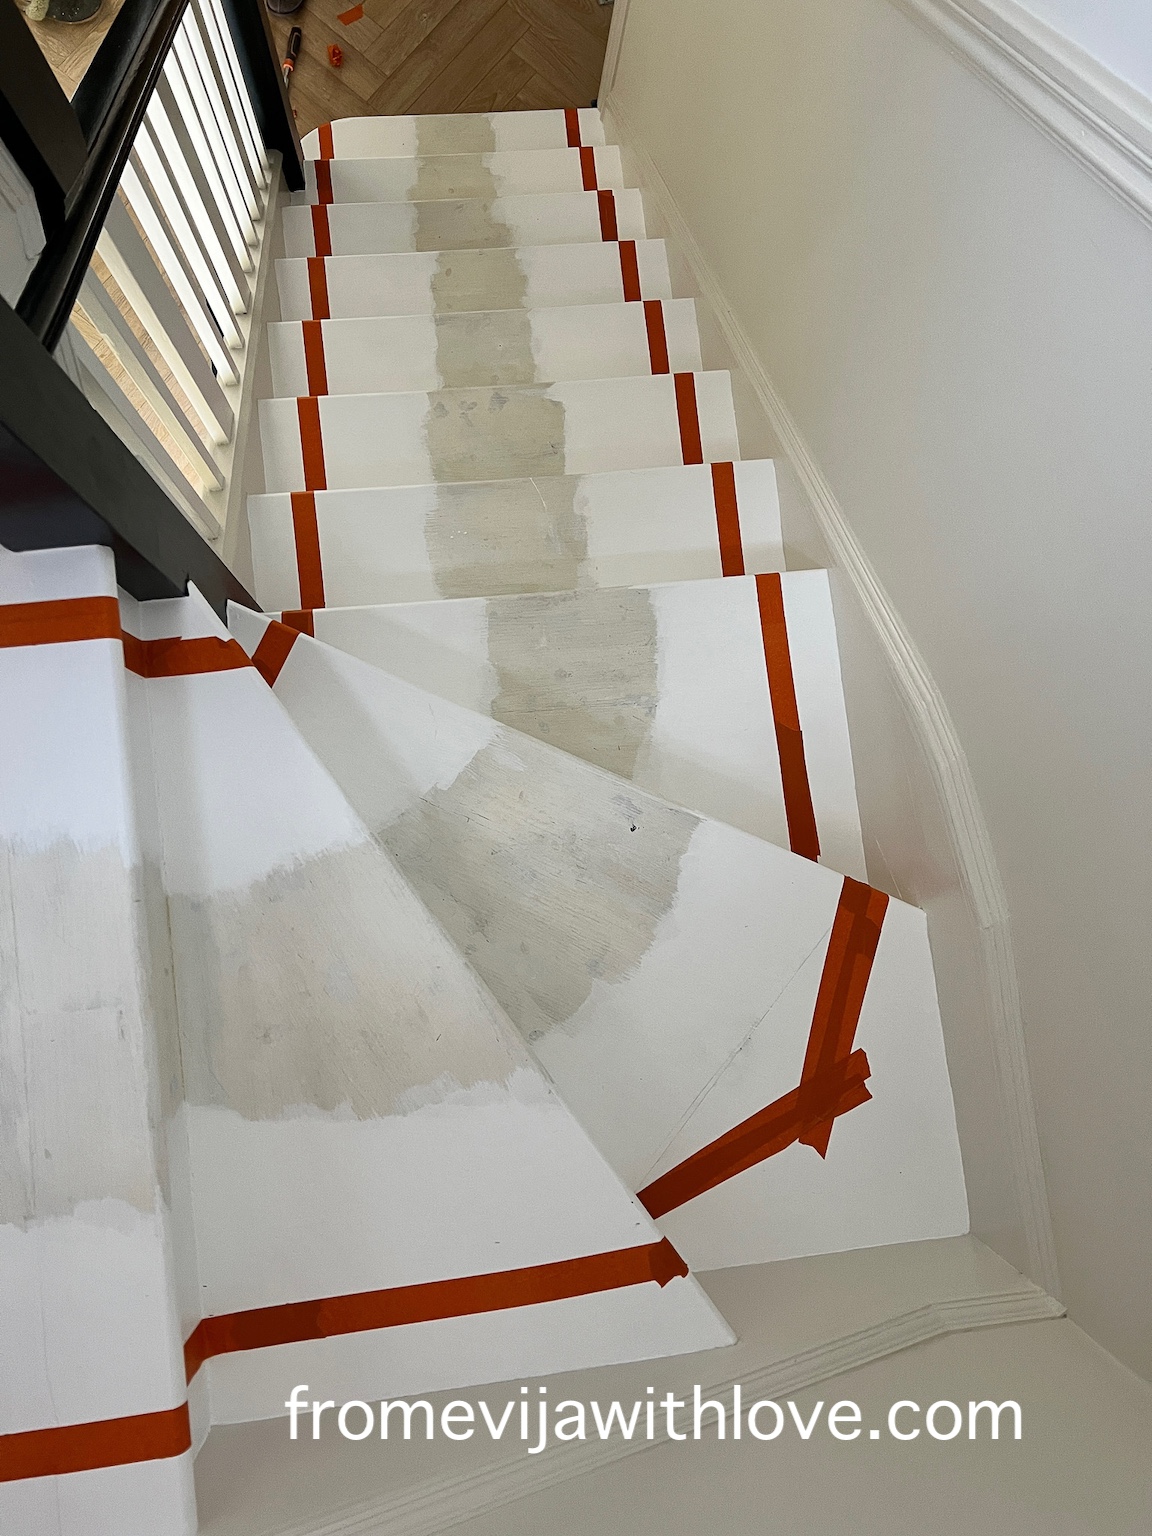
What I learn from our stair runner project
Painting our stair runner was one of those projects where every shortcut would have shown immediately. This project was really long and prep-heavy, but it definitely made all the difference as high-traffic areas are unforgiving. It was a massive challenge but I ensured I approached the project in stages so I wouldn’t feel too overwhelmed.
Painter’s tape is a great tool in achieving a beautiful crisp finish, especially when doing something as precise as the stair runner, so make sure you take time in applying in and removing the tape.
If you are planning stripes, borders, runners or any detailed paintwork, this method will save you time, frustration and repainting later.
What do you think? Did you knew about these essential 6 Steps for crisp lines??
Why not check out my other posts using the painter’s tape: