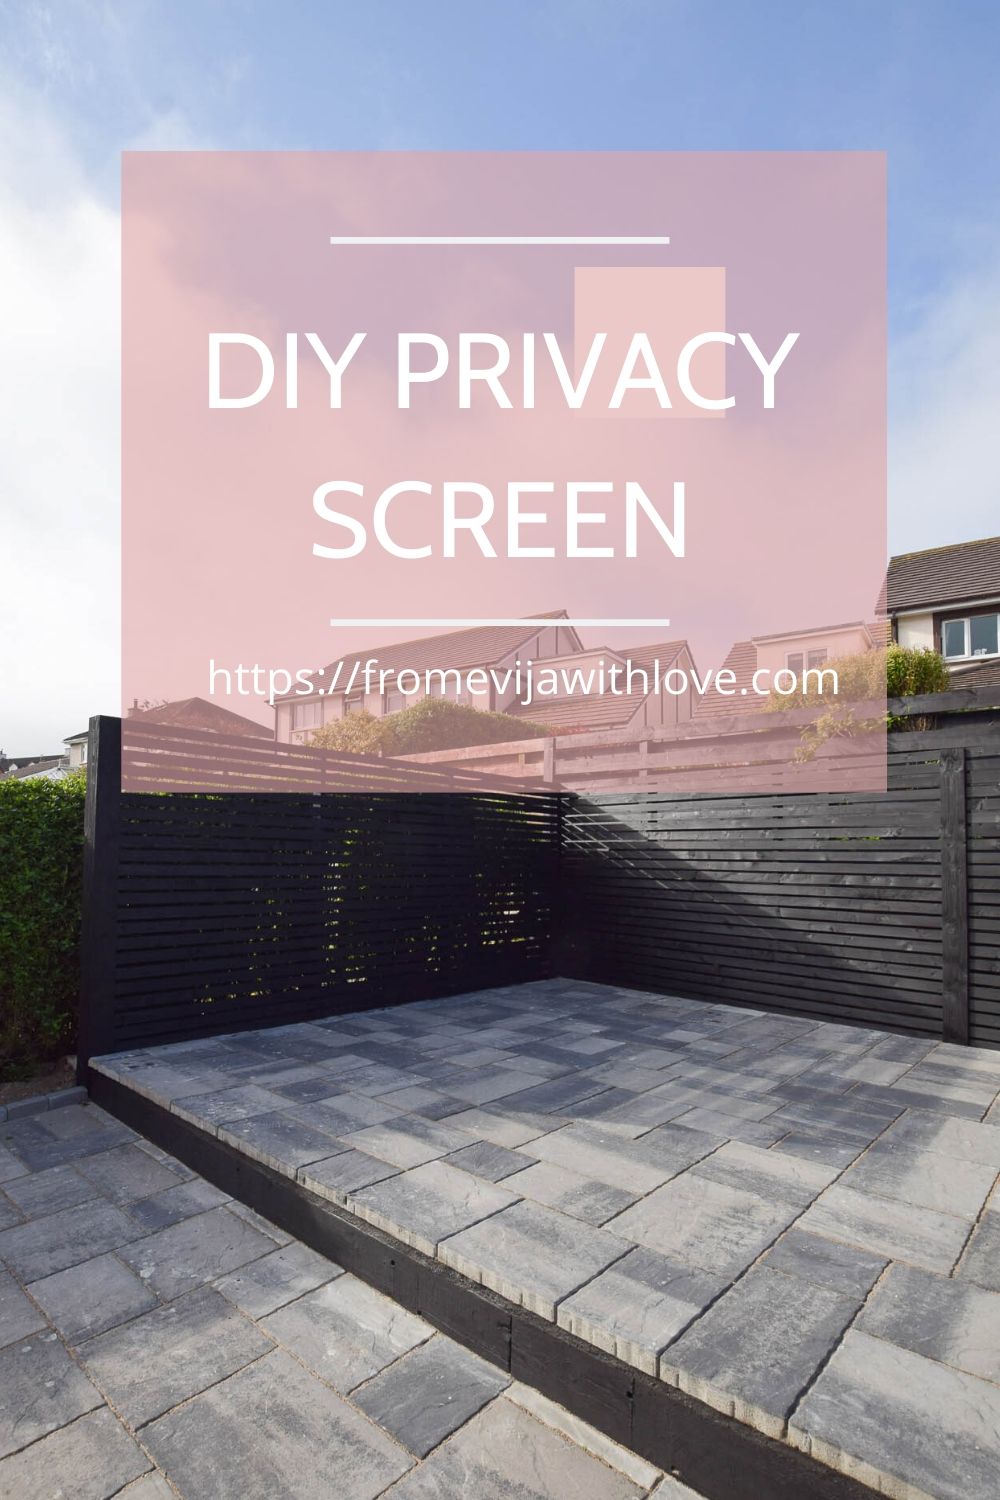
I have showed you the reveal of our beautiful space already so this post is one of the “how to” posts to show you how we actually created our gorgeous patio area and the privacy screen. We’ve been living in the house now for 4 years and this is the first time we have a proper patio area. Our big built coincided with the Covid-19 pandemic but we were not going to let it stop us!!!
Shaun and I were both at home from around 23 March which meant we could start building early. The only problem was, we did not have all the materials we needed to build our dream patio area so we had to get a little creative!
As I mentioned in my previous post we were planning on starting the work over Easter. Shaun had already made plans to hire a mini digger to do the groundworks for the patio area. With lockdown in place we contemplated digging it by hand.. We soon scrapped the idea!!
We kind of left it for a few weeks. Then a disaster struck when one of our our drains got so blocked up, the water wouldn’t go down at all and the whole path flooded (blessing in disguise as it turned out). Long story short, after a few phone calls (including the Isle of Man Government and the local police), Shaun managed to arrange a mini digger for one day to sort out the drainage (emergency work was allowed – also note we are in the Isle of Man so the rules are slightly different over here!). As we had the digger for 24 hours, Shaun managed to sort out the drain, replace the pipe as well as “quickly” dig out the grounds for the patio area (post on slabs and how we created the groundworks will follow).
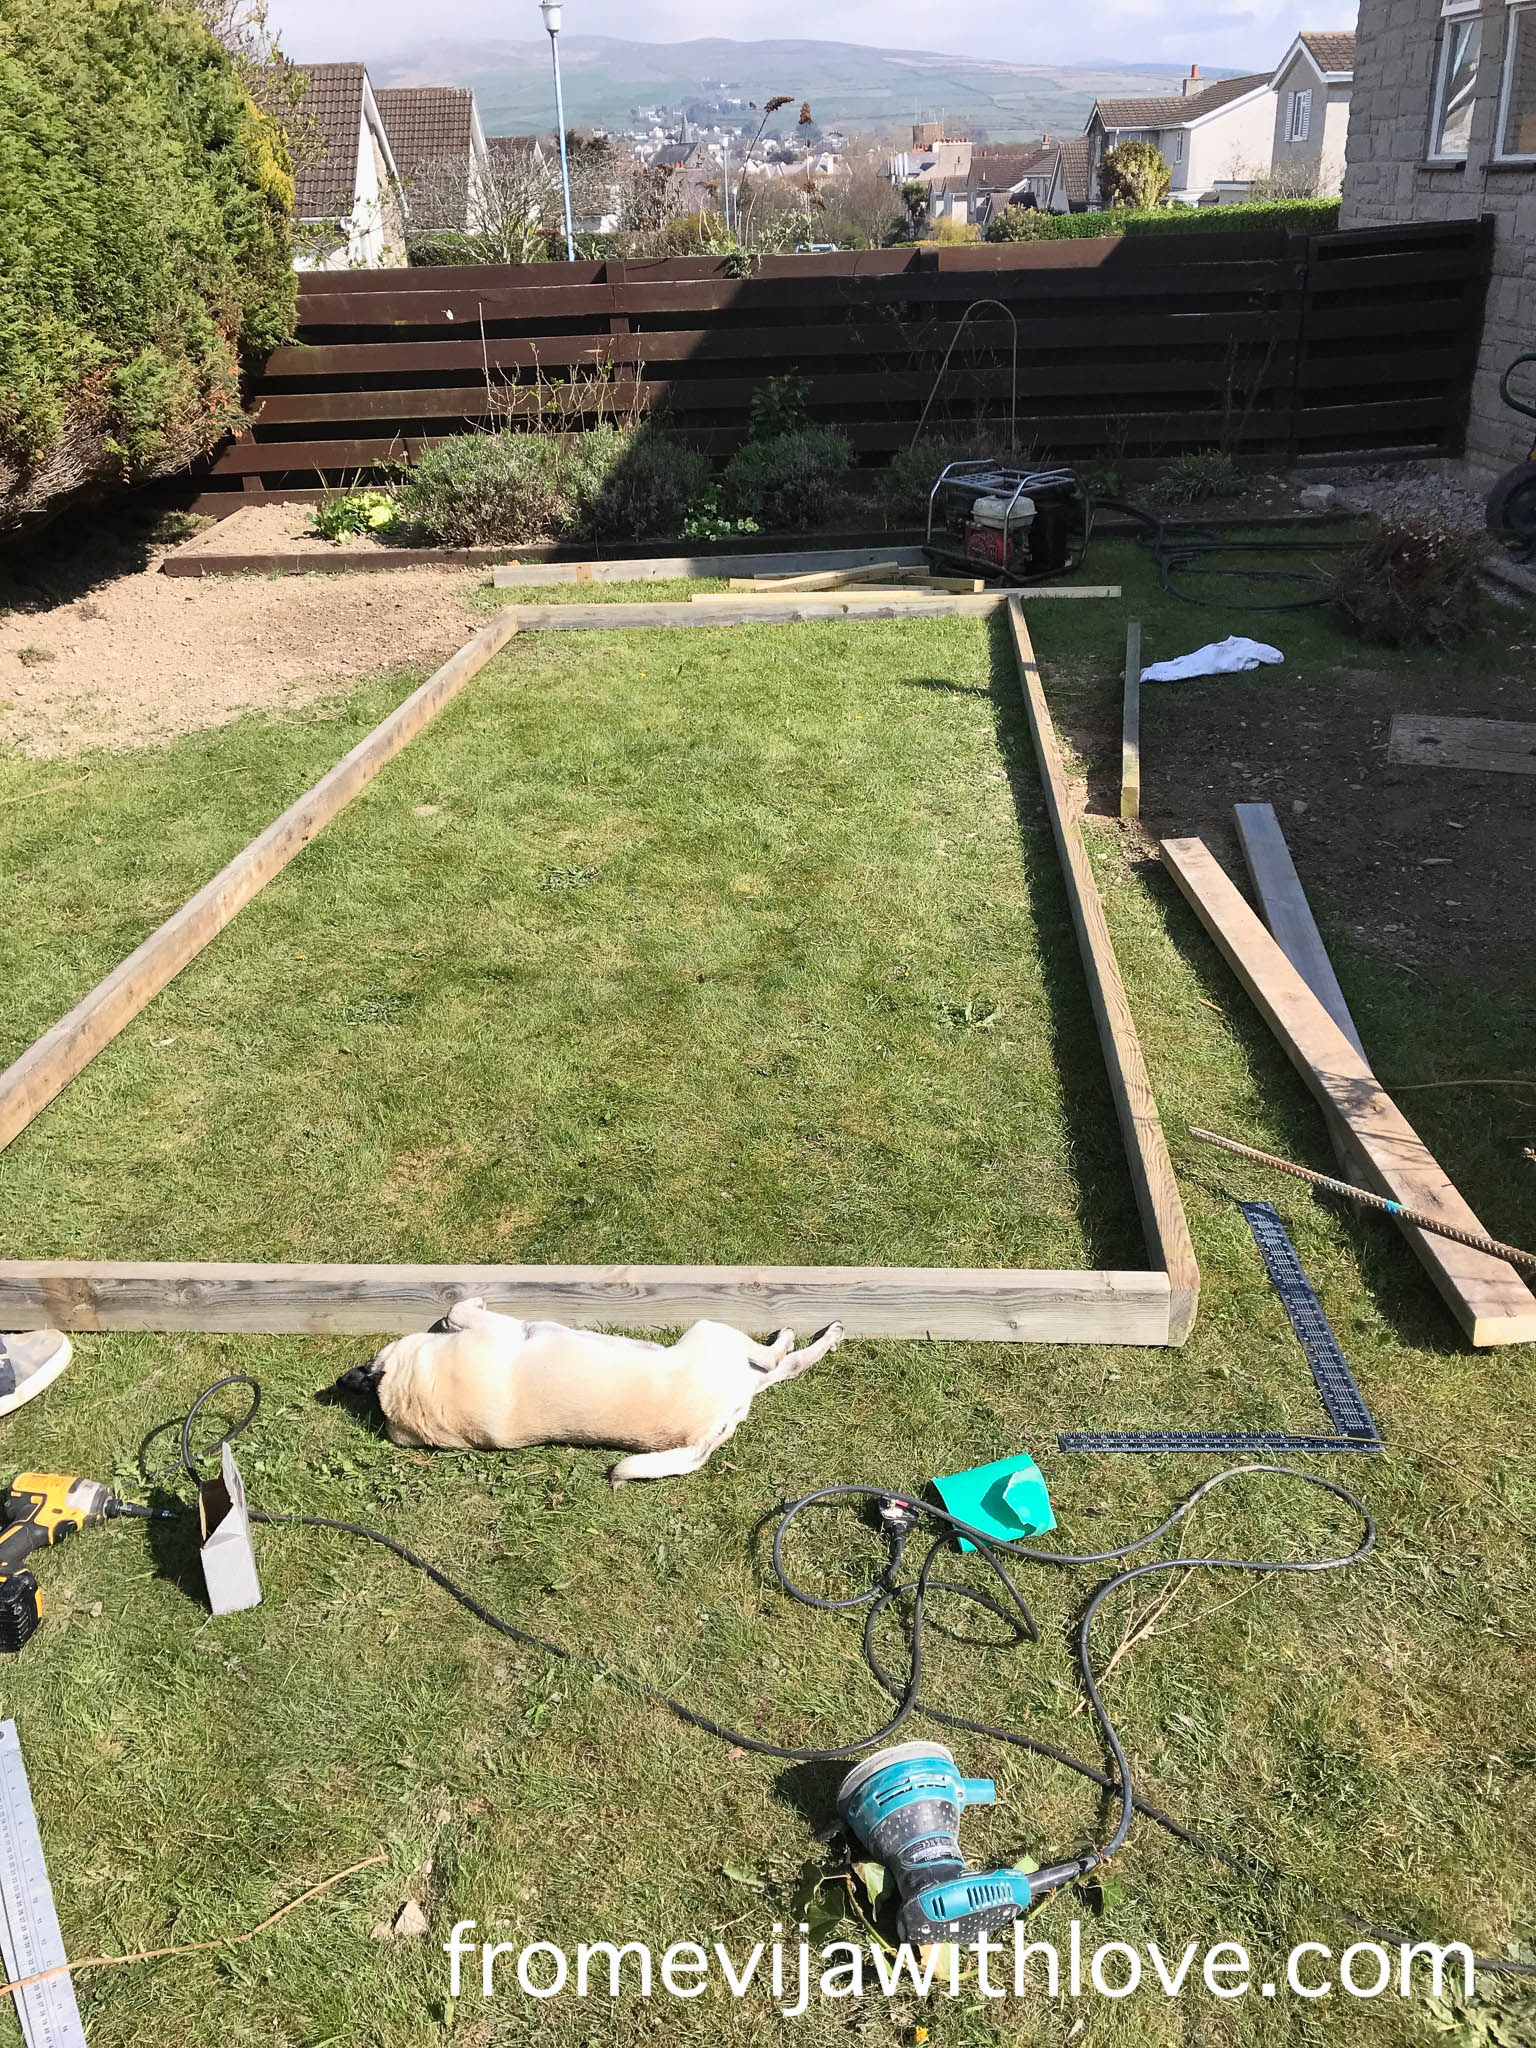
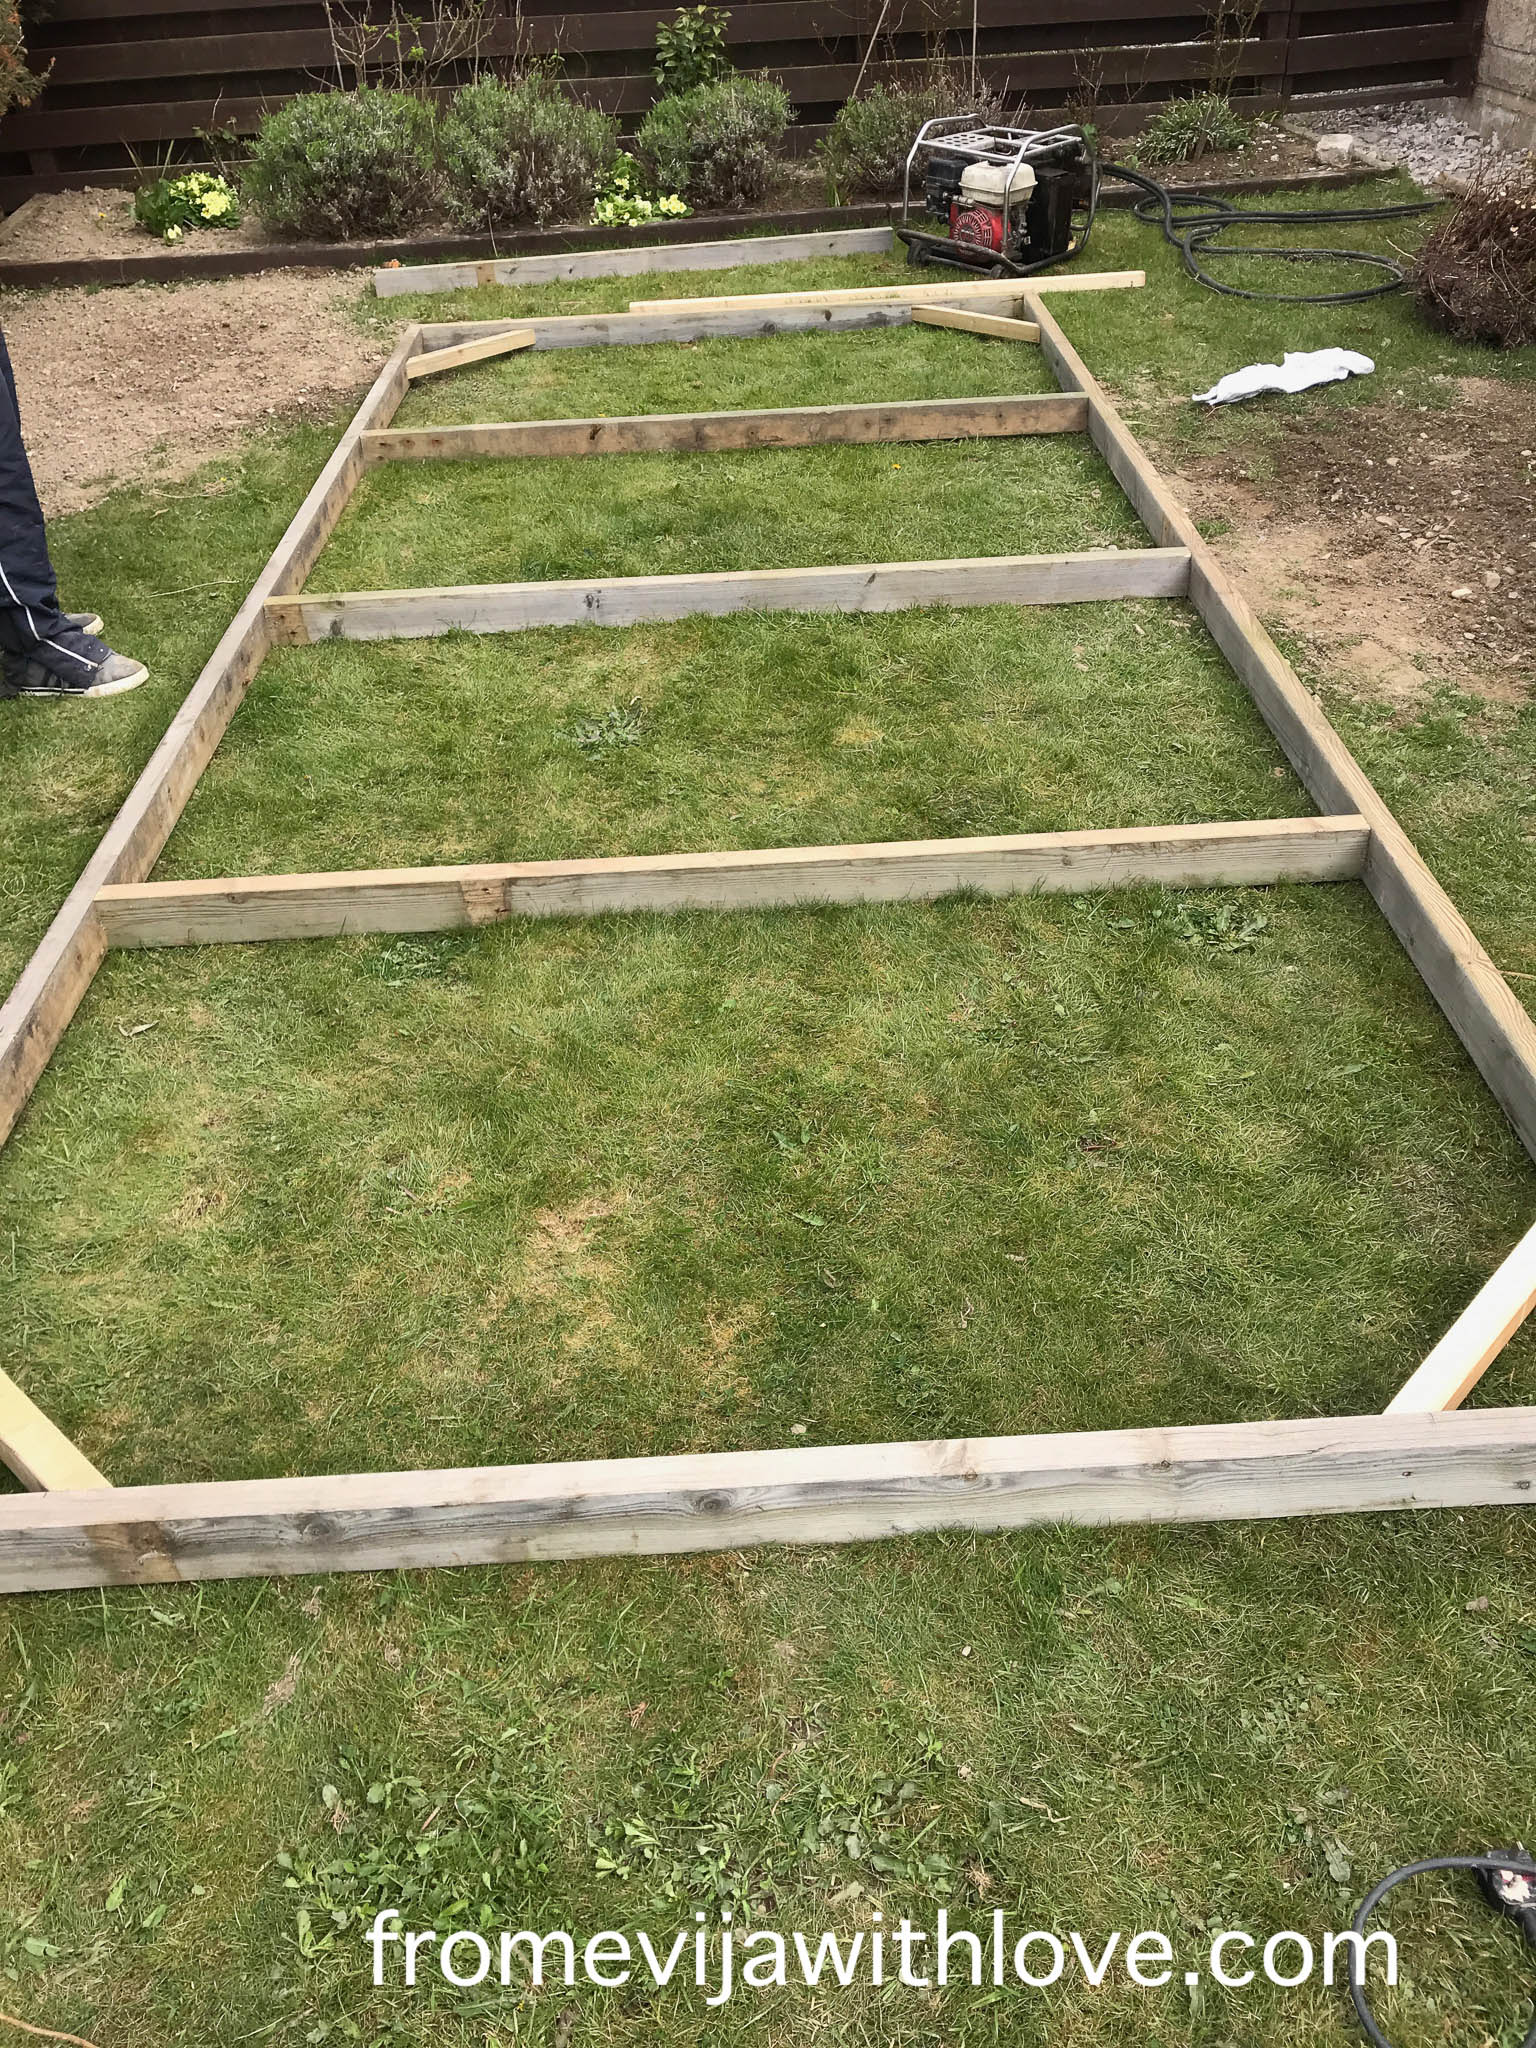
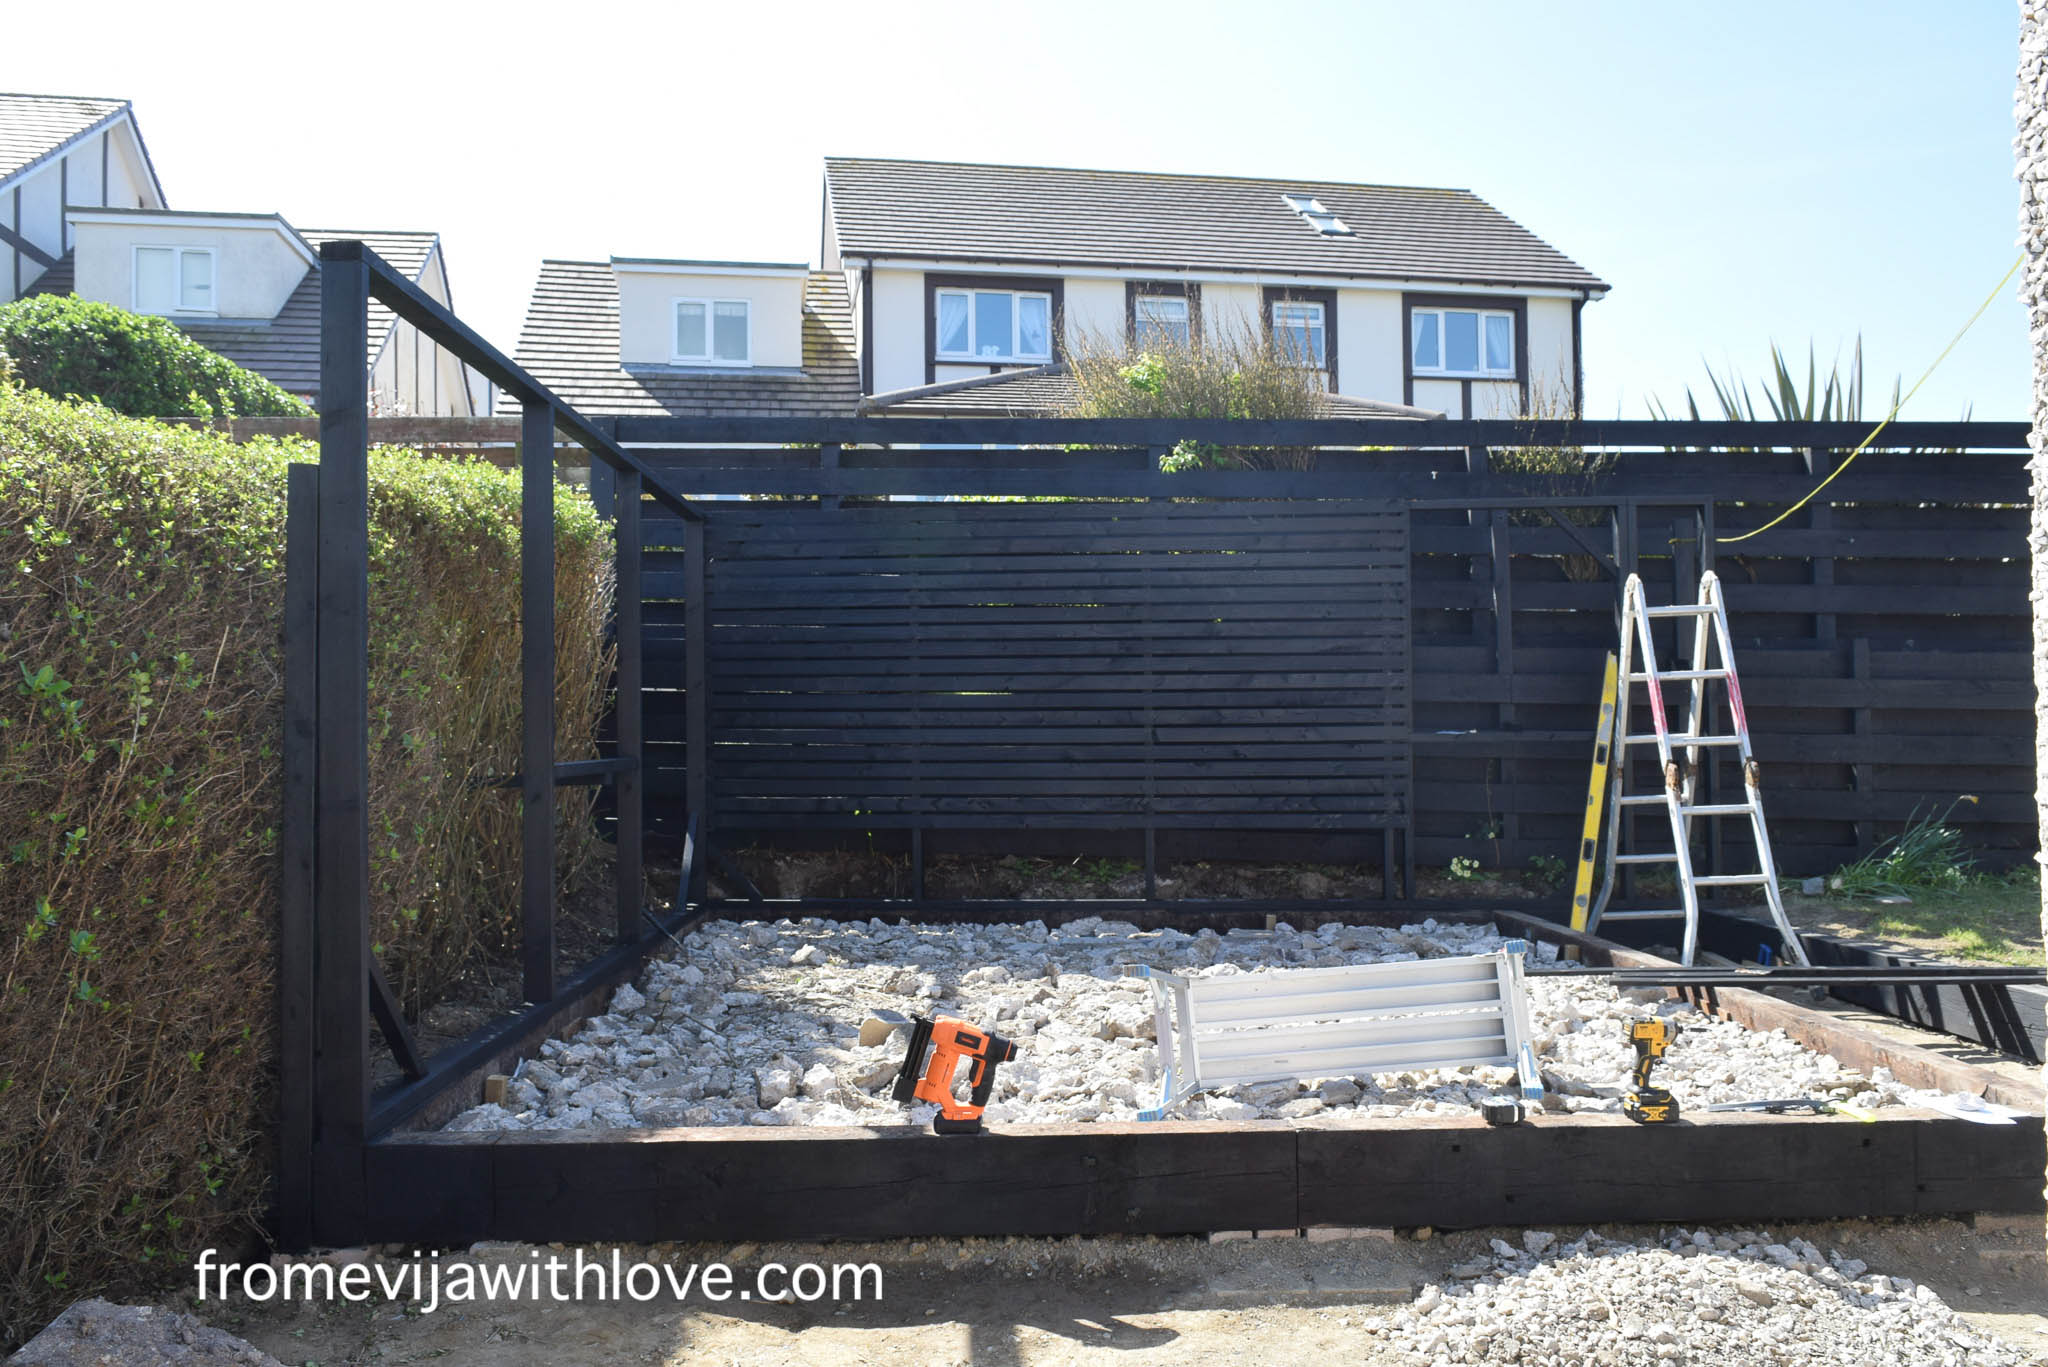
We measured the area and worked out the size of the frames for the privacy screen. We used 4×2 timber to build the framework on the grass. To ensure the frames were sturdy we added some extra timbers in the middle (this would also allow us to fix the screen batting in place as well).
We carried the frames and fixed them in place and attached them to the base using wood screws. We also attached the frame to the fence posts to make them sturdier. Once the wood batting was attached it would also add extra weight to the frame, so we had to make sure the frames were not flimsy and could take the weight.
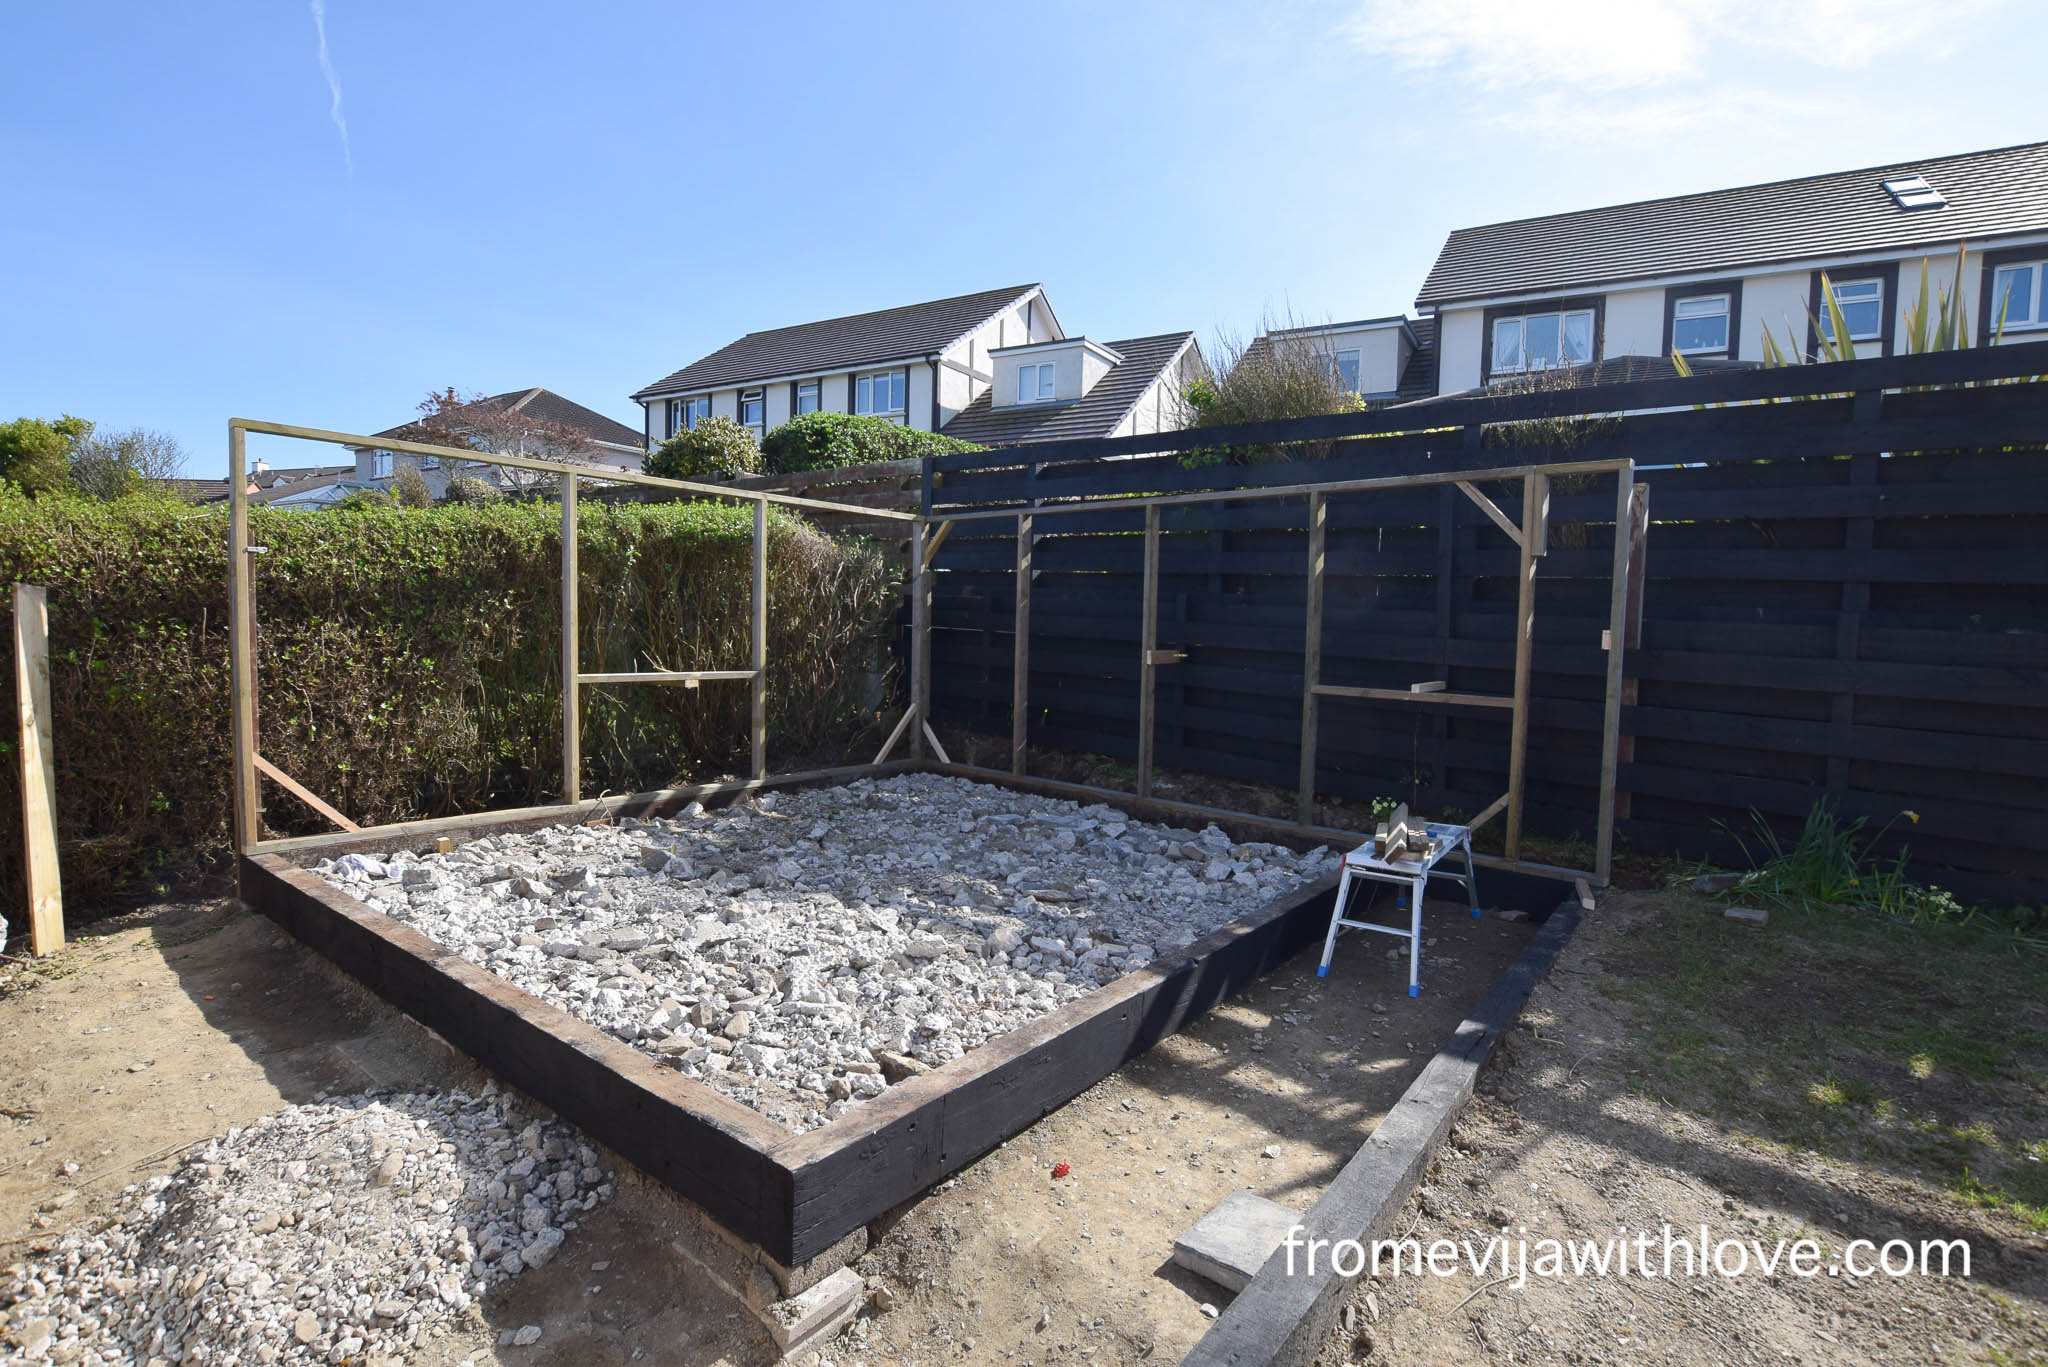
Once the frame was securely put in place, I painted the framework black ready for the timbers to be attached.
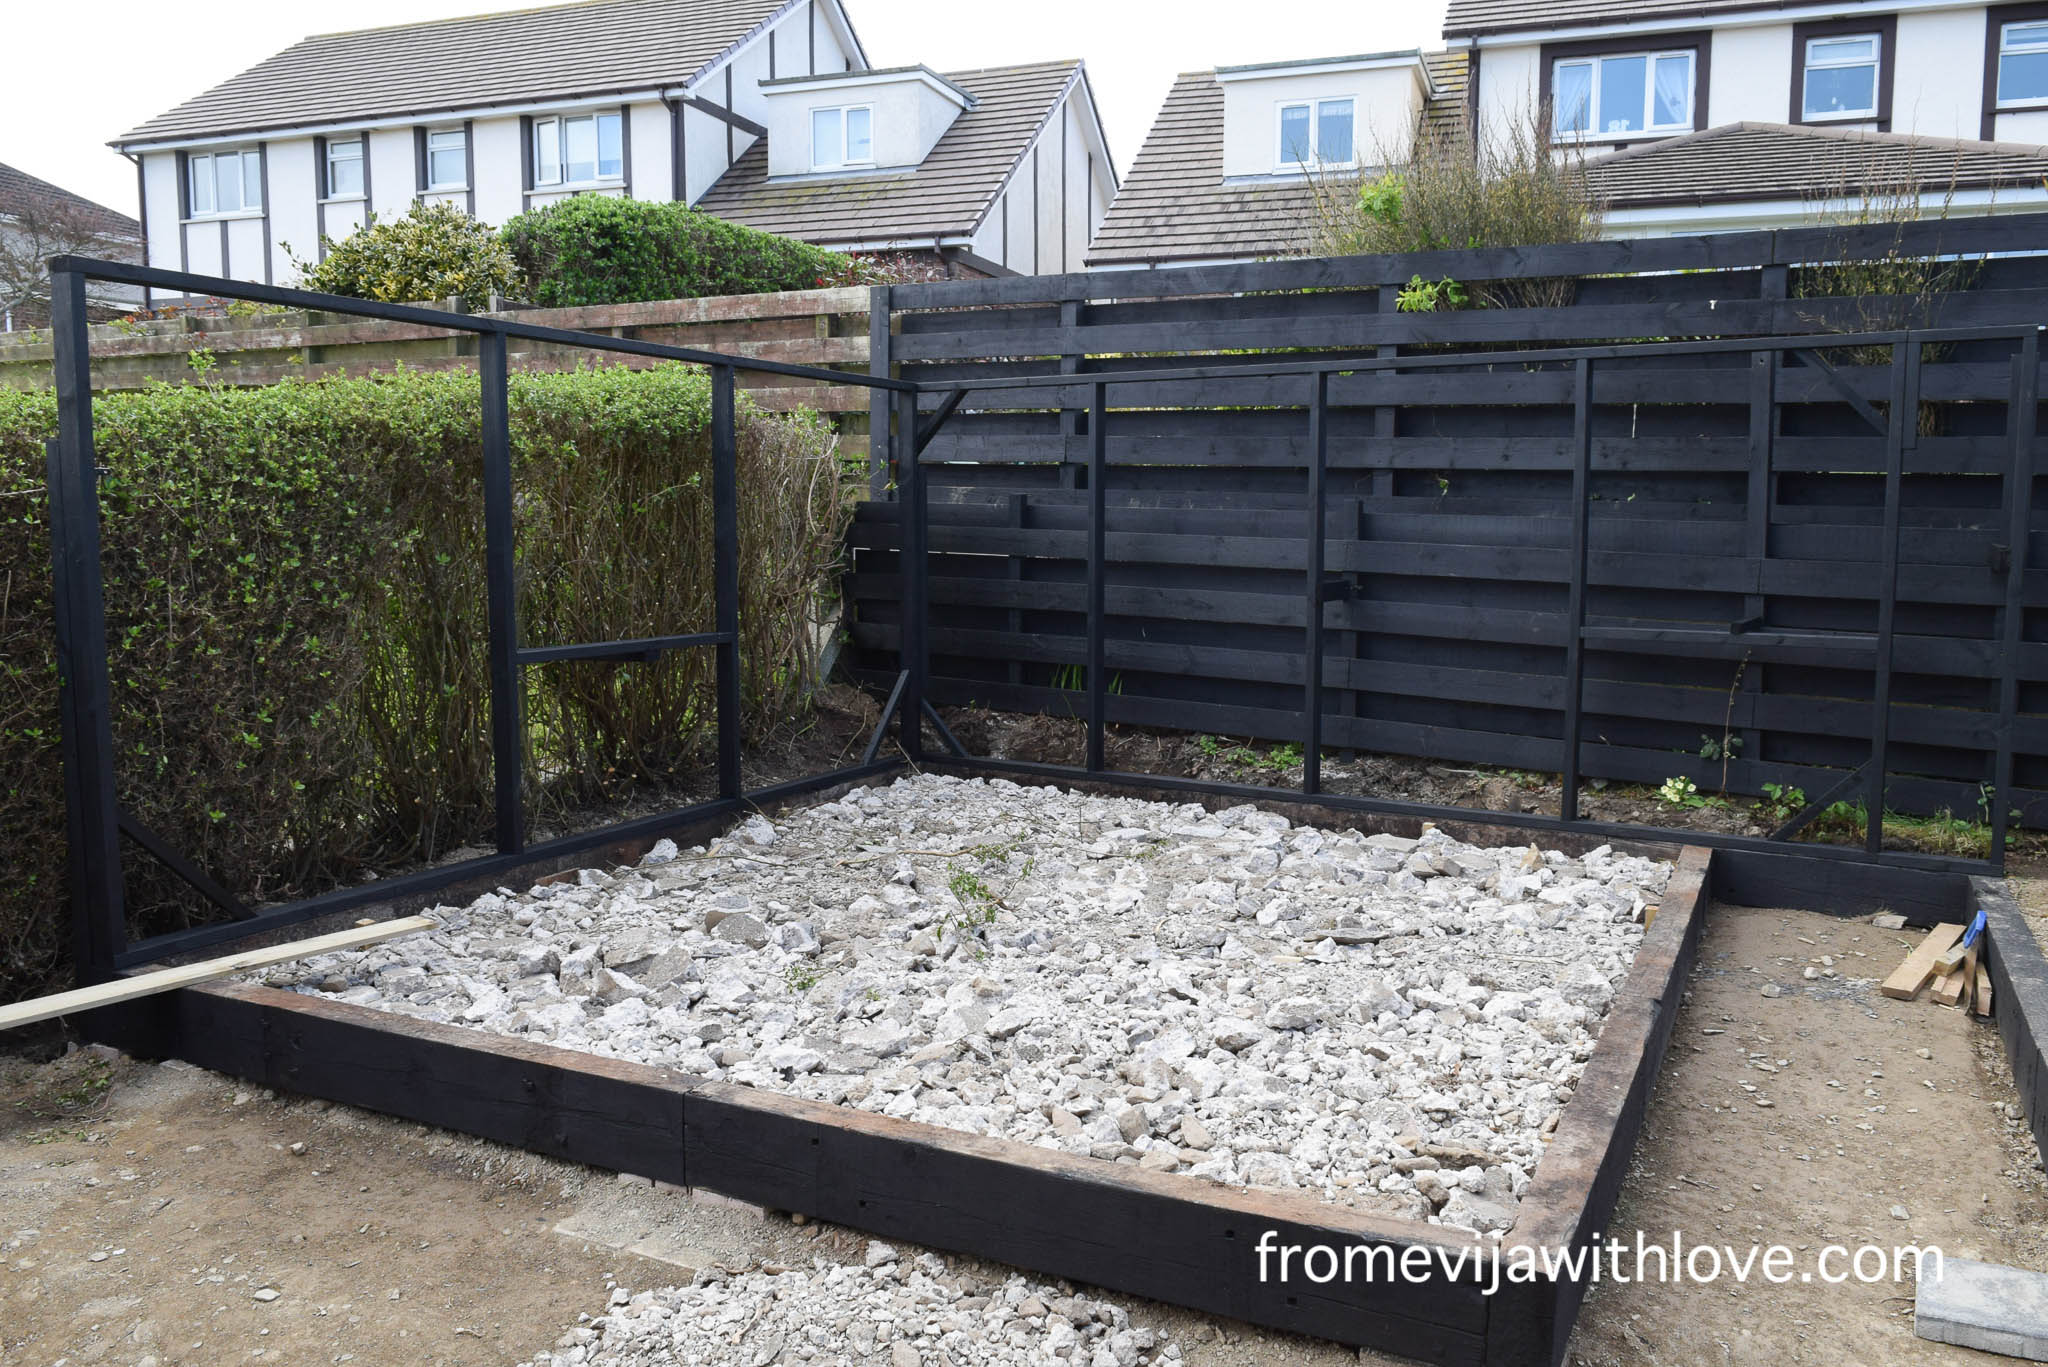
May have painted the fence and myself at the same time..

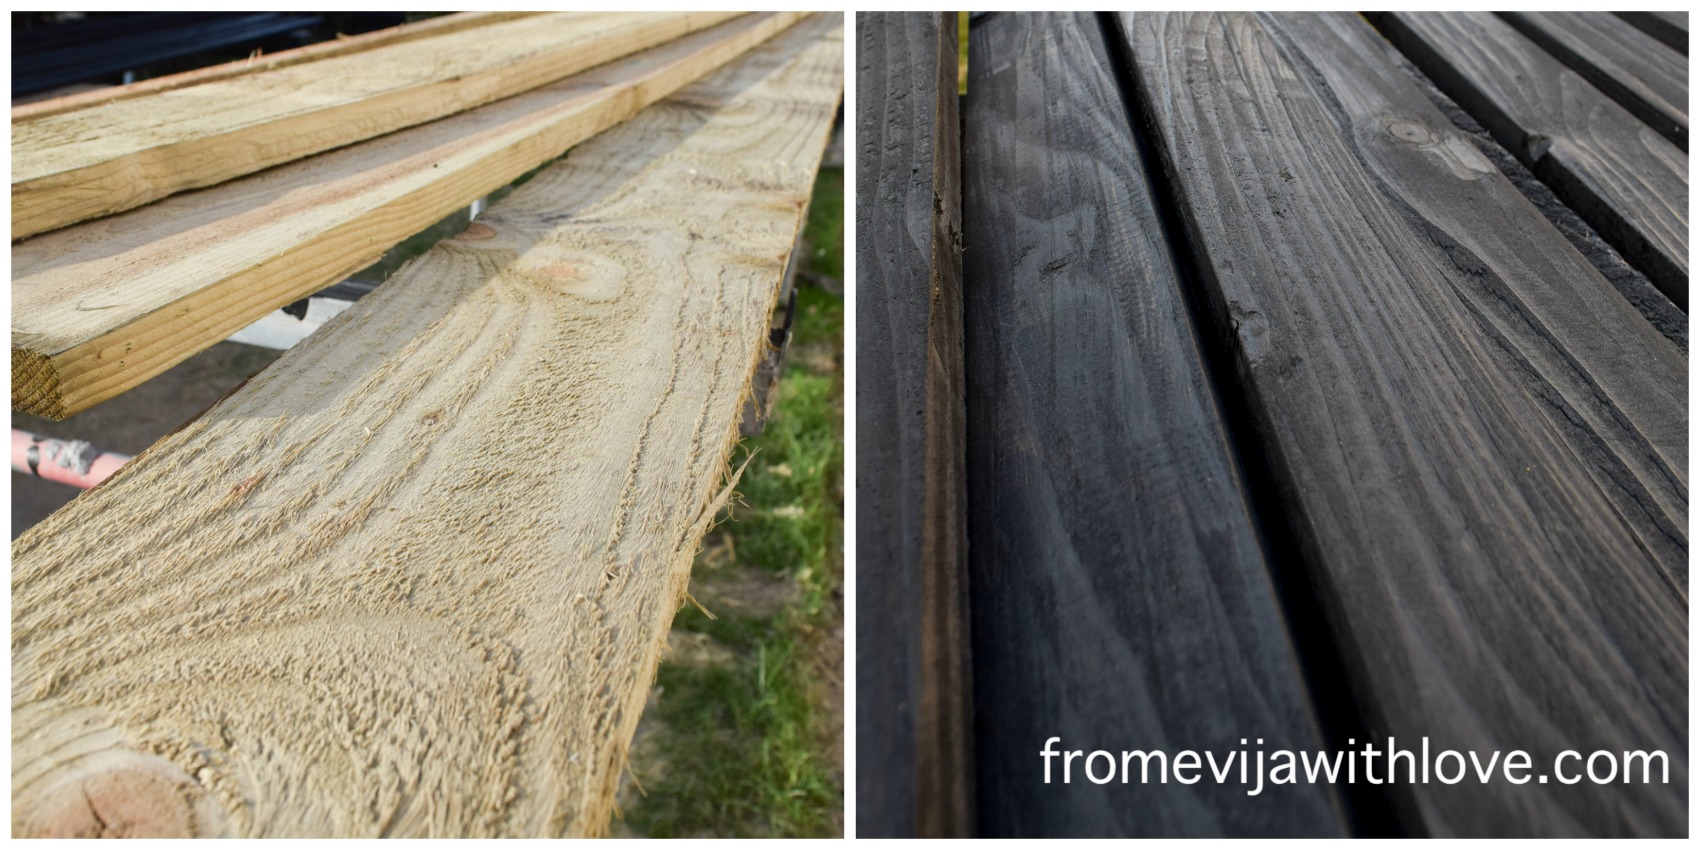
I was looking for suitable timber for the privacy screen but as most building merchants were closed and the smooth, planed wood was going to cost us a fortune, we decided to use the 6 x 1 fence panels we were going to use for the flower beds (and already had some at home). This of course meant that to achieve the look we wanted we needed to prepare the wood. This meant we would first have to plane each strip of wood and then cut them to size!
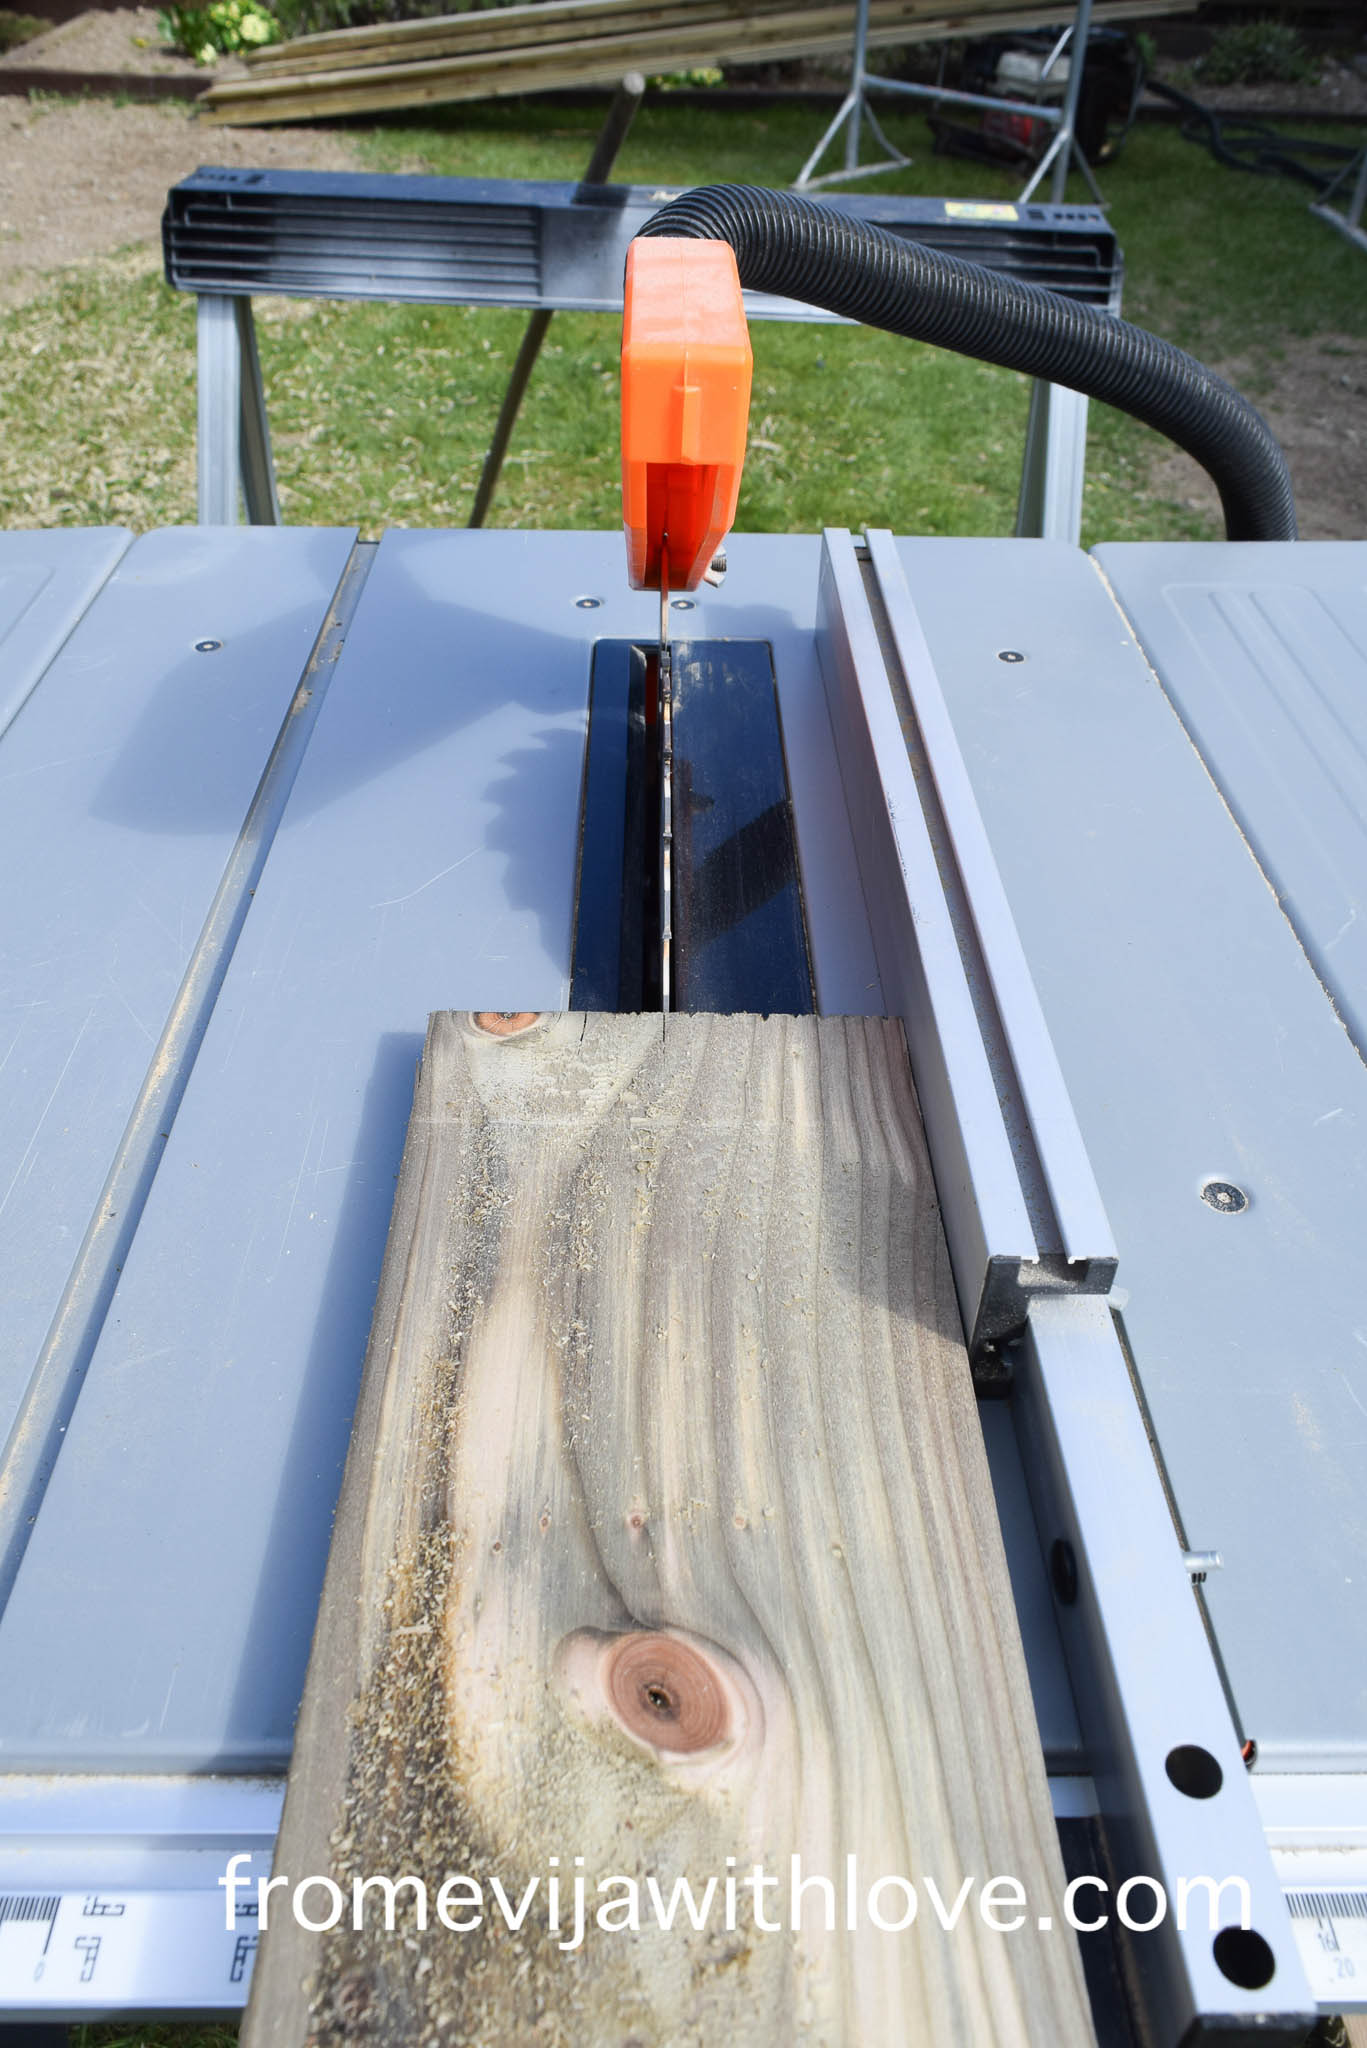
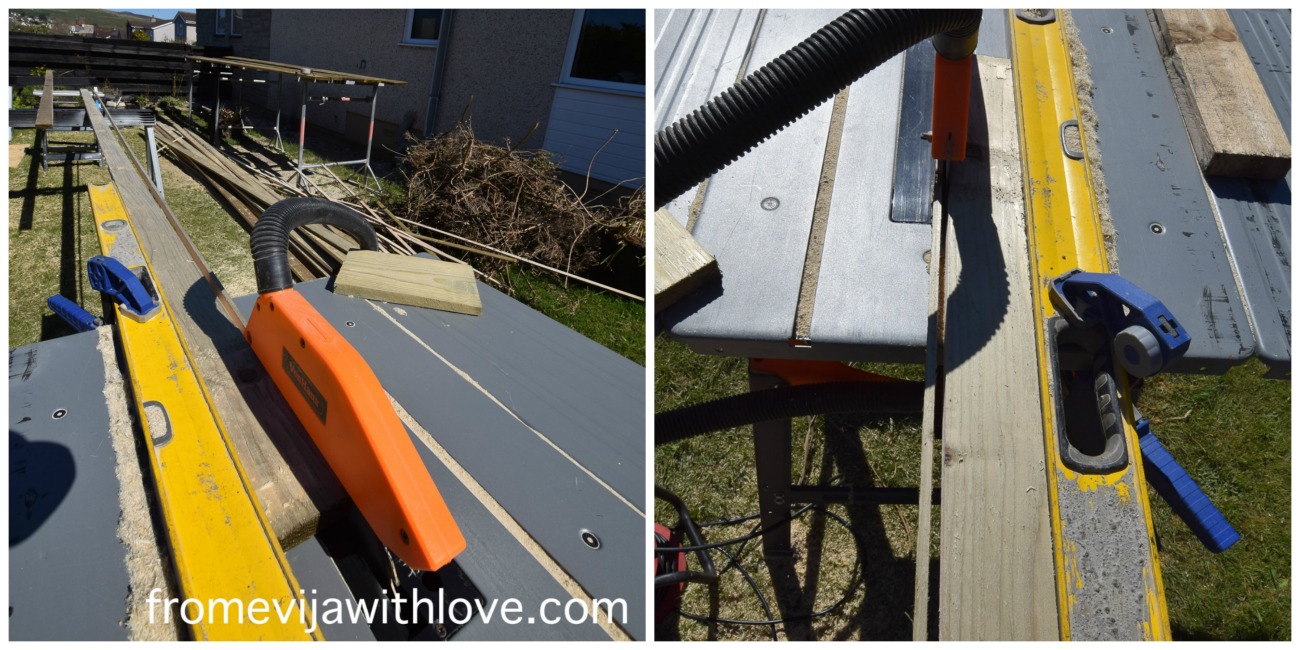
Well it went well until we run out timber (we knew this would happen). By now some garden centres were open and did deliveries, so we ordered some more 6×1 timber from the local garden centre. The wood arrived but it was slightly thicker and wider than the one we used before… More work for us again, but we were determined so we started planing the timber using our thicknesser. After a few lengths, the machine gave up and stopped working!!!! ARGH!!!!
I ended up using the good old planer and had do it by hand, then sand sand sand!!! I felt sorry for our neighbours!!
As I mentioned, the second batch of wood was slightly wider so we ended up cutting each piece twice! It was a task and a half as we ordered 4.8 m lengths!
Once planed, sanded and cut it was time for the wood strips to be painted. We used Cuprinol fence paint to paint the strips of wood before we attached them to the frame.

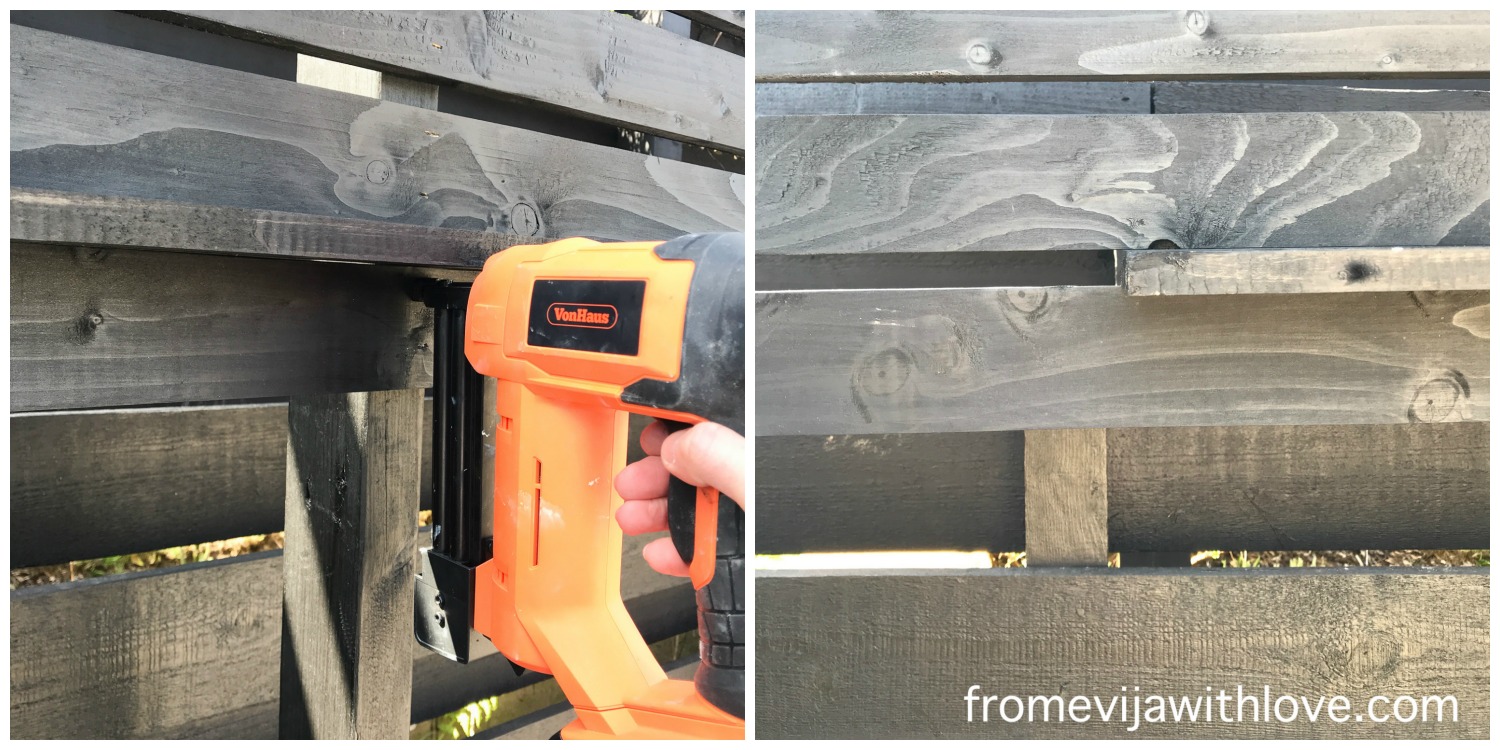
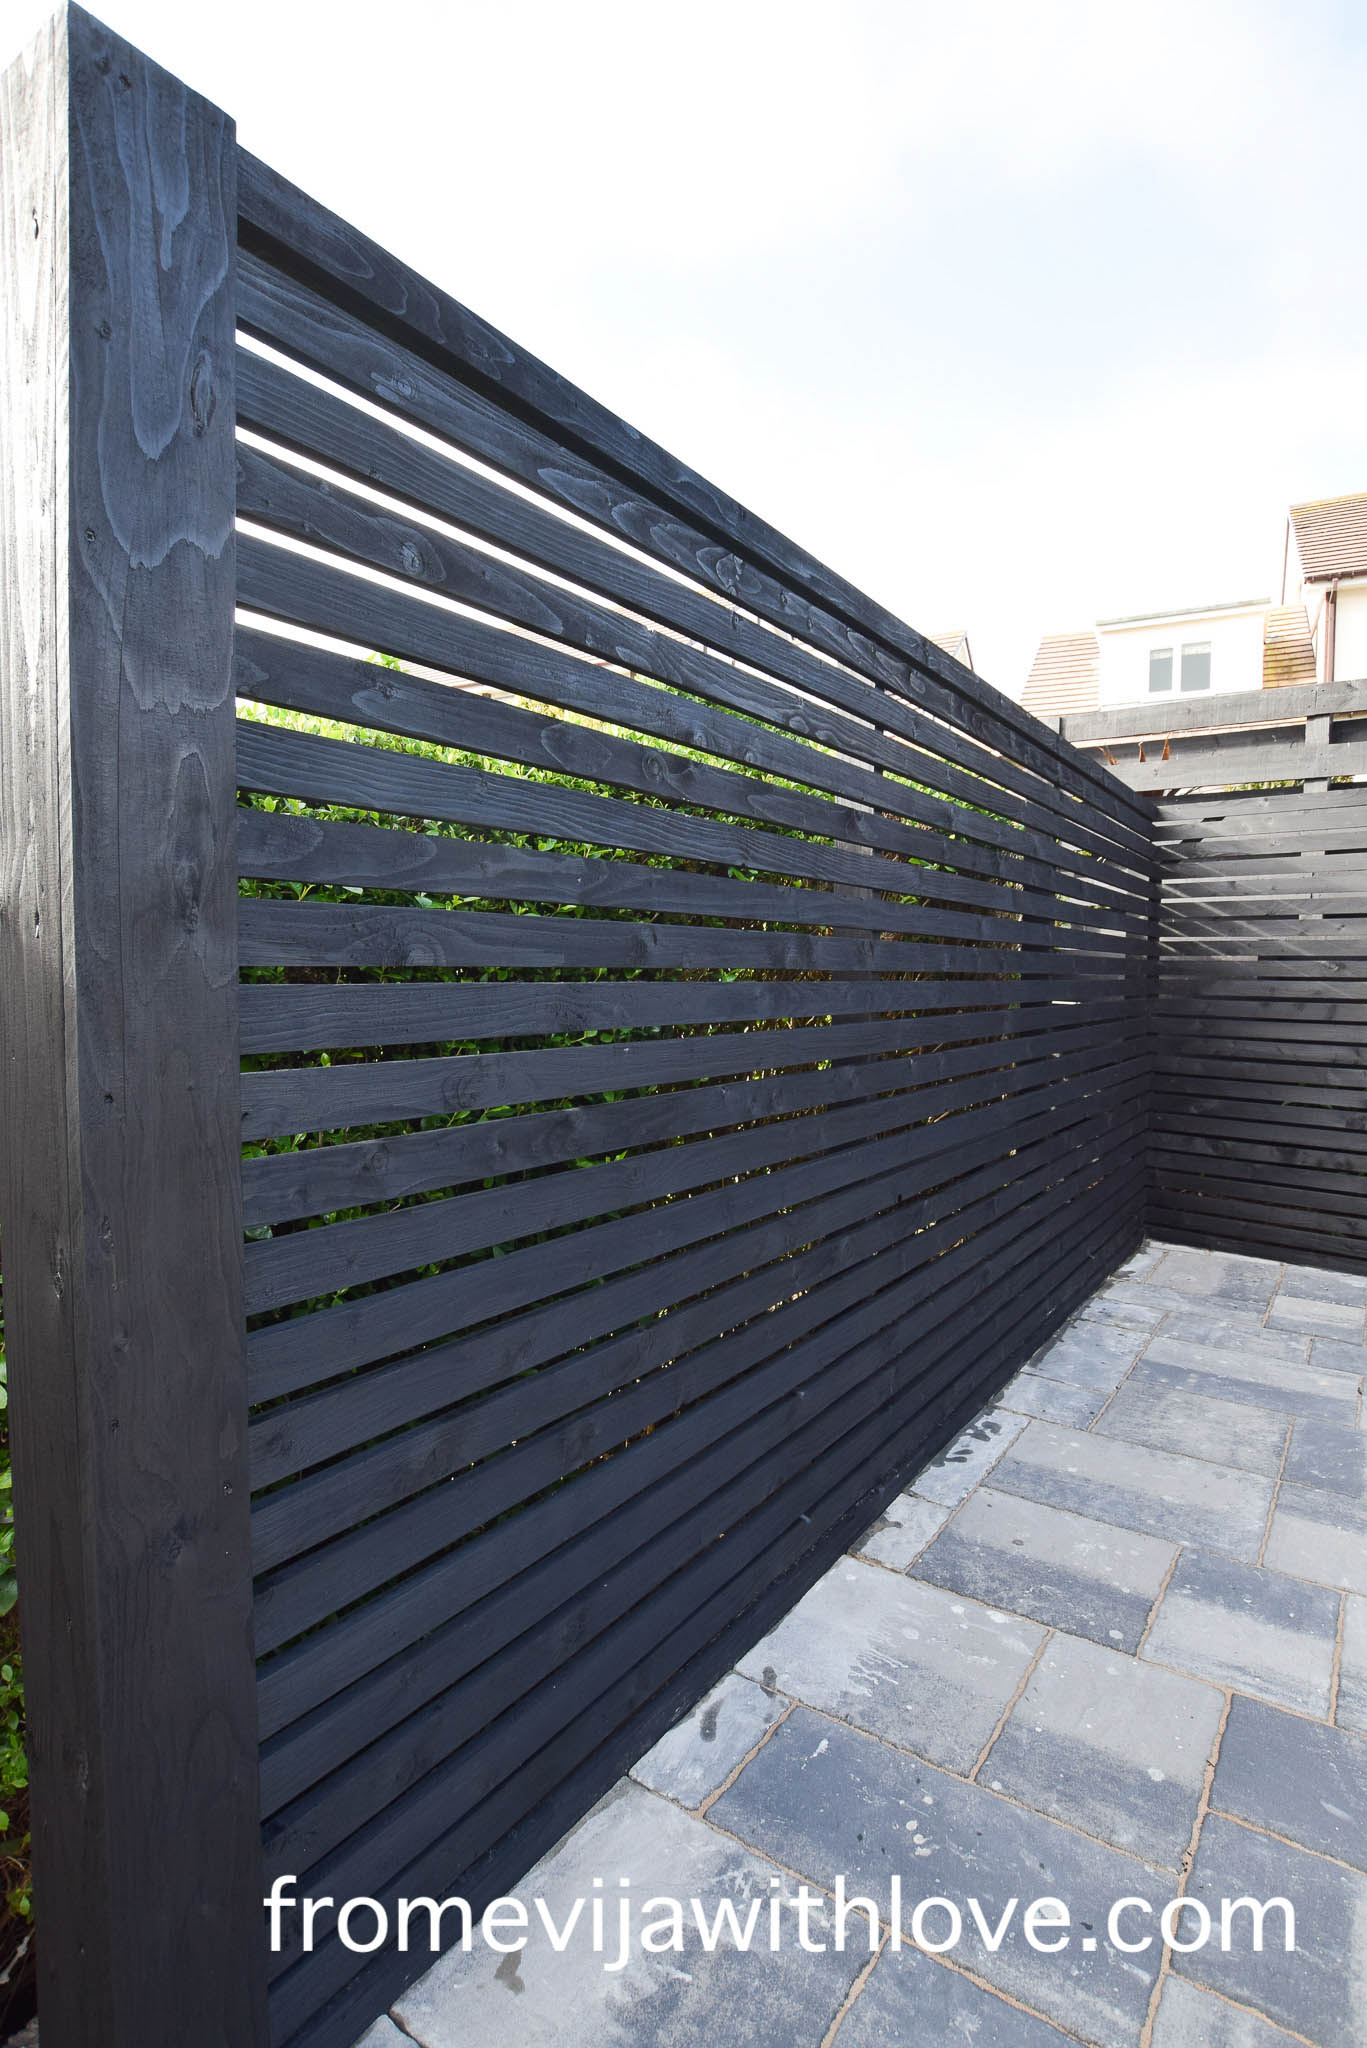
Once the wooden strips were painted and dry, we attached them to the screen using a nail gun. We started from the top off the screen and used a level to ensure the first timber was fixed in place and was level. To attach the next timber we worked our way down.
We used a wooden strip as a guide on the size of the gaps we wanted. To make sure each strip was level, we checked and double checked before pinning the wood in place.
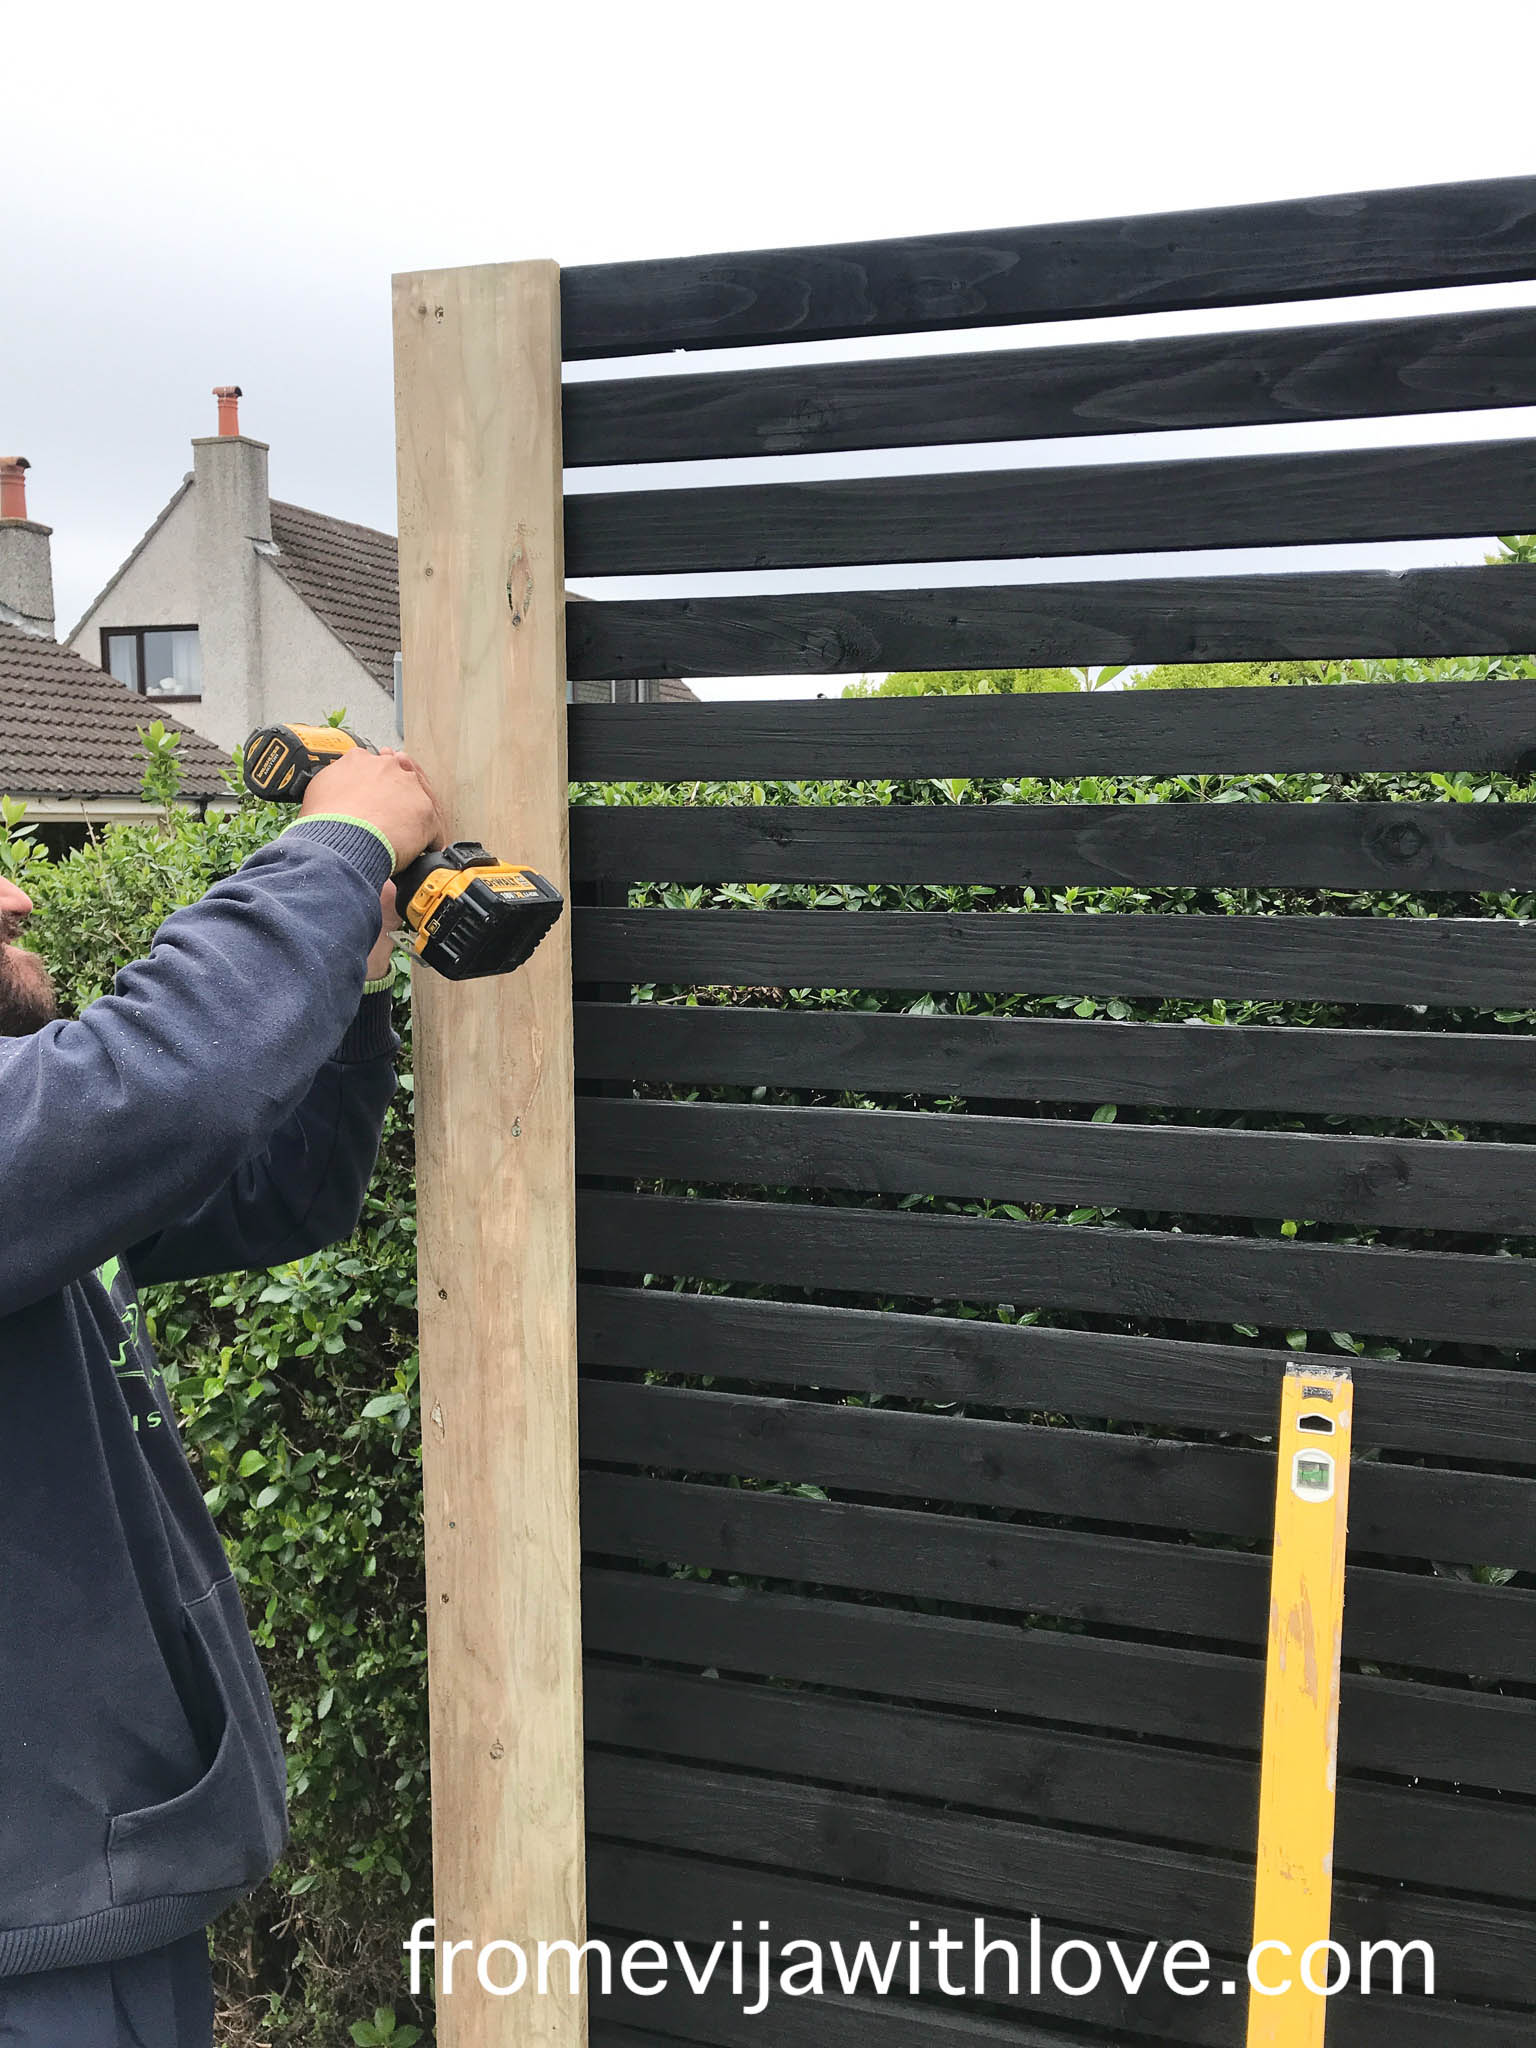
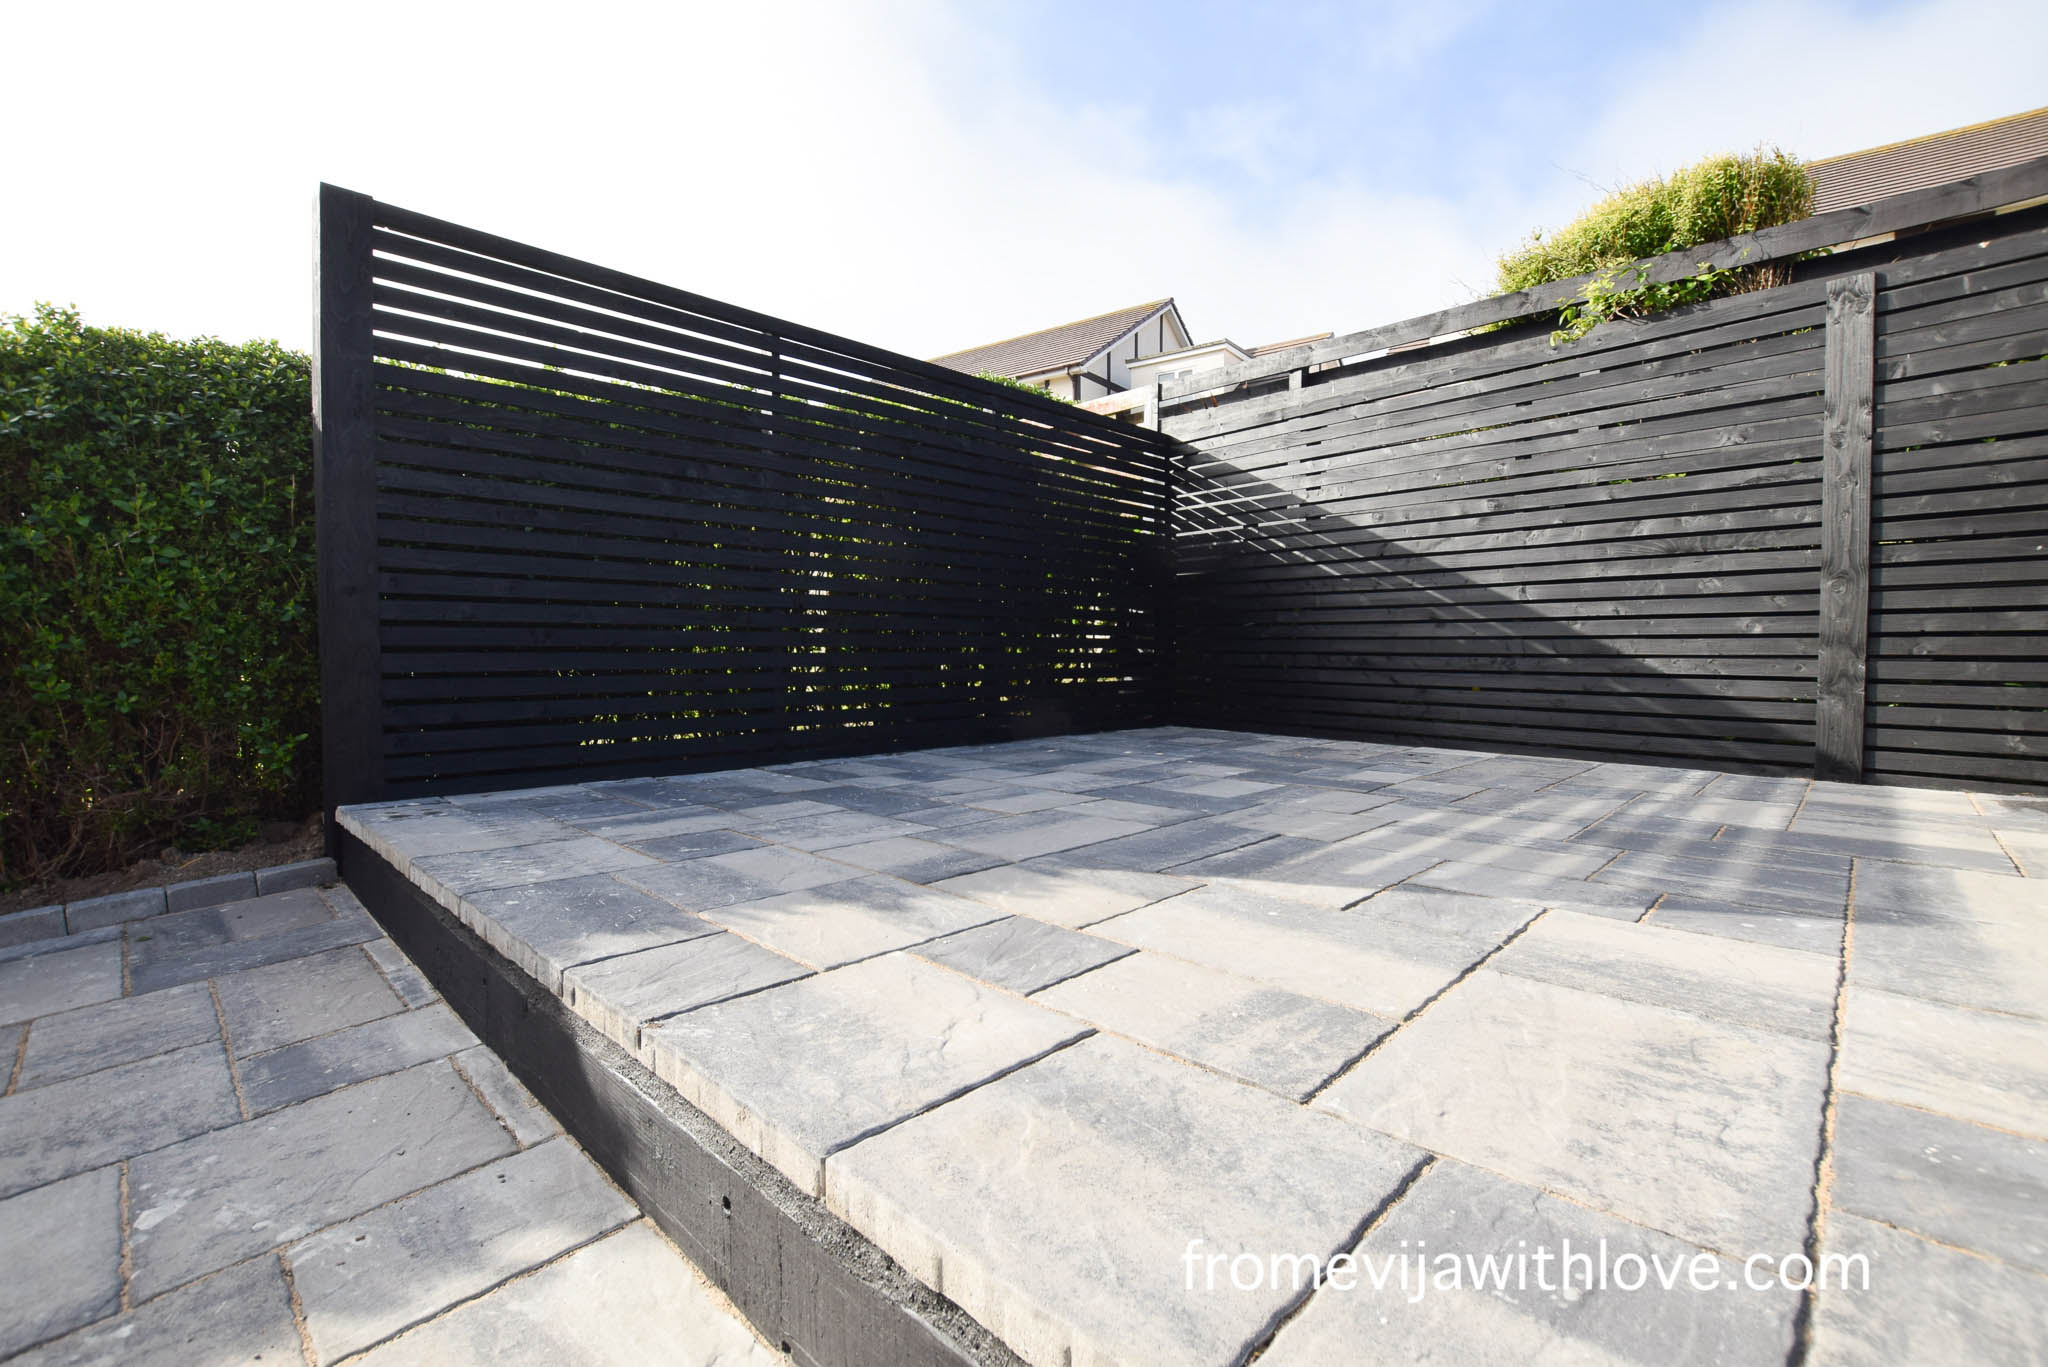
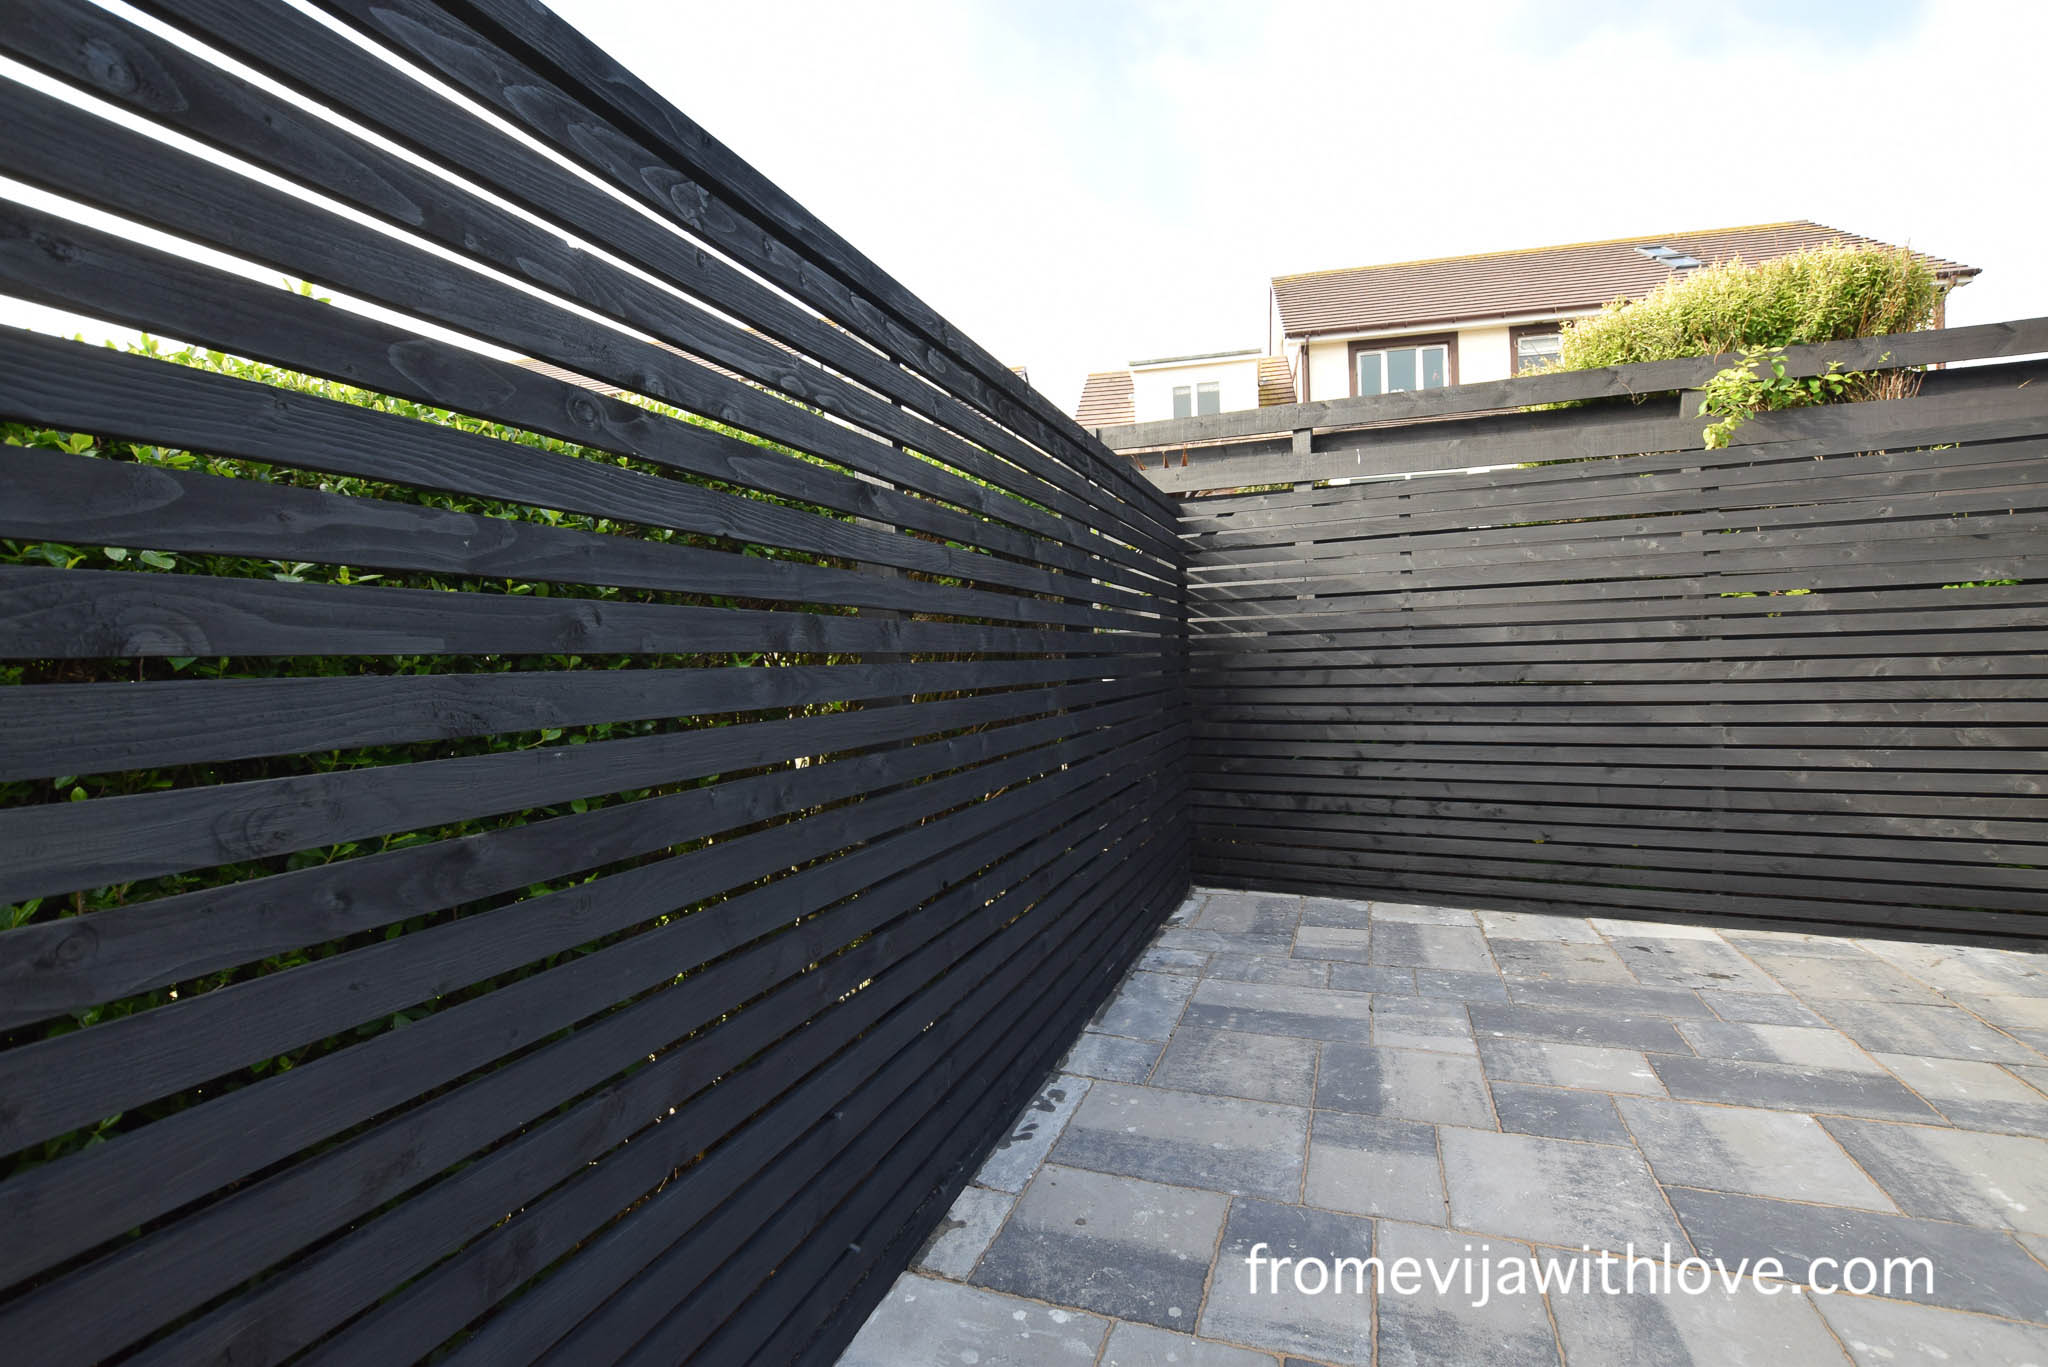
The longer side of the screen was over 5 m long, so it meant the longer screen would have to have a few cuts, so we decided to make a ‘feature’ wall where the BBQ would go and add a wooden panel to disguise the joint. We added side panels to cover the edges.
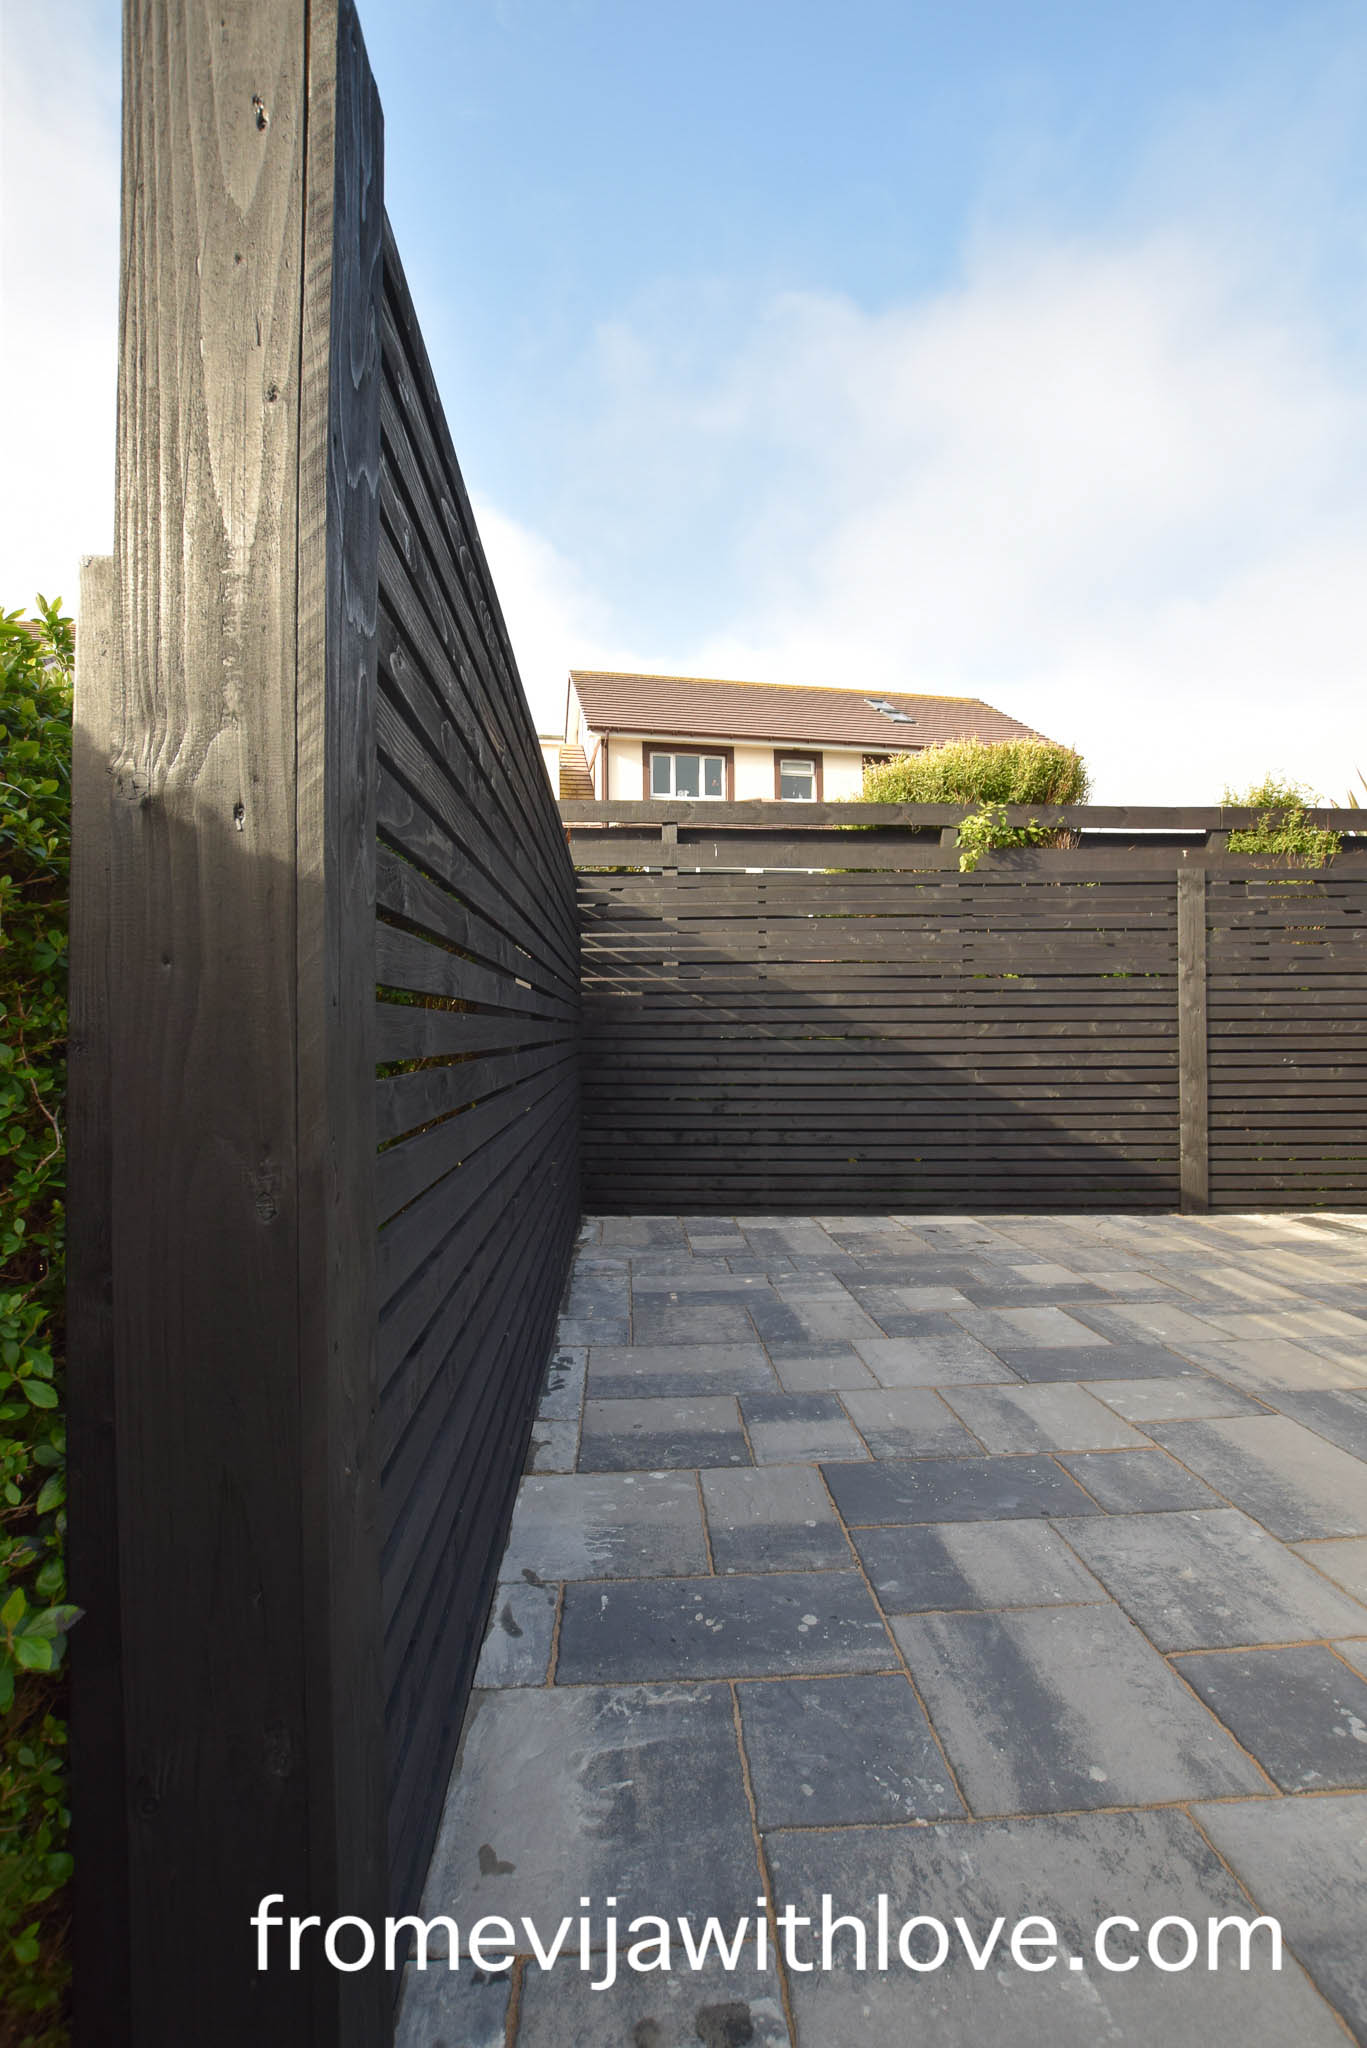
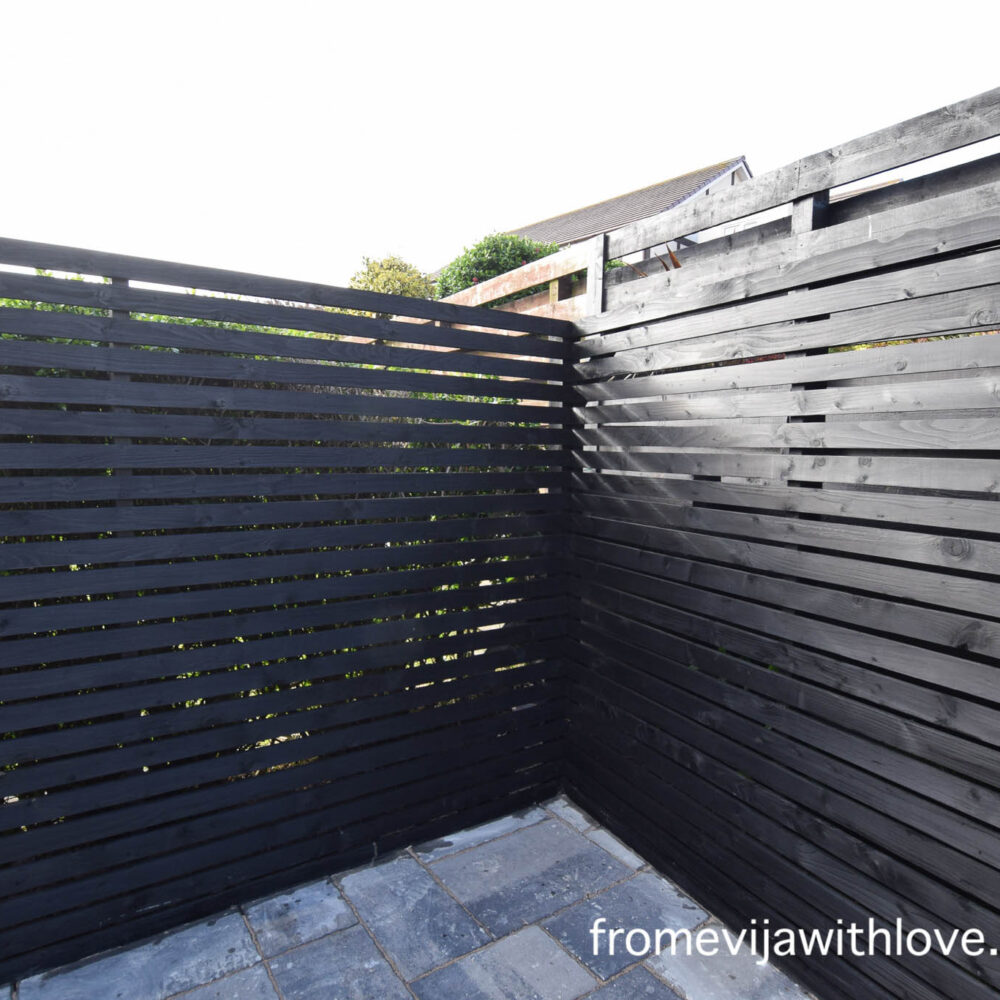
Doesn’t our privacy screen look gorgeous??


Love how this looks! We are going to attempt a smaller version to hide our compost bin and shed! Thanks for all the helpful guidance ❤️
Thank you so much hun! Can’t wait to see when you are finished! Good luck!
This transformation is amazing!! You can tell how much hard work has been put into this!!
Thank you so much Adele! It was a labour of love!!