Disclaimer: #ad Gorilla Glue . However, all views, experiences and ideas are 100% my own and are not influenced in any way! This post contains affiliate links
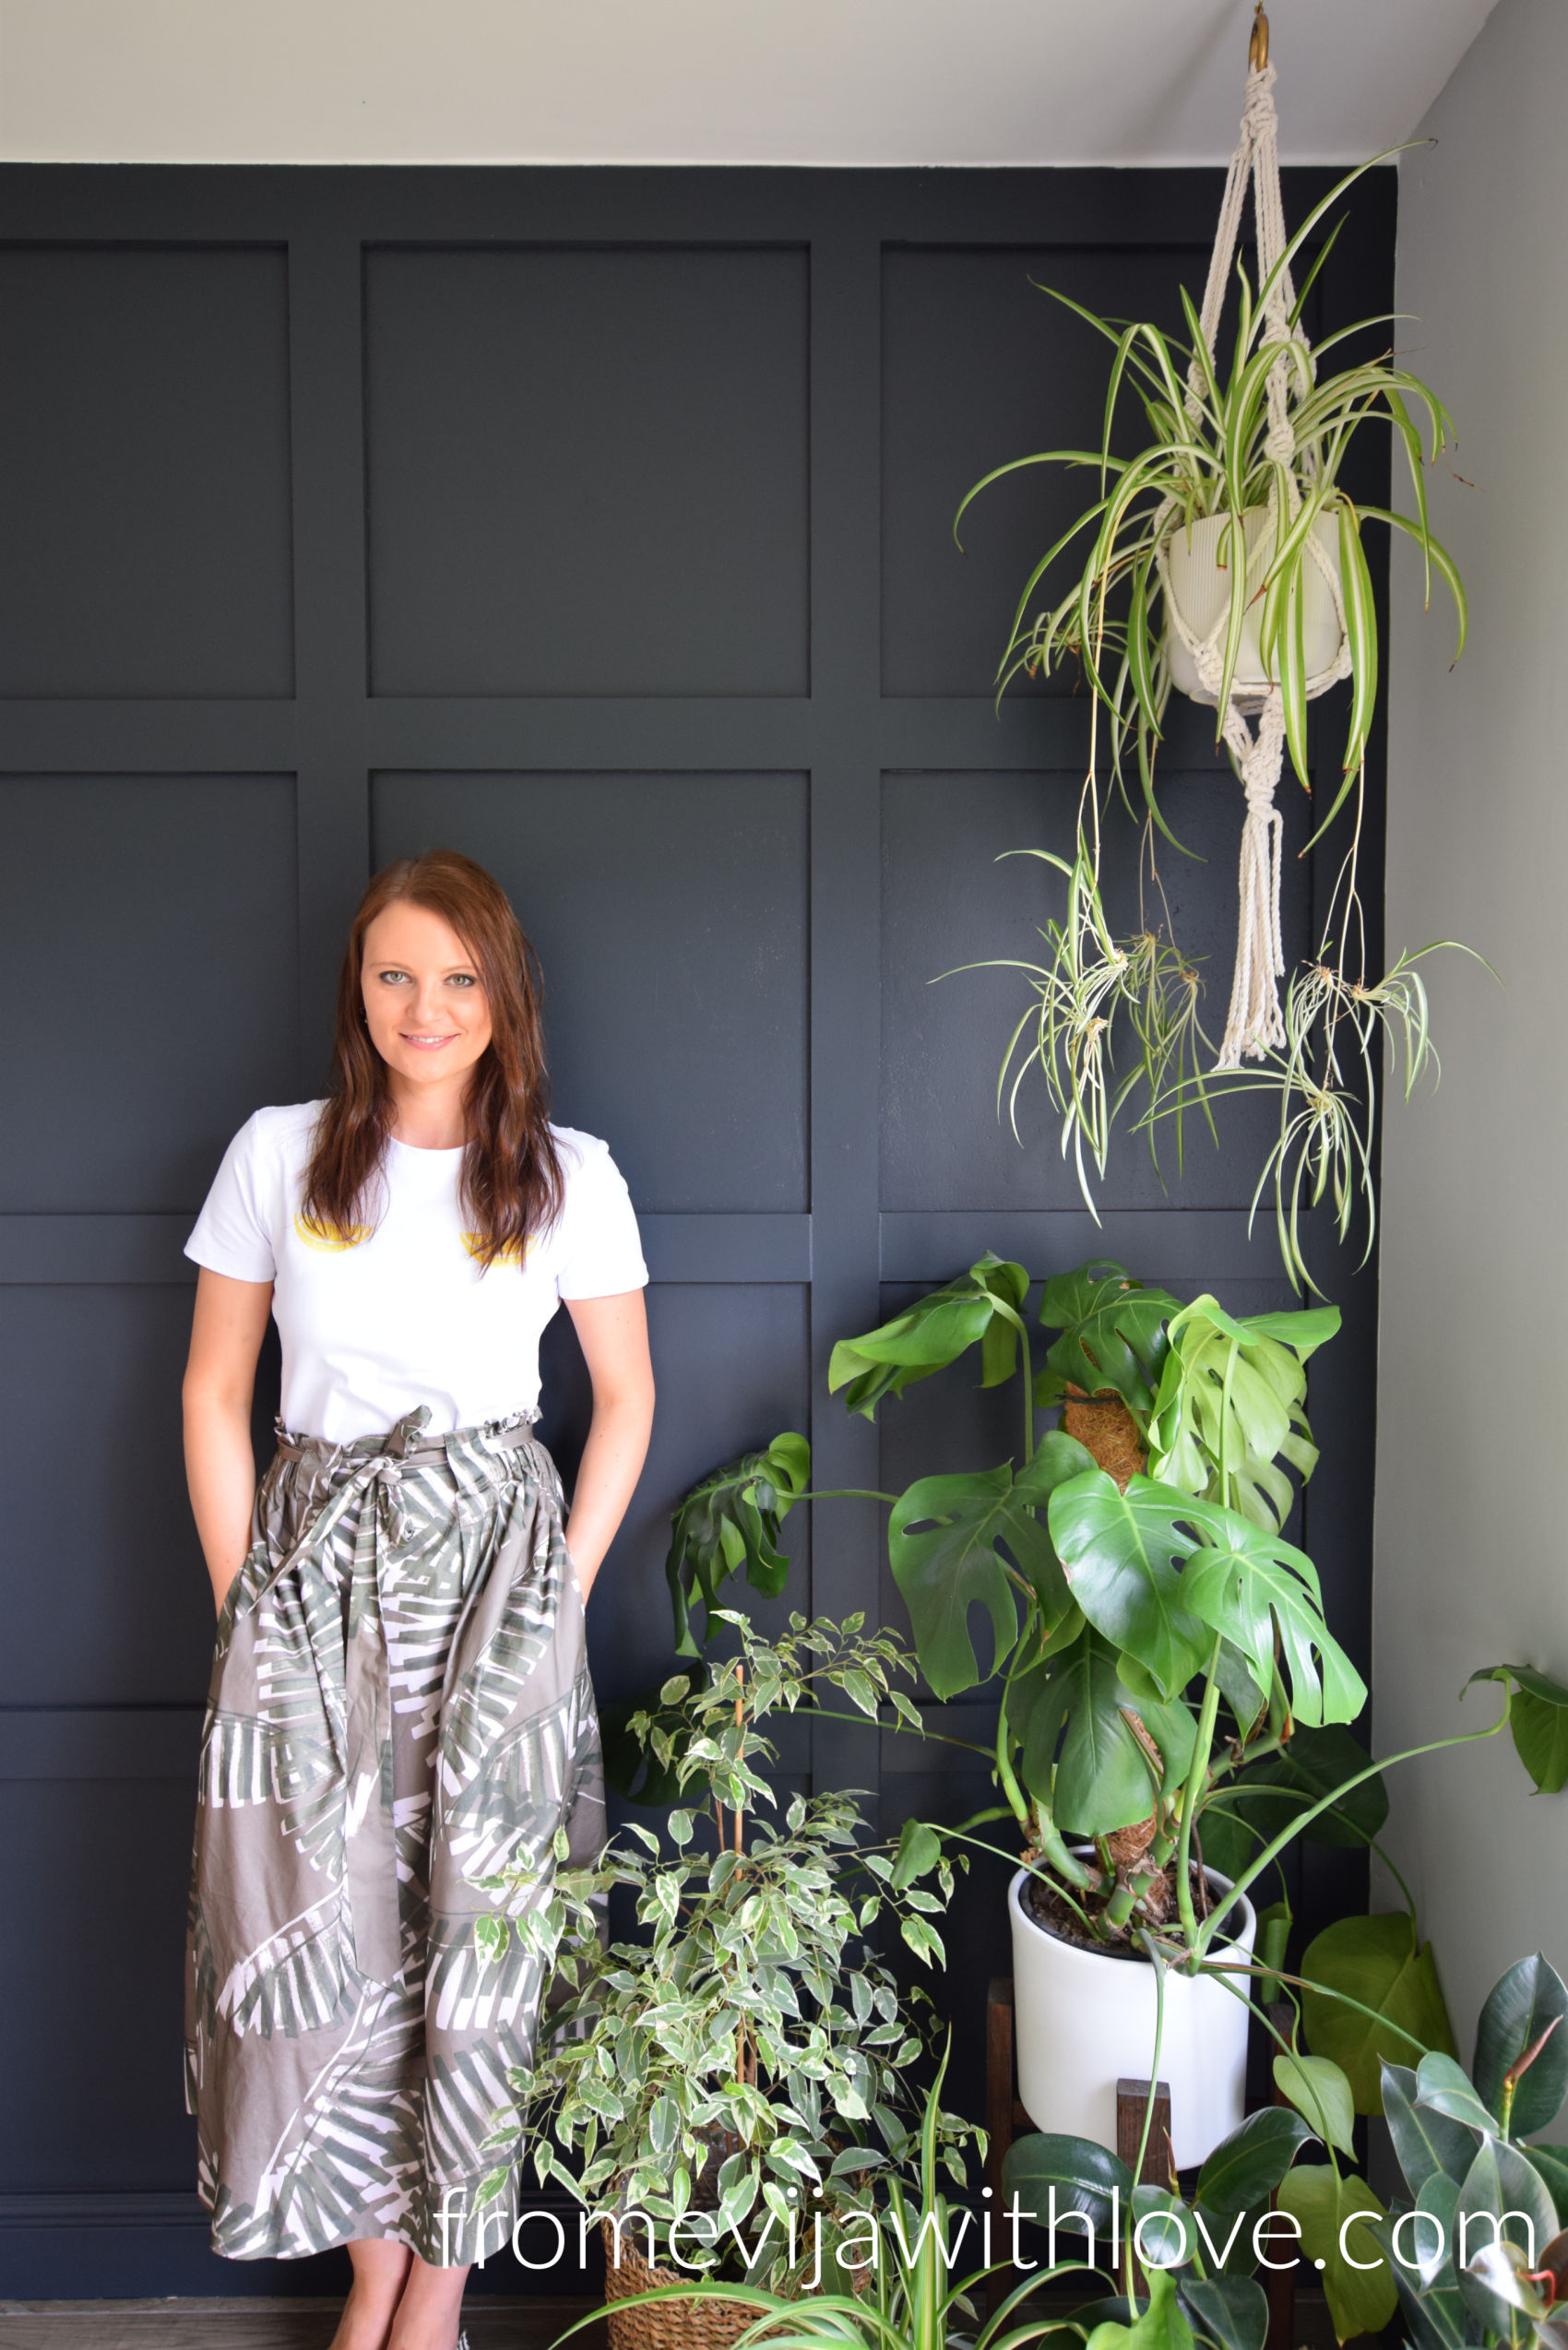
Knocking the two walls down in the kitchen allowed us to create an open plan area for the kitchen and dining room. We still wanted to have a little separation between the two spaces. I brainstormed on ways I could create a statement wall in the dining room whilst keeping the two areas connected. I wanted it to be simple and elegant so panelling was the perfect solution!


You will need:-
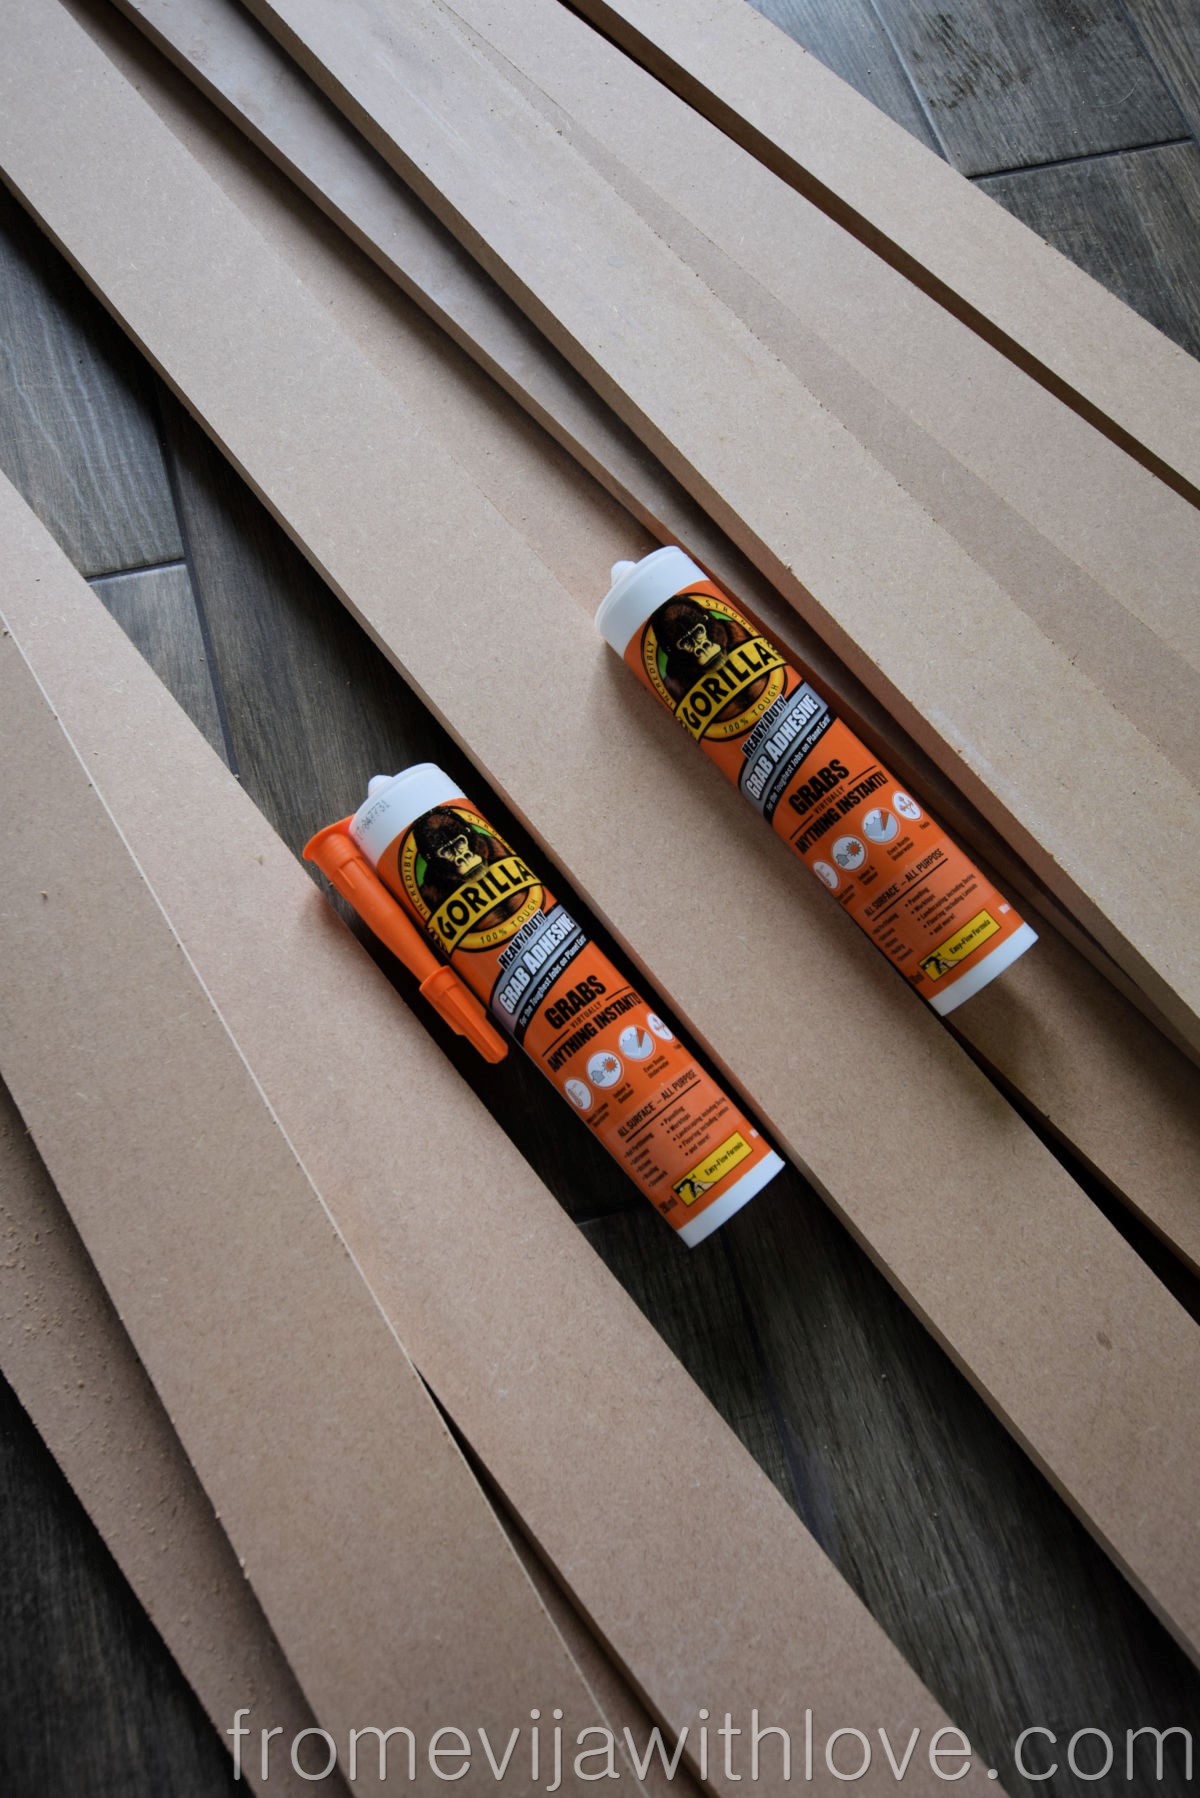
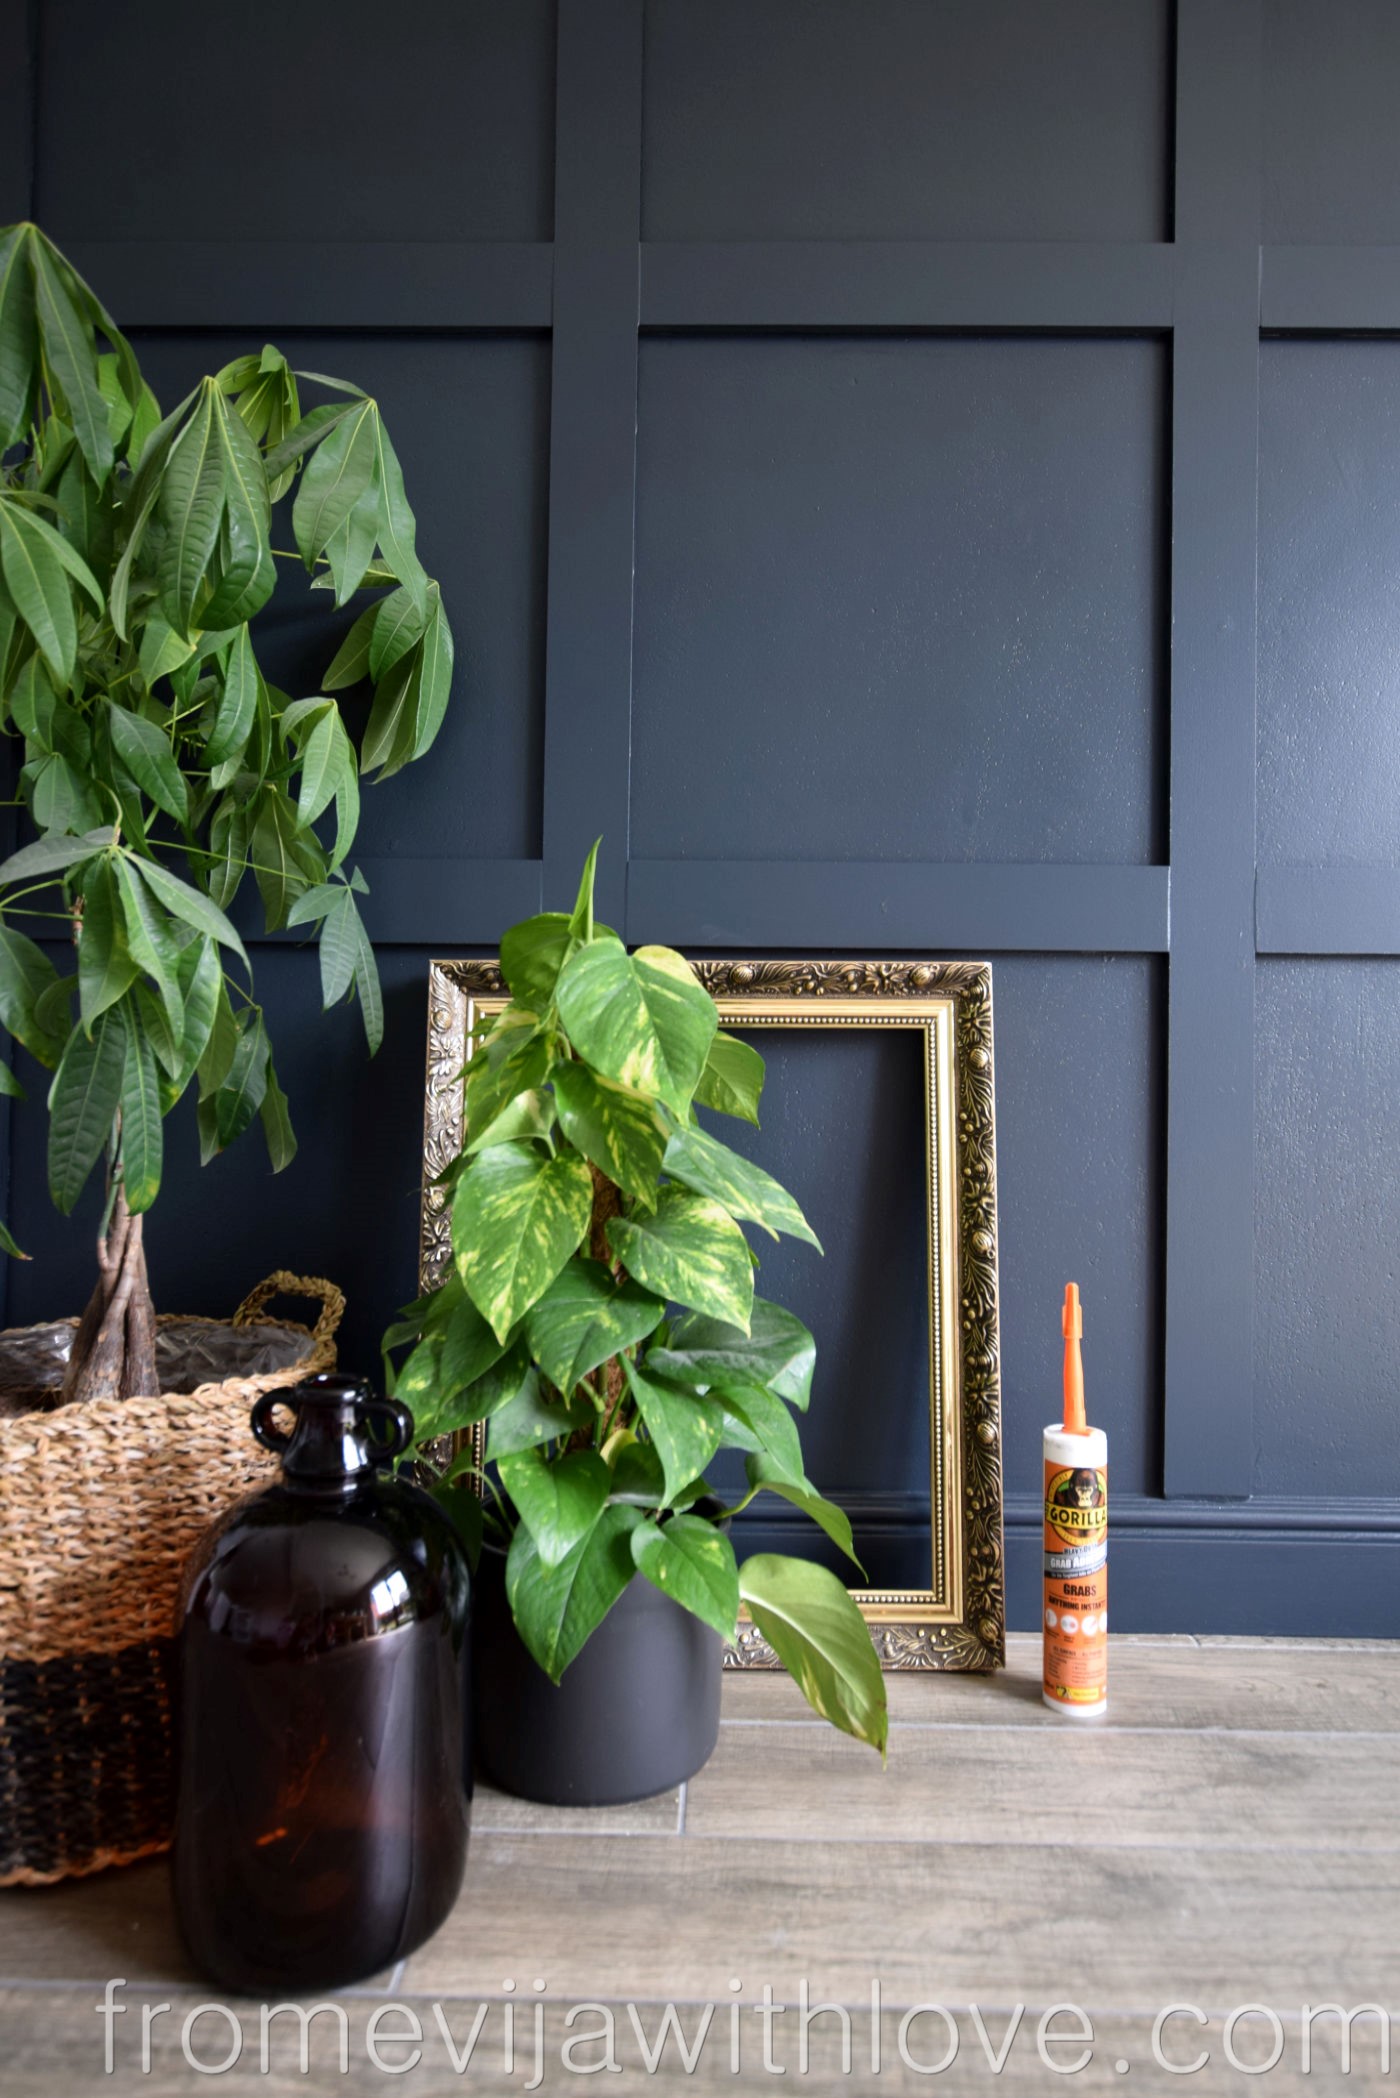
- Gorilla Heavy Duty Grab Adhesive
- 12 mm MDF board(s)
- Spirit level
- Nail gun (optional)
- Measuring Tape
- Filler
- Paint of your choice – I used Farrow and Ball in Railings
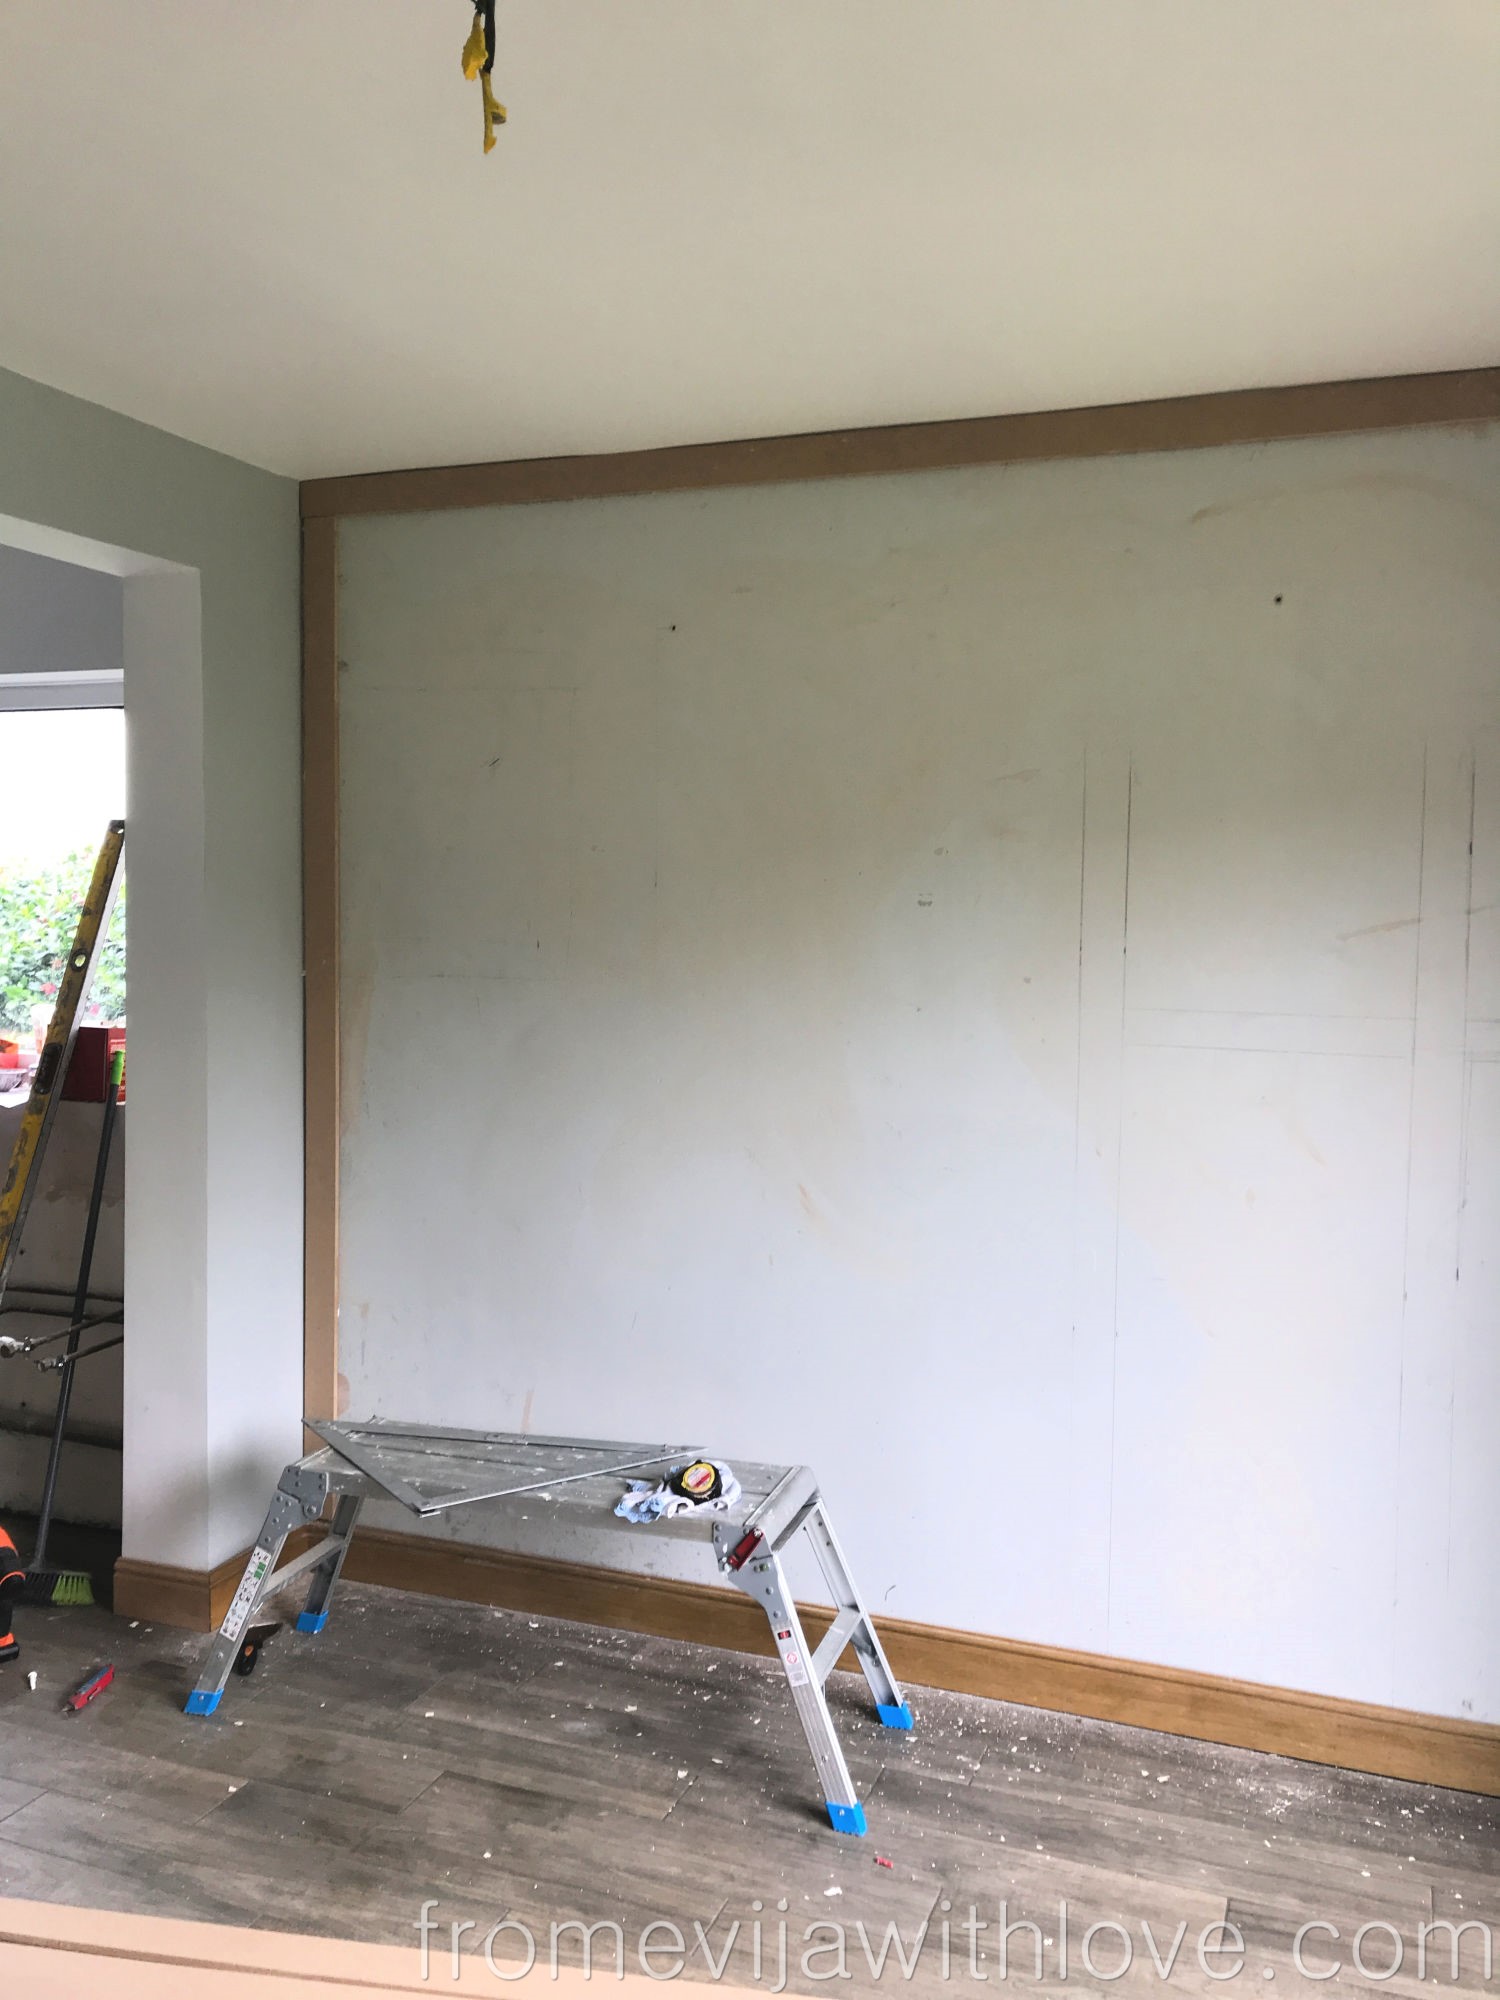
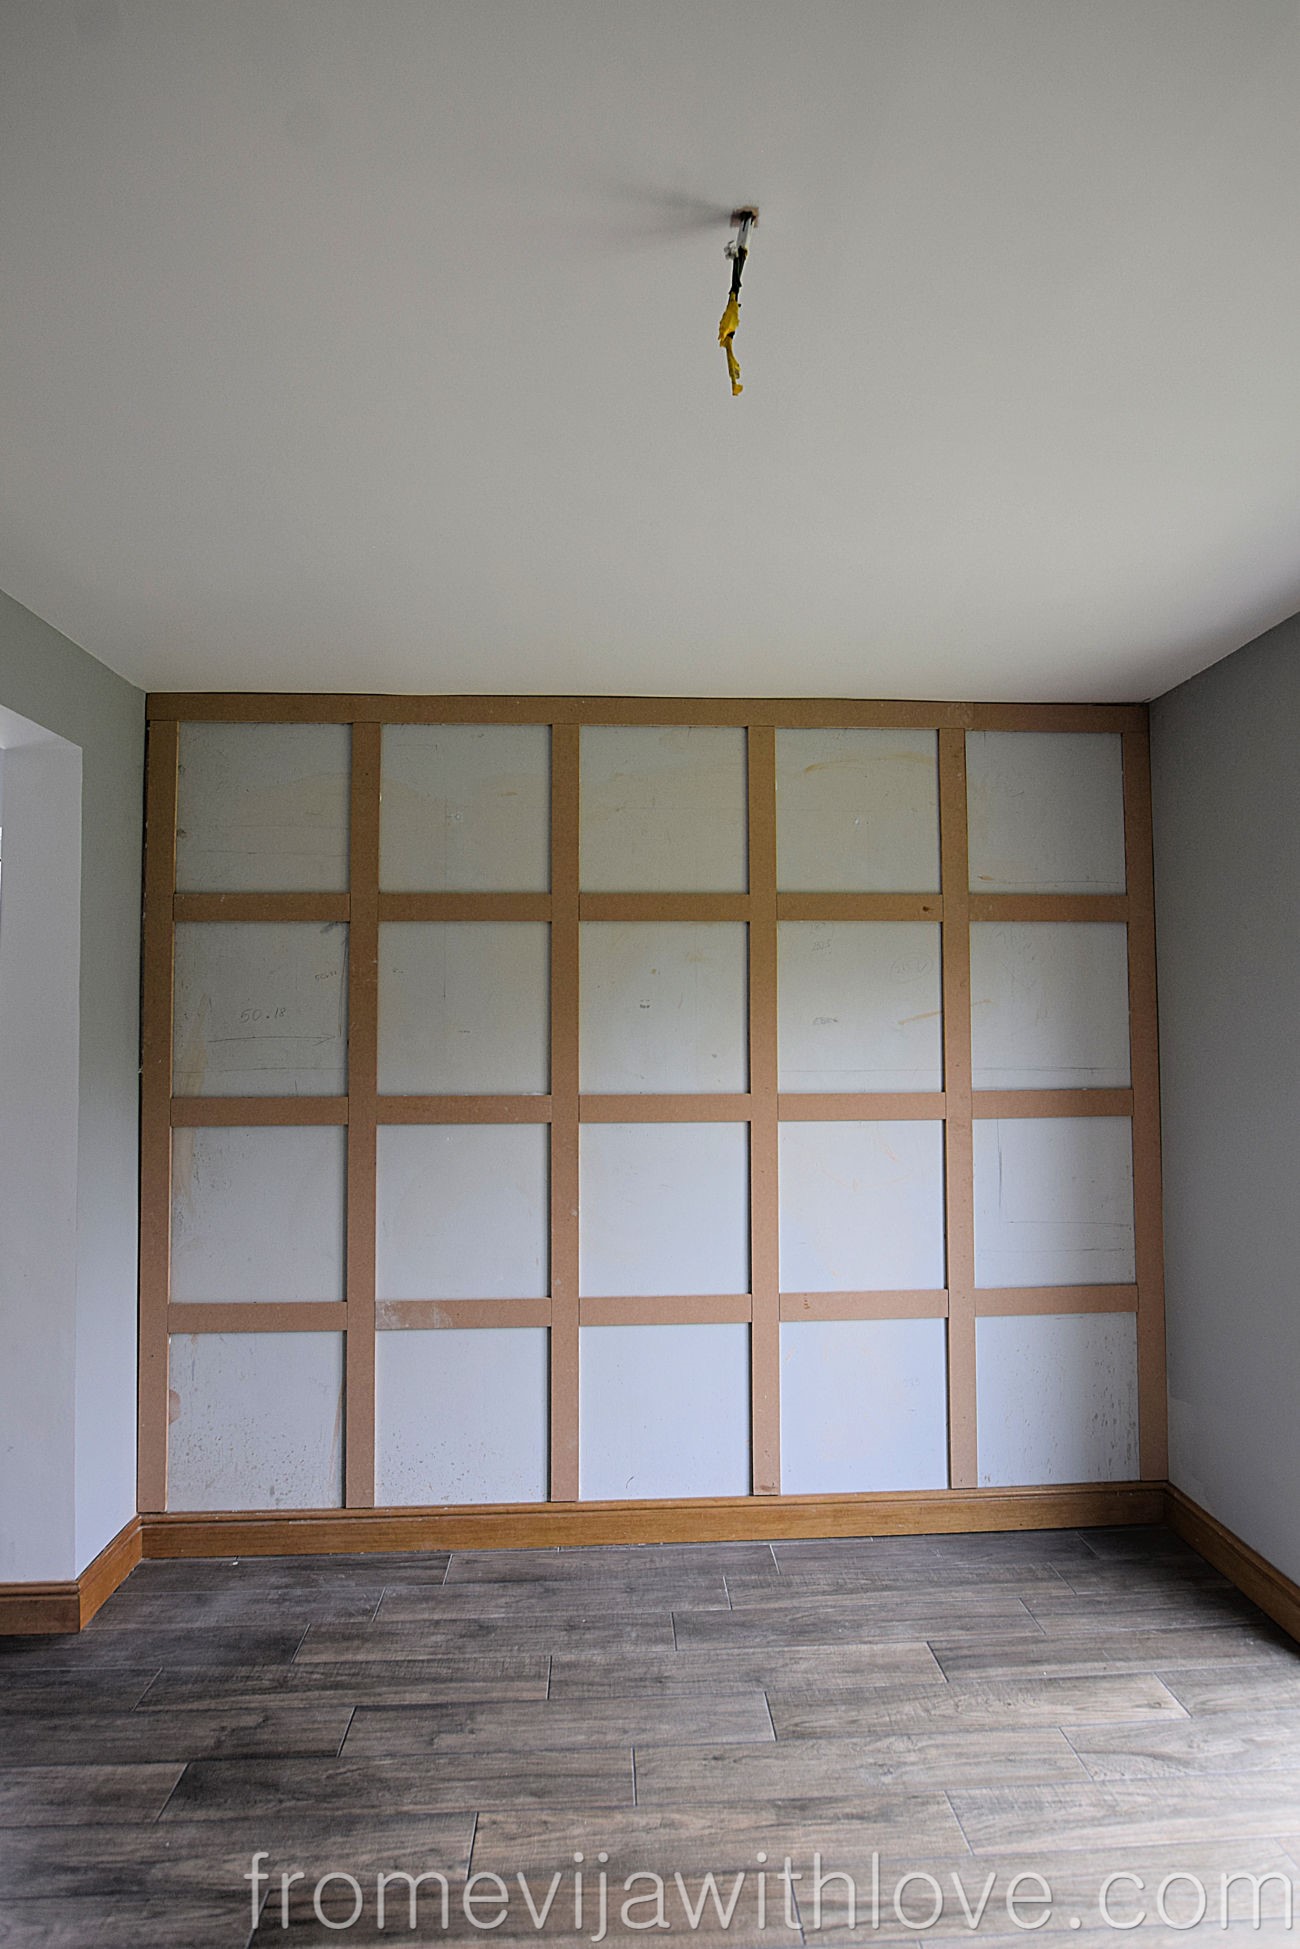
First and foremost you have to get your measurements and maths right! I cannot stress this enough as you want the squares to be equal and square. I did my research on Pinterest and it appeared the average square for a wall was around 49cm-51cm big. This gave me a rough guideline on deciding how many squares would fit on my wall. Our wall was 247cm high and 299cm wide so I decided to go with 5×4 number of squares.

Here is how I worked the exact sizes out for each square (panel).
To work out how many MDF strips you will need each way and add 1 to the amount of squares you are having. So for my 5 squares I would need 6 strips at 8cm wide. The total width of the 6 strips worked out at 48cm (6×8=48cm). Then take 48cm off the total width of the wall 299cm – 48 cm= 251cm. This is the total area of all our squares, now divide it by 5 (the amount of squares I was having), which leaves me with 50.2 cm width for each square.
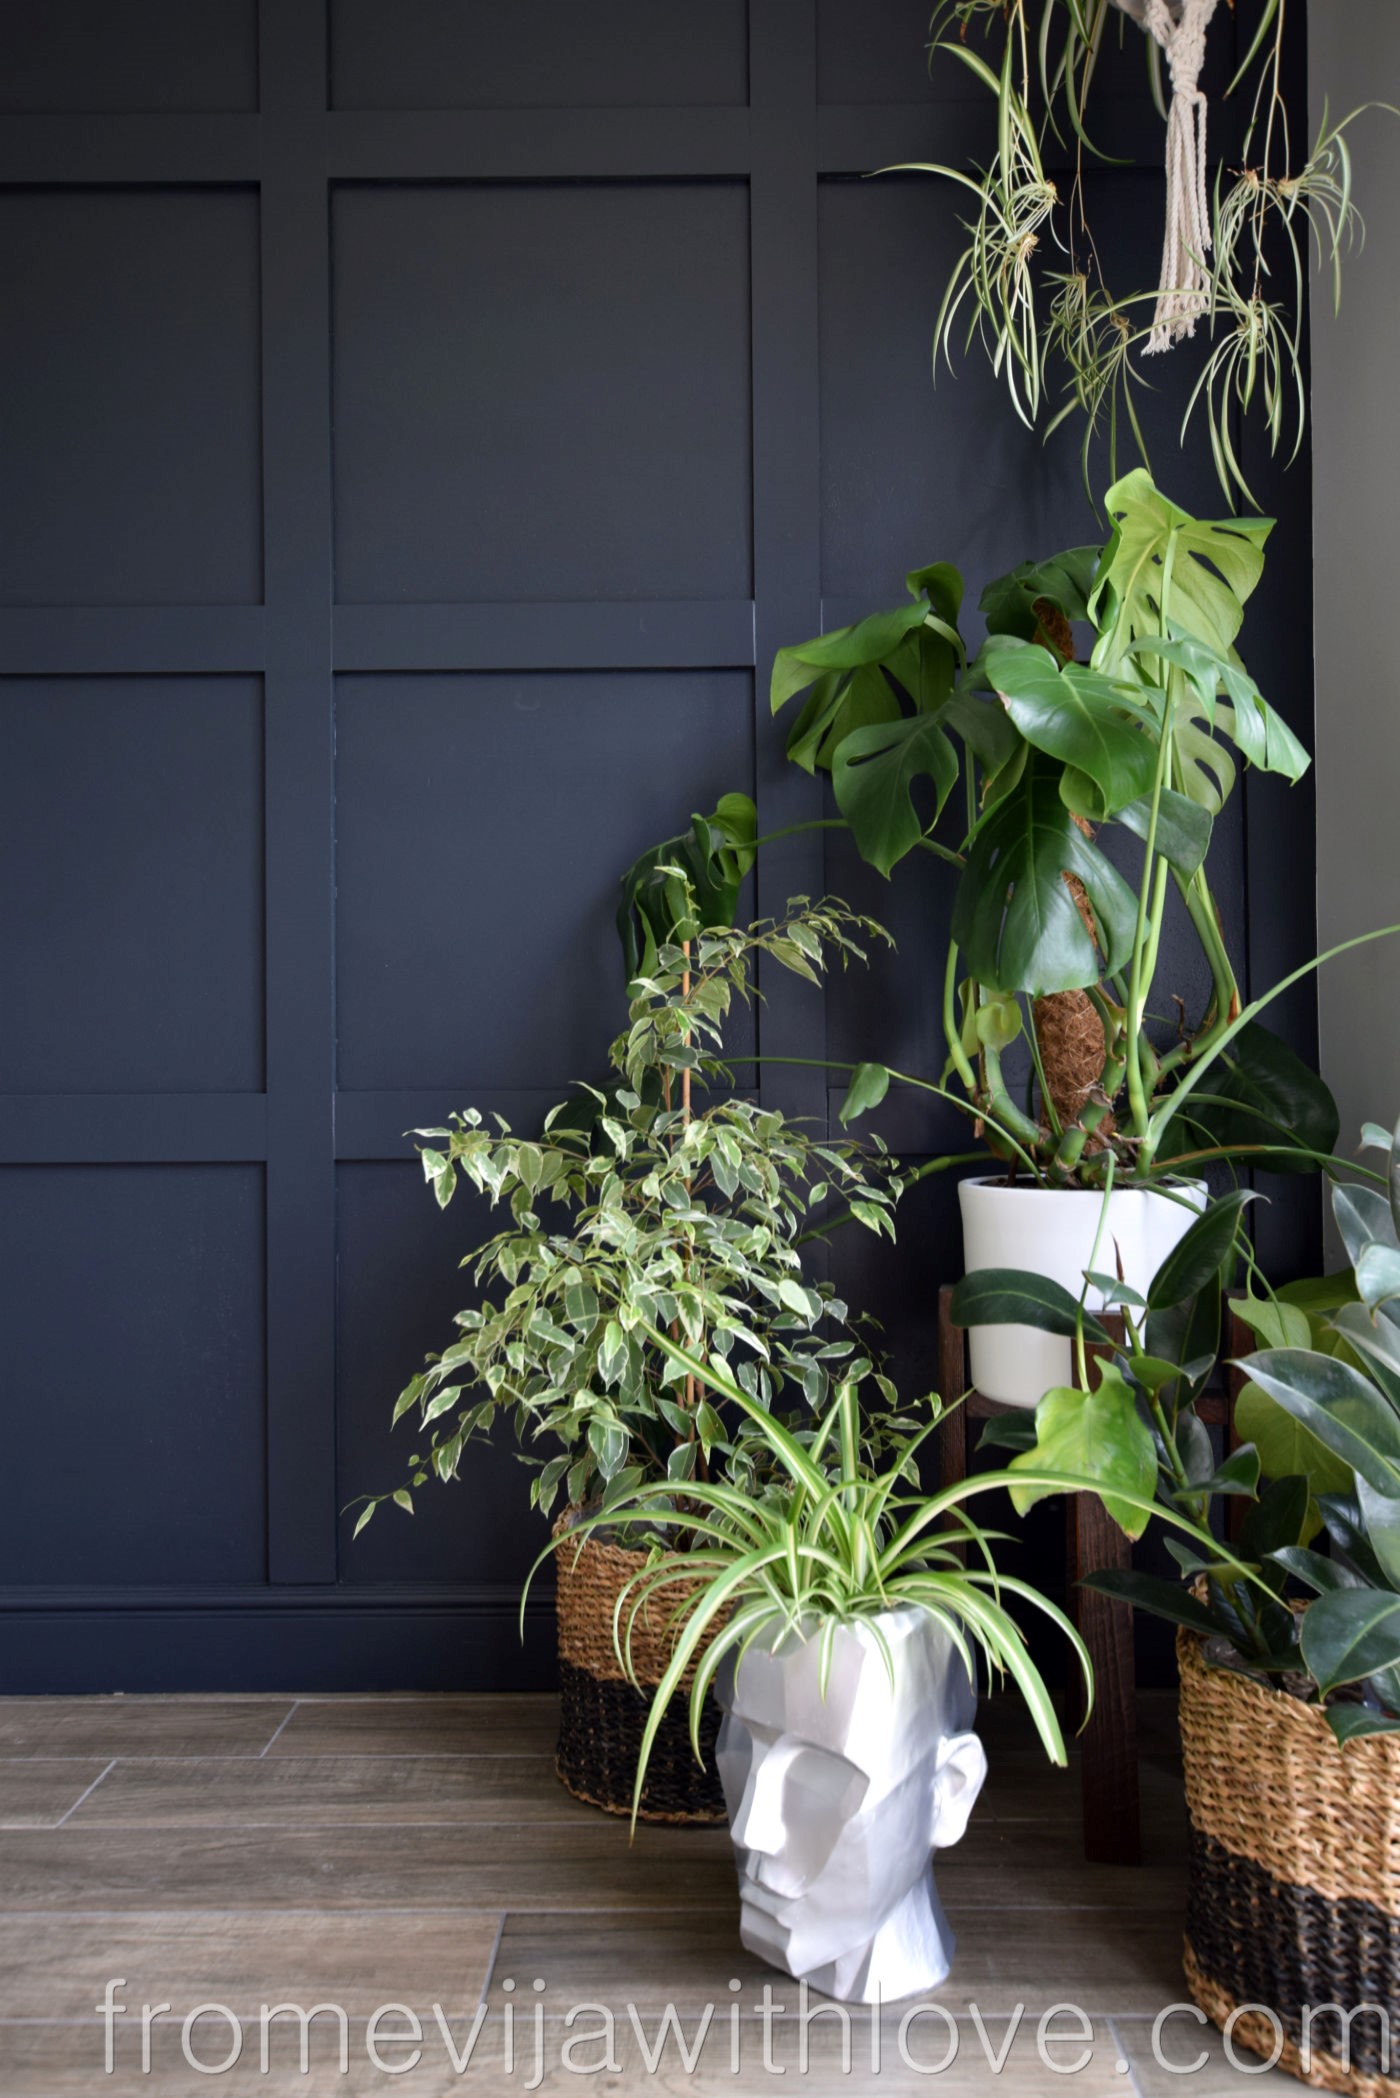
For the height – I decided not to have a bottom strip of MDF but instead use the skirting board. So for the height, I measured the distance between the ceiling to the top of the skirting board, which was 235cm (skirting board was 12cm). As I was using skirting board as my bottom strip, I only needed 4 strips of MDF for the 4 squares. 4 strips at 8cm work out as 32cm (4×8=32cm). Take off 32cm off the total height of the wall which was 235cm – 32cm = 203cm, divide this by 4 (the amount of squares I was having), which gives me 50.75cm height for each square.
So now I have worked out the two measurements at 50.2cm wide and 50.75cm high, which is pretty close to a square if you ask me!!

We started by cutting all strips 8cm wide. For the whole wall we only used 1 sheet of MDF board.
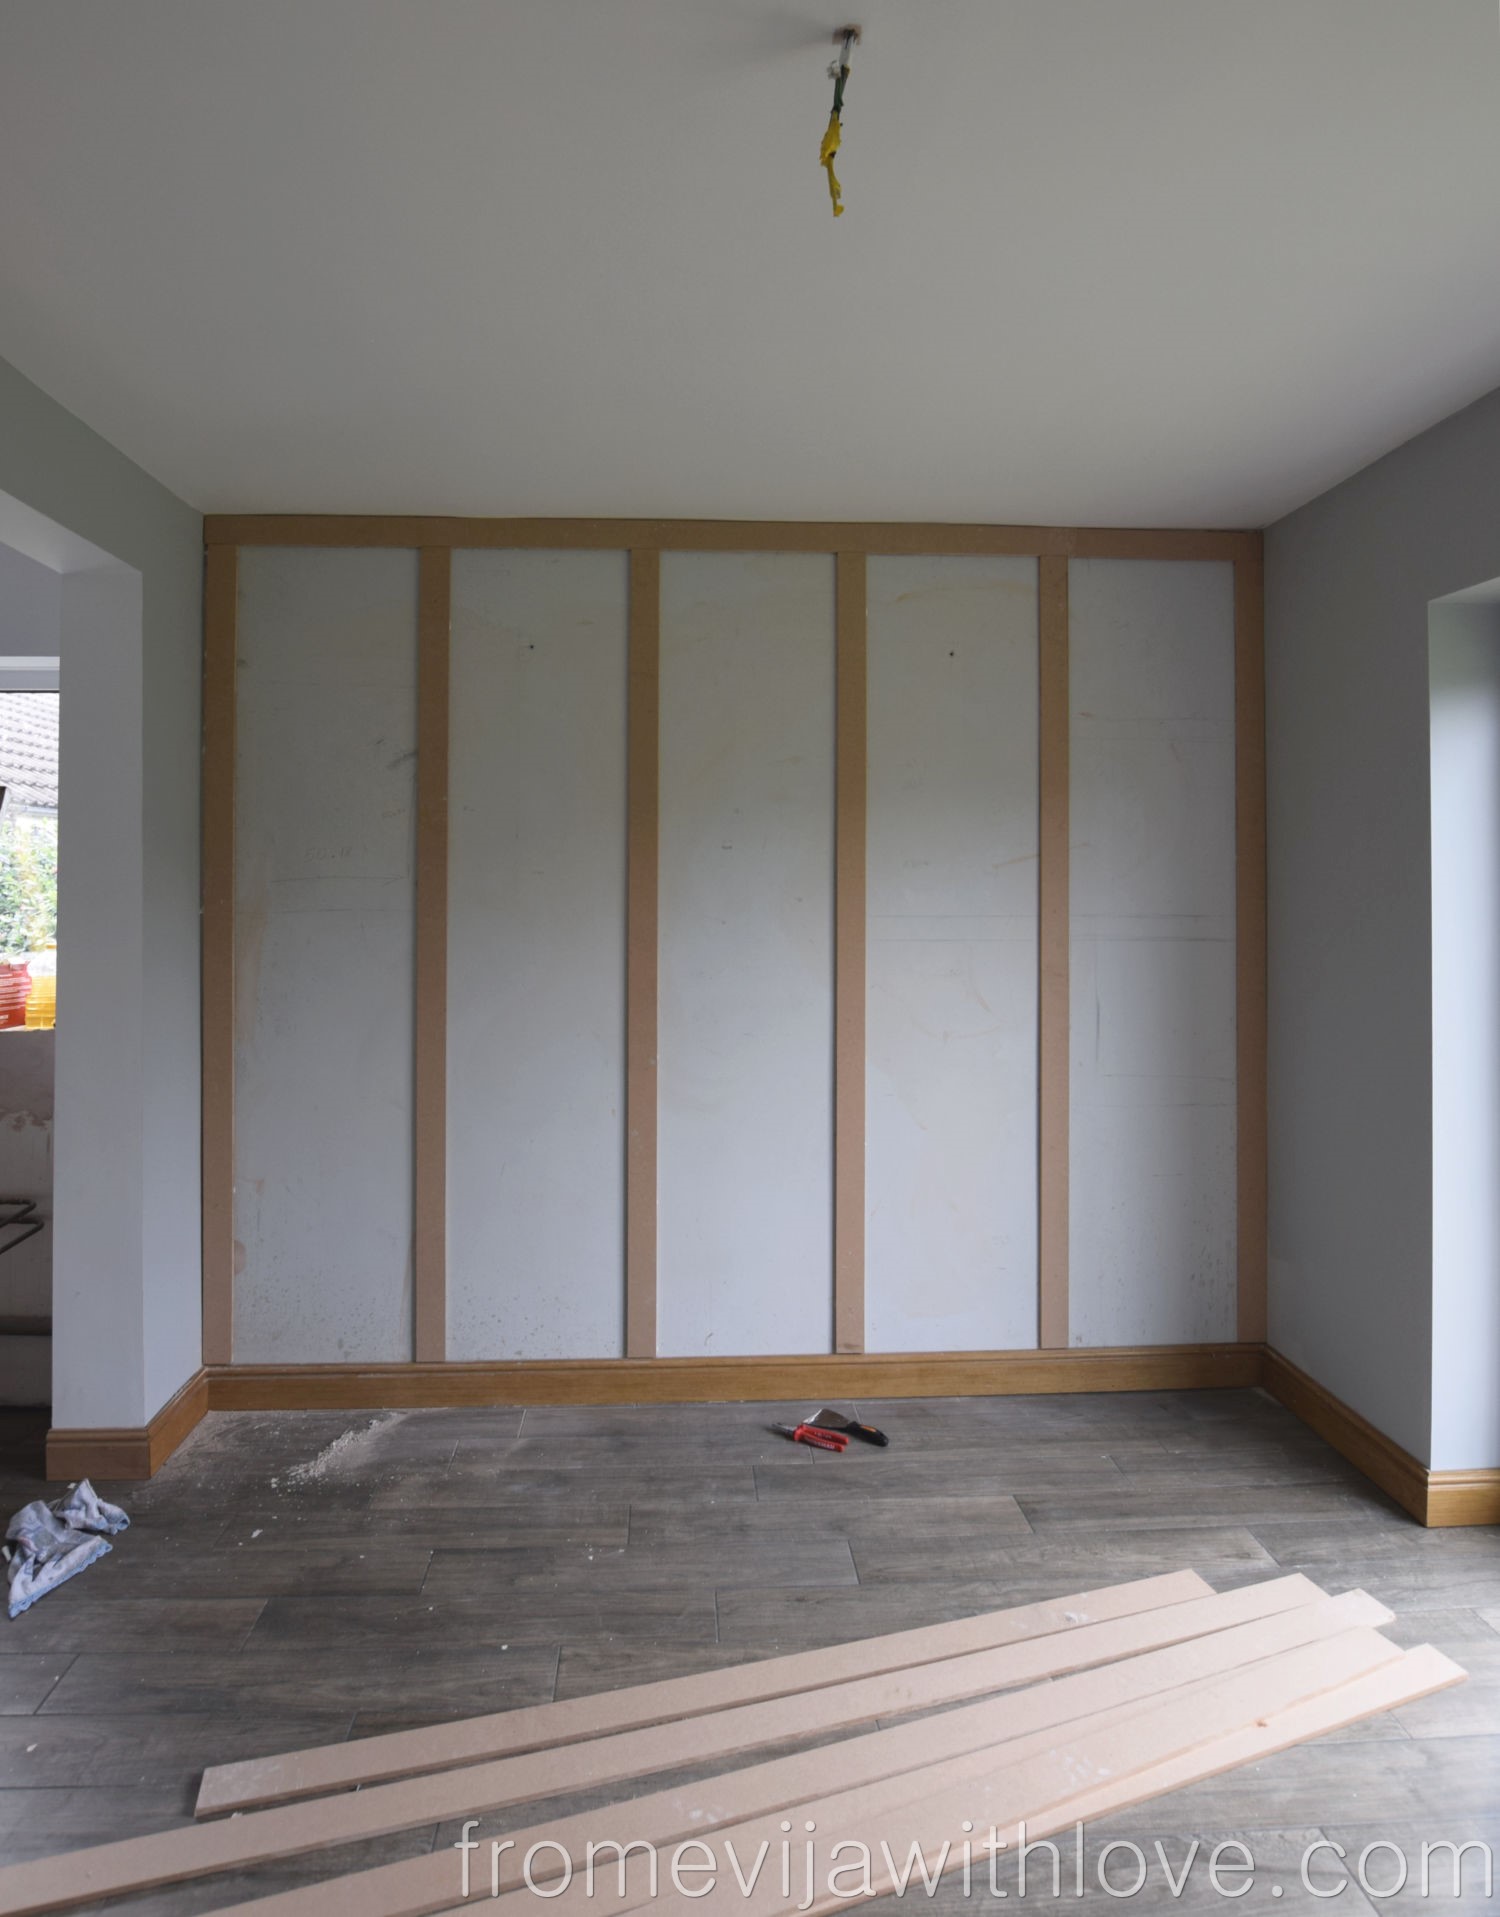
Once the MDF strips are cut, create your frame on the wall and glue the top and outside panels. [editor’s note: this wall was a solid stone wall, so we could not use nails/tacks and the adhesive worked a treat for us. If your wall is drywall/plaster wall, I would recommend using a combination of nails/tacks and adhesive]
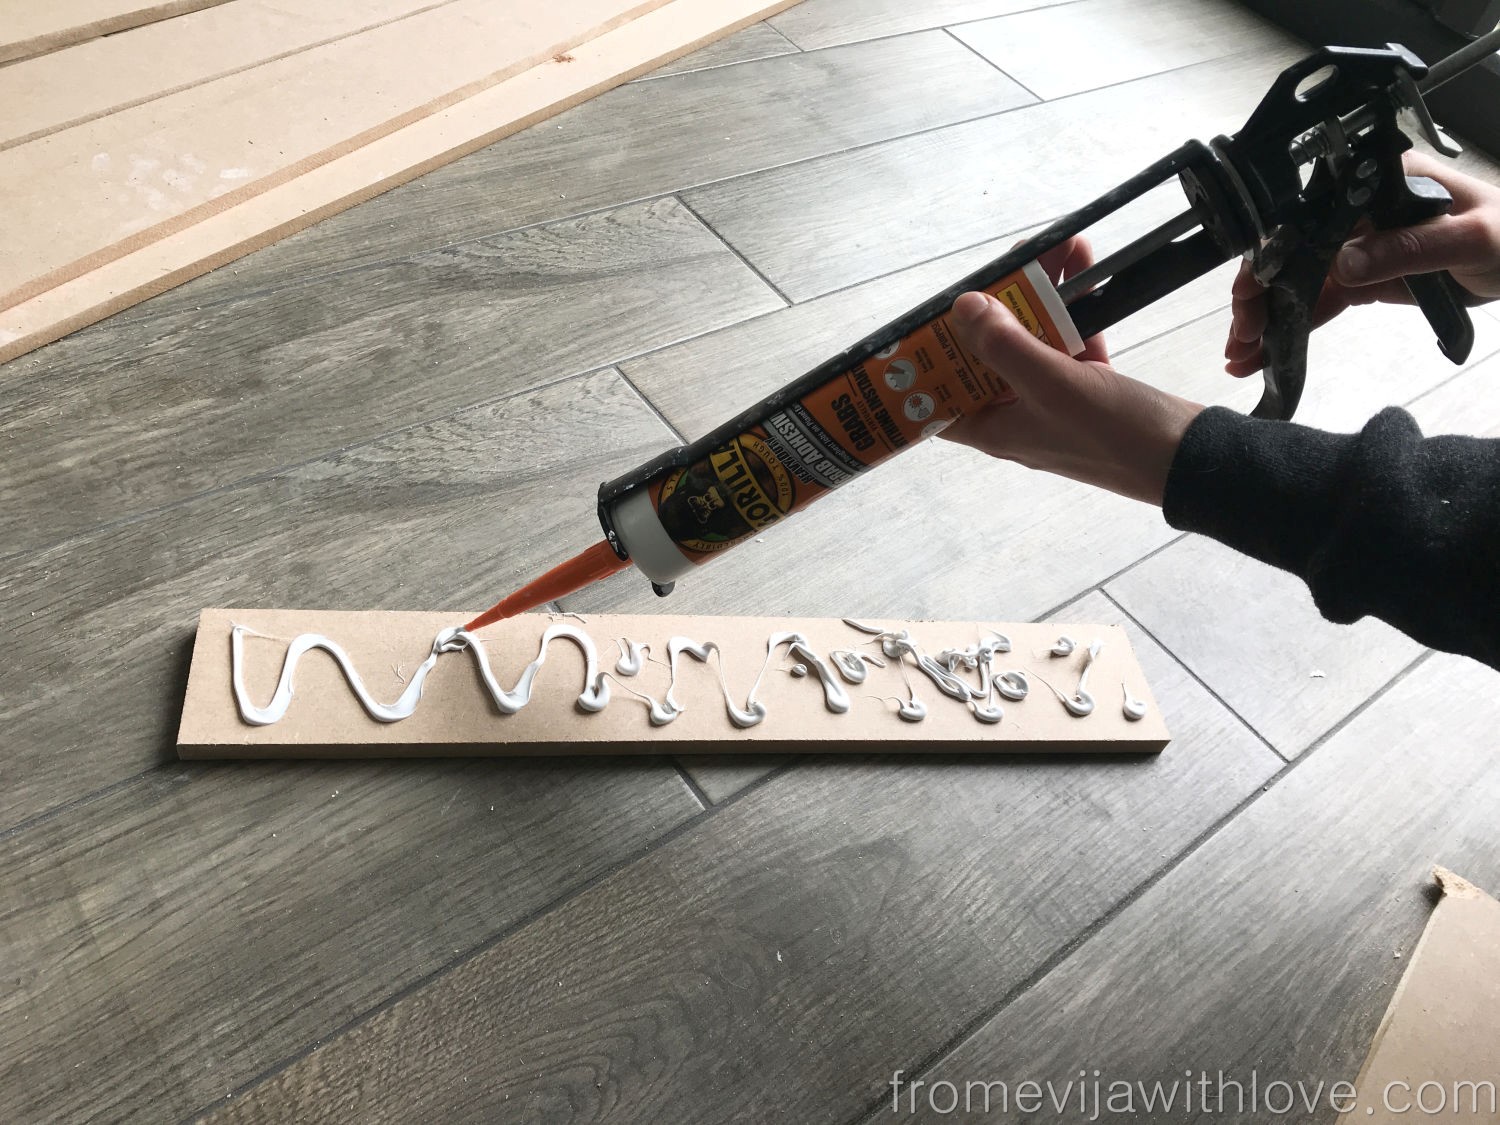
Gently squeeze Gorilla Heavy Duty Grab Adhesive on to one surface in a zig-zag pattern.
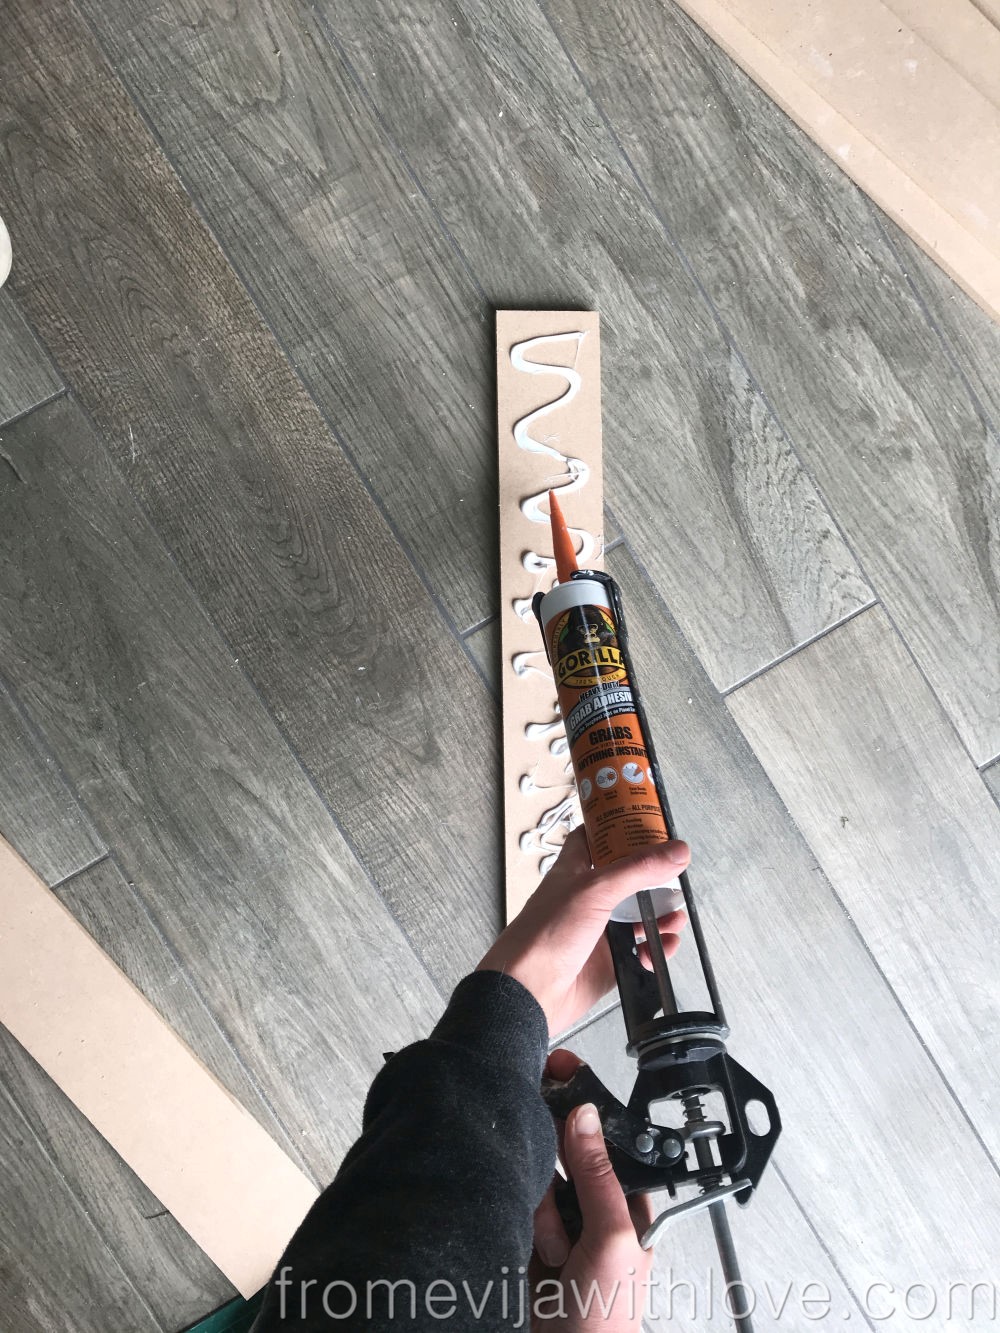
Apply Gorilla Heavy Duty Grab Adhesive to the strip in a zig-zag pattern, then press and hold each strip to the wall for around 20 – 60 seconds to let it set. As it grabs instantly you don’t need nails or tacks. Remove any excess adhesive immediately with a dry cloth. Once your framework is done, measure and glue the vertical strips.
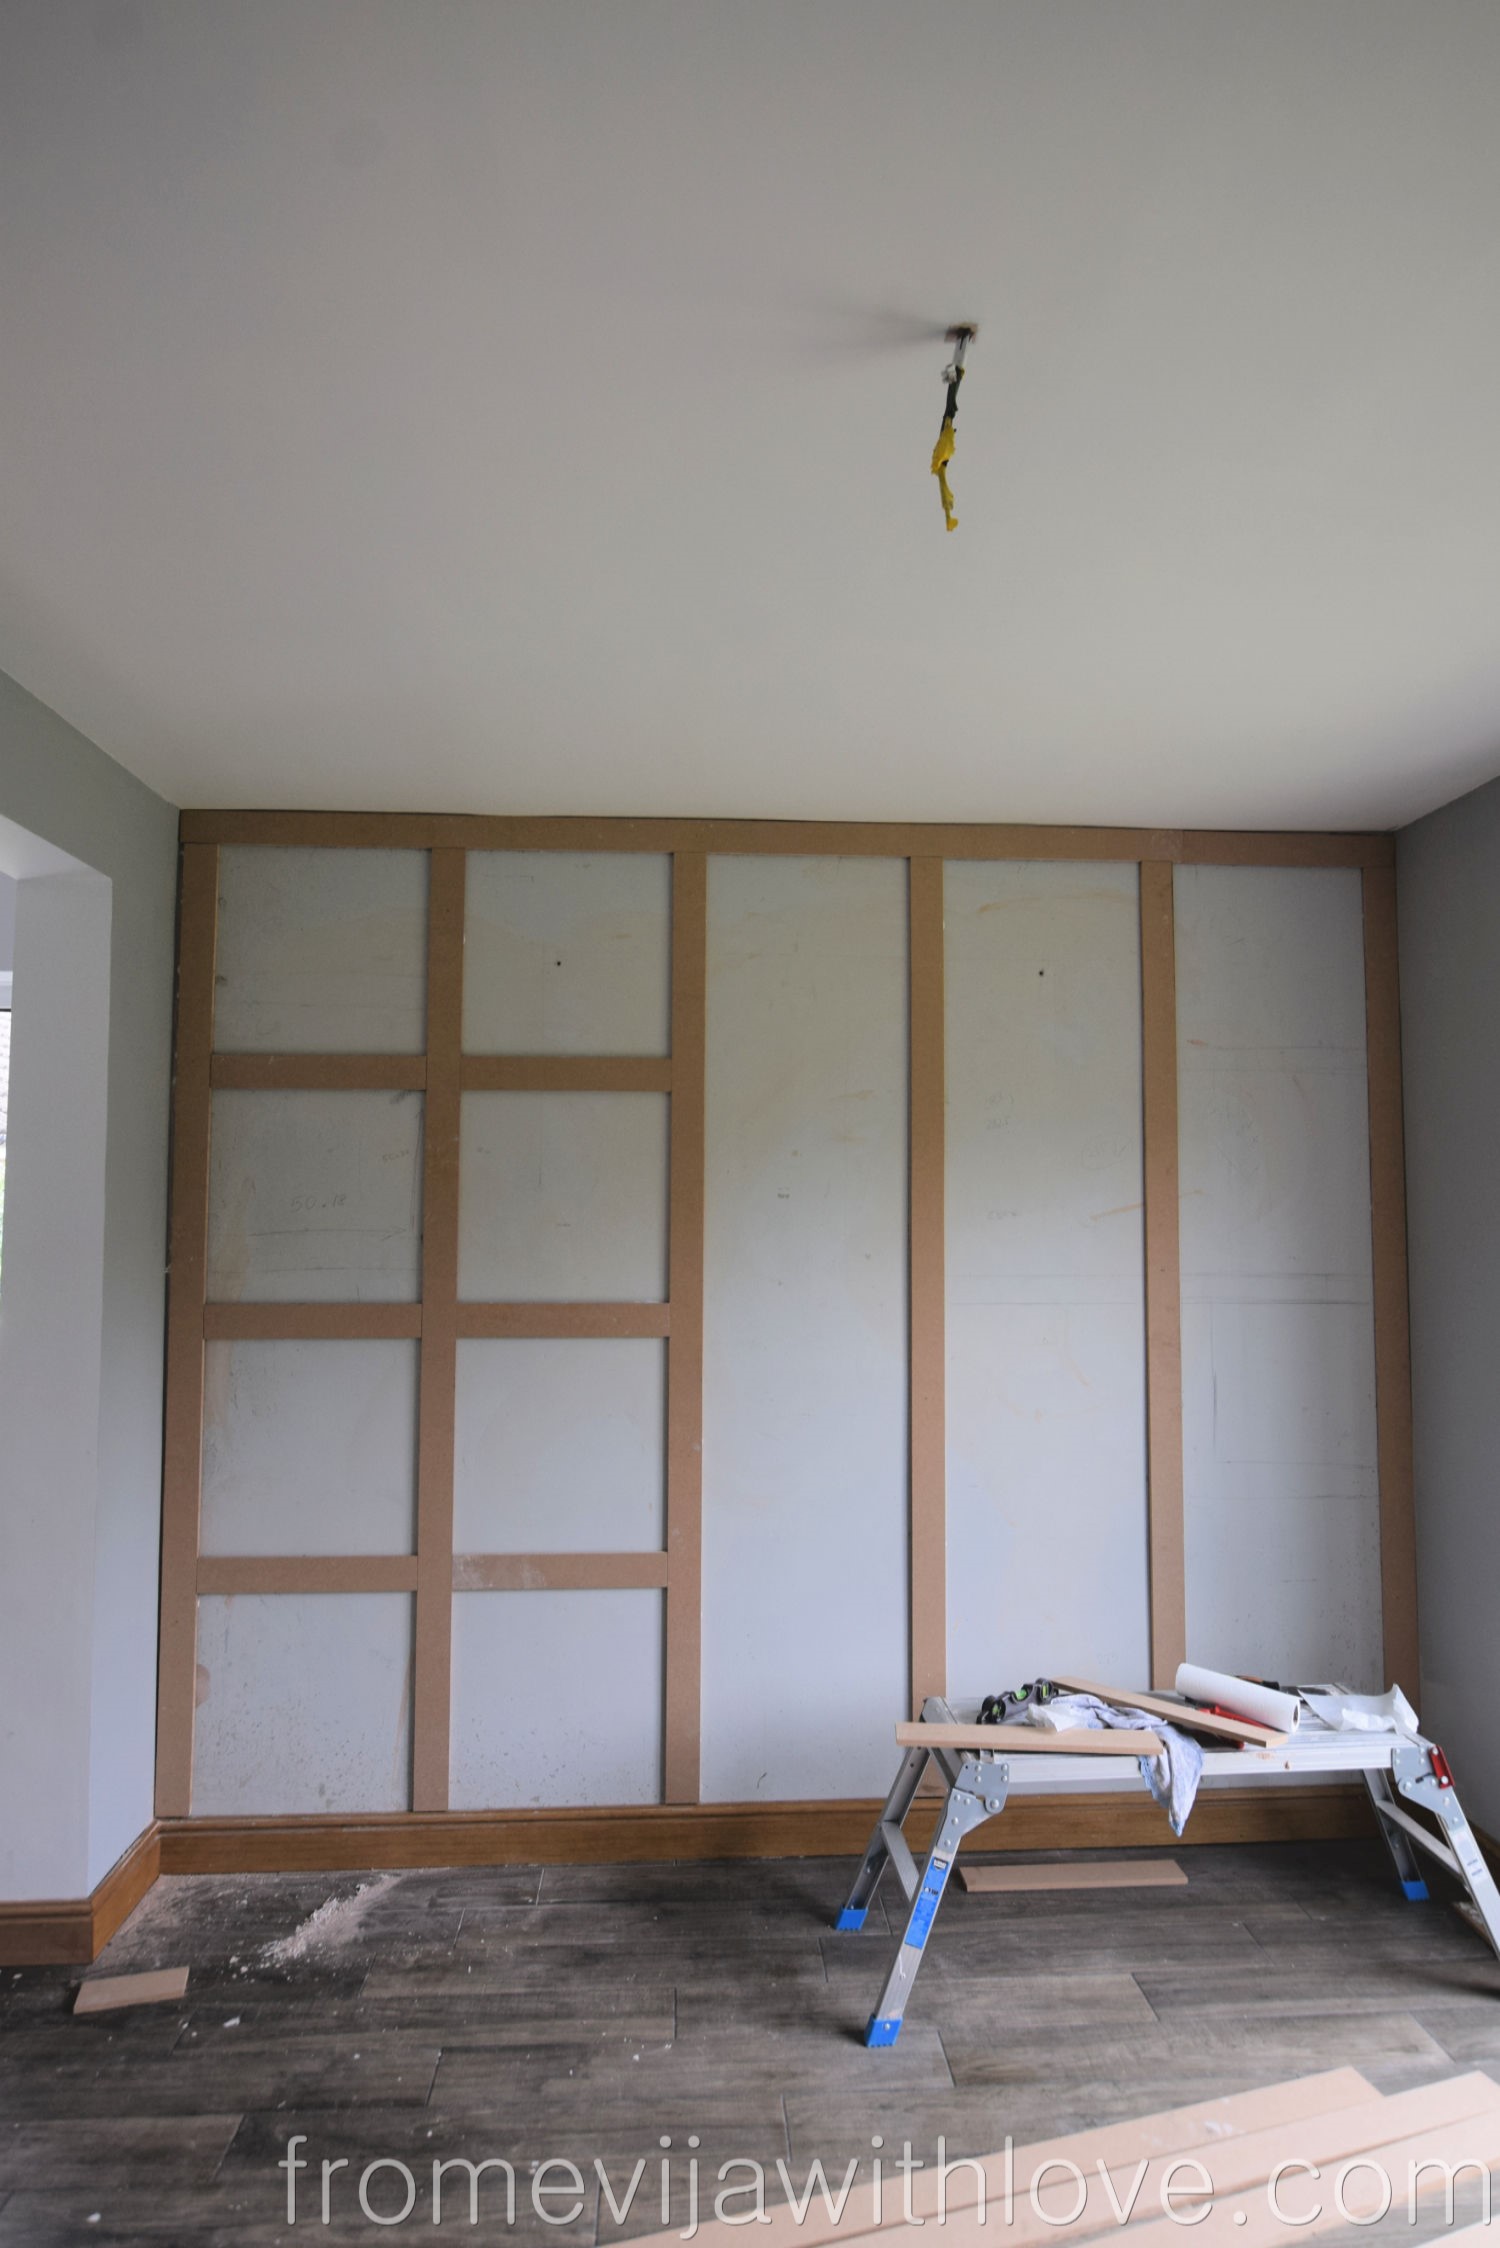
You should have equal gaps in each of the panels, however, if you are a few millimitres out, don’t worry. Our walls were so wonky and uneven I had to double check and measure the small pieces to make sure they fit. Attach each piece in place using the adhesive. When working on rough, uneven surfaces, use enough adhesive to fill the gaps
Each strip will also help hold the other pieces in place so don’t worry about panels moving out of place.
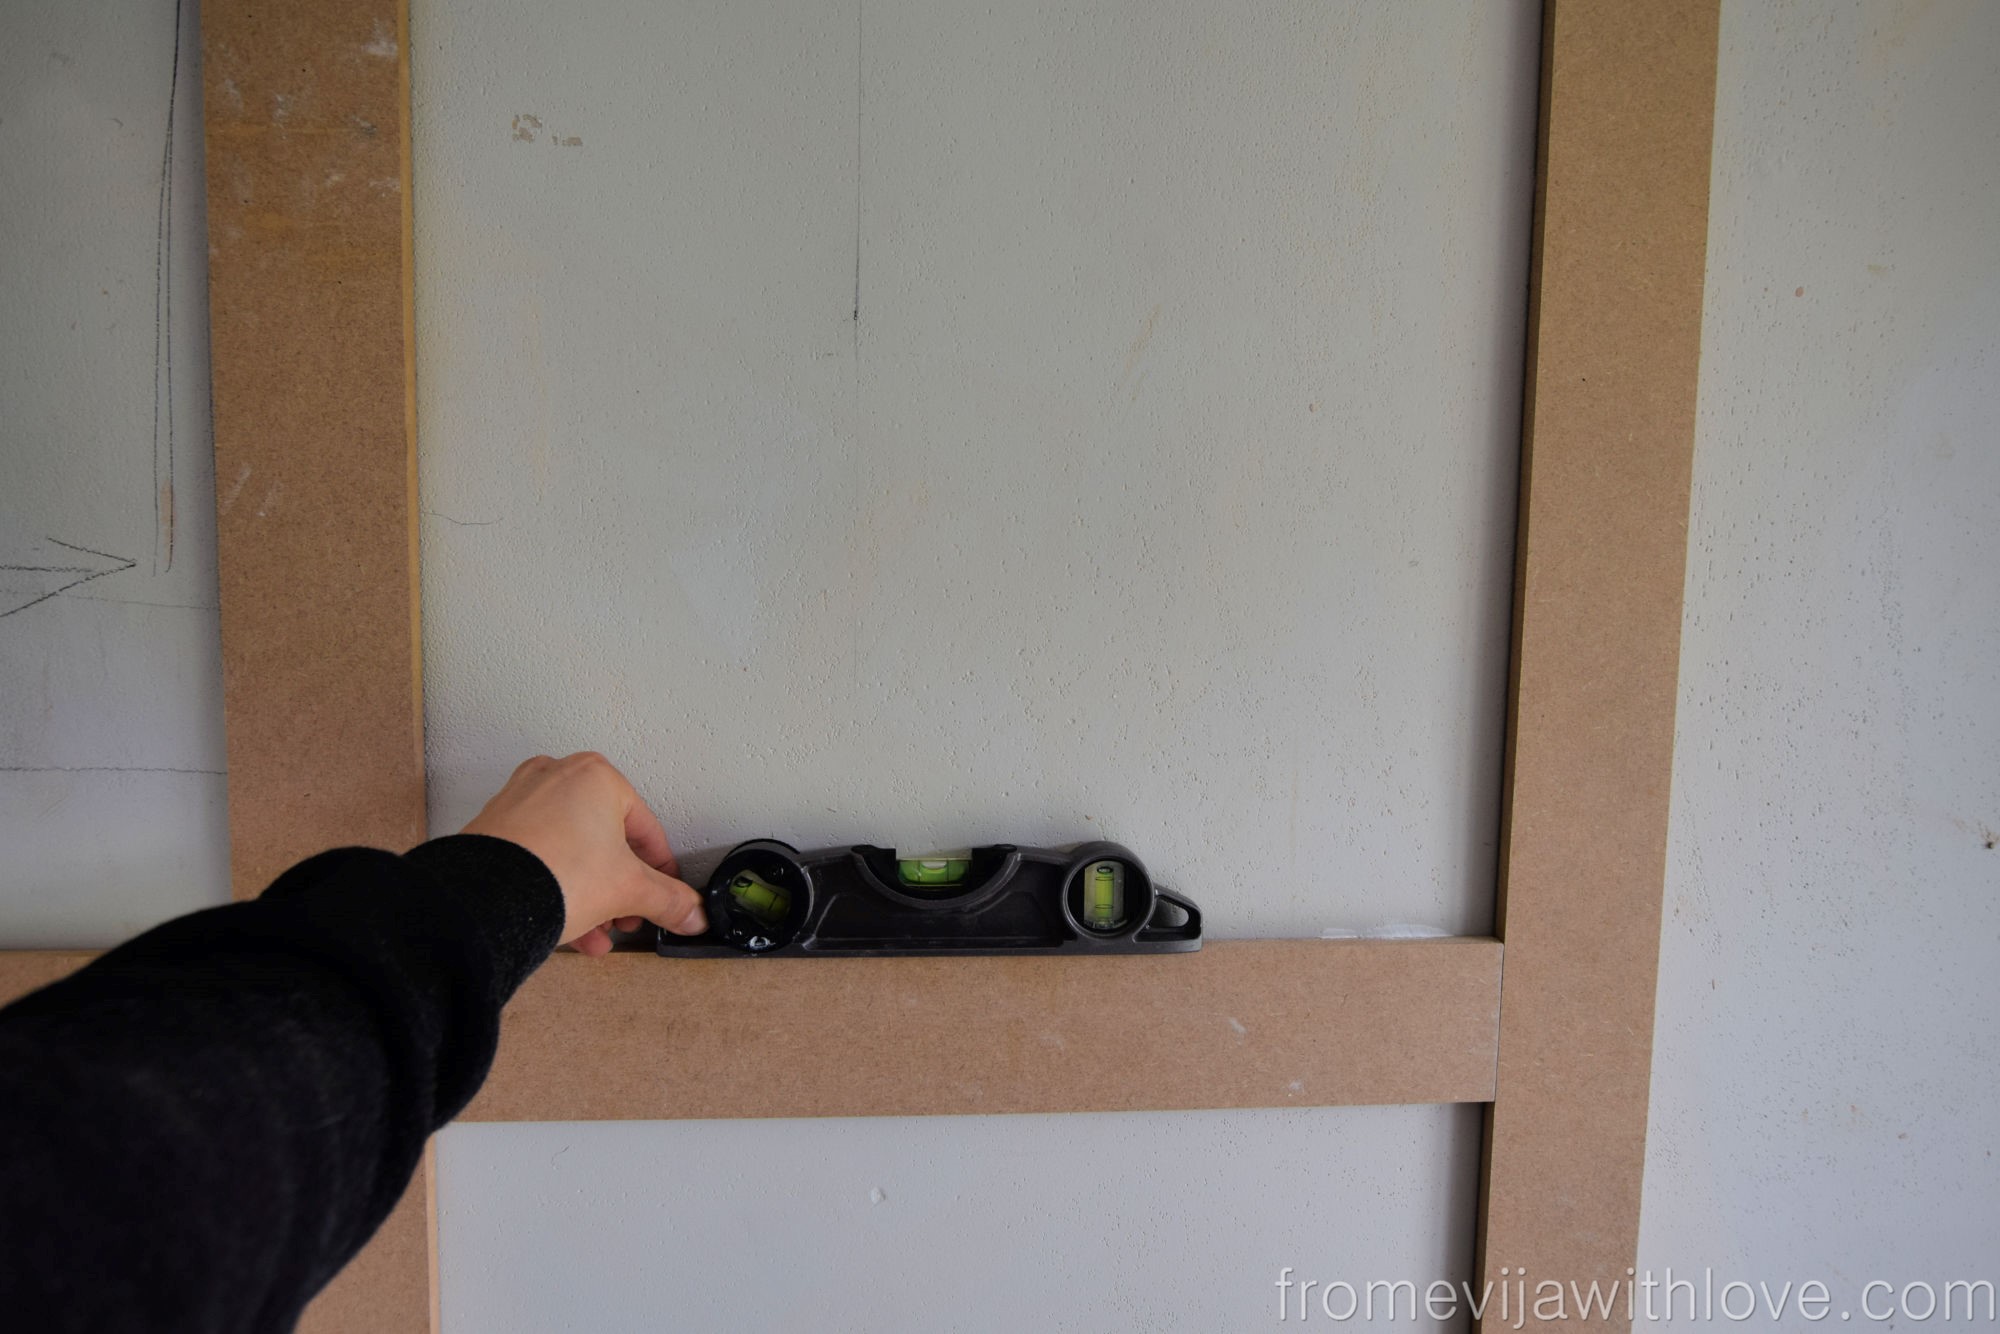
Don’t forget to use your spirit level to make sure the strips are perfectly aligned and level.
Once your wall is done and adhesive has set, fill any gaps using a wood filler and sand.
Paint the panelling with the choice of your colour. I used Farrow & Ball Railings Modern Emulsion. I primed the MDF board frame first using their floor primer and used the emulsion on both the walls and the primed MDF.
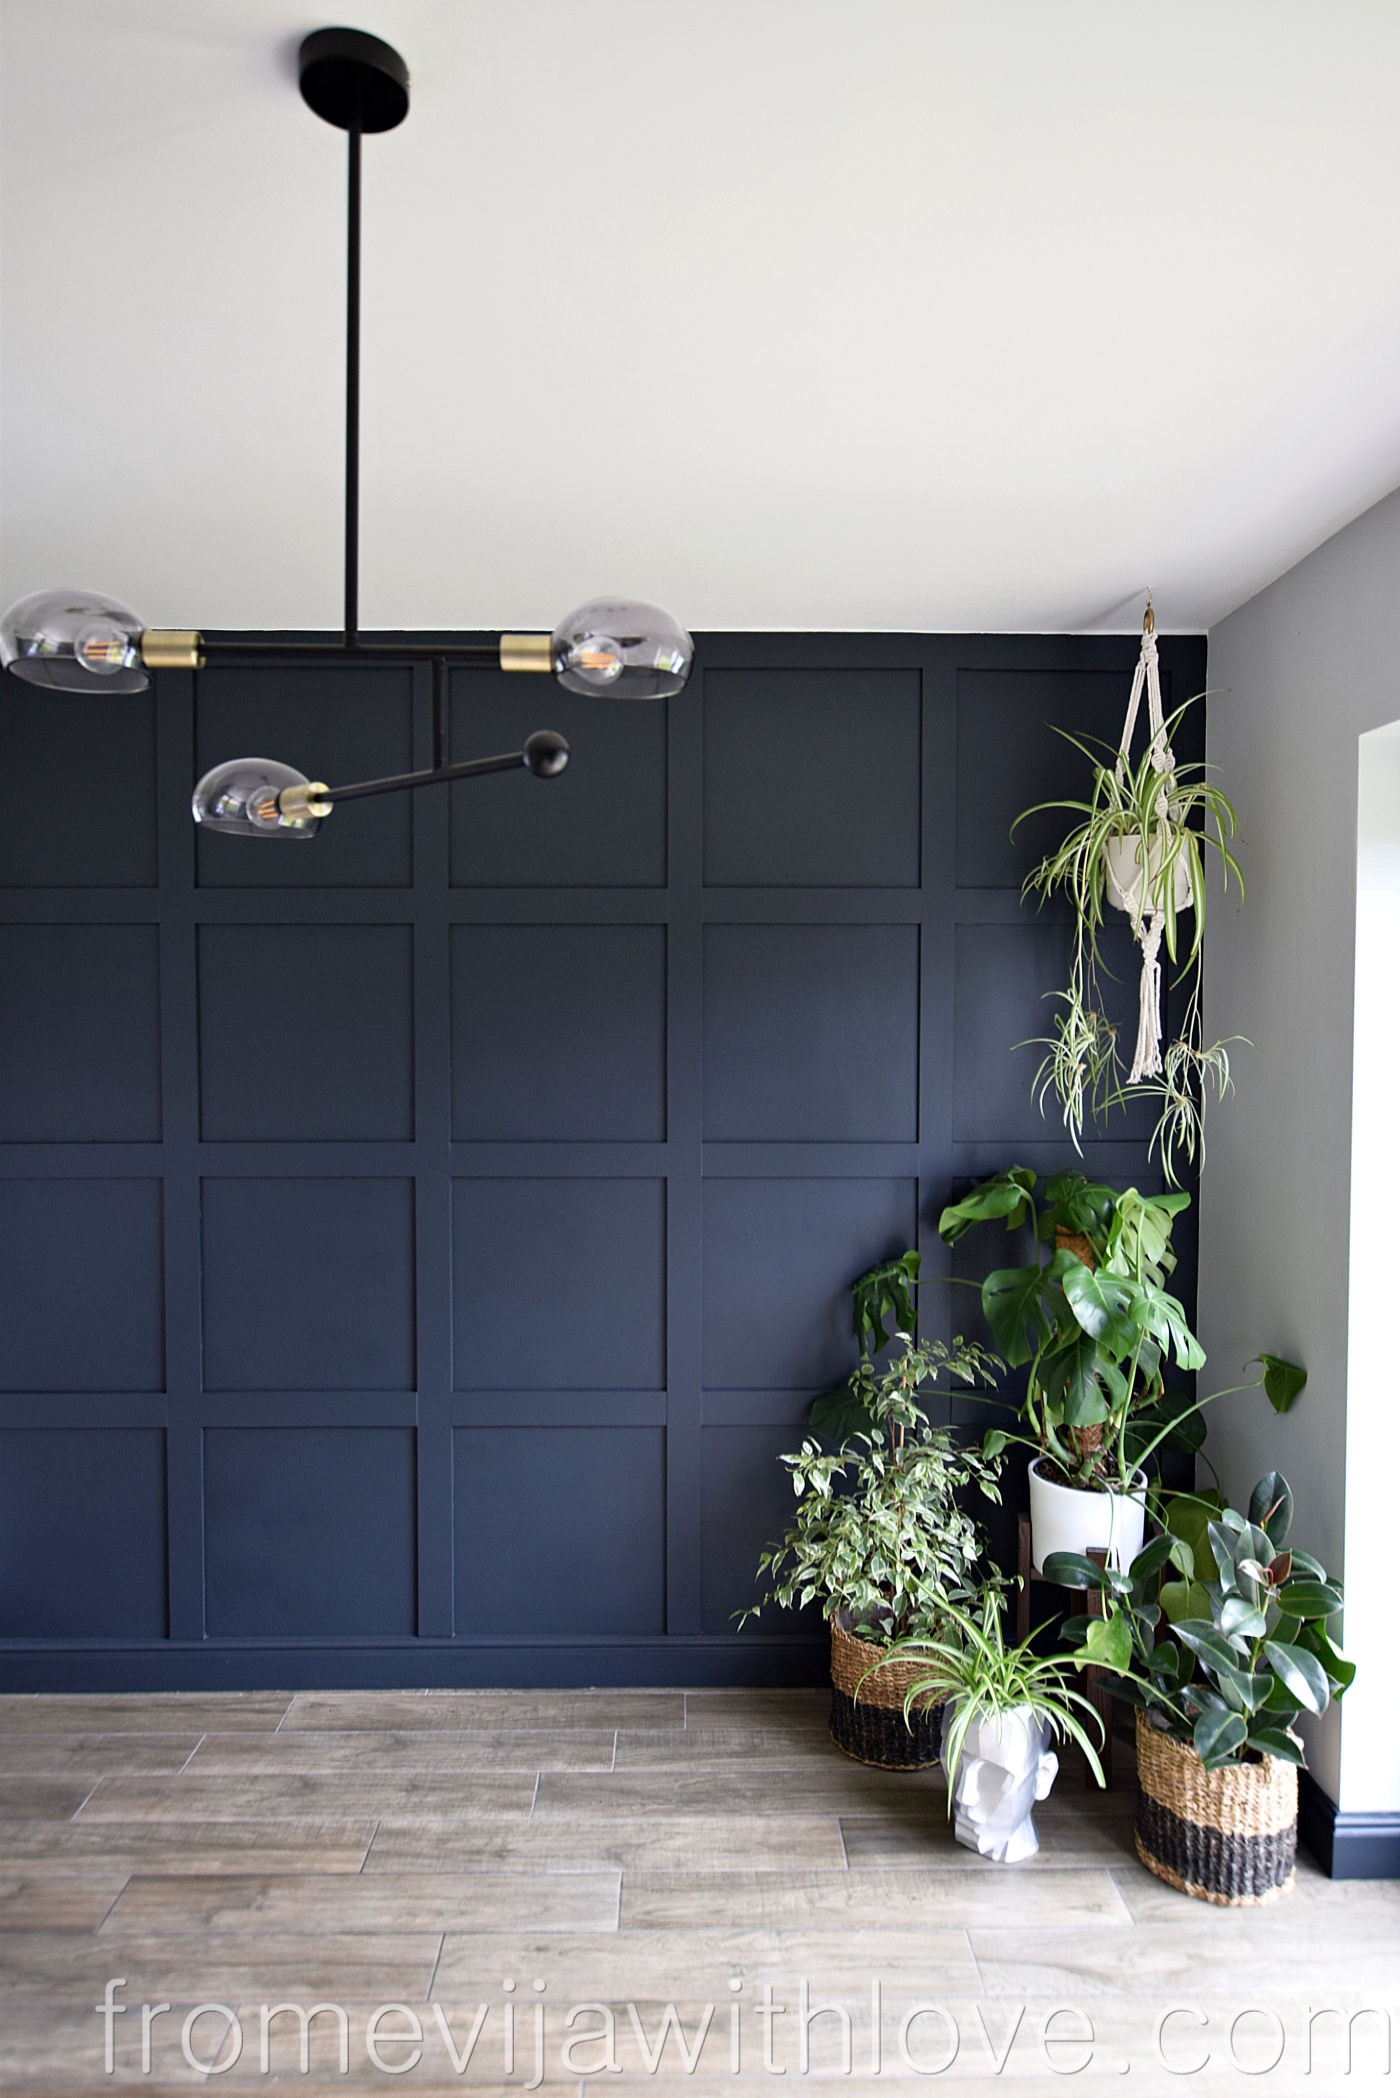
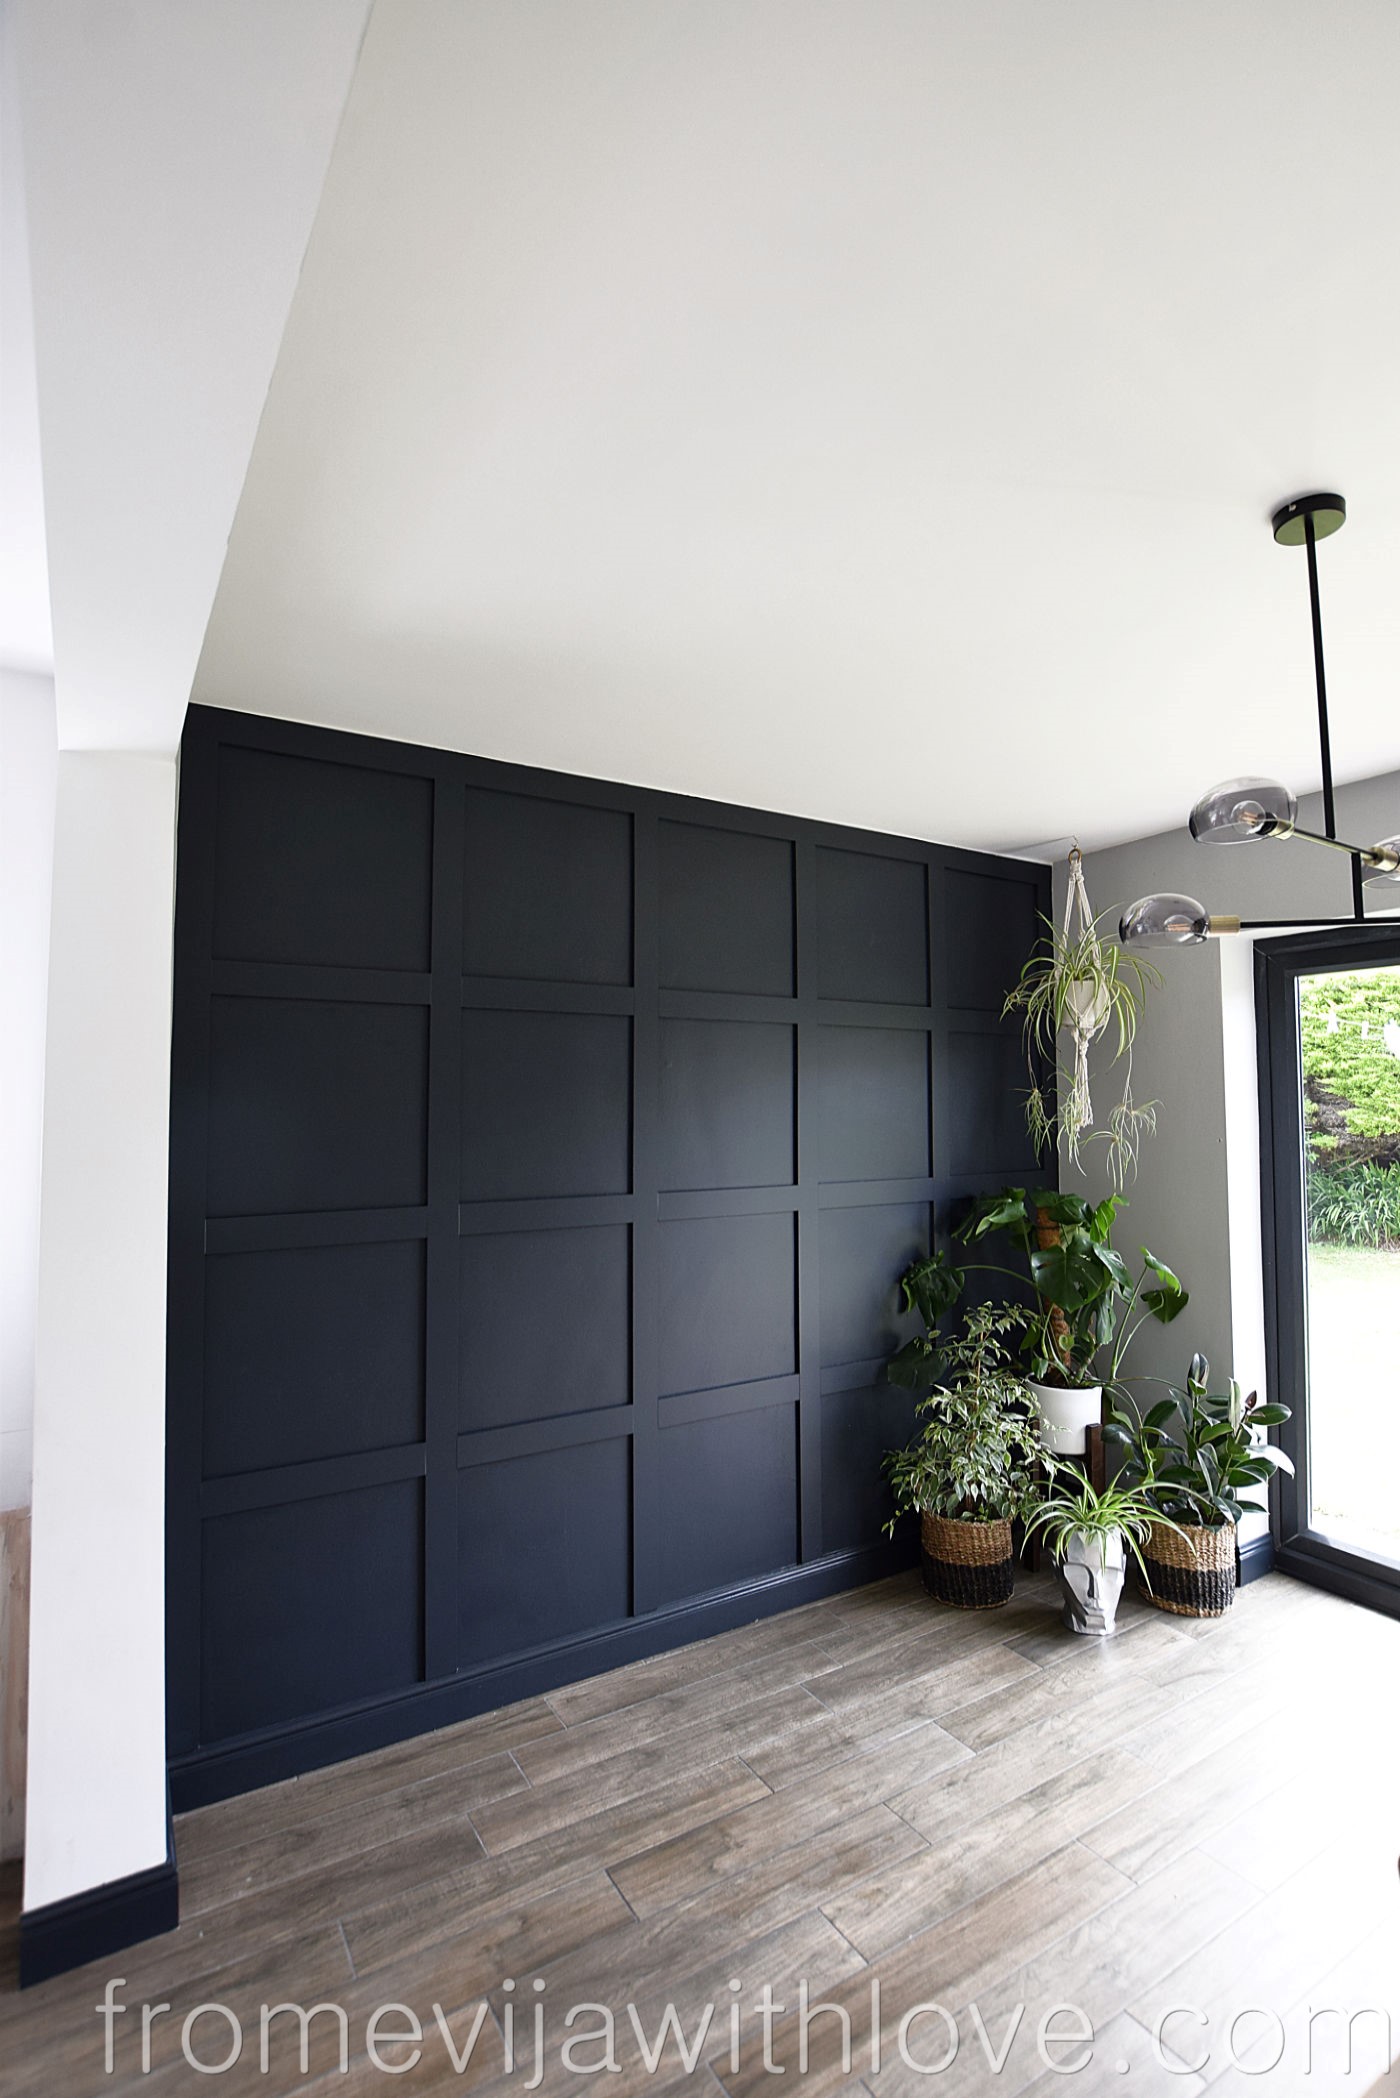
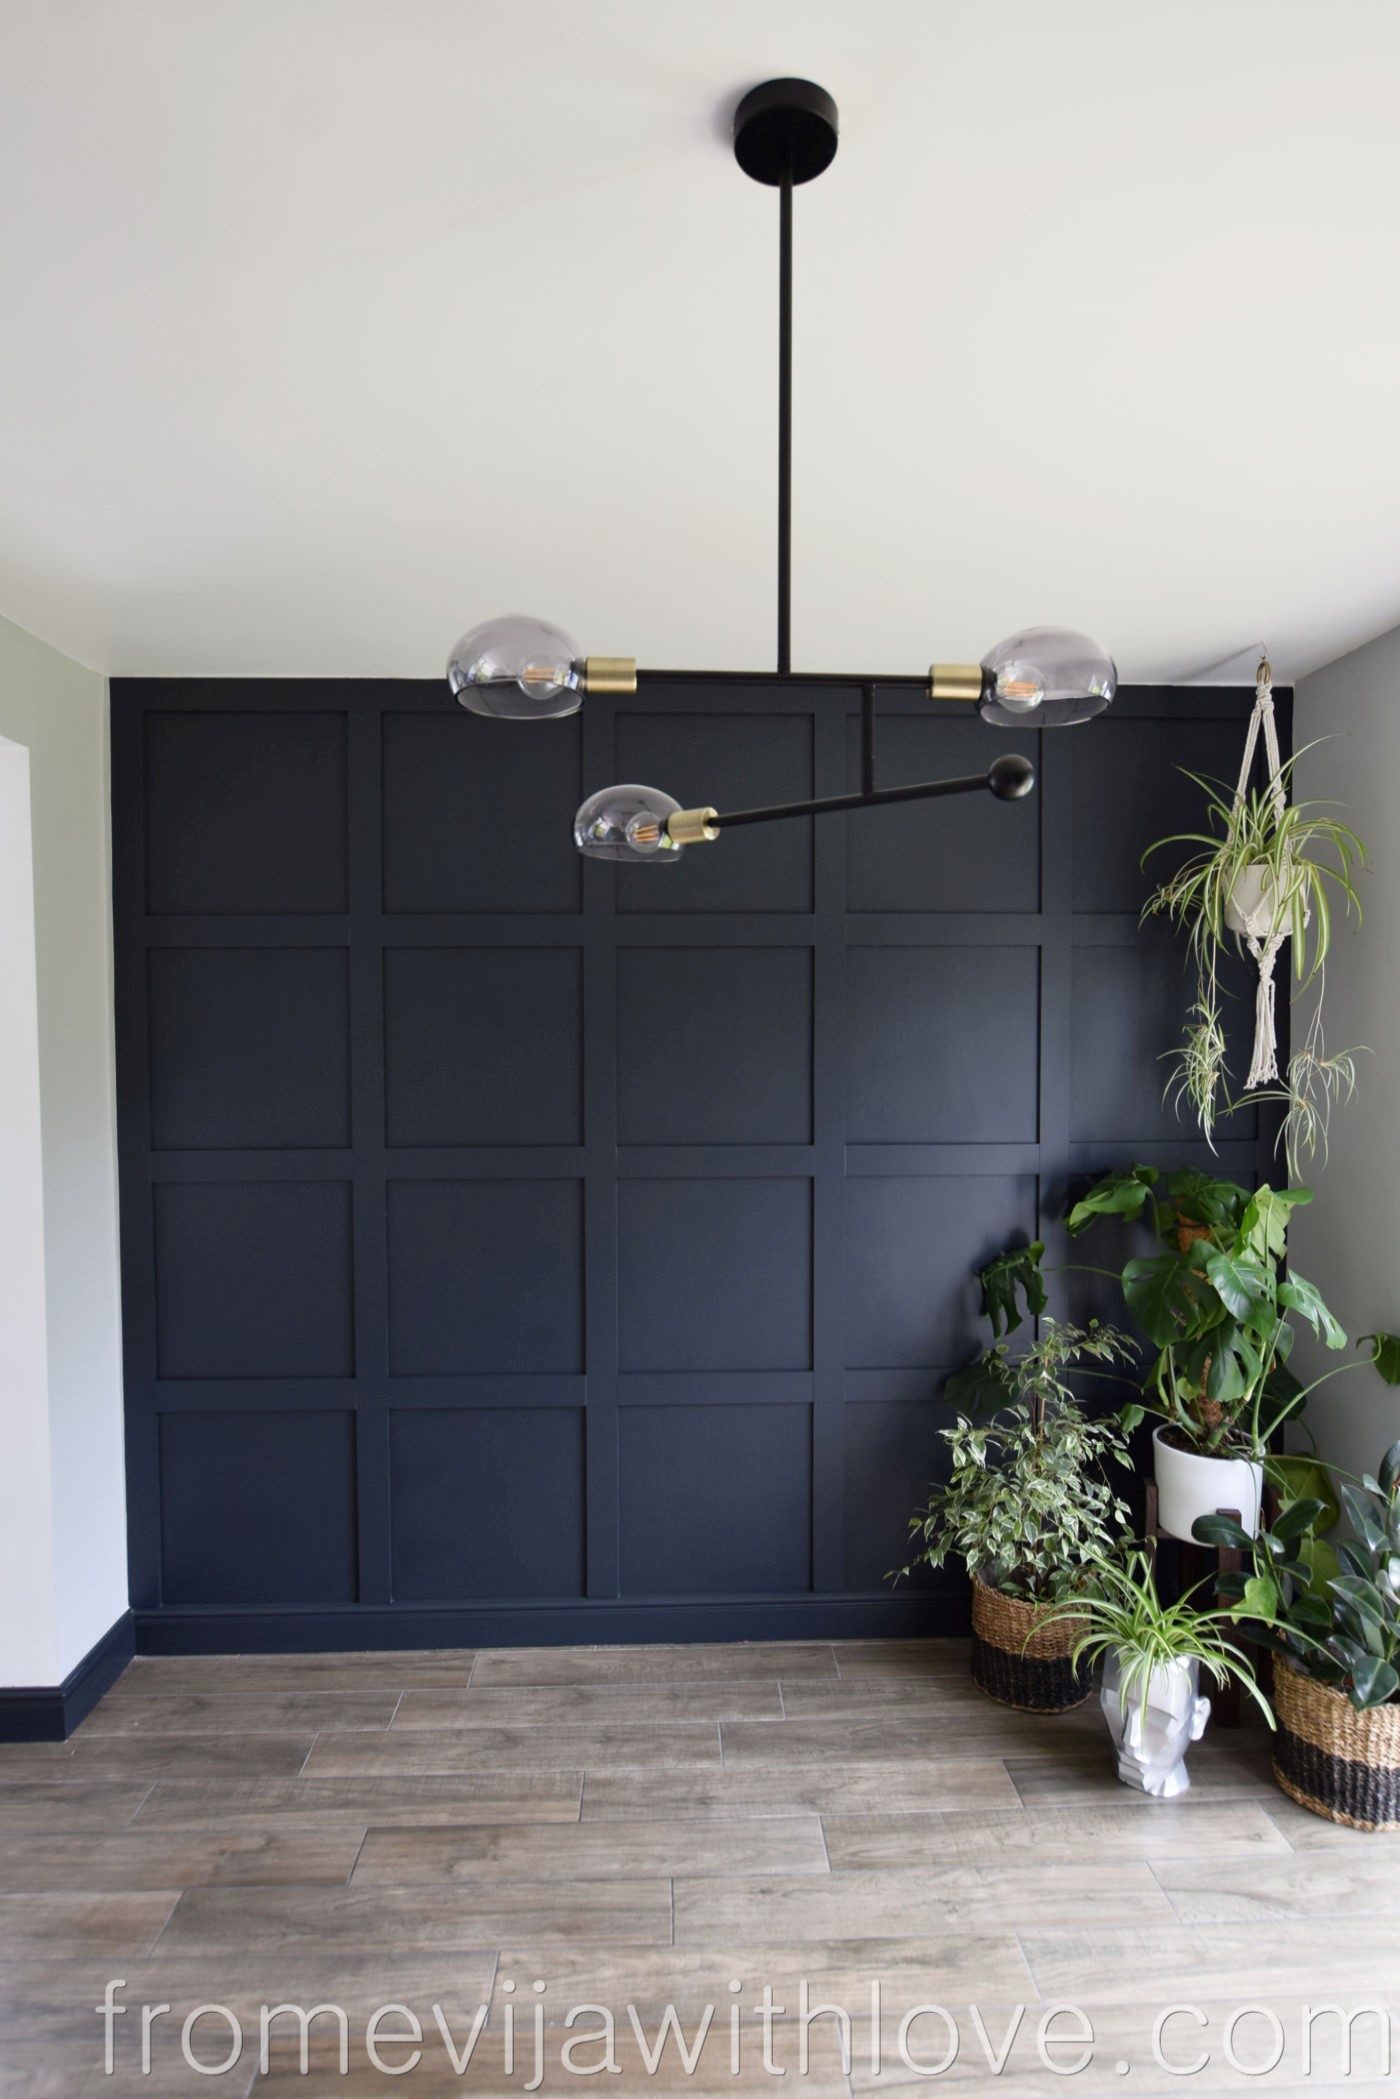
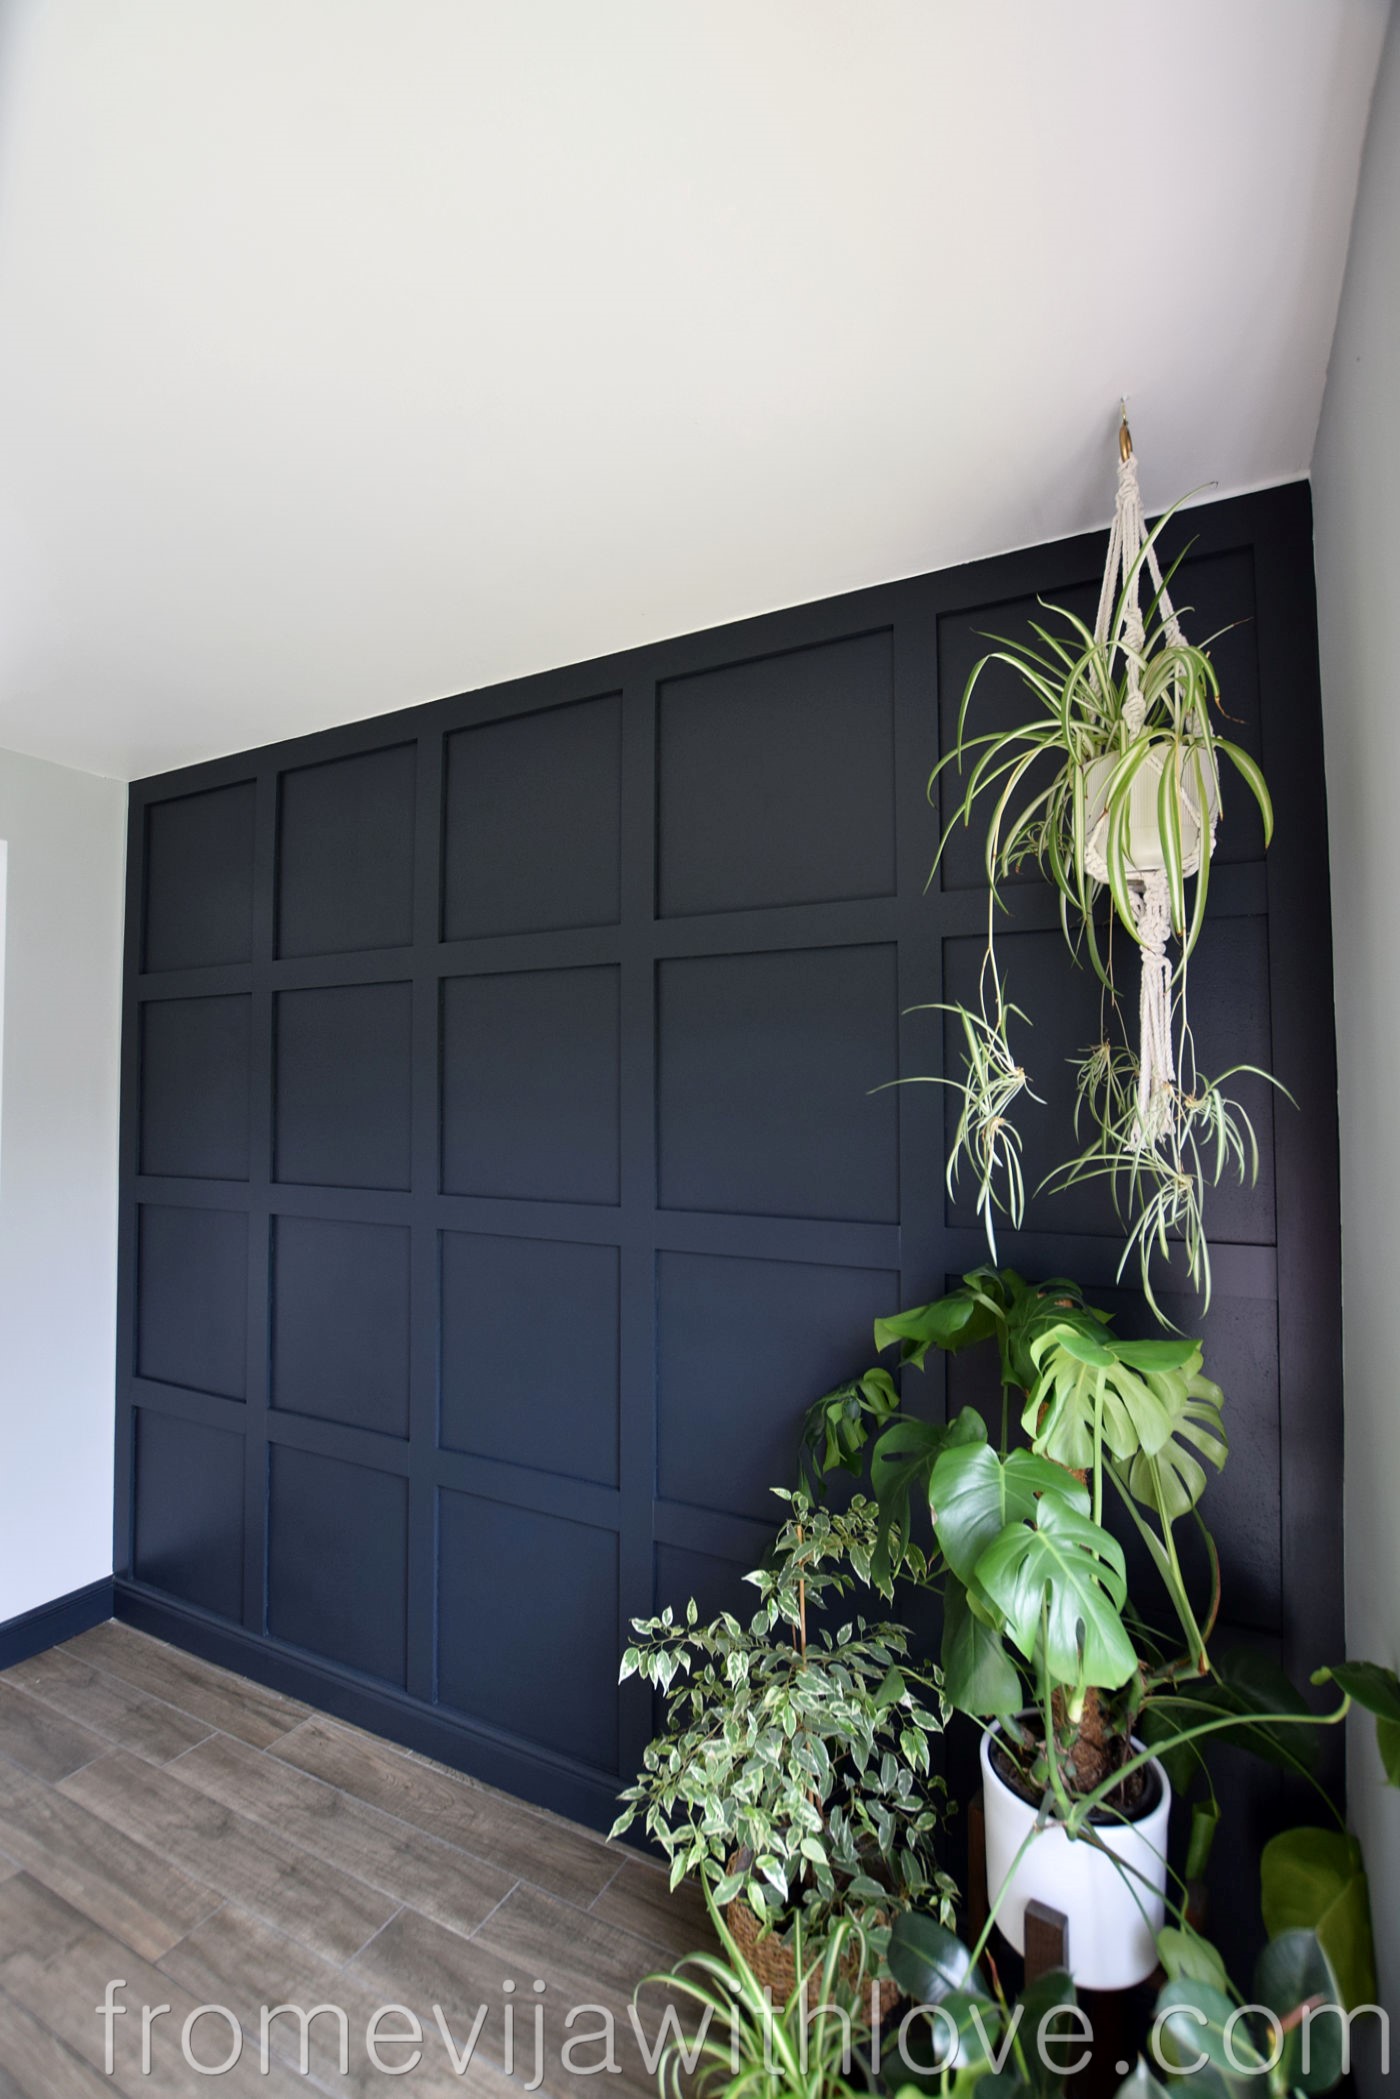
What do you think of the finished wall?

Love your paneled wall and the colour you painted it. It looks very dramatic.
Thank you Claire ! It will match the island and the woodwork and hopefully will bring the whole kitchen/dining room together!
Absolutely gorgeous !! What an amazing difference it has made, I can’t wait to see when your kitchen is finished! So jealous!
Thank you Kathrine !
Where did you purchase the chandelier? I love it!
Thank you Jess the light is from made.com and is called Tangle
made.com says they don’t deliver to the US. Where are you?
Hi I am in the Isle of Man (UK)
Hi, how did you cut the mdf to size? This looks amazing and thing of it for my bedroom.
We measured the sheet and used a circular saw with a guide to make sure all strips were the same @8cm. I know some B&Q shops also cut boards if you ask them !
This is beautiful. Want to do this in my master, but the math scares me. I will check on Pinterest and get more ideas.
Thank you Rebecca, don’t be put off by the maths honestly it is not as hard as it may look.. if you are having problems and need any help message me and we can figure it out together !
I love this! I really need help with the measurements though. My wall is 212.36cm x 360.68cm. Could you please help me configure the correct board sizes? I’m thinking 4×7 squares would be about right.
Thank you!
Hi Brittany … sorry for late reply
If your measurements are 212×360 and you want 4×7 squares, this is how I would work it out. I have used 8cm measurement for the strips of mdf, so for 7 squares you will need 8 strips in total (8x8cm = 64cm). 64 cm is the total measurement for all 8 strips, so this will leave you with 296cm for the squares (360cm area space minus the 64cm strips), divide it by the amount of squares (7 in your case), which gives you – 42.2cm measurement going the long way. To work out the height of the square, repeat the steps (please do take into account that the skirting board might be slightly bigger than 8cm of the strip I am using so just readjust this). For the 4 squares you will need 5 strips (or 4 strips + skirting board measurement), which is 5×8 = 40cm. take this off the total area of 212, which leaves you with 172cm for the squares, then divide by 4 squares and this gives you the other measurement of 43 cm so your square should be 42.2 x 43 cm (but do make sure you measure the skirting board as it might be taller). I hope this helps
Love the wall panel and the colour, great look. I will attempt this in my dinning room to match the island! Thanks
Your panel wall is your new trademark! So Evija. Can’t wait to see the full reno reveal.
Thank you Juan!! We are so close.. cannot wait to finish it and finally share!!
I very much like your new wall. The color is very pretty as well. The accent wall added just enough artistry to the room. What a neat idea!! Can you give me an estimate of the cost?
Olivia
Savannah, Ga
Hi Olivia thank you so much.. I only used one mdd board which was around 15£, a few sticks of Gorilla adhesive and the cost of paint (this is totally depending on what type of paint you use. I used Farrow & Ball, which is slightly more expensive.)
Hi there,
The dark blue paint you used, please can you advise on the exact shade that is from Farrow & Ball??
The paint is dark grey rather than blue and it’s called Railings by farrow and ball
What finish in paint did you use? Eggshell or satin
Hi I used Farrow and Ball in Modern Emulsion on the walls, mdf paneling was first primed using the Farrow and Ball primer and also painted in the same emulsion
Hi I love your panelling can I ask you say it is 12mm width each piece what thickness was the mdf. Thanks
Hi Caroline, thank you so much. Yes 12mm is the thickness of the mdd board
Thanks for sharing all of your experiences! Nice article!
Thanks for such a great step by step guide, I’m thinking of doing this on 2 walls in my kitchen/dining room & I’ll be following your guidelines. I love the colour too, great job.
Thank you Mary ! Glad it has been helpful ! Would love to see when you are finished ! Good luck
Amazing project! we are thinking of doing this for our utility room but our room width is 2660mm and height is 2700mm. Would you recommend 4 squares wide x 4 squares high which would give us a square width of 56.5cm and height of 57.5cm or would you recommend we have 5 x 5 squares giving us a square width of 43.6cm width x 45.8cm height? Neither I’d anywhere close to the recommended 49cm-51cm and we’re struggling to decide x
Hi Jasmine, thank you so much and I’m glad you found it helpful.. it’s really a personal choice .. I found that drawing (approximately and very roughly) the size on the wall helped me decide as I was going to go with smaller squares but after marking it on the wall they looked too small.. Mark it quickly stand back, take a photo and then do the larger size and see which you prefer .. you can also use the tape but again roughly measure and tape .. visualising really helps !
Absolutely stunning and a fab colour. I love it.
Thank you Margaret!
I love this and the color. I want to do this in my dining/living room. What if i already have molding on top already? Do you recommend ripping them out? Also leaving the base board as it?
Thank you!
Mary
Hi Mary, it is difficult to say without seeing it..we had the mouldings at the top and I did remove it as I thought it looked better without it. I left the skirting board and if you follow my post you can see how I calculated the distance including the skirting board. Good luck!
Hey, did you use the interior walls paint for both the walls and the planks or did you have separate type of paint (interior wood paint) for the planks?
Hi I primed the mdf strips using farrow and ball primer and then used emulsion on both – the wall and boards
Hi looks great – how many coats of paint did you need and how did you apply the paint- roller/brush/spray?
Hi Claire thank you for your question. I used a mixture of paint brush and a roller. I applied a primer on mdf boards and used 2 coats of emulsion on both the mdf strips and the wall
What paint color did you use?
It’s Railings by Farrow and Ball
Hi Evija, I absolutely love this, I’m jealous! And I adore the colour. I know you’ve said it’s Farrow and Ball but can you remember the name by any chance? It’s so rich… and I think I have just the spot to use it! Many thanks.
Thank you Dan! The colour is Railings by F&B, the walls are modern emulsion and skirting boards are in modern eggshell finish . I’m glad you enjoyed the post please share your finished project I would love to see !
Thank you! (Sorry, I read “Railings” in your post but stupidly assumed it must be the name of the store!)
no worries !!
Great idea, thank you for the inspiration.
Thank you Ursula !
Was your walls textured before? If so any tips on how to make it look as smooth as yours?
Hi Neil our walls were not textured I’m sorry i don’t really know what to suggest for textured walls. Maybe speak to a plasterer and ask for advice
Love the wall but I have a question about your flooring as well do you know the brand and color of your flooring I love your look!
Hi Andrea thank you, the flooring is actually porcelain tiles from The Tile Mountain in the UK it’s called country khaki
I love this! Can I ask where your light fixture is from? Thanks!
Thank you Sarah the light is called Tangle and it is from made.com
Hello. Great design. How far out did you paint your skirting board? Does the same color go out into the next room?
Hi Delia, thank you. All downstairs is painted in railings and hallway on top floor as well. The bedrooms have Hague blue and pink skirting boards !
I’m new to DIY and have just stumbled across this wall. It’s amazing how impressive this looks. I’ve a few jobs before it but can’t wait to give this a go. You are creating a beautiful home.
Hi, love your colours, what colour are your walls please?
Thank you, the panel wall is painted in Railings by Farrow and Ball
Hi Evija, we have decided to panel in our living room (THIS EASTER WEEKEND!) and I have just come your amazing post… your’s looks incredible!! Can I please ask you to help me figure out the perfect measurement for our wall?! I think our wall is 60cm wider than yours and you had 5 squares going across.. so would I need 6 then? My wall measures:
Height 230cm Width 360cm
Can you help me figure out the square sizes please? really appreciate your help!
Hi Lisa I’m sorry I’ve just seen your comment I’ve taken a few days off .. hope you figured out the measurements.. let me know if you are still having problems and I will try and help – email is probably best ! X
we did it!! and it looks incredible!! thank you.. I followed your math and nailed it!! thank you x
That’s fantastic ! I would love to see it , so glad you found this post helpful !
Don’t think I can post pic here.. what is your email address Evija x
My email is fromevijawithlove ‘at’ gmail ‘dot’ com
got it!! sent x
Hi I came across your blog. Your panelling looks great!
I am painting a wall in railings and I’m struggling to find the right 2arm neutral to go with it. What colour is your ceiling please?
Hi, thank you the ceiling is painted in deluxe brilliant white
Hi Evija! You have inspired me to get a very similar panelling style! My walls were freshly plastered a few weeks ago and had a mist coat of emulsion applied! My carpenter is planning to do the panelling on Monday. I have some Farrow and Ball Hague Blue modern emulsion. You mentioned that you used floor primer on the mdf panels, did you use a different primer/undercoat in the areas of the wall not covered by the panelling prior to applying the topcoat? Thank you
Hi Reenam thank you very much that’s so lovely to hear and good luck with your project .. I used the wood primer on the mdf panels only and used modern emulsion on the wall and mdf . I didn’t use any primer on the wall at first but as I was having some issues with the filler I used on the wall I ended up using “wall primer” on some of the areas of the stone wall but not all ..
This turned out so amazing! I love the huge difference this made. Thanks for sharing!!!
This is a GREAT tutorial! You make it look easy. I’m definitely going to try this on my entryway wall for getting my house ready to sell. It will definitely upgrade the look to my home!
I love your wall, one question, why glue instead of a nail gun ??
Hi Sondra, I explain in the blog post that our walls are solid stone so nails wouldn’t work for us unfortunately.. If you have plasterboard walls nails would be fine
This is a great blog!
You have inspired me to purchase a very similar style of wall panelling!
Hollie
Thank you Hollie! Good luck
I love it. Want to copy it.
Thank you Susan!
Thank you for the post. Reading your article about how to make a statement panel wall using adhesive was enjoyable. I’m going to bookmarked this article.
Excellent post. Thanks for sharing this post