


Disclaimer: this post contains affiliate links and discount code (in September there is a massive 15% off afterwards 5% with code FROMEVIJA) for your order from Floor Street. When it comes to finalising things on the house I seem to take forever to make a decision. There’s no surprise it took us forever to decide on the flooring in the house. I am not a fan of carpets at all to be honest and would have had hardwood/laminate throughout the whole house, but Shaun really wanted to have carpets. To keep the peace we reached a compromise and decided we will have carpets on the second floor and hardwood/laminate on the ground floor.

Originally I really wanted to have real wood floors. As I was ripping up old carpets in the house, I was dreaming about discovering parquet flooring hiding underneath but sadly no such luck. Looking at our bank balance and the wish-list, unfortunately real wood flooring was out of the question. With the new extension, the ground floor was covering over 100 square metres so real wood floors would work out 6k+ at best for the floorboard alone. I did some research, ordered numerous samples and finally found laminate that was not only gorgeous but also within our budget!
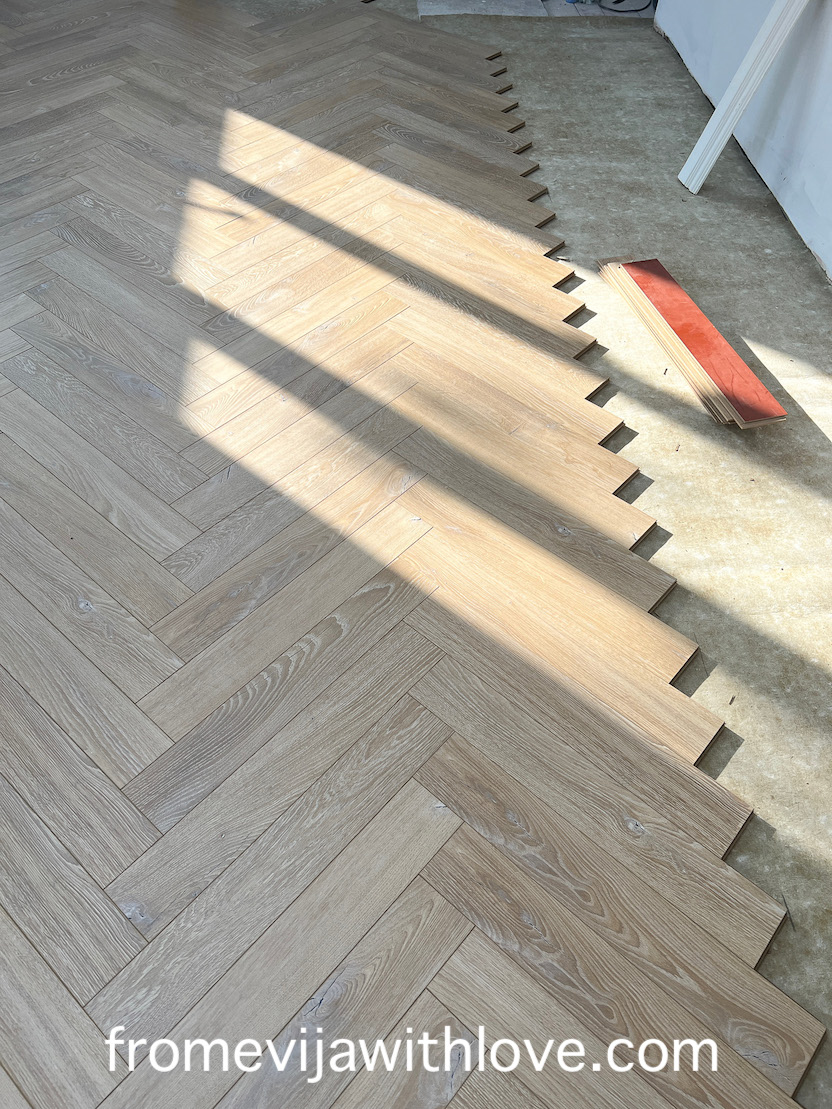
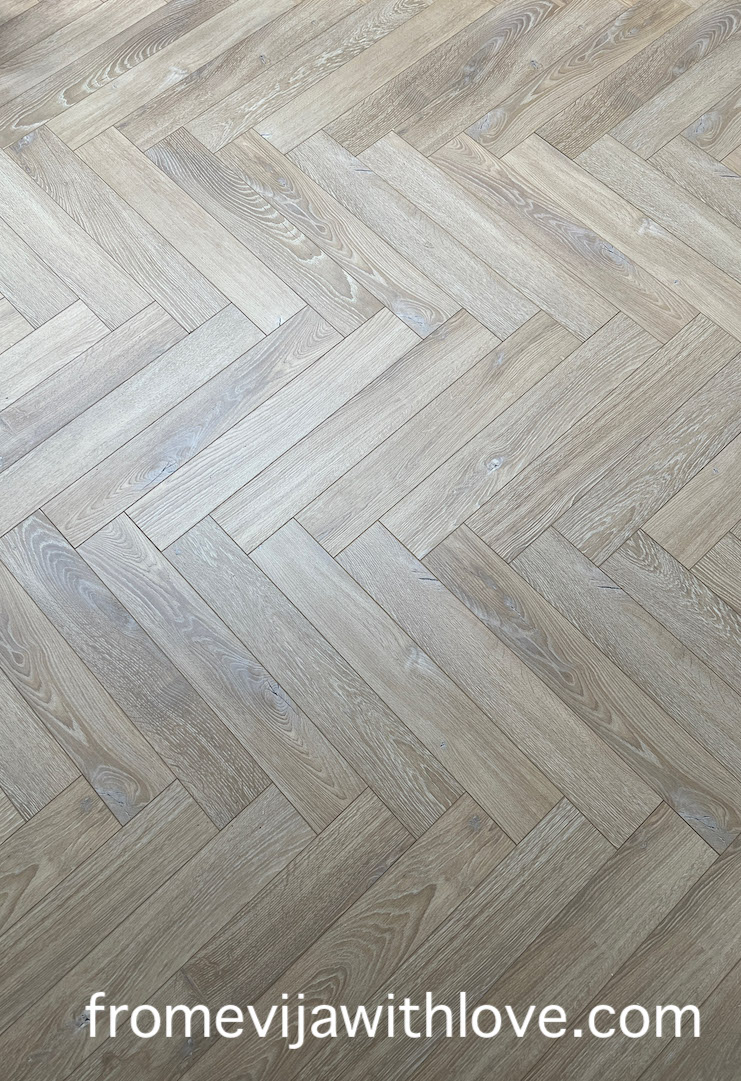
Desert Oak from Floor Street was the perfect laminate floor that actually looked like real wood. The herringbone pattern looked amazing and I although I knew it was going to be more difficult to install, I really didn’t want to compromise on the design. I decided we would only use the herringbone flooring in the kitchen/dining room and the hallway and we would use Desert Oak straight plank in the rest of the ground floor.

We decided to start with the biggest floorspace (of course) in the whole house – the new kitchen and dining room. You can see what I have in store for our kitchen here. We laid the premium quality gold underlay first.
Use code FROMEVIJA for additional discount.
I am not claiming to be a professional and I am sure we made a few mistakes as we were installing the floors, however, we saved a lot of money by doing it ourselves and also learnt new skills along the way.

Floor Street video was so helpful so if you are thinking about doing it yourself, definitely take a look at this video to get you started. We kept going back to this video and also improvised a little and through a bit of trial and error managed to do get them done. The floors come in 2 different planks – A and B and they clicked together. Very easy in theory but in practice it took us a while to get the hang of it!

We started by measuring the centre of the room and creating the triangle (as in the video). We used a laser level and had to keep moving the floor back to the mark to make sure it stayed in the centre as it kept moving, as we put the next layer of floorboards down.
We used the flooring planks as spacers to allow for expansion gap.

Putting the flooring around the pipes were a little trickier, however, we used a combination of jigsaw and multi tool to get around the pipes and it thankfully it worked a treat. We are going to have some pipe covers that will hide any imperfections, so no one will know! This cut was pretty great if you ask me!

We used our trusted jigsaw to do all the cuts. We had a system in place, my sister would mark the planks, I would cut them and Shaun would fit them in place. It worked so well we finished this large space in about 5 days (1 weekend and 3 evenings). If I said it was easy, I would be lying. As we have never done floors before, we definitely got really frustrated at first, but once we got going and took our time we managed to get them all done. What do you think? Would you give it a go yourself? Don’t forget to use the discount code – FROMEVIJA.
Tools used:
Jigsaw, builders square set, laser level, multi tool, laminate flooring installation kit, level, laminate flooring blades, Stanley knife
Follow me on instagram to see more


Let me know if you have any questions!
If you are planning on purchasing some floors, check Floor Street out and don’t forget to use the code “Fromevijawithlove” for your 5% off!


The flooring looks great, but I definitely wouldn’t tackle it myself! At my age, getting DOWN on my knees is difficult, not to mention, bending them like I see you doing. Haha, I’m old. Enjoy your youth & flexibility while you have it.
Thank you Florence! Yes our knees are not the same after this.. It wasn’t an easy task but so worth it..
Absolutely beautiful flooring well done
thank you Lydia
Thanks for sharing this step by step guide regarding laminate floor installation. Your experience and technique will be very helpful for a lot of people to understand. Thanks.